• Skip to primary navigation
  • Skip to main content
  • Skip to primary sidebar
  • Skip to footer

Whipperberry

WhipperBerry • Your Home For Creative Inspiration

  • Home
  • Recipes
    • Starters
    • Easy Weeknight Dinners
    • Main Dish
    • Salads
    • Side Dish
    • Soups & Stews
    • Desserts
    • Breakfast
    • Miscellaneous
  • Tutorials
    • Creative Crafts
    • DIY Decor
    • Fabric Crafts
    • Food How-To
    • Jewlery
    • Paint Projects
    • Paper Art
    • Party Styling
    • Photography and Graphic Design
    • Silhouette
  • Holidays
    • Easter
    • Mother’s Day
    • Father’s Day
    • 4th of July
    • Halloween
    • Thanksgiving
    • Christmas
    • Valentine’s Day
  • Gift Ideas
    • Gifts For Everyone
    • Gifts for Dad
    • Mother’s day
    • For The Girls
    • For The Kids
    • Teacher Gift Ideas
    • Christmas
  • Printables
    • Holiday
    • Gift Idea
    • LDS Primary
  • Travel
  • About
    • Terms
  • Contact
  • Nav Social Menu

    • Facebook
    • Instagram
    • Pinterest
    • RSS
    • Twitter

Home Depot

Propane Safety Checks to Make Before Using Your Home Appliances

0 · Sep 4, 2026 · Leave a Comment

There are 50 million households using propane every day for heating, cooking, and outdoor living. While it is an efficient and clean fuel, ignoring basic maintenance creates real safety hazards.

Ignored fittings dry out, and lines degrade. Unserviced appliances slowly develop burn issues.

Running through a basic safety routine before turning on your equipment keeps your home safe and ensures your gear operates at peak efficiency when you need it most.

Inspecting the Physical Tank for Visual Damage

Your first check starts at the tank cylinder itself. Look for heavy rust patches, deep dents, or structural gouges that compromise the metal shell. Minor surface rust is common, but flaking metal or severe pitting warrants an immediate inspection by a technician.

Always check that the tank sits upright on a flat, non-combustible base like concrete. Never store portable tanks on their side or inside enclosed spaces like garages or sheds.

Monitoring Your Fuel Gauge and Gas Supply

Running a propane system completely dry can draw sediment into your lines and cause pilot lights to fail. Keeping track of your fuel level prevents sudden outages and protects your appliances from unexpected air pockets in the fuel line.

Watching out for signs your propane tank is empty allows you to schedule refills early, avoiding frozen lines or airlock issues that require professional clearing.

Conducting a Leak Test on Gas Valves and Hoses

Gas leaks are the single largest hazard in home propane setups. A quick bubble test using soapy water is the most reliable way to find small gas leaks before sparking up a burner.

  • Mix equal parts liquid dish soap and water in a clean spray bottle
  • Spray the mixture directly over the valve, hose, and regulator connections
  • Watch closely for growing soap bubbles that indicate escaping gas

If you see bubbles forming around connection points, turn off the supply valve immediately. Tighten the fittings slightly and retest. And if bubbles continue to appear, replace the damaged hose assembly before using the appliance.
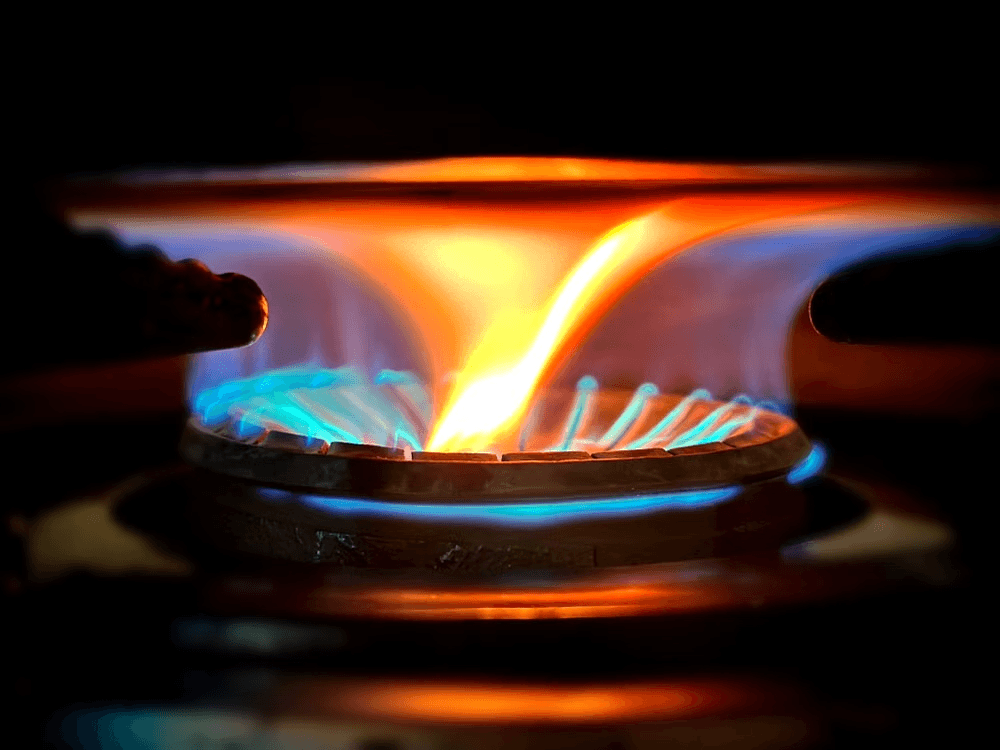
Close-up of a stove flame,

Examining Connectors and Rubber Supply Lines

Rubber hoses deteriorate over time due to weather exposure, pest damage, and UV light. Flexible lines should feel firm yet pliable, with no visible cracking when bent gently.

Old or brittle connectors are prone to splitting under pressure, making them a common failure point. Replace any hose that shows signs of dry rot, stiffness, or rodent chewing right away.

Evaluating Burner Flames and Ventilation

Turn on your appliance and take a close look at the flame color once it stabilizes. A healthy, complete propane burn produces a crisp blue flame with a small yellow tip.

A lazy, yellow, or orange flame indicates incomplete combustion, which often stems from blocked burner ports or inadequate air mixture. This condition produces dangerous carbon monoxide gas indoors. Turn off the unit and clear out any dust or cobwebs blocking the air shutter if the flame stays yellow.

Clearing Obstructions from Exhaust Vents

Outdoor debris can block your appliance flues faster than you think. Birds, spiders, and wasps routinely build nests inside vent pipes, trapping dangerous exhaust gases inside your living space.

Inspect all exterior vent hoods, chimney caps, and intake pipes before lighting indoor equipment. Clear away bird nests, heavy leaf buildup, or snow accumulation to keep airflow moving freely.

Checking Carbon Monoxide and Gas Detectors

Safety devices provide your final line of defense against undetected leaks or ventilation failures. Standard smoke alarms will not pick up gas buildup or carbon monoxide, so specialized monitors are essential.

Test every UL-listed CO and propane detector in your home monthly to verify the batteries work. Keep units installed near the floor for propane detection, as propane gas is heavier than air and settles in low spots.

Know When to Call a Professional Technician

Some maintenance tasks go beyond simple DIY fixes. If you smell rotten eggs, hear a continuous hiss, or see persistent rust inside burner assemblies, step away from the equipment.

Shut off the main gas valve on your tank if it is safe to do so. Leave the area immediately and contact your local gas provider or a qualified technician to troubleshoot the system safely.

Maintaining Safe Propane Systems Year Round

Taking a few minutes to inspect your tank, hoses, and burners prevents unexpected breakdowns and keeps your home safe. Catching minor wear early saves time and avoids expensive emergency repairs.

A quick check before firing up any gas appliance provides total peace of mind for you and your family. Scroll on to explore more posts for practical tips and hacks you can use at home every day.
What to Know Before Installing A New Shower Tray In The Family Bathroom

0 · Jan 21, 2026 · Leave a Comment

If your bathroom needs a little refresh, replacing the shower tray might be a simple way to give the space both a new look and better function. For families, a well-chosen shower tray can help make busy mornings easier and daily routines safer and more comfortable.

Before making a decision, it helps to understand the different options available and how each one might fit into your home. From materials and sizes to safety features and installation tips, here are the most important things to consider before making the switch.

Types of Shower Trays

Material Choices

The first consideration should be the material of the shower tray. Common materials include acrylic, stone resin, and ceramic, each with its unique benefits.

• Acrylic: Lightweight and easy to install, acrylic trays resist mold and are available in many styles. However, they can scratch easily if not maintained properly.

• Stone Resin: These trays are heavy-duty and offer a luxurious feel. While they often come with a higher price tag, their durability and thermal properties make them worth the investment.

• Ceramic: Known for its classic appeal, ceramic trays are highly durable and easy to clean. They can be more challenging to install due to their weight but often complement more traditional bathroom designs.

Ultimately, your choice of material should align with your style preferences and maintenance capabilities.

Size Considerations

Shower trays come in various sizes. The dimensions you choose will depend significantly on the available space in your bathroom. A larger tray offers greater comfort, but it may not be practical in smaller bathrooms. Conversely, a compact tray may suit tighter spaces but could compromise the overall comfort of your shower experience.

Before making a decision, consider:

• The measurements of your current shower setup (if applicable)

• Local plumbing codes

• The room’s layout, including door swings and adjacent fixtures

Style and Design

The aesthetic aspect of a shower tray shouldn’t be overlooked. Today’s market offers a myriad of modern shower tray styles that can elevate your bathroom’s design. Whether you’re looking for a minimalist design to match a contemporary theme or something more ornate, it’s easy to customize the look to fit your unique vision. To explore a variety of options, you can see modern shower tray styles that may inspire your renovation journey.

install a shower tray

Drain Placement

Another essential factor to consider is the position of the drain. Depending on your existing plumbing layout, you may need to work with a plumber to ensure the new tray fits seamlessly into your room. Proper drain placement is crucial for water flow and preventing standing water, and it may dictate the type and style of shower tray you choose.

Ensuring Proper Slope

A well-installed shower tray should have a slope to encourage water drainage towards the drain. If your shower tray is not sloped correctly, you may end up with water pooling, which could eventually lead to mold growth. If you’re uncertain about how to achieve the correct slope, it’s wise to consult a professional to avoid future issues.

Choosing the Right Shower Tray Height

Height is another factor that can greatly affect your shower experience. The tray height should be compatible with the existing plumbing and the overall design of your bathroom. Low-profile trays are becoming increasingly popular due to their sleek appearance, but they can complicate drainage if not installed properly. Conversely, taller trays may offer easier installation and better drainage options but could alter the accessibility of your shower.

Installation Considerations

DIY vs. Professional Installation

While some homeowners may be tempted to install the shower tray themselves, hiring a professional can save you time and potential headaches. A skilled plumber will ensure that everything is done according to code, thus preventing any potential leaks that could damage your flooring and walls. They can also navigate challenges that may arise, such as uneven flooring or complicated plumbing systems.

Budgeting for Installation

The cost of installation can vary significantly depending on factors like location, the complexity of the job, and whether you’re working with a builder’s grade tray or opting for a high-end model. Be sure to account for installation in your overall budget, as well as any necessary plumbing adjustments.

shower tray

Additional Features

Non-Slip Surfaces

Safety is paramount, especially in wet areas like showers. Look for trays designed with non-slip surfaces to reduce the risk of slips and falls. Features such as textured surfaces can provide an extra layer of security without sacrificing design.

Eco-Friendly Options

For those who prioritize sustainability, some manufacturers offer eco-friendly shower trays made from recycled materials. Opting for such products can lessen the environmental impact of your renovation without compromising style.

Conclusion

The right shower tray can make a big difference in how your bathroom looks and works, especially in a home with kids or a busy family schedule. Whether you’re doing a full remodel or just updating a few key pieces, a smart choice here can add comfort, safety, and style to one of the most used rooms in the house.

Take your time to choose a tray that fits your needs, your space, and your design style. With the right planning and a little help from a pro, your bathroom can become a space that feels just right for everyone in the family.

DIH (Do it Herself) Drink Station

3 · Jun 13, 2016 · 4 Comments

+ This DIH Drink Station post brought to you by the lovely folks at Home Depot +

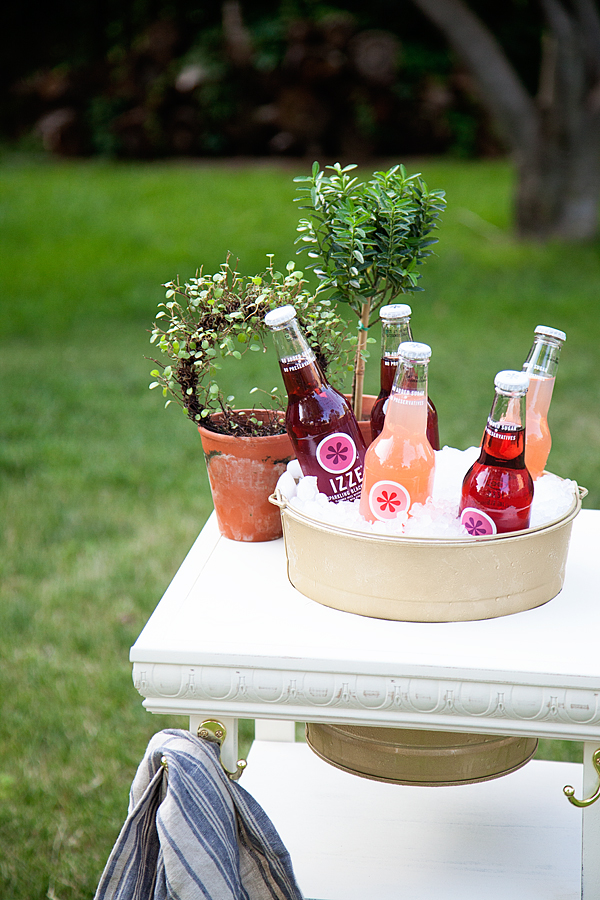
DIH Drink Station from WhipperBerry

 You guys, I’m so excited about this project. No, really!

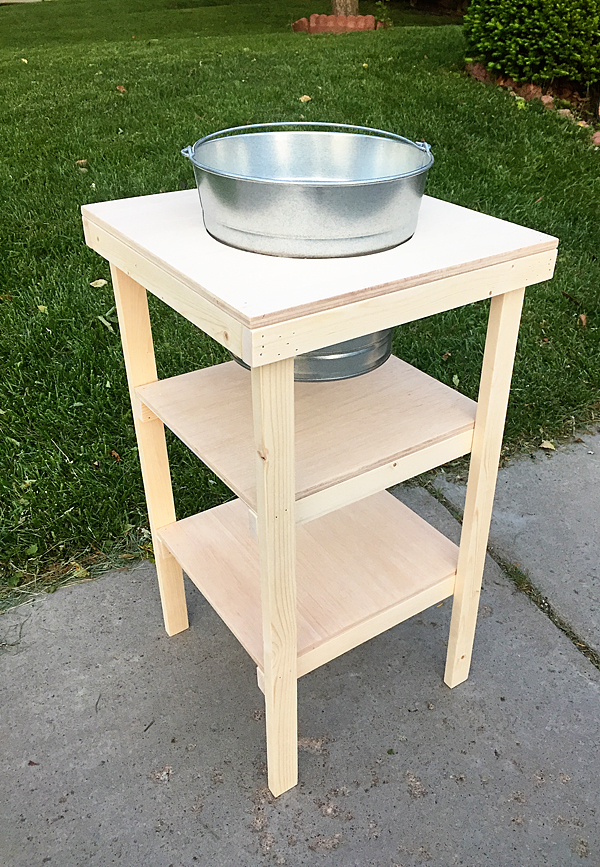
See that drink station above? I BUILT IT MYSELF!!!

Not bad for a girl who used to be afraid of power tools. Now I feel like I can conquer the world! Or build a table or something. I’m no Ana White yet, but I totally have the confidence now to try my hand at this building thing. I owe it all to Home Depot and their DIH (Do it Herself) challenge. The cool thing is that YOU can do this at your local Home Depot too!

This months DIH Workshop in your area will be on Thursday, June 16th at 6:30. Click HERE to register. If you have never been to a DIH workshop, you should go! This one is so fun, it’s FREE and you’ll learn how to make a beverage stations just like this one. Plus, to get to build on your skills and become truly handy around the house.

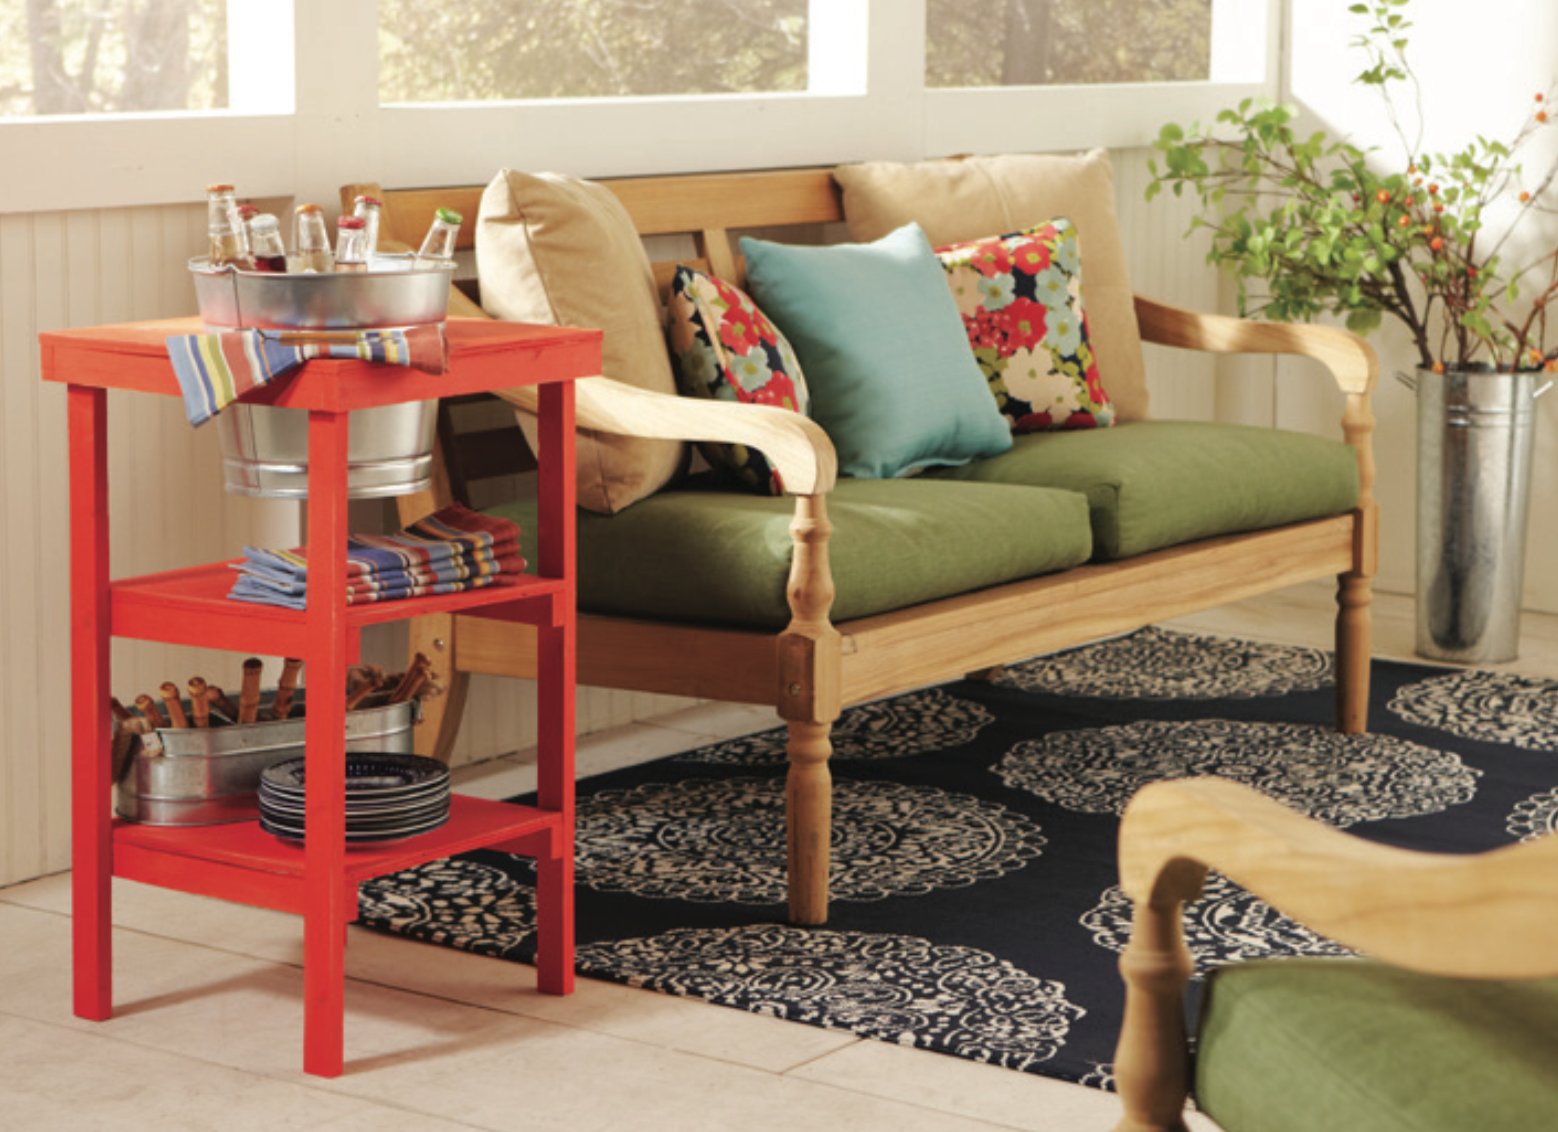
DIH Beverage Station from Home Depot

I was asked to be a part of a blogger challenge with 24 other bloggers. We all had to build the same beverage station from the Home Depot instructions and then give it our own special touches.

Doing some summer entertaining, this DIY Drink Station will be perfect!

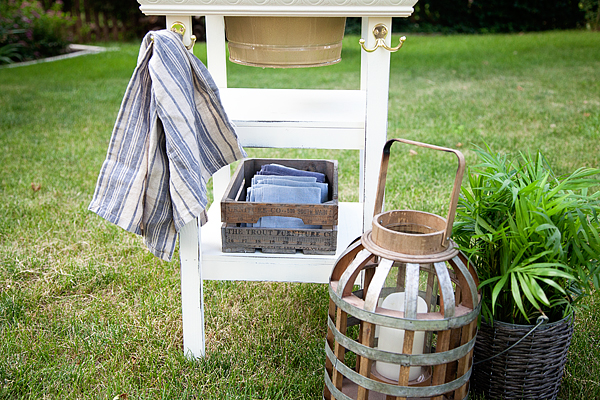
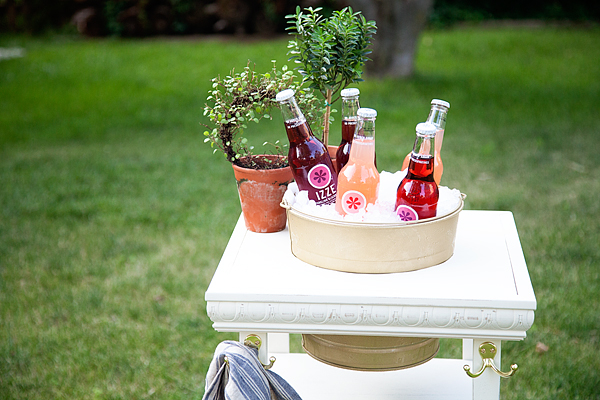
 I decided to give mine a classic look… I love everything clean and white right now but I want to distress through to a darker brown so, my first layer of paint was brown and then I painted the top an off-white and then distressed down a little bit.

DIH-Drink-Station-from-WhipperBerry-10

I added a decorative trim piece around the top to give it a more elegant look and then added these fabulous hooks on the side to give it a little more character. Of course I had to spray paint the bucket gold as well.

Doing some summer entertaining, this DIY Drink Station will be perfect!

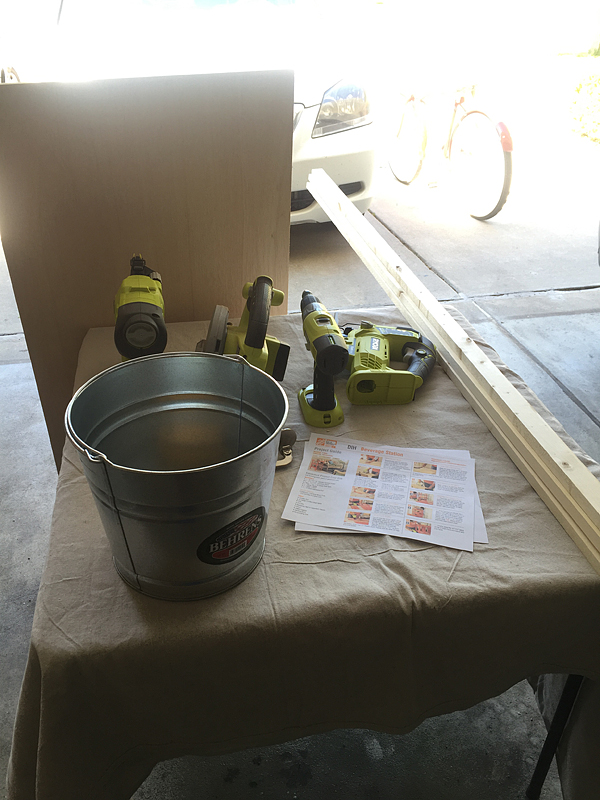
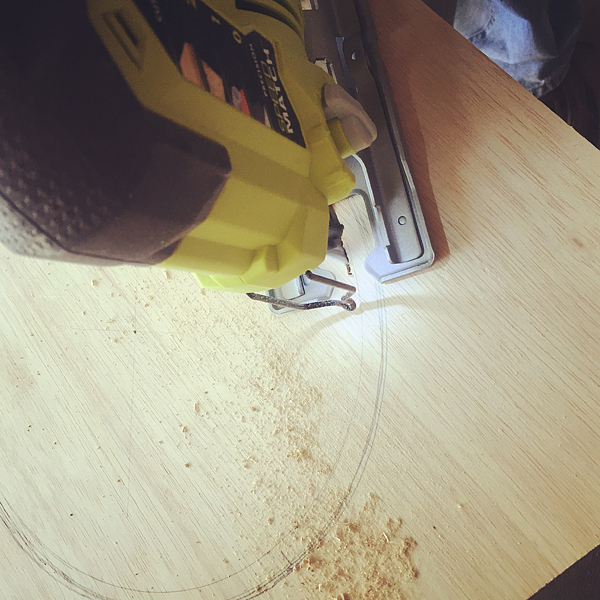
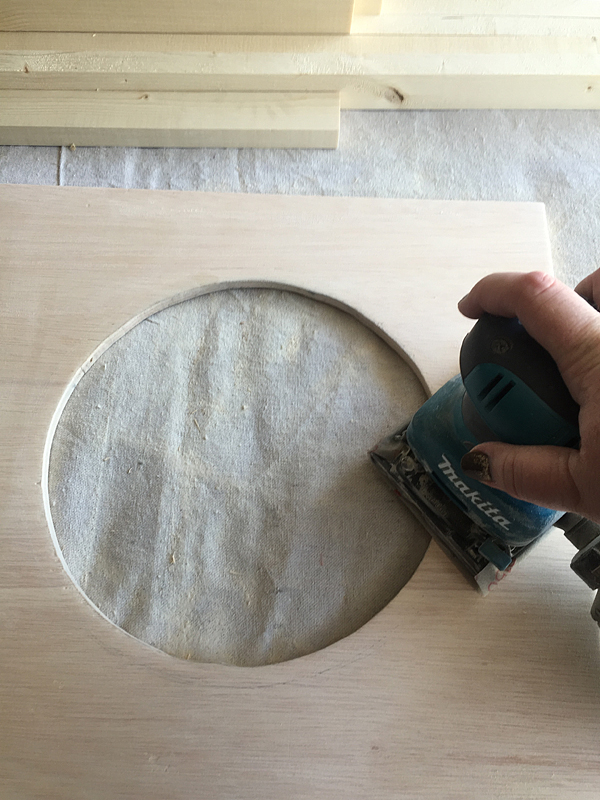
 I can not even tell you how awesome it feels to know that I built this myself!! This is what I started with…

WhipperBerry-Beverage-Stand-11

IMG_8940

WhipperBerry-Beverage-Stand-5

WhipperBerry-Beverage-Stand

Just some basic plywood and some common boards, with some fabulous directions and that’s it! I now have a beverage station that I can be truly proud of.

DIH-Drink-Station-from-WhipperBerry-8

 Isn’t it cute! I’ve teamed up with 24 other bloggers who have created the very same thing and then personalized it for their taste. Won’t it be fun to see everyone’s different styles? Before you head out to check out the other drink stations, make sure you register to attend the DIH Beverage Station Workshop at your Home Depot. It’s FREE, it’s fun, grab a friend and learn how to BUILD!

Click on over and check out the other beverage stations…

The Casual Craftlete Blog

Little Glass Jar

Fox Hollow Cottage

Twelve On Main

Just Between Friends

One Horse Lane

The Crafting Chicks

Family Food Fun

Inspiration For Moms

Petticoat Junktion

Our Southern Home

Artsy Chicks Rule

Iris Nacole

The Rustic Life

Domestically Speaking

The Creative Mom

Live Laugh Rowe

Little Vintage Nest

One Artsy Mama

Dagmar’s Home

Fancy Farm Girls

All Things Thrifty

Whipperberry

Lolly Jane

Landee See Landee Do

Disclaimer // This post was sponsored by the Home Depot. I received product in order to complete my assigned task. Remember, I will only share what I truly love, and believe in!

Primary Sidebar

Heather from Whipperberry
Hello... my name is Heather and I'm the creator of WhipperBerry a creative lifestyle blog packed full of great recipes and creative ideas for your home and family. I find I am happiest when I'm living a creative life and I love to share what I've been up to along the way... Come explore, my hope is that you'll leave inspired!

Footer

  • Privacy Policy
  • Crafts
  • Food
  • Gifts
  • Holidays
  • Home
  • Mom Life
  • Recipes
  • Travel

Copyright © 2026 · Seasoned Pro