Check out some of our favorite projects!
WhipperBerry • Your Home For Creative Inspiration
9 · · 10 Comments
Check out some of our favorite projects!
7 · · 28 Comments
This post brought to you by International Delight // I have to admit… I love my sweet drinks. There is nothing better than starting the day with a cup of iced Choffy or my favorite herbal tea with a splash of International Delight creamer. Currently MY ID is the Cold Stone Sweet Cream… YUM!!! Or, if I’m in a bolder mood, the Caramel Macchiato.
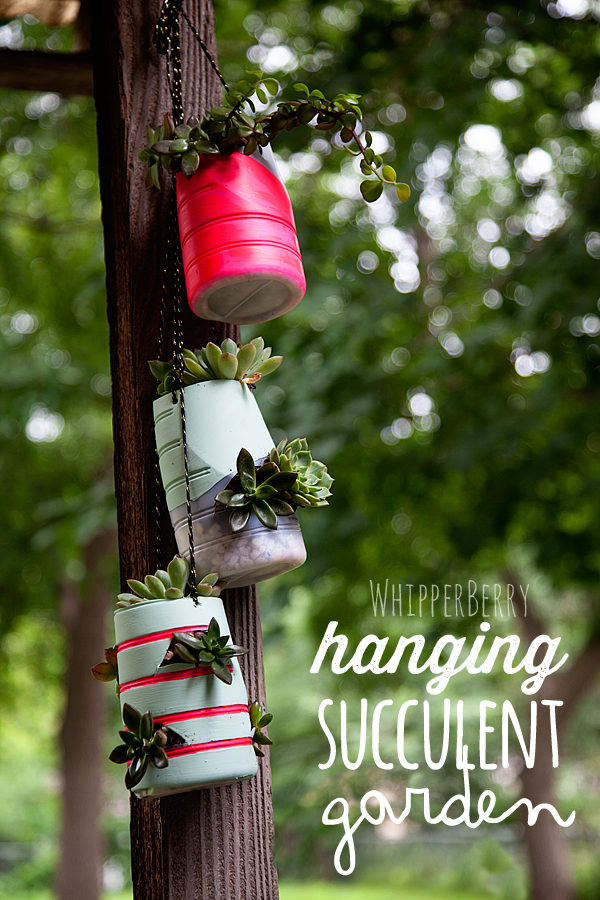
With this being part of my morning routine, I tend to go through a bit of creamer and therefore, I have quite a few bottles that are destined for the trash. Recently, International Delight issued a challenge… Make something out of my used bottles. I really thought that was kind of a fun idea. Well… to be completely honest, I was a little befuddled. Using old containers as a craft muse hasn’t really been part of my M.O. when it comes to creating for WhipperBerry. I had to step back and think for a bit and then inspiration hit! I could make a hanging succulent garden with a few of the ID bottles and it would look fantastic.
I can’t even tell you how tickled I was when I finished this project. Not only that but I came up with a few more that I may try. I mean seriously, what can you really do with an old plastic bottle? Who knew that it could be the perfect vehicle for such a fun idea. It’s so simple, here is how you can make a hanging succulent garden of your very own…
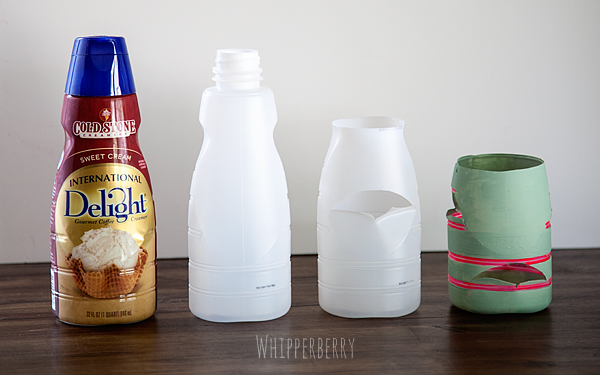
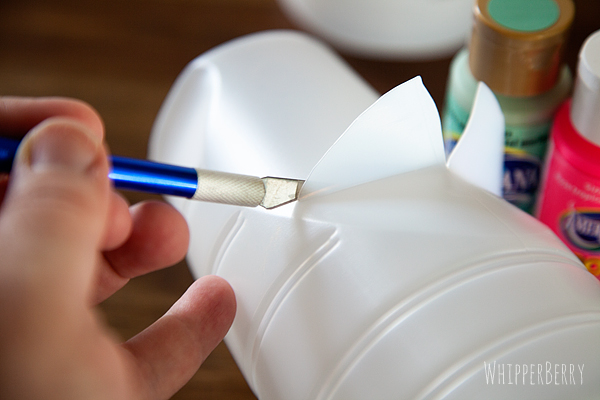
I used the large International Delight Bottle, removed the label and the lid and cut the top portion off with a craft knife.
Next, I cut openings into the side of the bottle as a fun way to add more succulents into my little garden container.
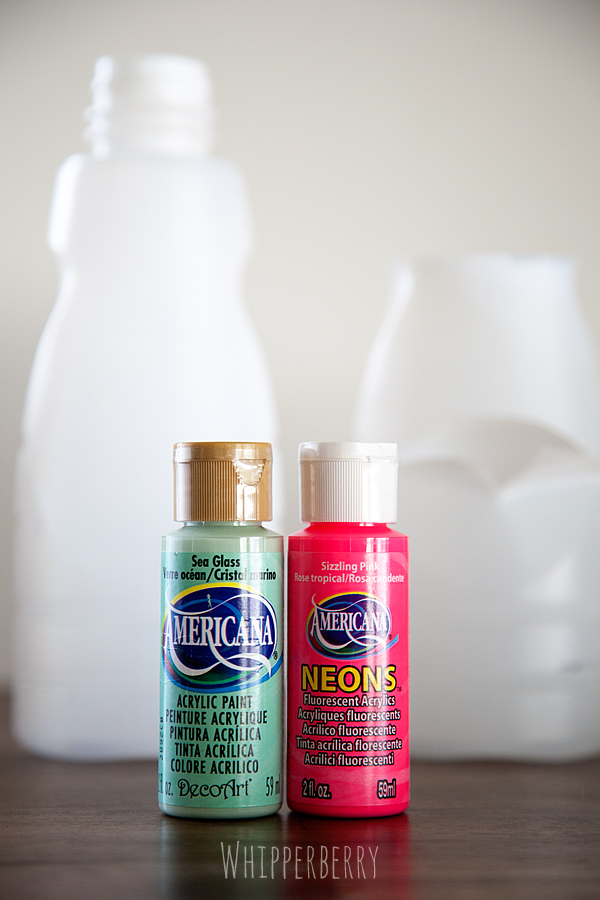
I used DecoArt Americana acrylic craft paint to add color to the plant containers. I used Sea Glass, and Sizzling Pink from the Neon Collection. The design was a little free form. I added some little stripes and some splashes of color on each container leaving some open areas to add more contrast.
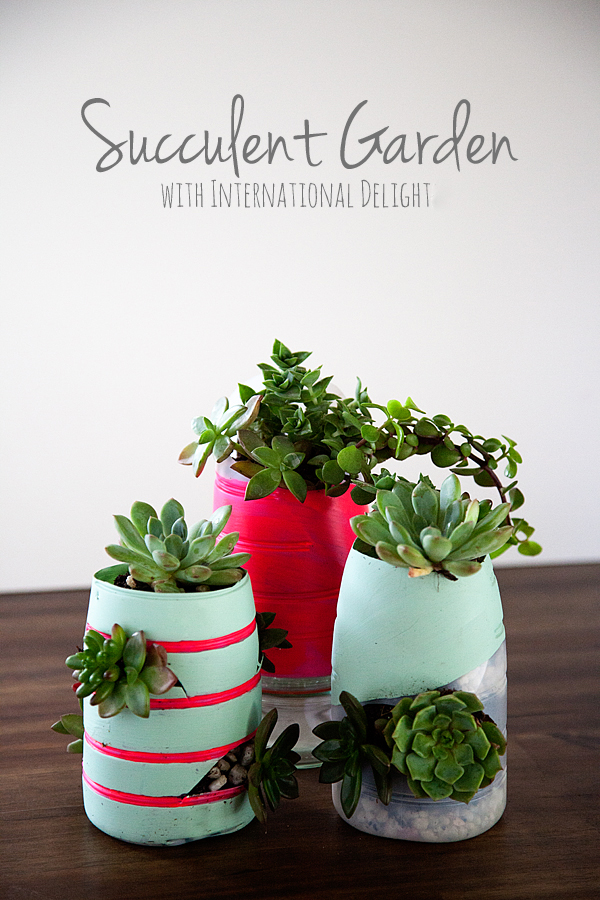
Then, I added some small succulents that I found at Lowes with some pea gravel and soil designed for succulents. I even layered the soil and pea gravel to add a fun effect in the container that you see above, on the right. Once you have everything painted and planted then you have to decide… Will you leave them as is… or hang them?
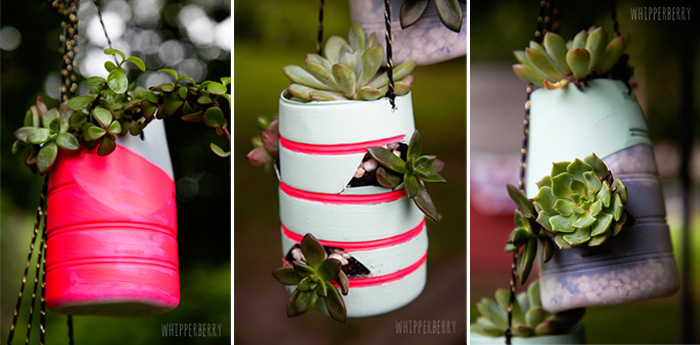
I think they look great either way, and they add a fun pop of color to any room. These hanging succulents can also be added to your yard for xeriscaping. Here is how they would look dressing up a table…
… Or, you can carefully poke some holes in the side and add some black and gold twine from Knot & Bow and hang them for a totally different look.
Isn’t it FUN?!
So, what’s YOUR ID? What would you make out of your empty ID bottles? Does your flavor inspire your creation?
Come follow the all the fun and share your ID with International Delight on any of their social media platforms…
Find ID on Facebook here: https://www.facebook.com/InternationalDelight
Find ID on Twitter here: https://twitter.com/indelight
Find ID on Pinterest here: https://pinterest.com/indelight/
Find ID on Instagram here: https://instagram.com/indelight
Find ID on YouTube here: https://www.youtube.com/indelightchannel
What’s Your ID? International Delight is looking for their most passionate flavor fans. Put your ID on the map to enter to win a Magical Trip, play games and discover more unexpected delight. Share your ID flavor at https://whatsyourid.com.
This is a sponsored conversation written by me on behalf of International Delight. The opinions and text are all mine.
5 · · 4 Comments
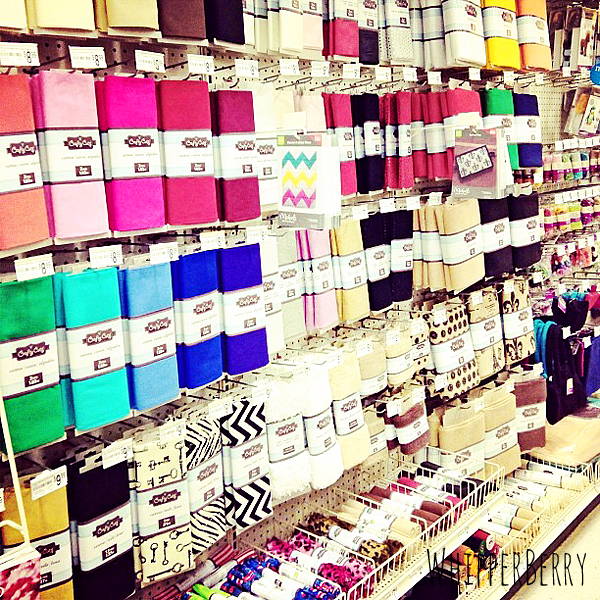
This fabric wrapped mason jar vases post, brought to you by Michaels Craft Stores // How many times have you been shopping in Michaels Crafts and gathered up everything thing that you need for a project and then sent up this wish to the craft fairy… "I wish Michaels had FABRIC!" I know I have about a MILLION times. To have such a lovely craft store without fabric was just sooooo sad. Well, my 1,000,001 wish was granted! Michaels now has a simple fabric section!! They have a fun selections of several types of fabric from your basic cotton all the way up to your fancy burlap…
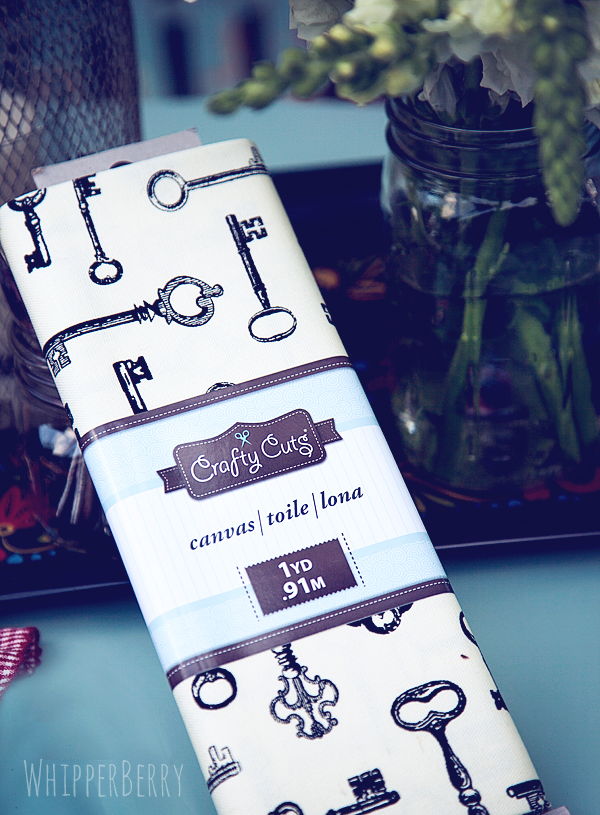
Each fabric comes in different lengths from 18 inches up to 2 Yards and has a comparable price point to other fabric stores. This is perfect for simple projects like my fabric wrapped Mason jars, or even a stunning cotton quilt, depending on your skill level. Michaels sent me some fabric to try out and I fell in love with the canvas key print fabric…
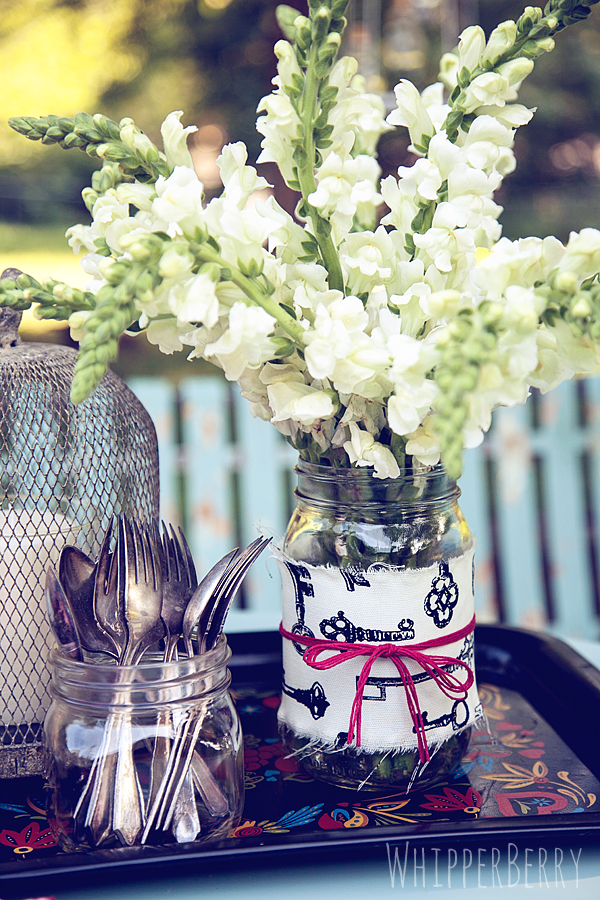
Aren't those keys just divine? The feel and the weight of the fabric is just perfect as well. I have to say, Michaels didn't compromise on quality at all. I used this fabric to wrap a Mason jar that I was using as a vase for a table center piece. It's so simple, I'm almost embarrassed to share…
Take your fabric and measure how wide you need your fabric strip to be. Mine is about 3 inches, but it will be different based on what jar you select. Make a little snip one inch in from the edge of the fabric, and rip the fabric all the way down. This will give you a rough edge on both sides of your strip. Then measure in three inches (or whatever your measurement will be) make another snip and rip all the way down again. You will then have a lovely fabric strip with rough edges on both sides.
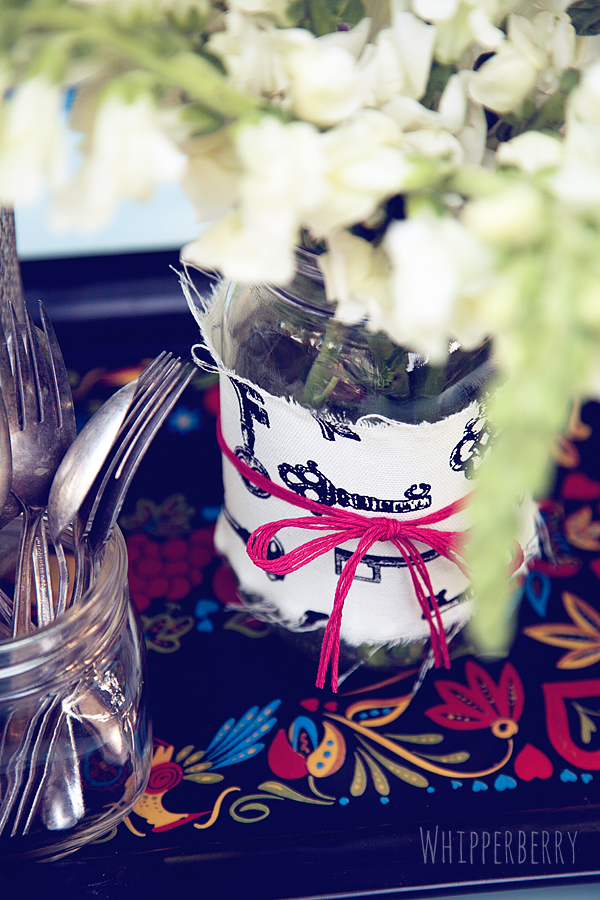
Next, wrap it around your jar and measure how much fabric you will need to wrap the jar completely and then trim the excess fabric. With this canvas I was pleasantly surprised at how I didn't need anything other than the twine to secure the fabric. The fabric has kind of a velcro type quality, so I wrapped the jar and then just secured the fabric with some Divine Twine and that was it! No hot glue or glue of any type needed at all.
This is a great way to dress up any table from a simple dinner to a large scale event like a wedding or such. The best part… you can get all the fabric you need at Michaels… YAY!!
What else would you make with some of this fun fabric from one of our favorite craft stores?
Disclaimer // I received free product from Michaels Craft Stores for this post. However, all thoughts, ideas and opinions are my very own.
13 · · 32 Comments
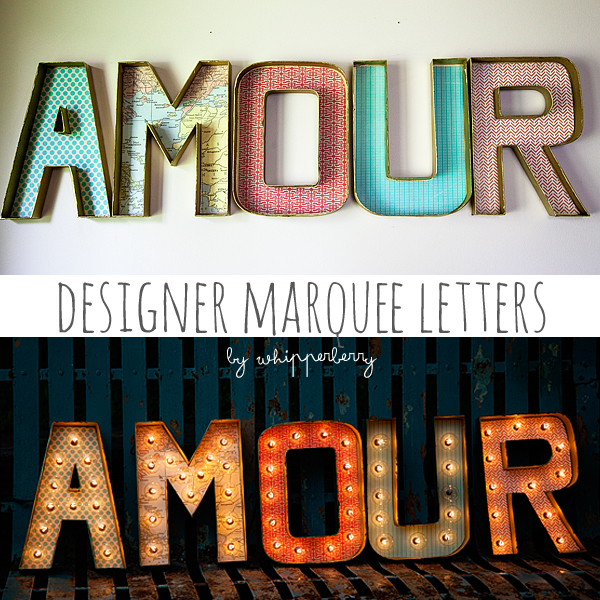
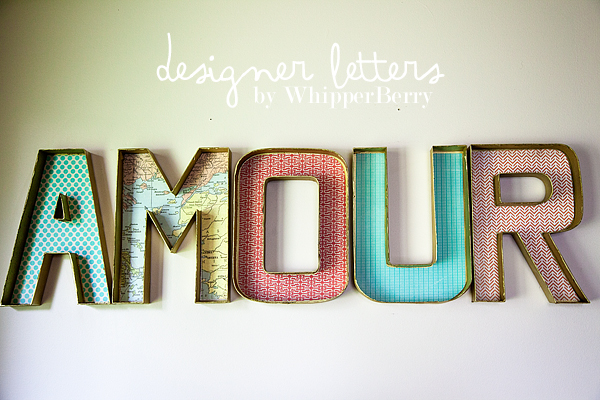
DIY Marquee Letters // Today is the BEST DAY OF MY LIFE!! I'm guest posting over at Today's Creative Blog and I've created something rather fun. It's a two part post on how to make your very own Designer Marquee Letters. Part One, Designer Letters is over with Kim at TCB and Part Two, how to create Designer Marquee Letters with Lights is here on WhipperBerry.
I have been in love with old marquee letters forever. I've collected several fabulous can lights over the years, but I really wanted some Broadway style marquee letters. To purchase a Broadway style sign would cost a fortune so, I thought I would create a sign of my own with parts that you can find at a couple of local stores. First, I needed to create my letters…
For this tutorial head on over to Today's Creative Blog, while you're there say hello to Kim for me. She's one of my favorite blog friends!! The cool thing about making your own letters, is that YOU get to pick what your sign says. You can do just one letter or and entire word, heck… write a whole paragraph if you want. the sky's the limit!!
Now that I've created my letters, it's time to add some lights to these babies!!
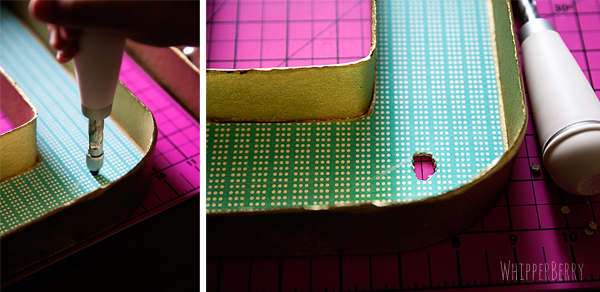
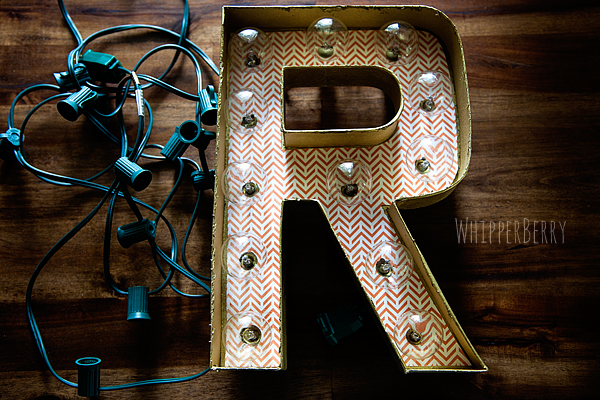
First you need to punch some holes into your letters…
Now, this proved to be a bit of a challenge for me. I started the sign using my Martha Stewart Screw Punch which worked great. I just had to make several punches to create the circle that I needed for the light bulb to fit through. Which was fine, but later I decided to use a grommet punch and a mallet. It worked a little better. It was nosier, but did the job a little quicker. It's up to you how you decide to make your holes.
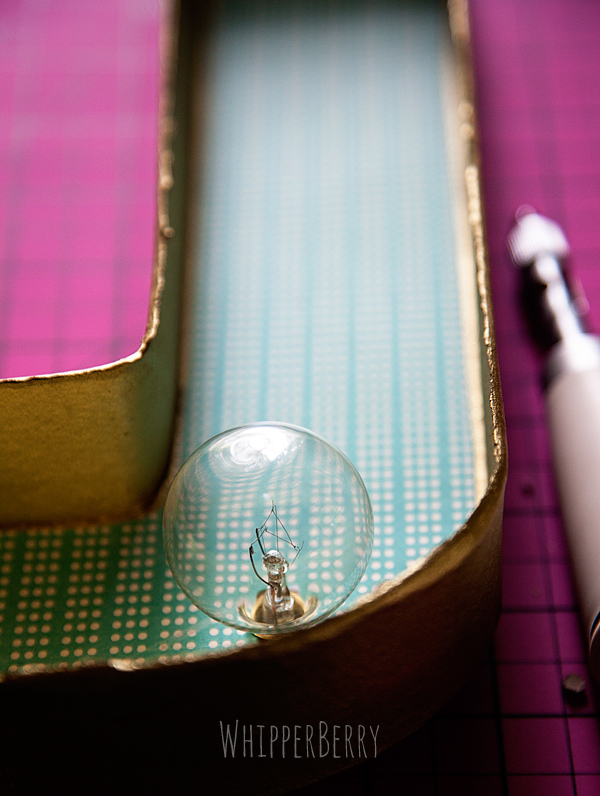
Space your holes carefully. I'm not going to give you specific measurements because it will depend on what type of lights you select. Basically, work slow and careful. Punch a hole and place a light bulb in the hole and then eye ball where the next hole should go.
Once you've created all your holes, it's time to add the lights…
Unscrew the light bulbs and place them through the holes and screw the bulb back in the socket with the cord on the back of the letter… Keep in mind, before you start to place the cords, think about the most logical way to wire the letter. Where do you want the cord to start and end? Just think things through a bit and you won't have to go back and start over.
The lights that I used from Target had nice little clips on the light sockets that made it really easy to tuck the cords in so that they didn't peak out from behind the letters. They were perfect!!
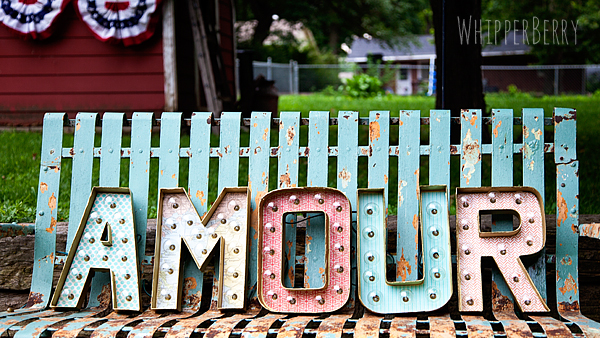
Once everything is wired up all you have to do it light it up!
Isn't it fun?! I plan on using it as part of a gallery wall in the near future. It will also be a fun way to dress up an event or dessert table. I can dream up all kinds of fun ways to use this sign.
Now keep in mind… the sign is made out of paper. DO NOT leave the lights on for a long period of time or leave unattended. I've turned mine on for quite awhile and nothing has happened, but the lights do warm up and I don't want any fires started with this fun sign.
Soooo, now that you know how to make your own Marquee Letter Sign… What word would you light up?