This post has been sponsored by Nature Valley. All thoughts and opinions are my own.
With four kiddos that range in age from 7 to 20, I’ve been running carpool FOREVER it seems. One thing that never changes, no matter the age of the child, they ALWAYS arrive hungry! Even when they are far away in college, they are constantly fighting those hangries. I have found that from carpool to care packages, my go to products are always Nature Valley. Whenever I am at Walmart, I always stock-up on our favorite hunger fighting snacks to add to our camping supplies, Hunger-Aid Carpool Snack Bin or, to include in a Hunger-Aid College Survival Box.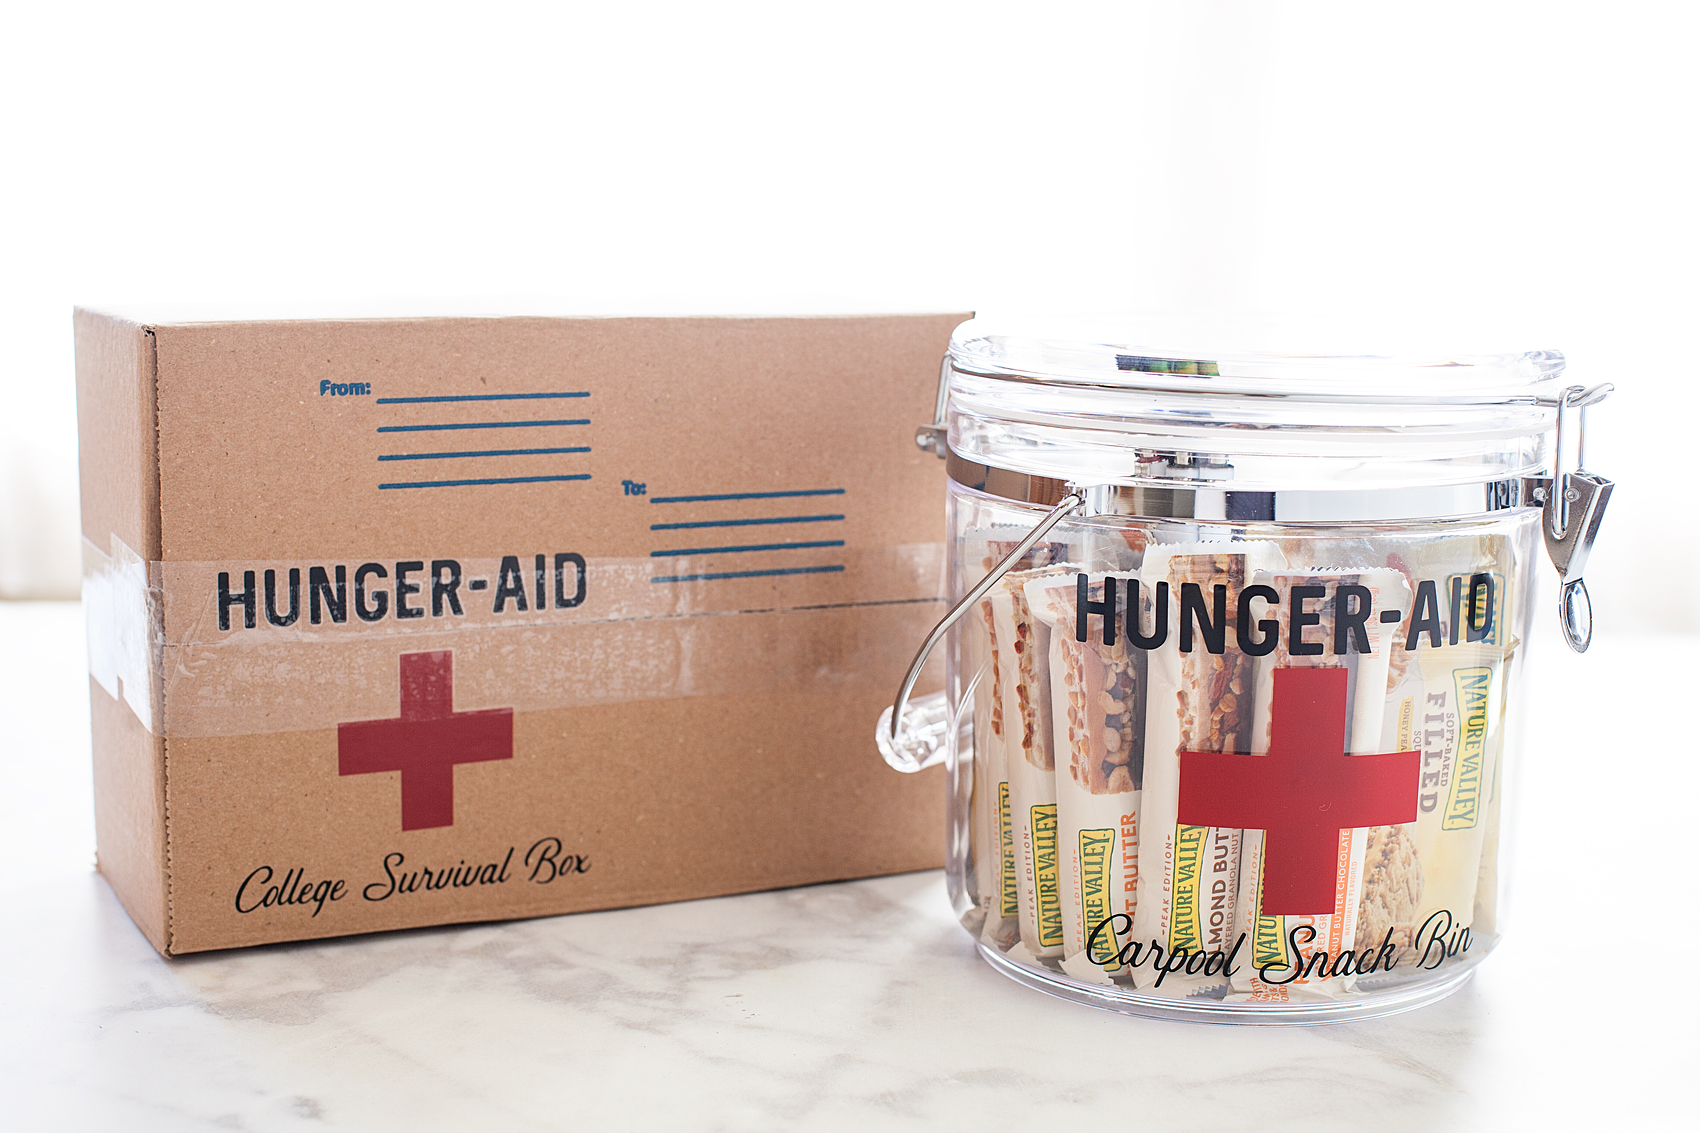
I remember the first time I had a Nature Valley Granola Bar when I was a kid. It was at Girl Scout Camp and I remember biting into this crunchy granola bar and loving the flavor and especially the crunch. For years, it was my go to granola treat when I was in the mood for crunch time. I felt like I was getting an extra special treat because they always had TWO bars in each package. That’s a big deal when you’re young or even when you’re a poor college student. Over the years, I’ve watched their brand grow to include many more snacking options that, as a Mom, I love sharing with my kiddos.
Taking Care of the HANGRIES • The Hunger-Aid Carpool Snack Bin
Having four kiddos; one in college, high school, middle & elementary, school pick-up is a long drawn out process. Keeping the car stocked with Nature Valley products, as well as extra school supplies “just in case,” is fabulous way to let your children know that you truly care about their success.
I’m loving the NEW Nature Valley Layered Granola Nut Bars & Soft-Baked Filled Squares. They are perfect for either, before school on one of those hectic mornings or after to take care of those hungry tummies. They are so scrumptious and the carpool kiddos love them. I’ve created a Hunger-Aid Carpool Snack Bin that I keep in my car so that my children are never left with a case of the hangries before or after school.
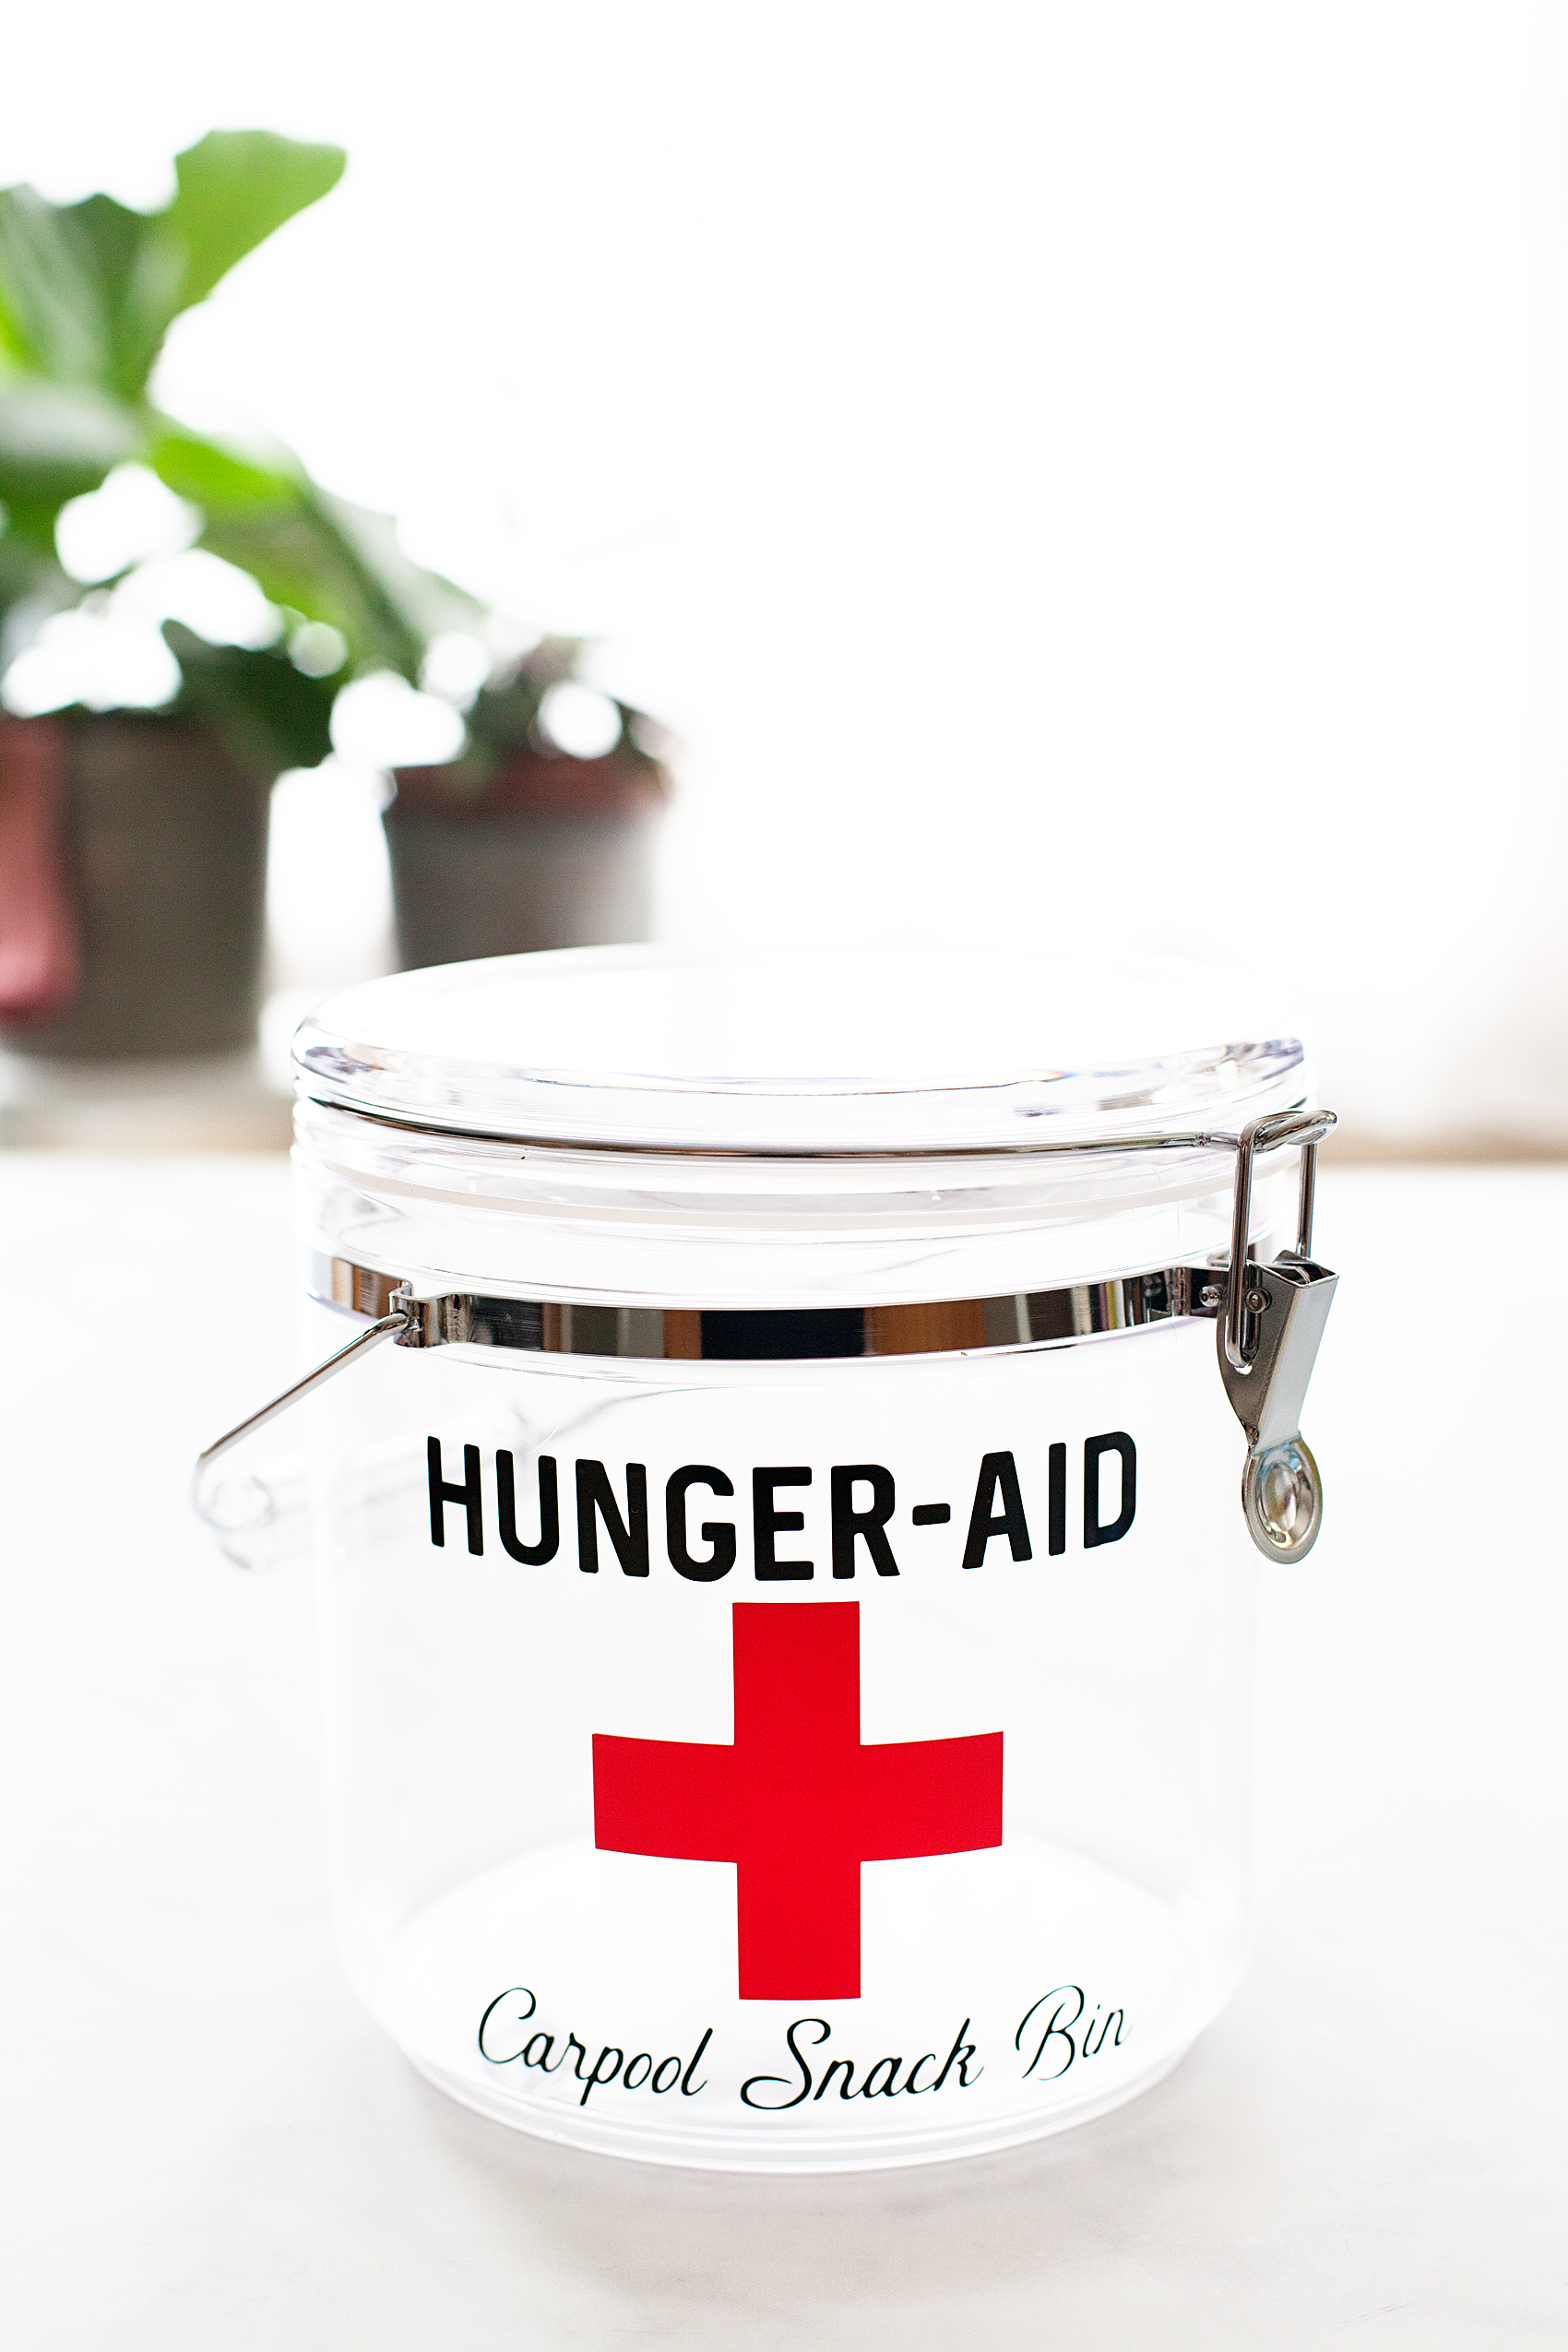
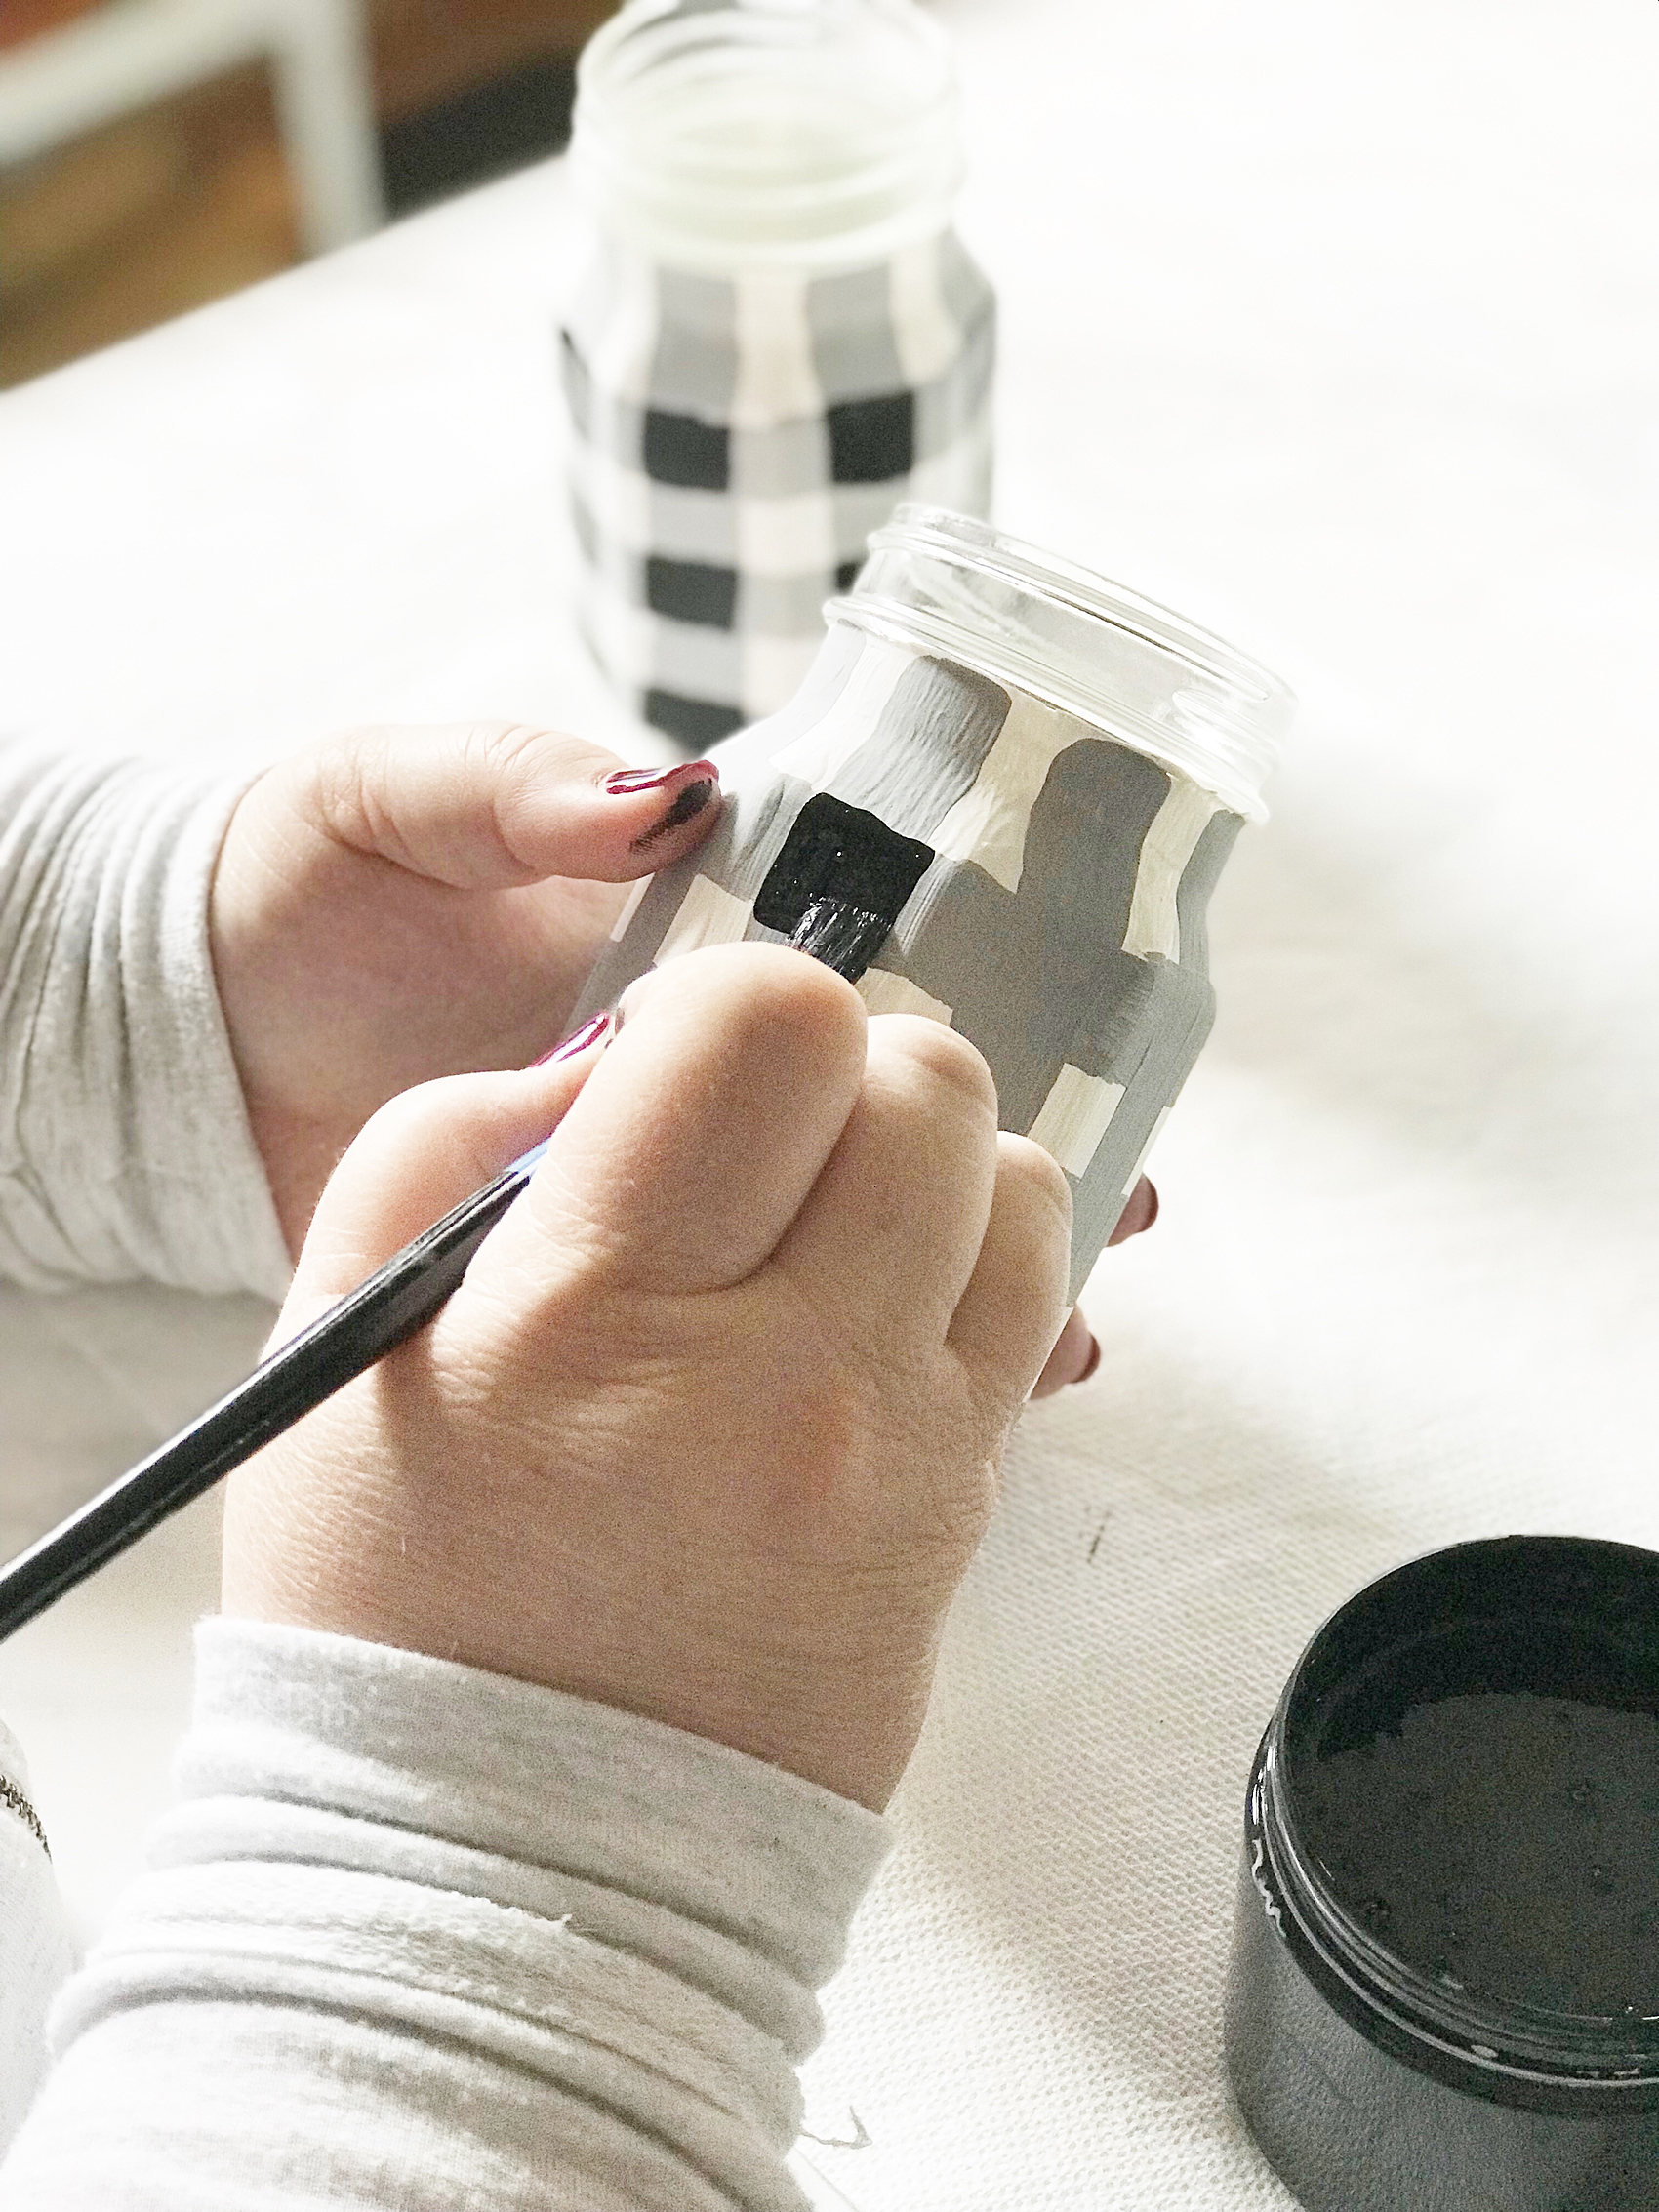
I created this fun design for the bin based off of the vintage Band-Aid tins that our mothers, grandmothers or even great grand mothers always had around when we needed a little tender loving care after getting into a scrape. I thought it was perfect for the snack bin for the family car. You’ll be able to download the file for yourself below.
Shopping List for the Carpool Snack Bin
I’m always running to Walmart to grab all kinds of things because it’s a one stop shop packed with all the things I need – especially for this snack bin. This is what I put together for the carpool snack bin to keep in the car.
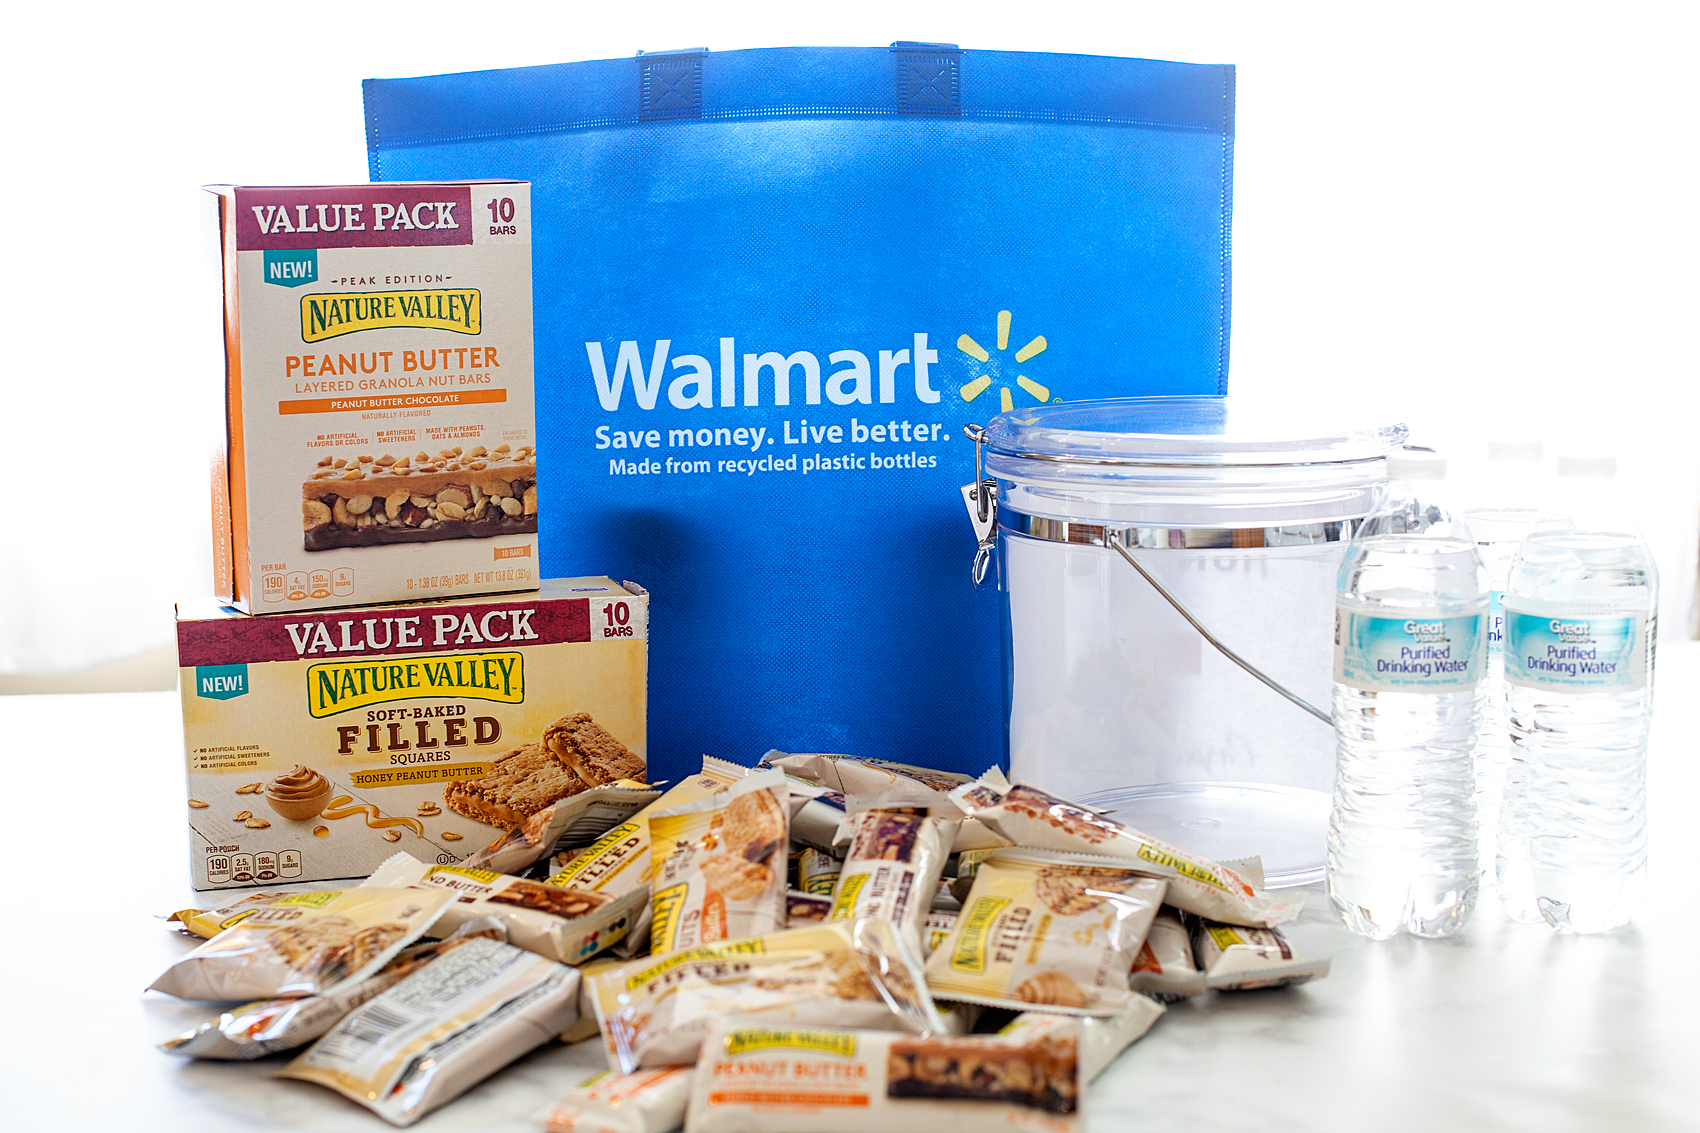
- 130 oz Acrylic Latch Jar, Clear
- Nature Valley Peanut Butter Chocolate Layered Granola Nut Bars(also available in Almond Butter Chocolate!)
Layered Granola Nut Bars - Nature Valley Honey Peanut Butter Soft-Baked Filled Squares (available in Cocoa Peanut Butter too for your chocolate-loving-kiddos)
- Sam’s Choice 100% Natural Spring Water
- A package of #2 pencils
- A Nail File
- A fun and colorful vinyl decal used to create labeling for the bin
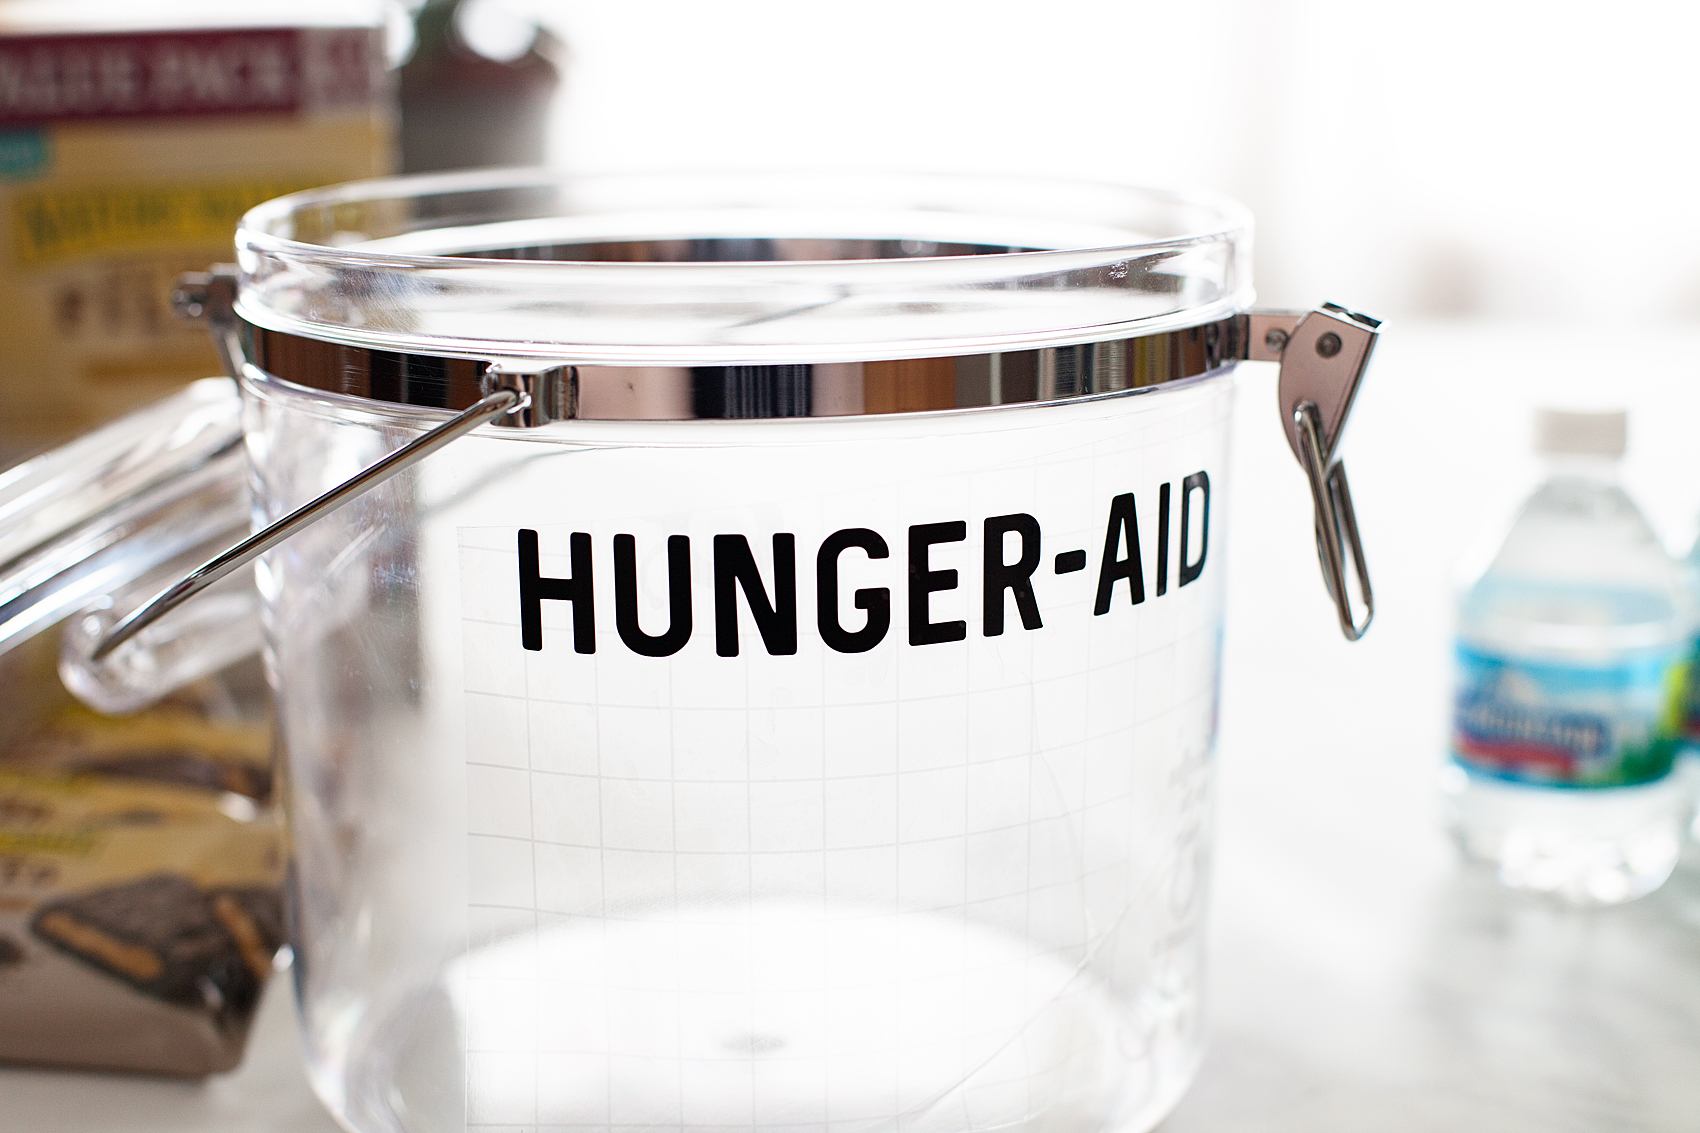
To start, I grabbed one of my favorite clear buckets at Walmart. I use these for all kinds of stuff. Storage for little bits and bobs, a travel container when taking meals to friends homes, pantry storage… The list goes on and on.
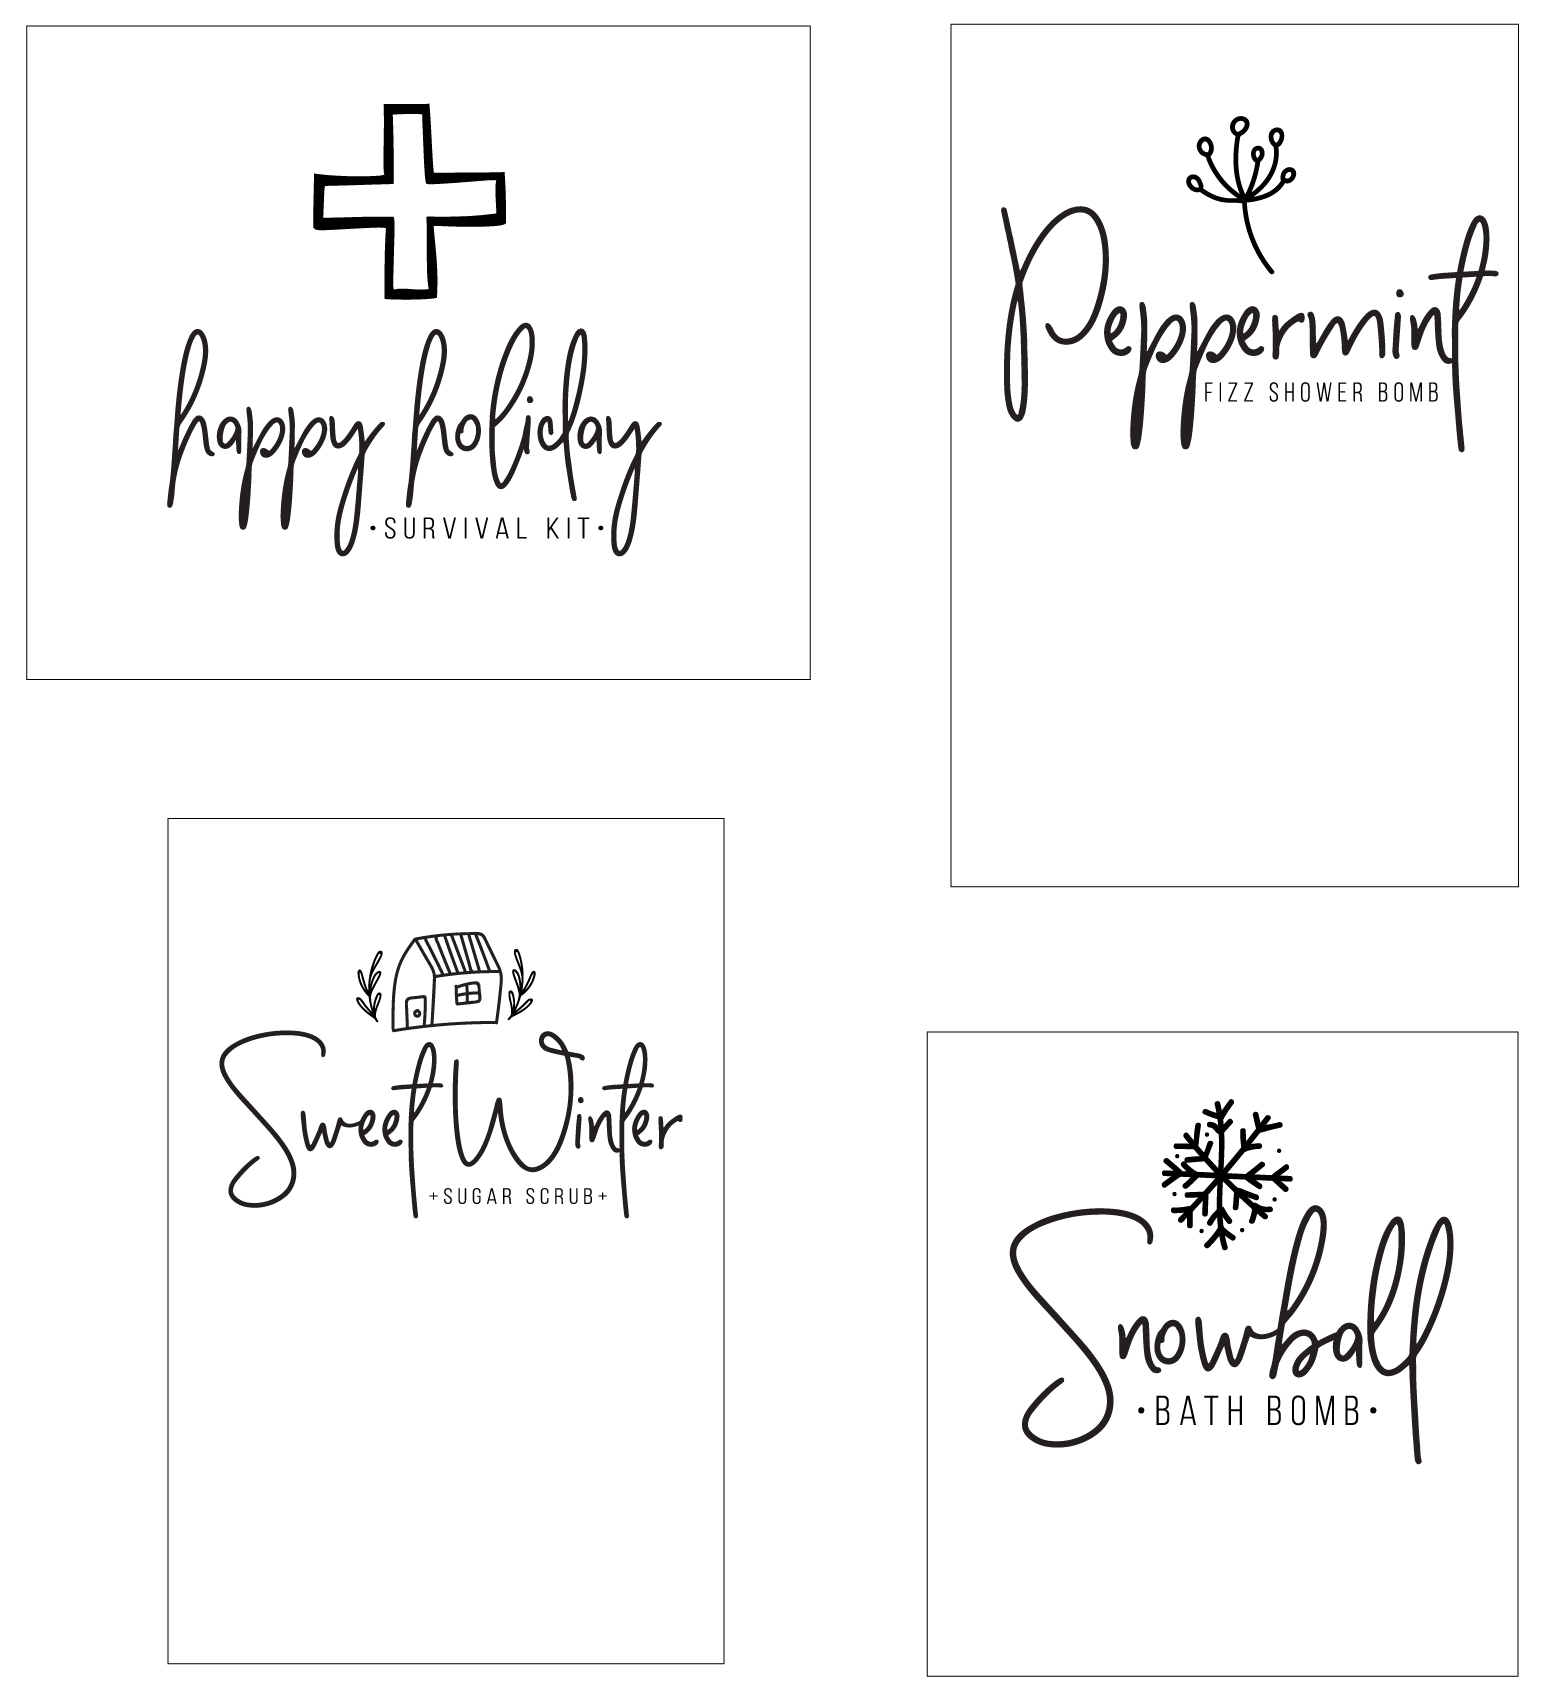
For this purpose, I grabbed some vinyl decal materials and created a cute label for the bin because, you know, that’s how I am.
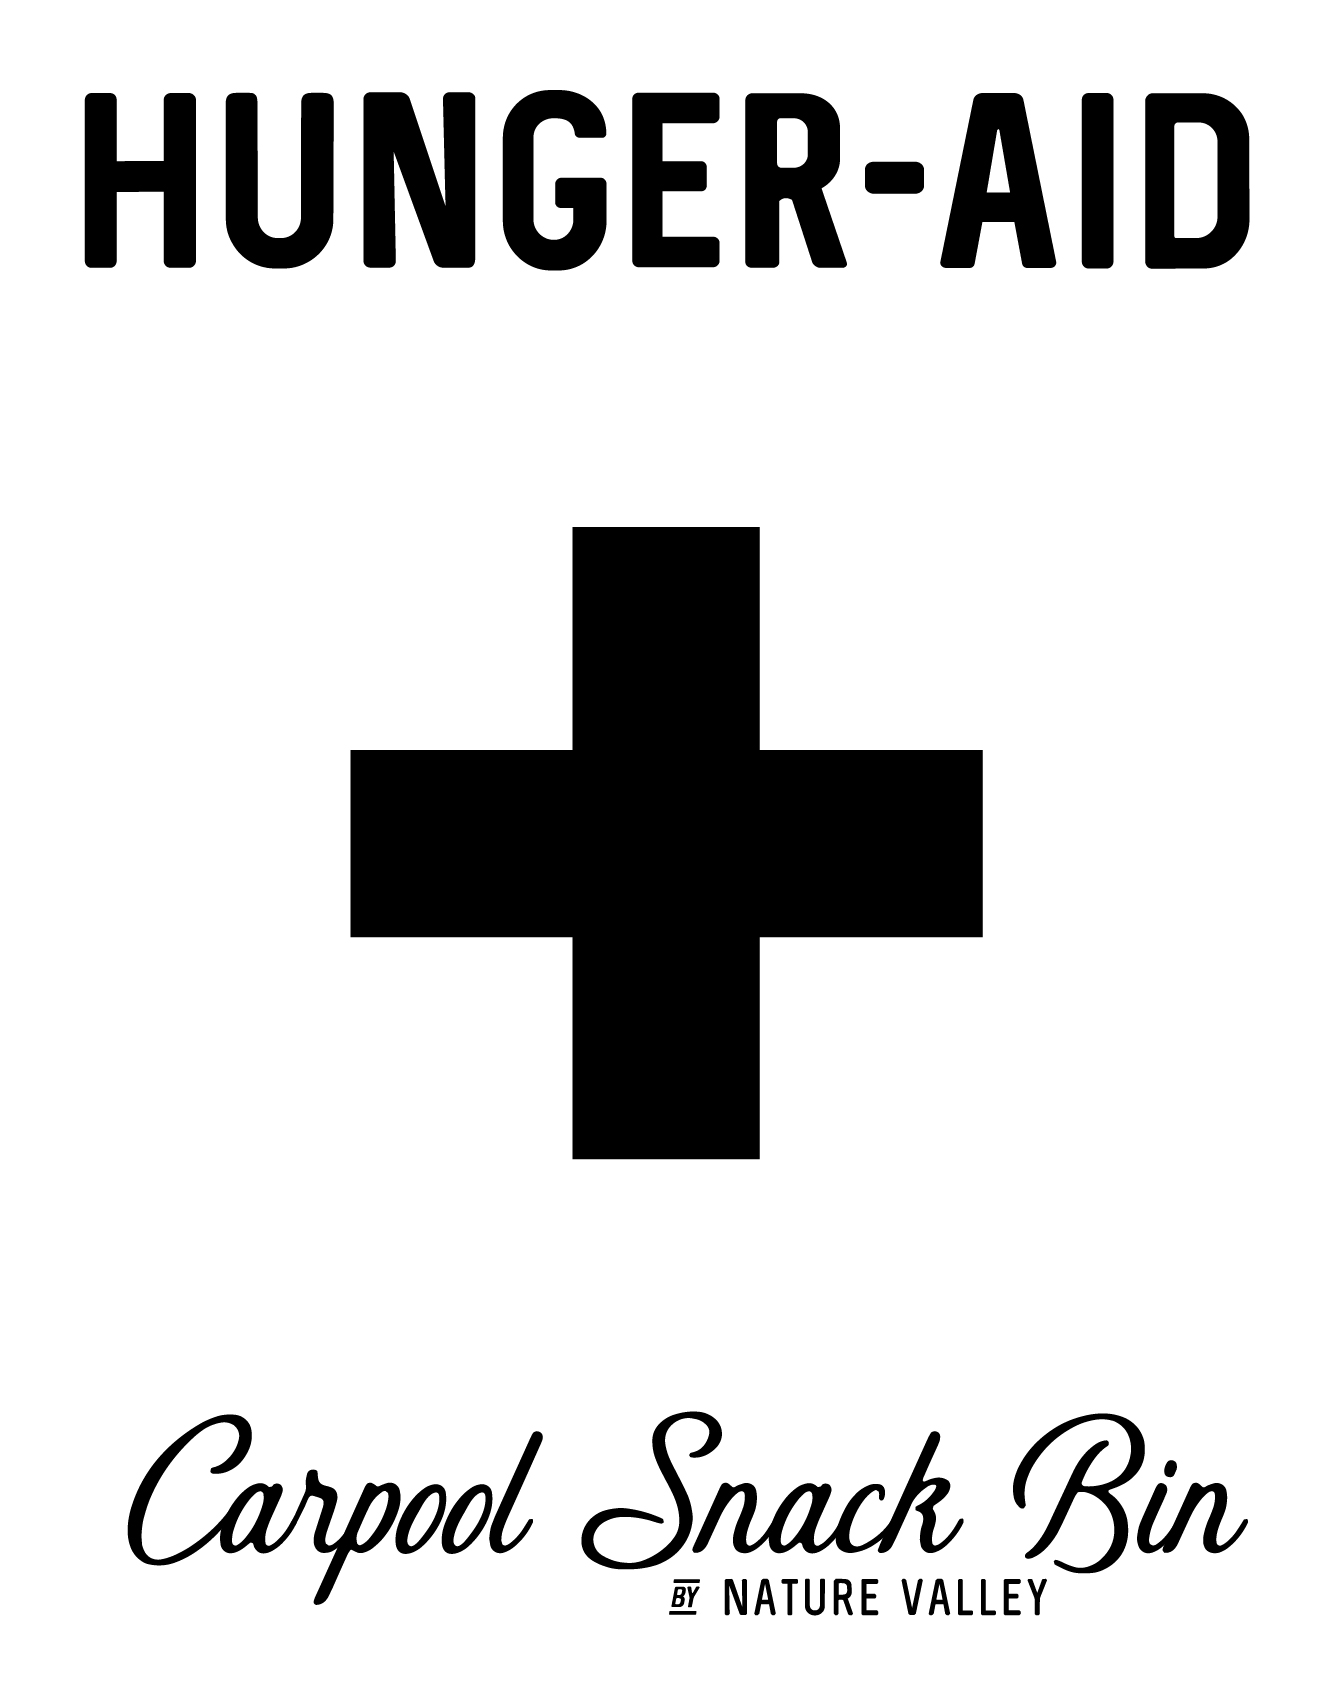
You can download the SVG files to use HERE. If you’re new to creating with vinyl, I can also show you how to apply vinyl or import and use a SVG file.
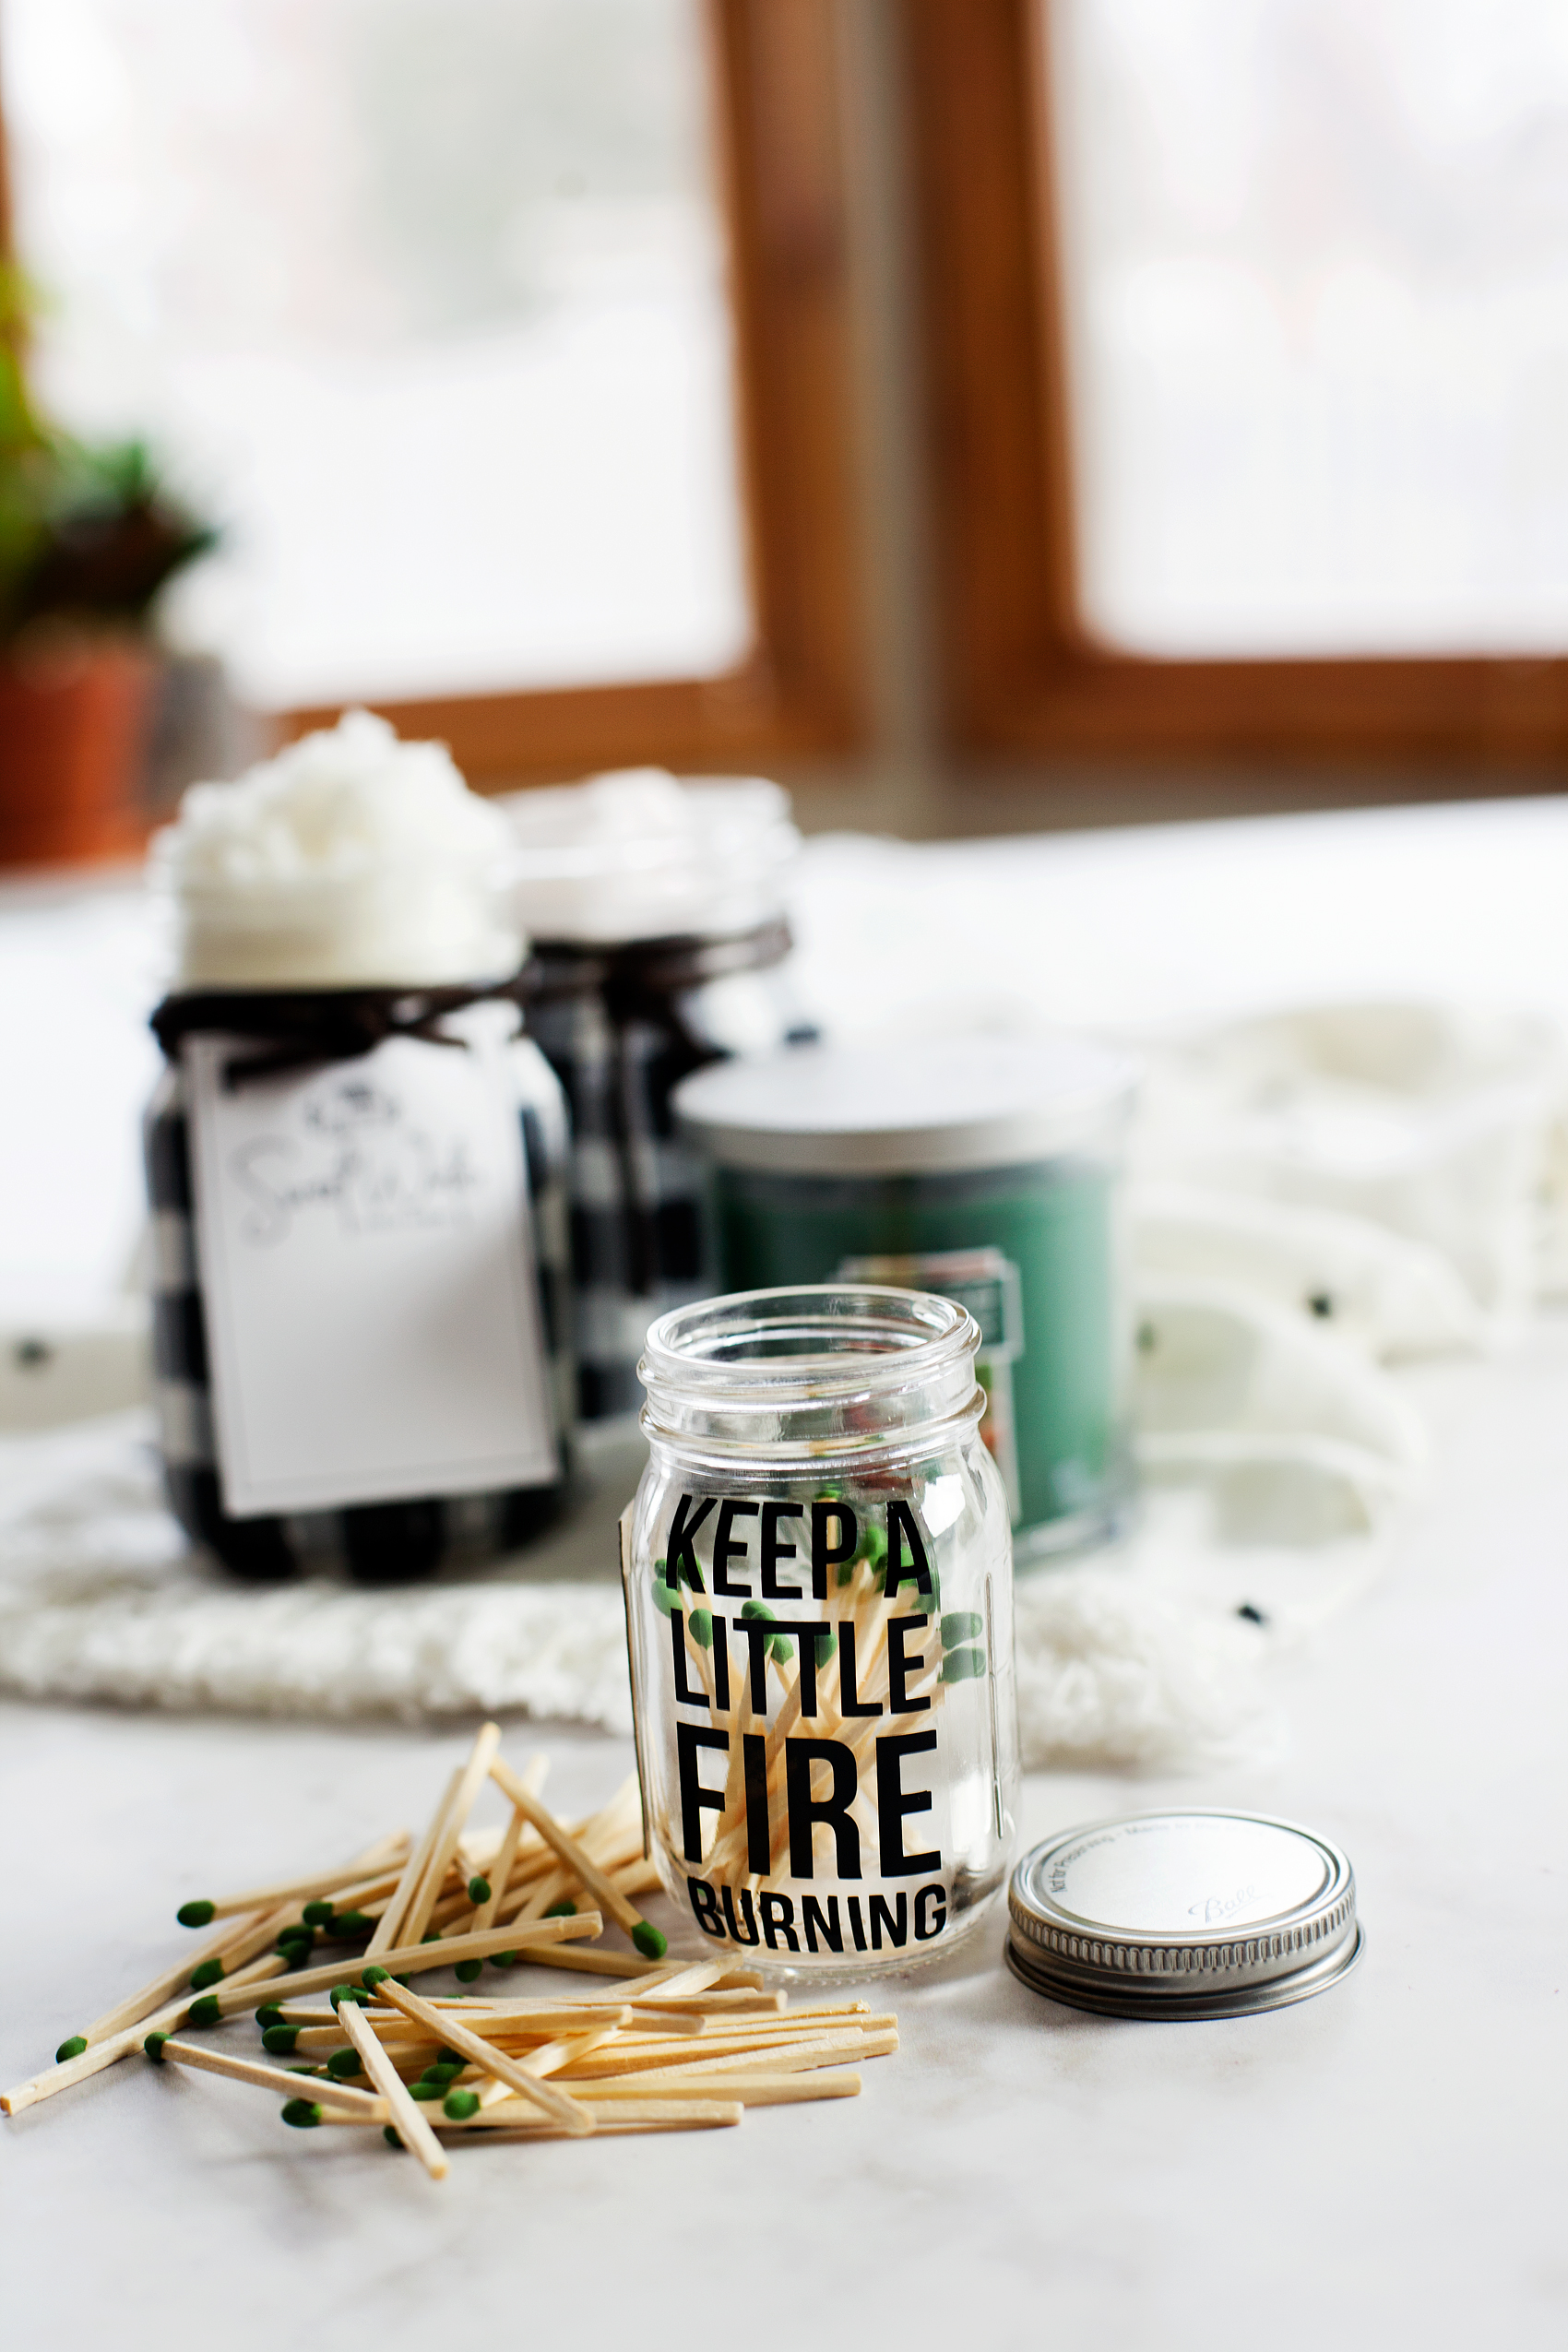
I applied the vinyl to the bucket…
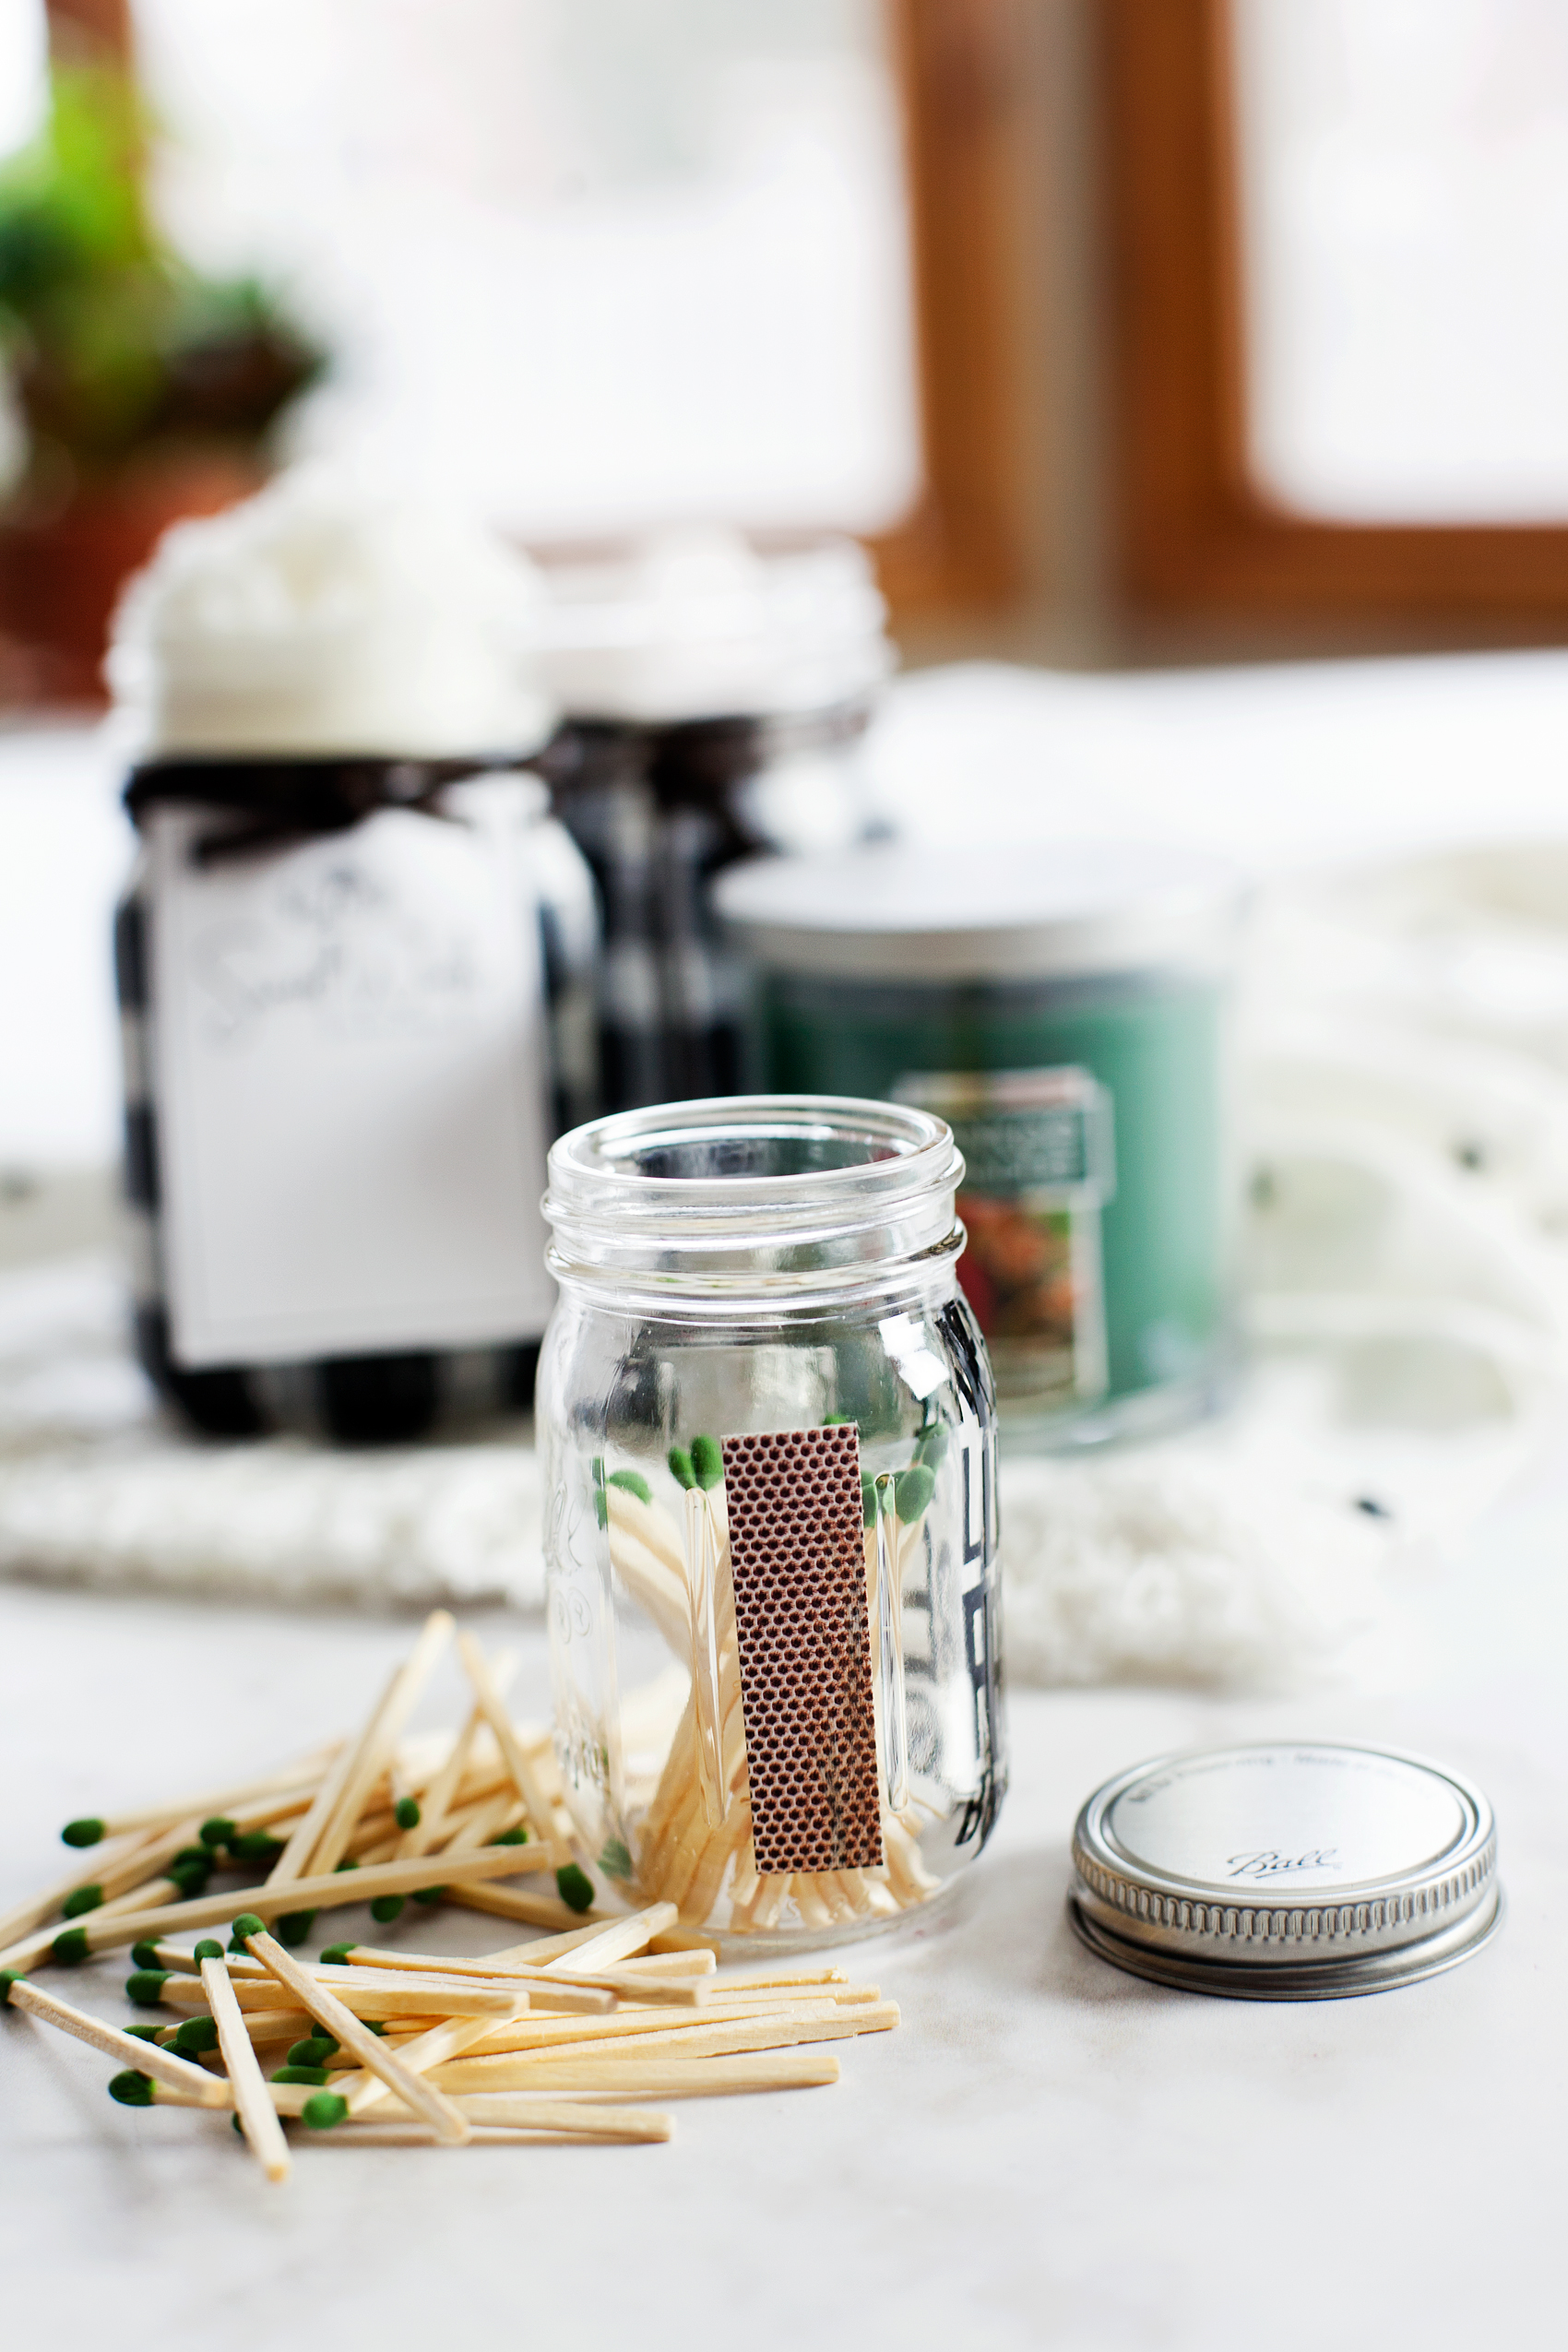
Then filled it with my loot! The car will now be stocked-up with Nature Valley hunger fighters, water, extra pencils & nail files for those teenage girls emergencies.

As soon as the kiddos jump in the car, they know exactly where to go to get a little something to help them get over those after school hangries.
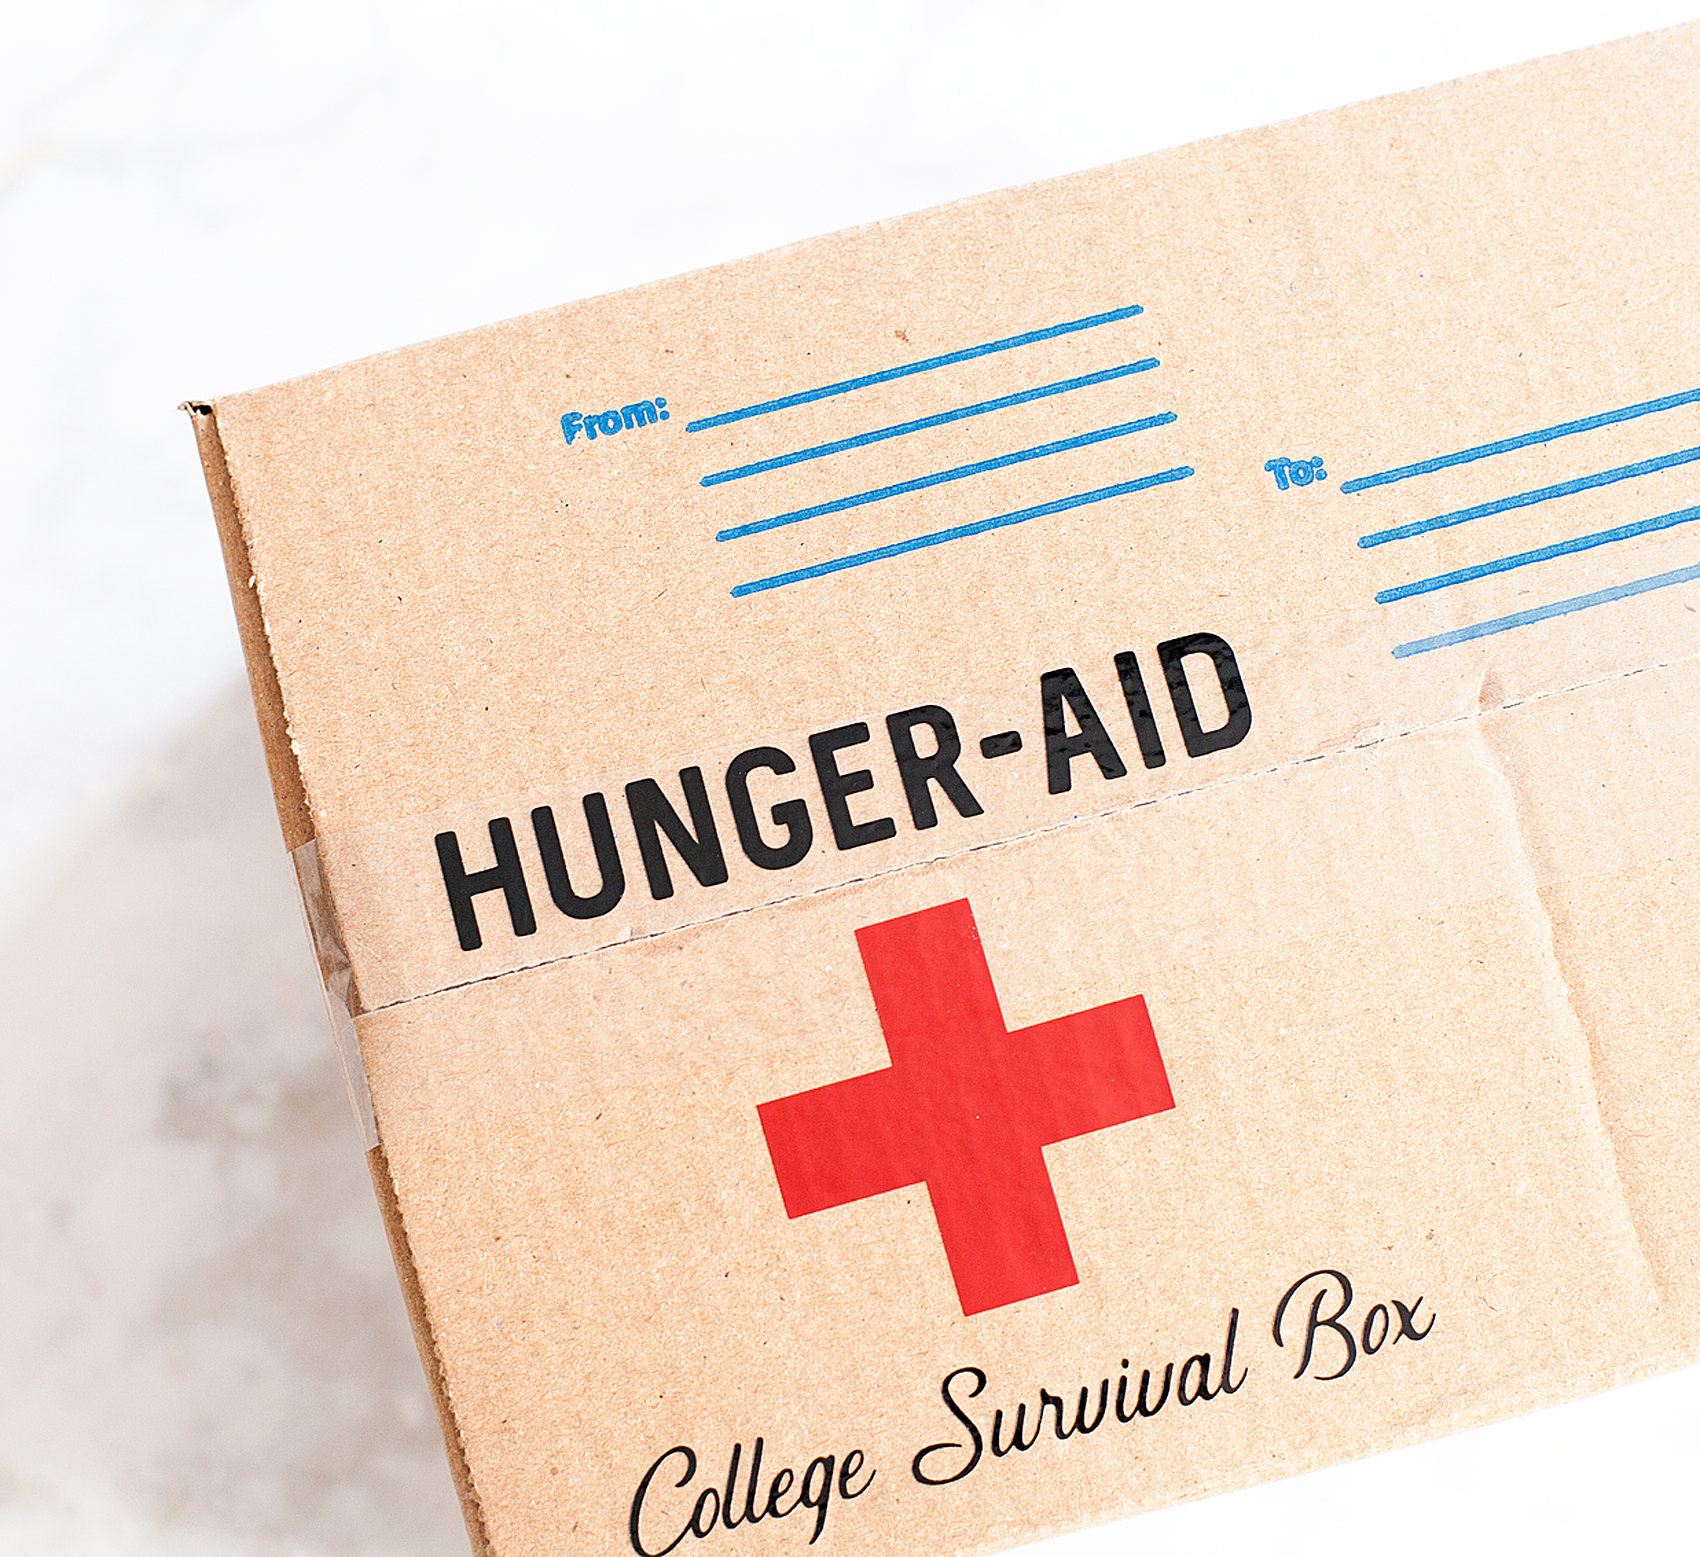
Stocking-up the Dorm Room • The Hunger-Aid College Survival Box
For my college student, Nature Valley products are perfect for care packages paired along with other great items from Walmart to stock-up their dorm rooms. Here are some ideas to include in your care package.
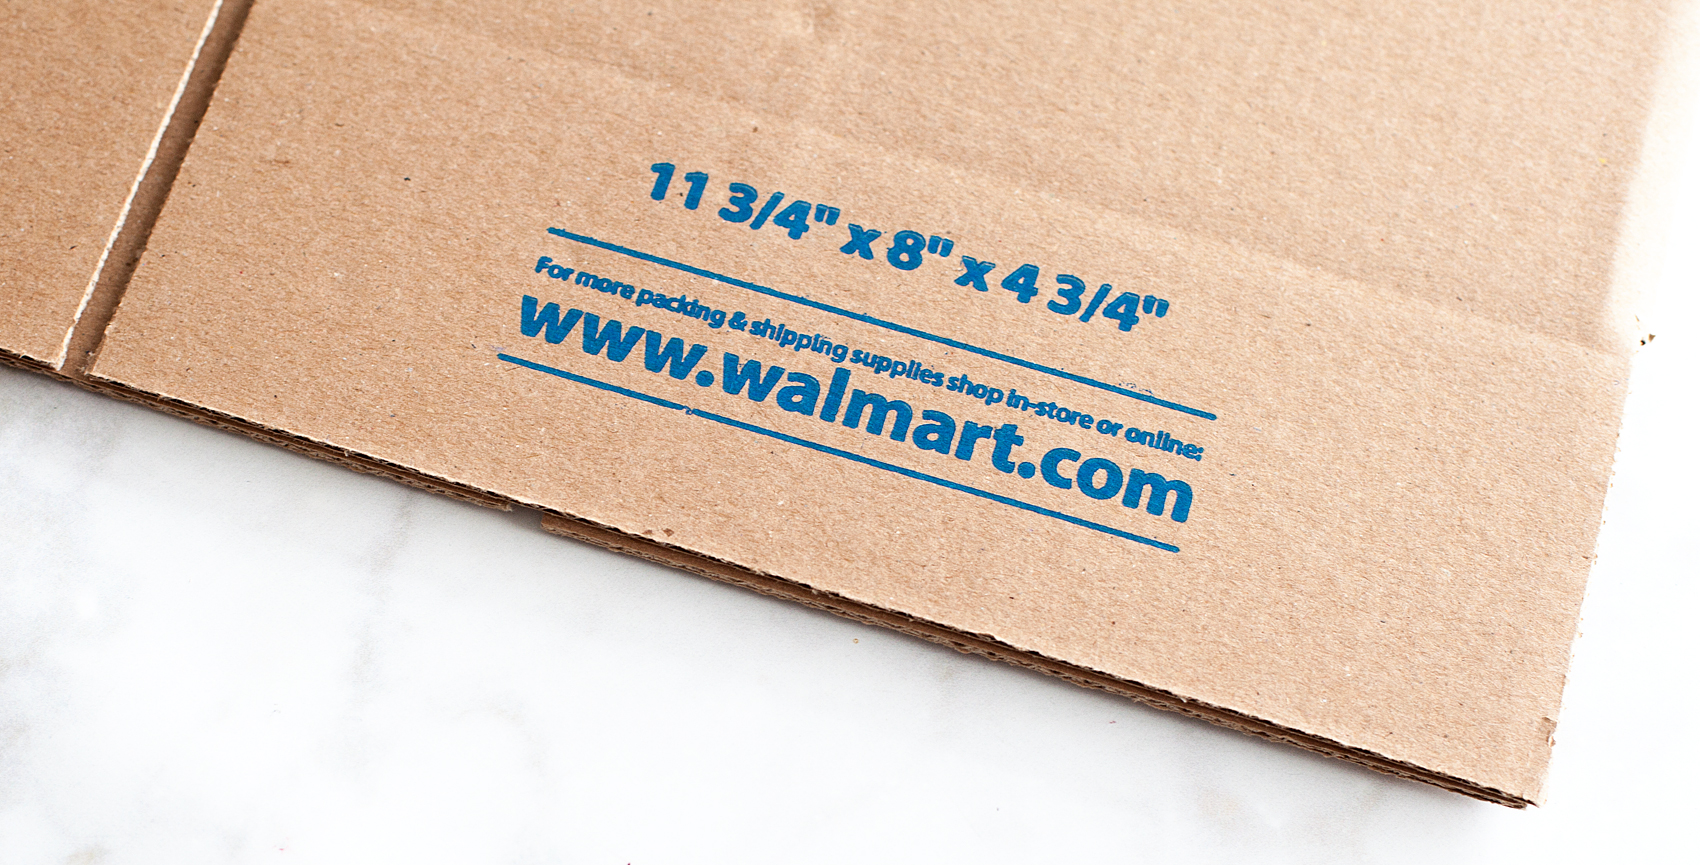
- shipping box from Walmart
- Nature Valley Peanut Butter Chocolate Layered Granola Nut Bars
- Nature Valley Soft-Baked Honey Peanut Butter Filled Squares
- A pack of #2 pencils (for those pesky Scantrons)
- ball point pens
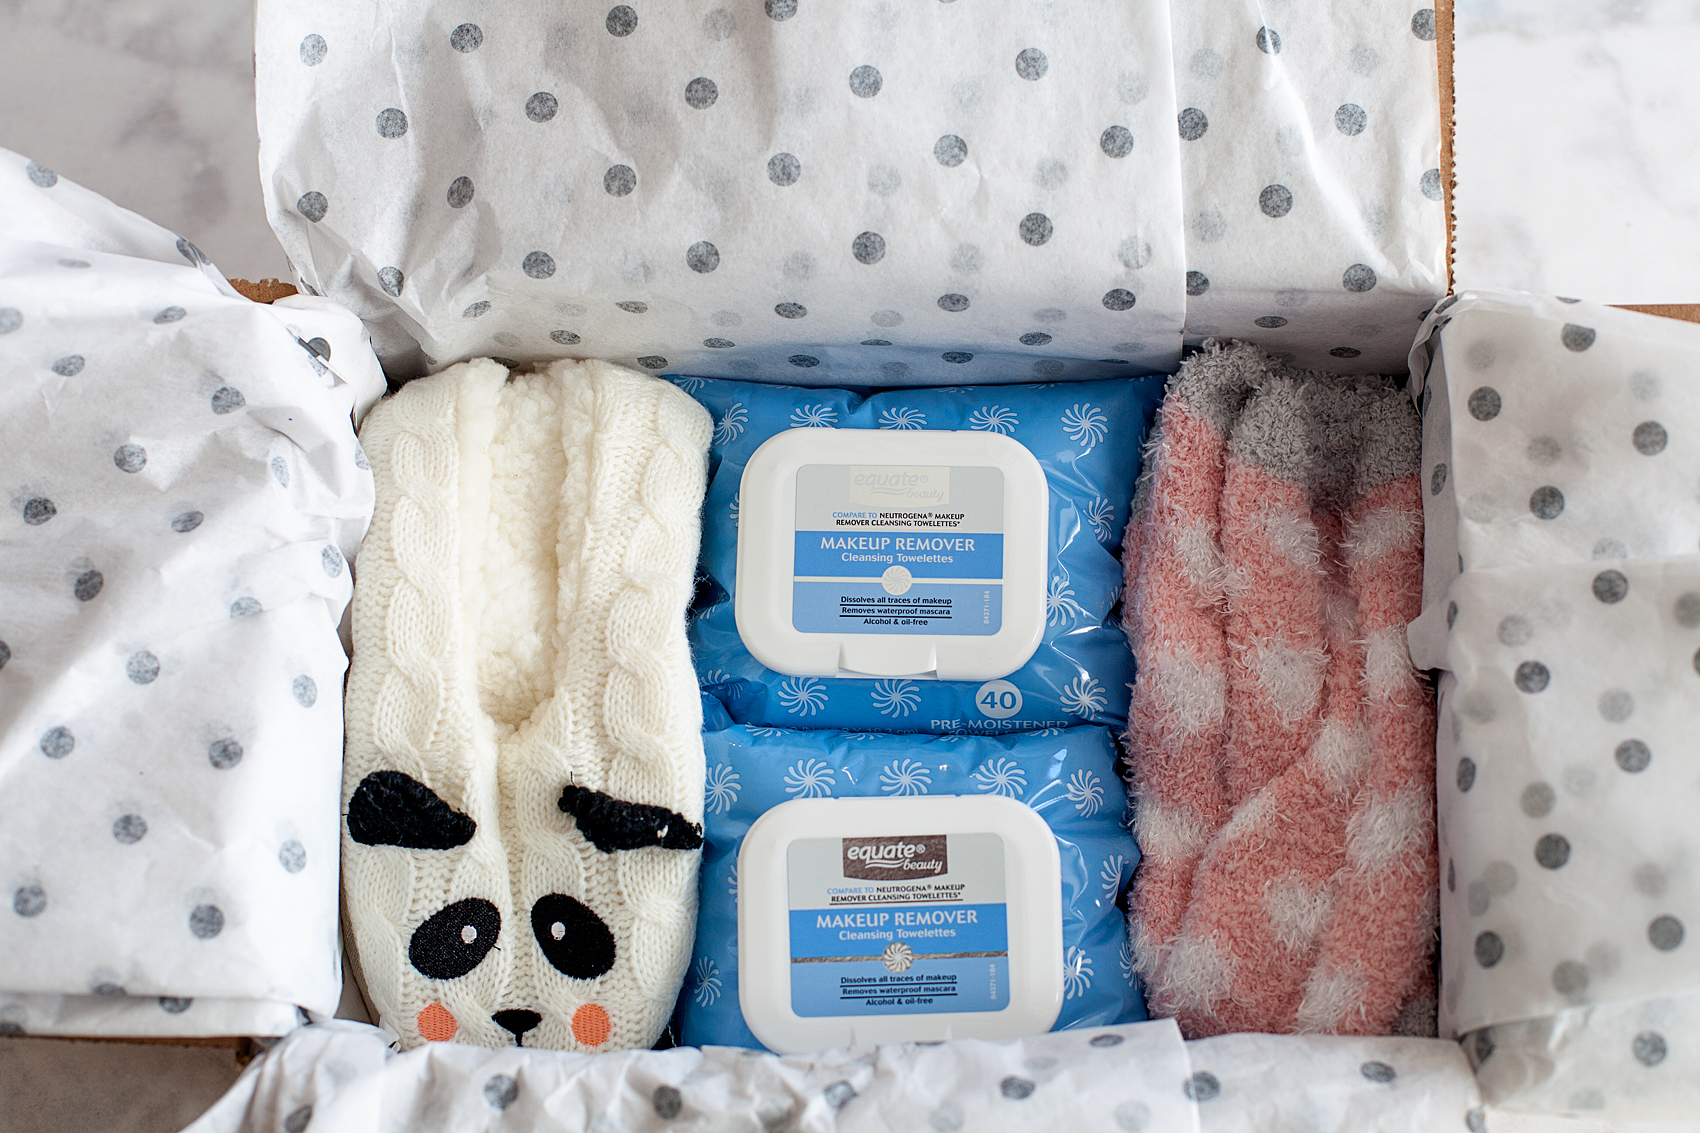
- fuzzy socks
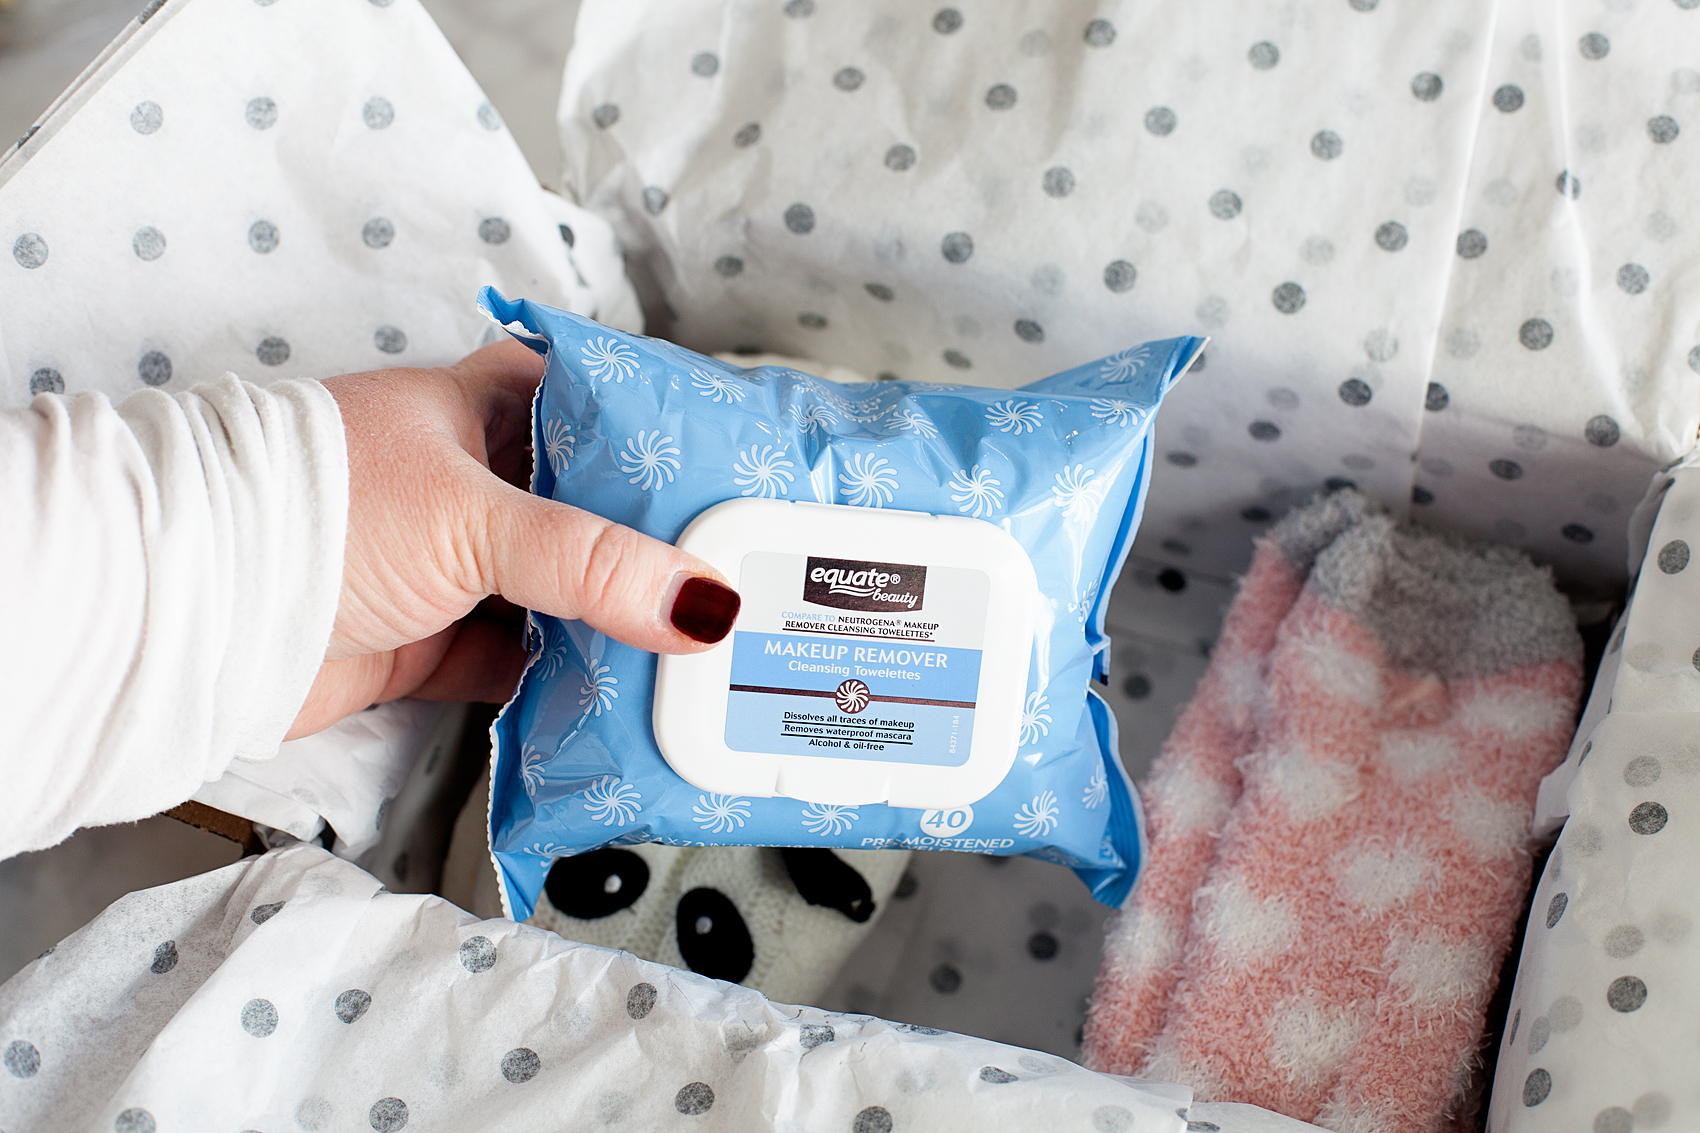
- Equate Makeup Remover Cleansing Face Wipes
- Nail Files
- A fun and colorful vinyl decal used to create labeling for the bin
- ribbon
- tissue paper
- clear packing tape
To start, line your shipping box with tissue paper and start with your bottom layer of goodies first. Fuzzy socks and every girls favorite make-up wipes.
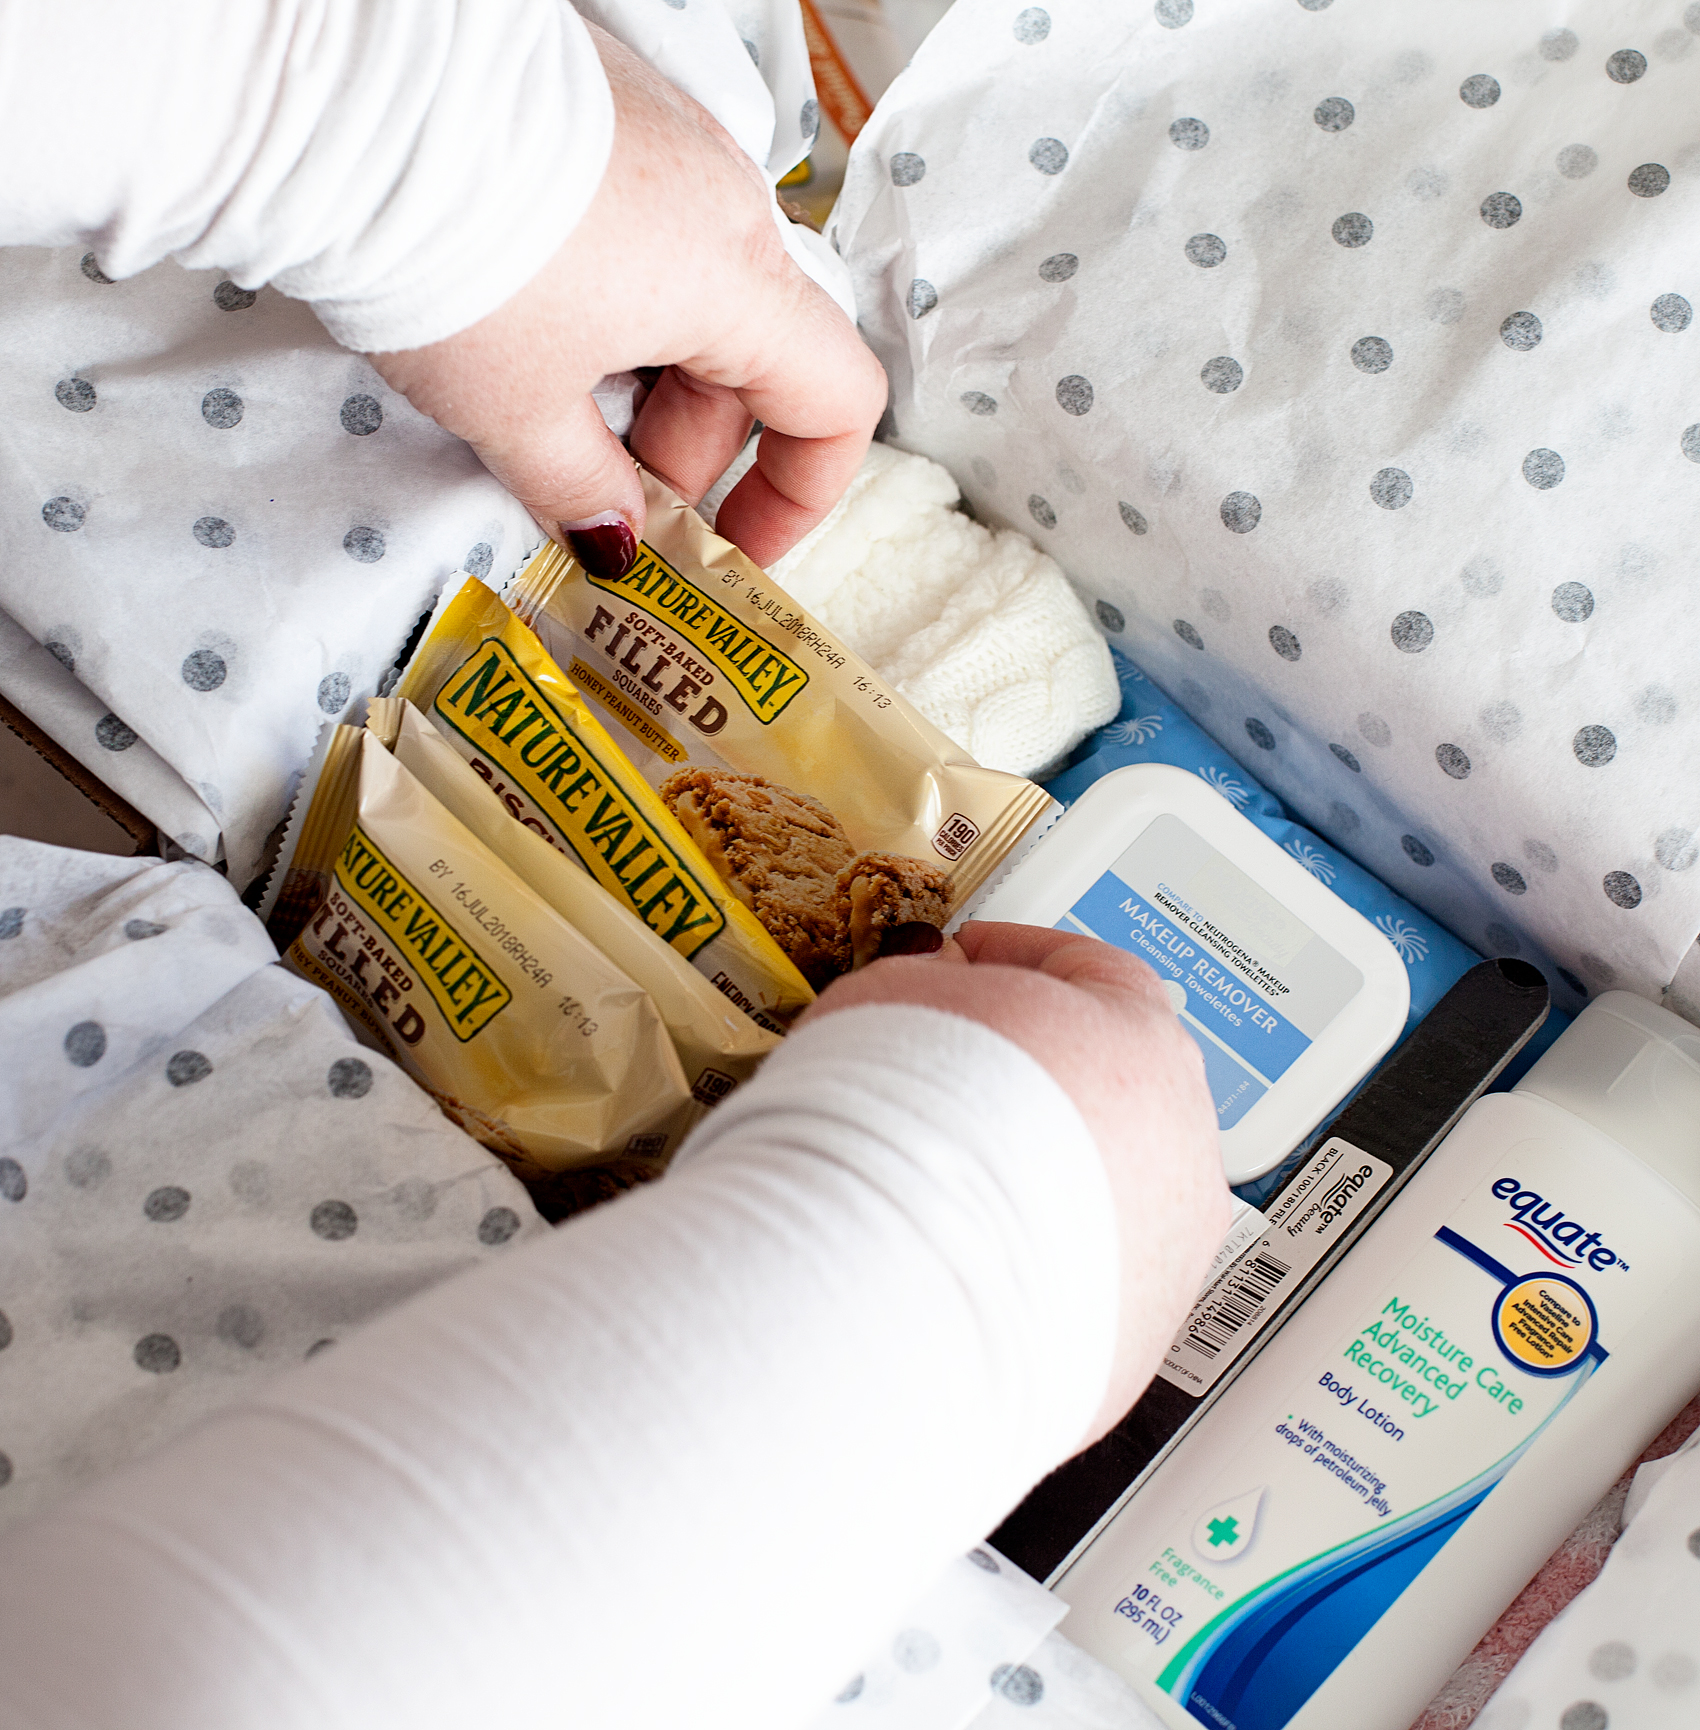
Then the good stuff! Load up the box with Nature Valley treats.
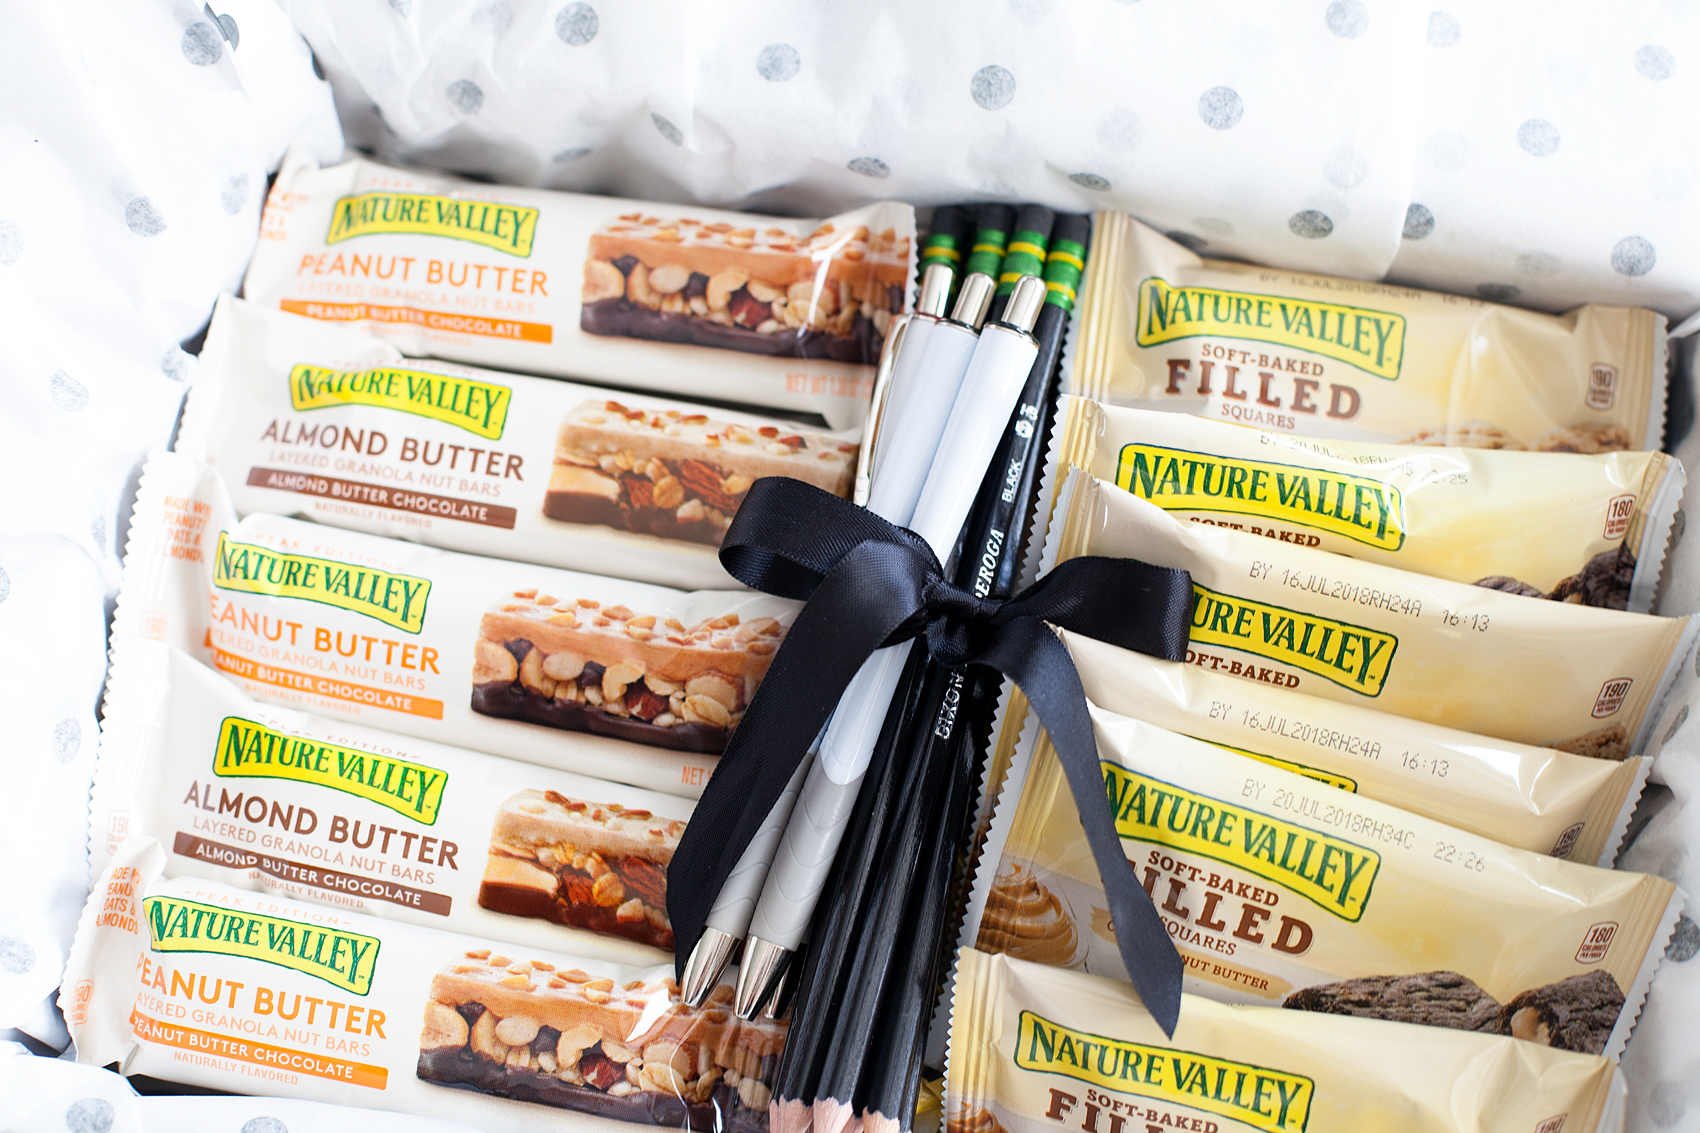
I gathered the pencils and pens and secured them with a rubber band, then tied them with a pretty ribbon. It’s always those extra, classy touches take your care package from simple to special. I closed up the box and then added the vinyl to the box.
I can’t wait to send this off to my favorite college student!
From Care Packages to Car Pool, these Hunger-Aid survival kits are the BEST! What are your favorite ways to show your family that you adore them? What are their favorite Nature Valley hunger fighters? Which new flavor of Nature Valley bars are you most excited to try next? What kind of Hunger-Aid bin should we make next? Maybe one for the office or teachers lounge? Let me know what you think!
+ Disclaimer • This is a Nature Valley sponsored post. All thoughts, ideas and opinions are my very own +
SaveSave