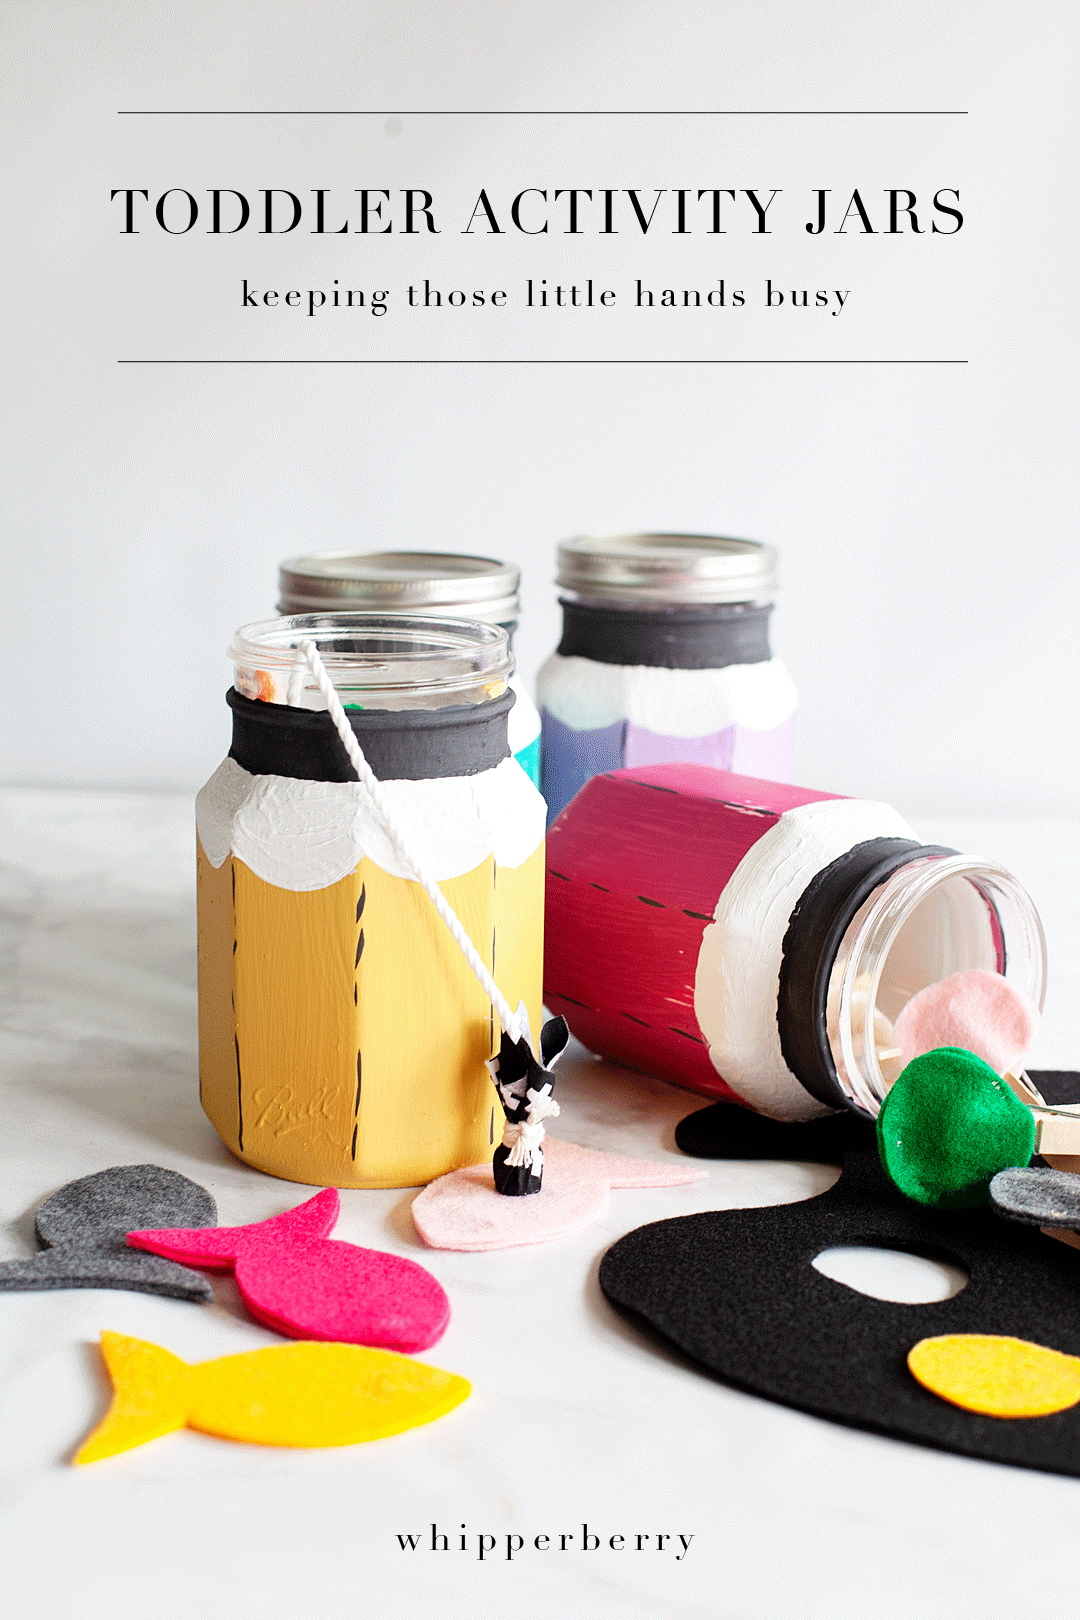
This post is brought to you by Ball® Fresh Preserving Products by Newell Brands
Not all holiday gifts need to be ooey gooey sweet. Savory holiday gifts are just as lovely, sometimes even more so. I personally have been off sugar for 3 months now and I’m really nervous for the holiday season to arrive. Having the house fill up with sweets is NOT what I’m wishing for this Christmas. I would LOVE to get one of these Ball® Sharing Jar soup mixes as a gift. Not only is the soup mix soothing to the soul, but they are also good for you as well.

You can go as crazy wild as you want, adding all kinds of savory dried ingredients that are perfectly hand-picked by you, or keep it super simple and dress-up a store bought soup mix. My favorite Ball® Sharing Jars are the inspiration for my Sharing Jar Soup quartet.
I love the simplicity and earthiness of these soup mixes paired with a simple label & ribbon. As Ina would say, “How easy is that?”
Sharing Jar Soup Mix Labels
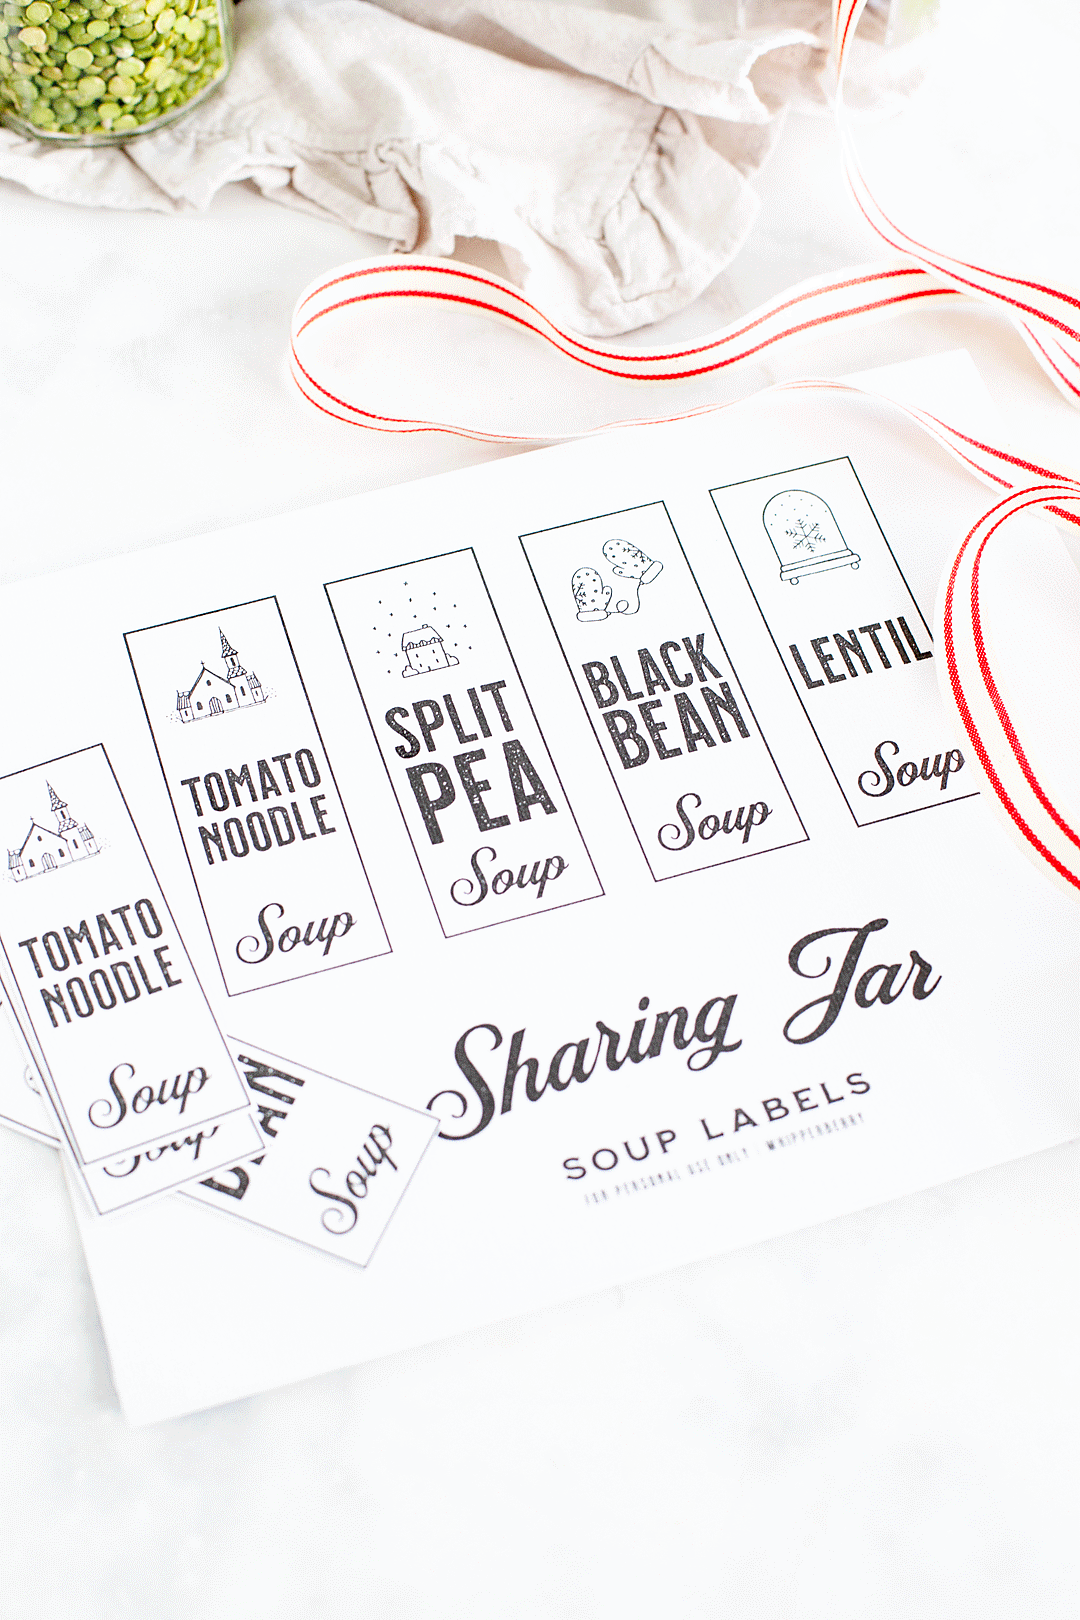
Before we get into the soup, I want to chat about the labels. I selected some classic soup recipes and created home wintery labels that are not only good throughout the holidays, but all through the winter. You can download and use these free printable label s HERE.
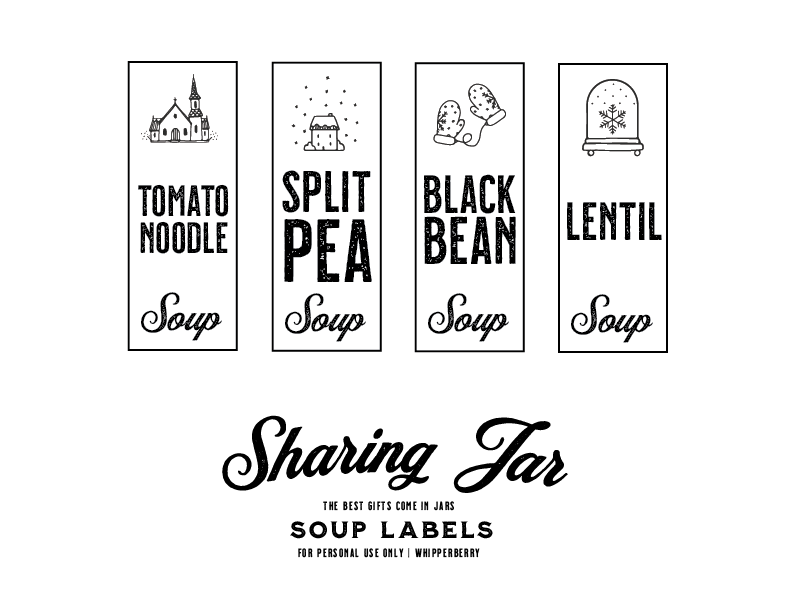

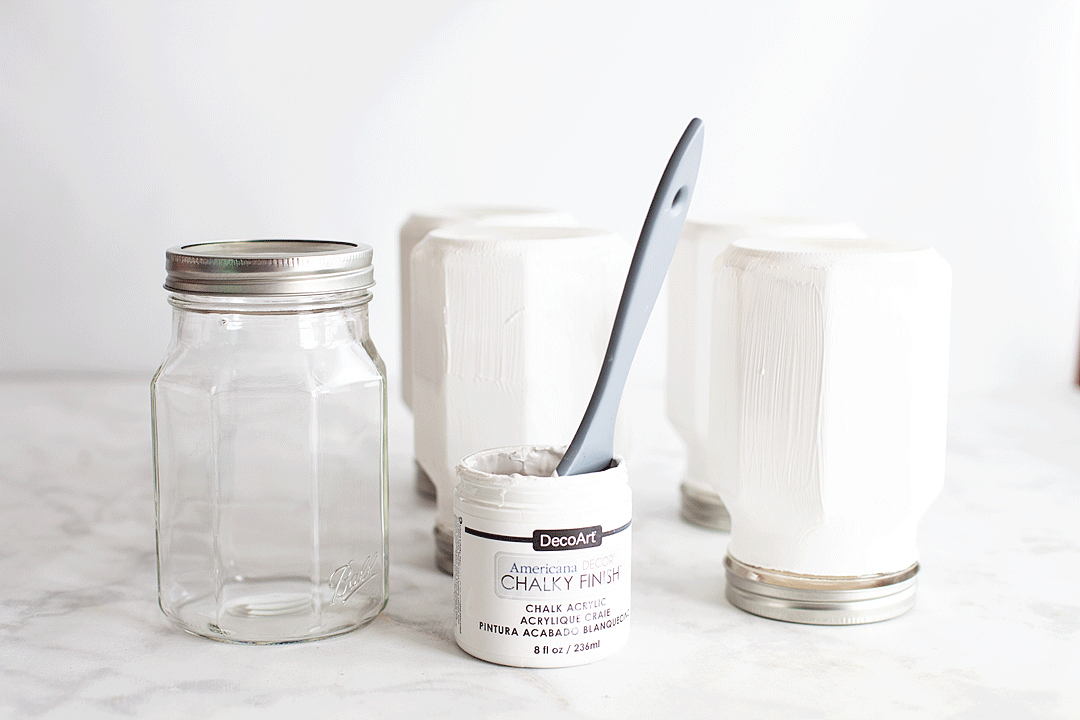
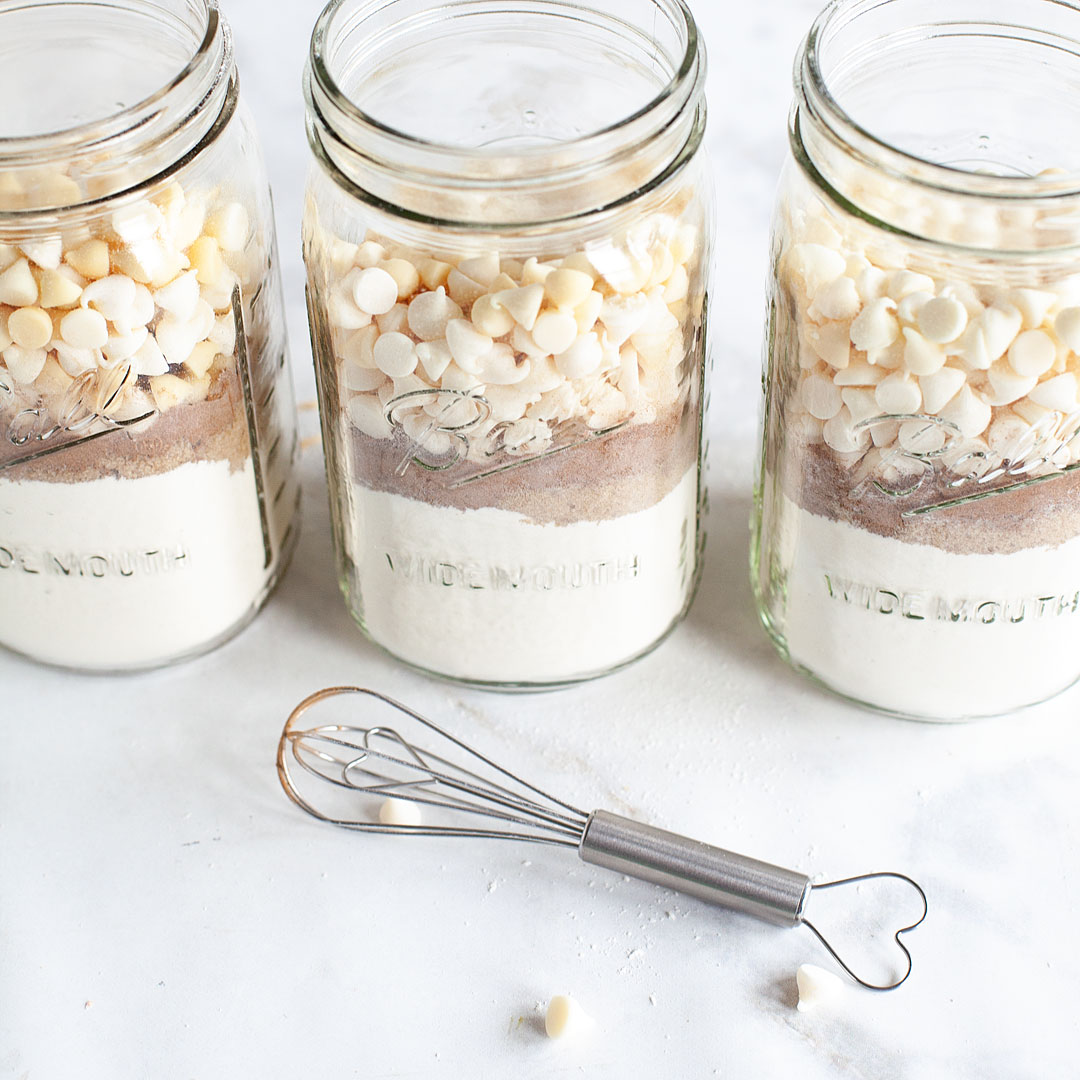
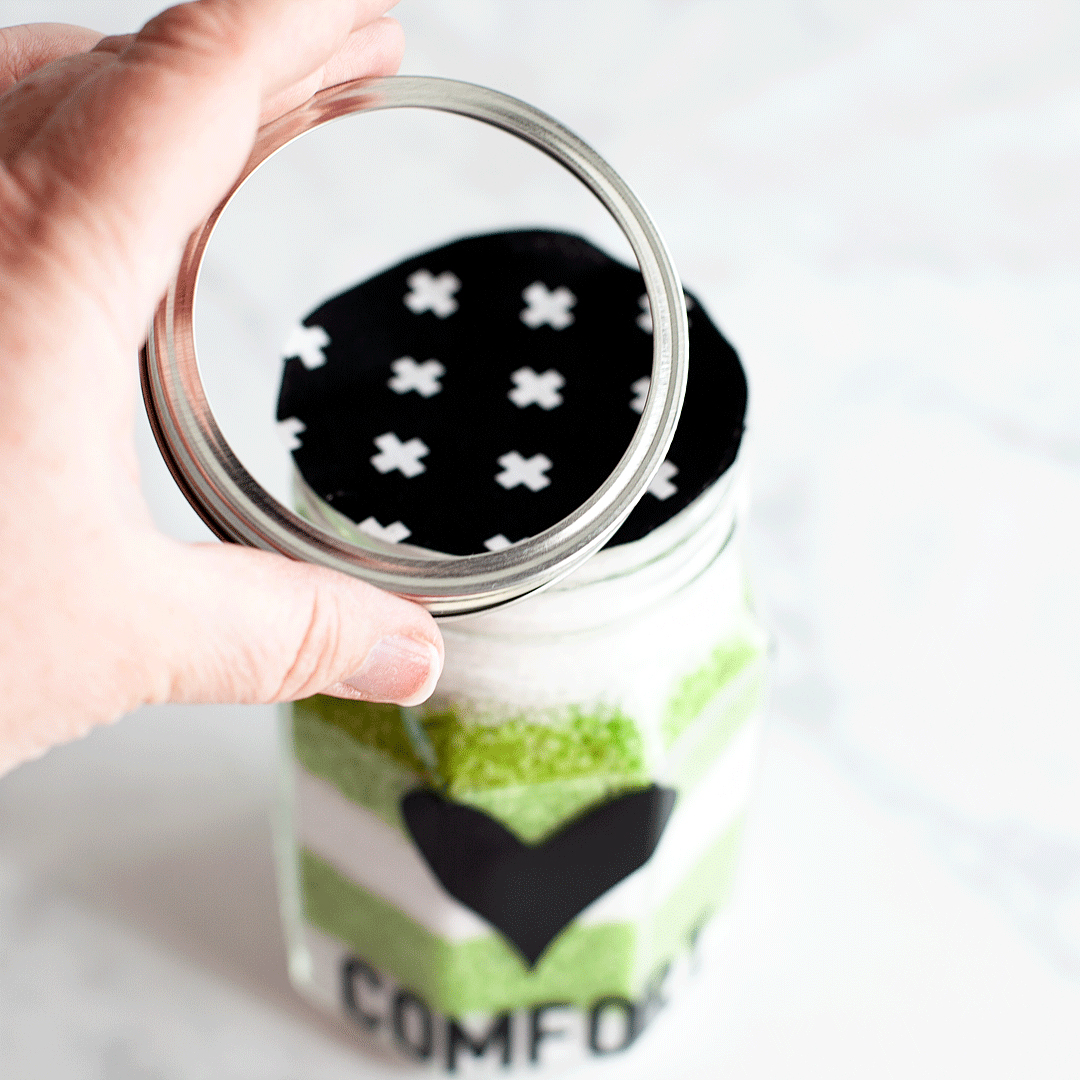
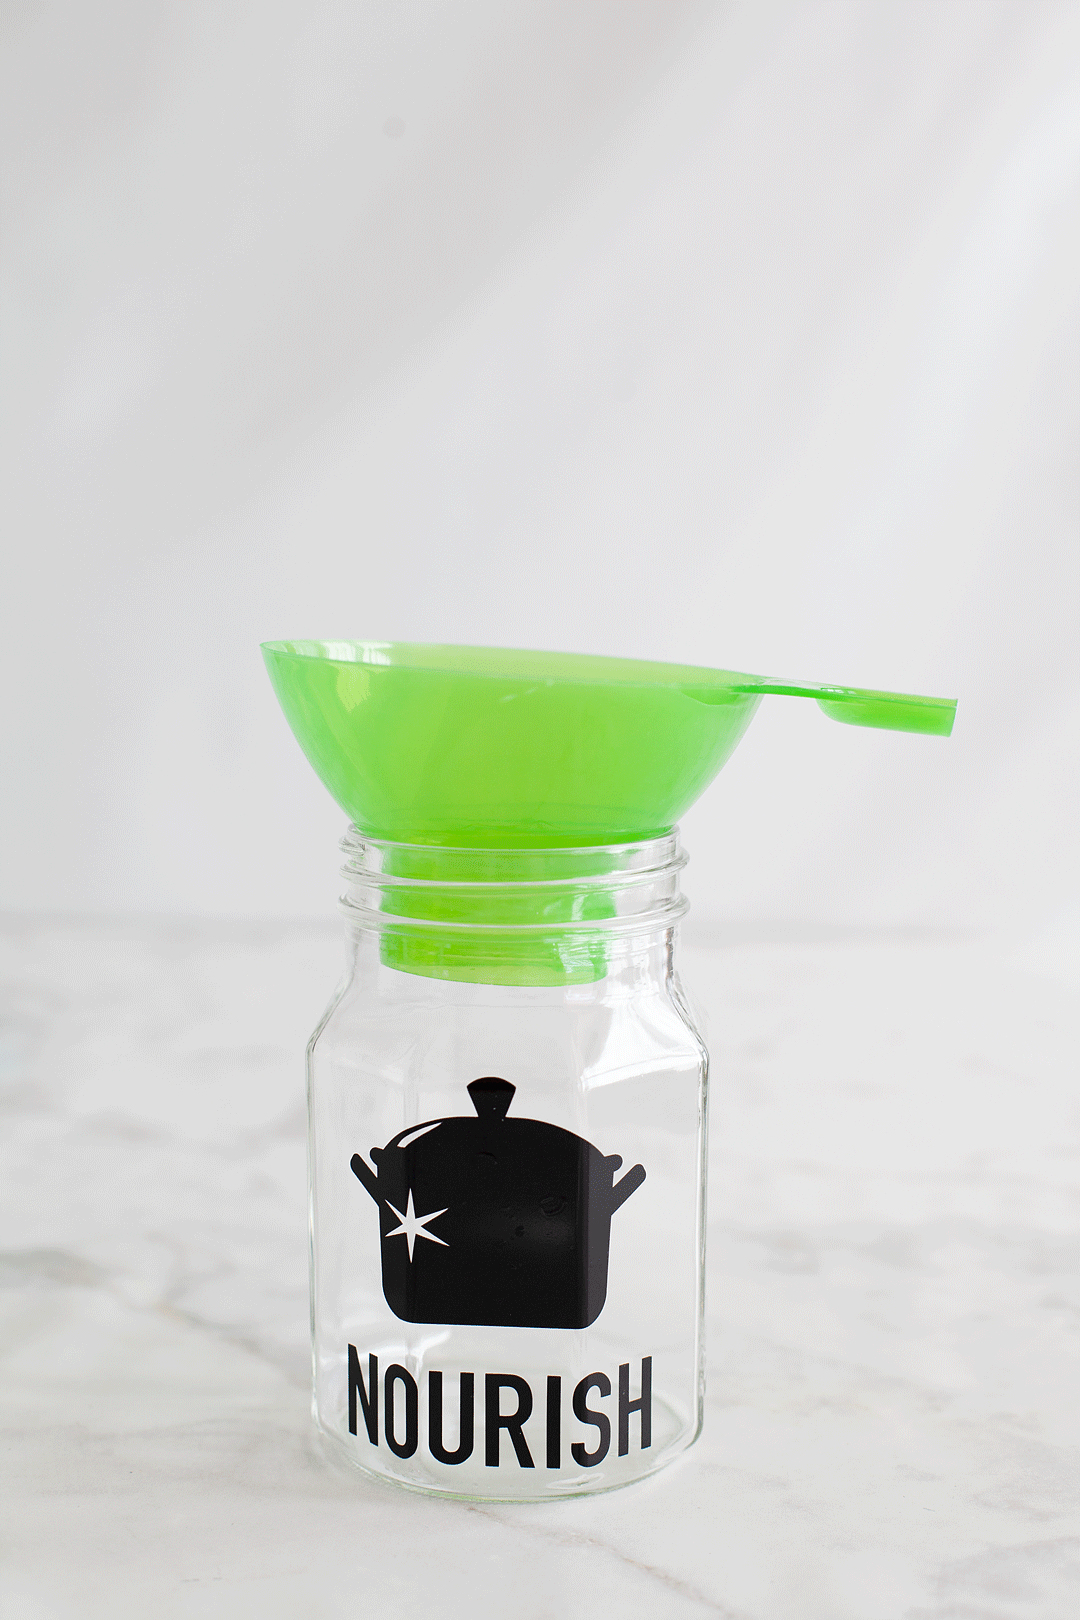
They are designed to be printed on card stock paper and then, using double-sided tape, taped onto one of the sections of the beautiful quart sized Sharing Jars. It’s a stunning way to highlight the character of the unique BALL® COLLECTION ELITE® WIDE MOUTH QUART SHARING JARS, which are perfect for gifting.
The Sharing Jar Soup Mix Collection
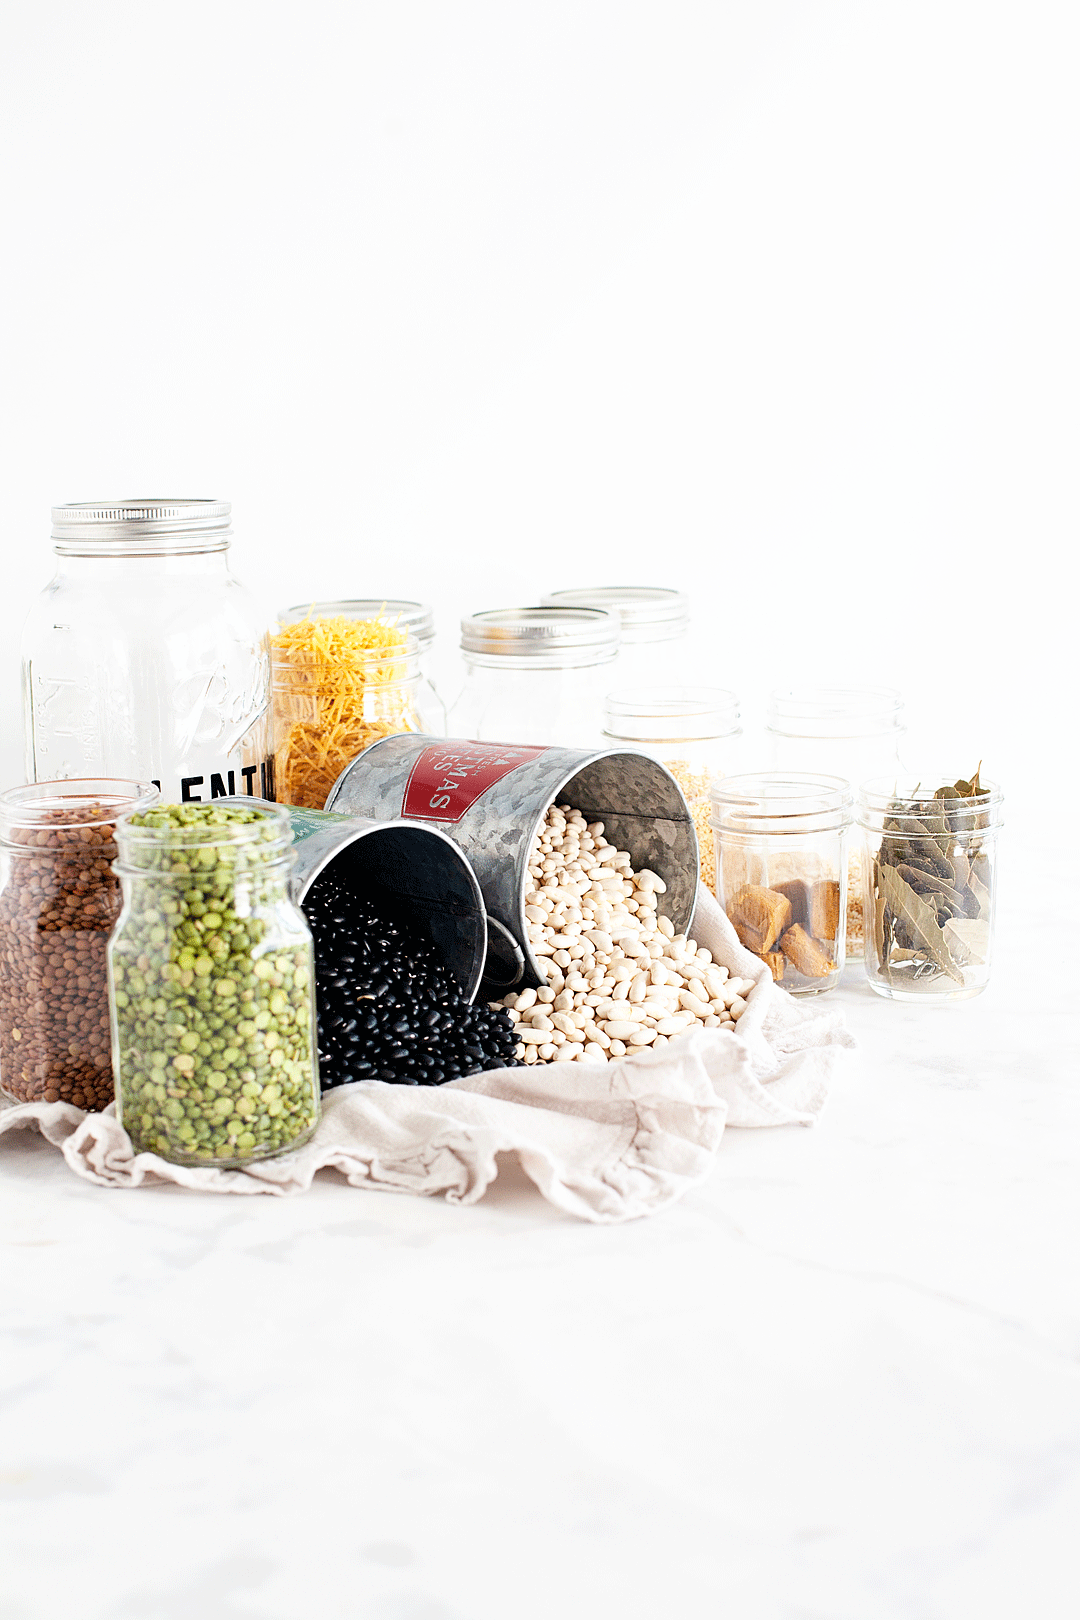
Here are three soup mixes along with their recipes that work perfectly for gifting and are typically real crowd pleasers.
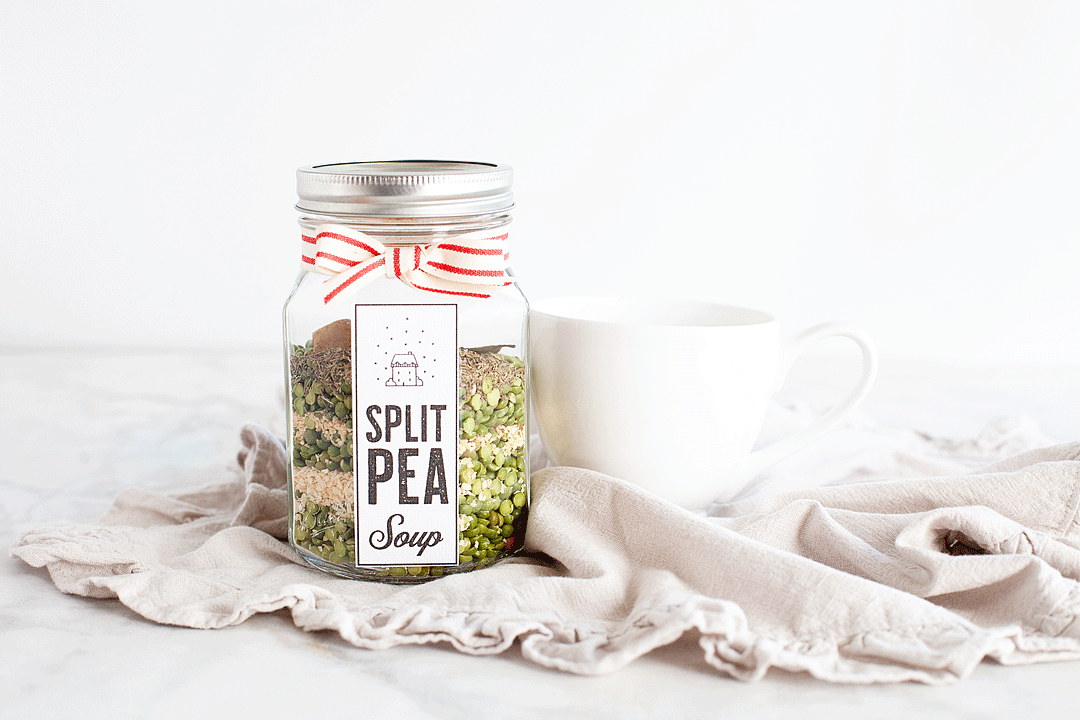
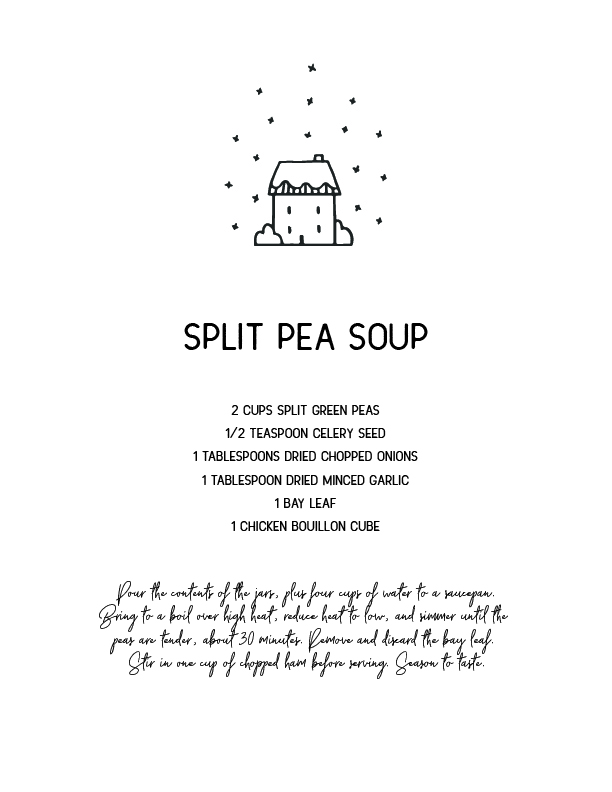
SPLIT PEA SOUP, a classic, and one of my family’s favorites! You can download the recipe cards for this concoction HERE.
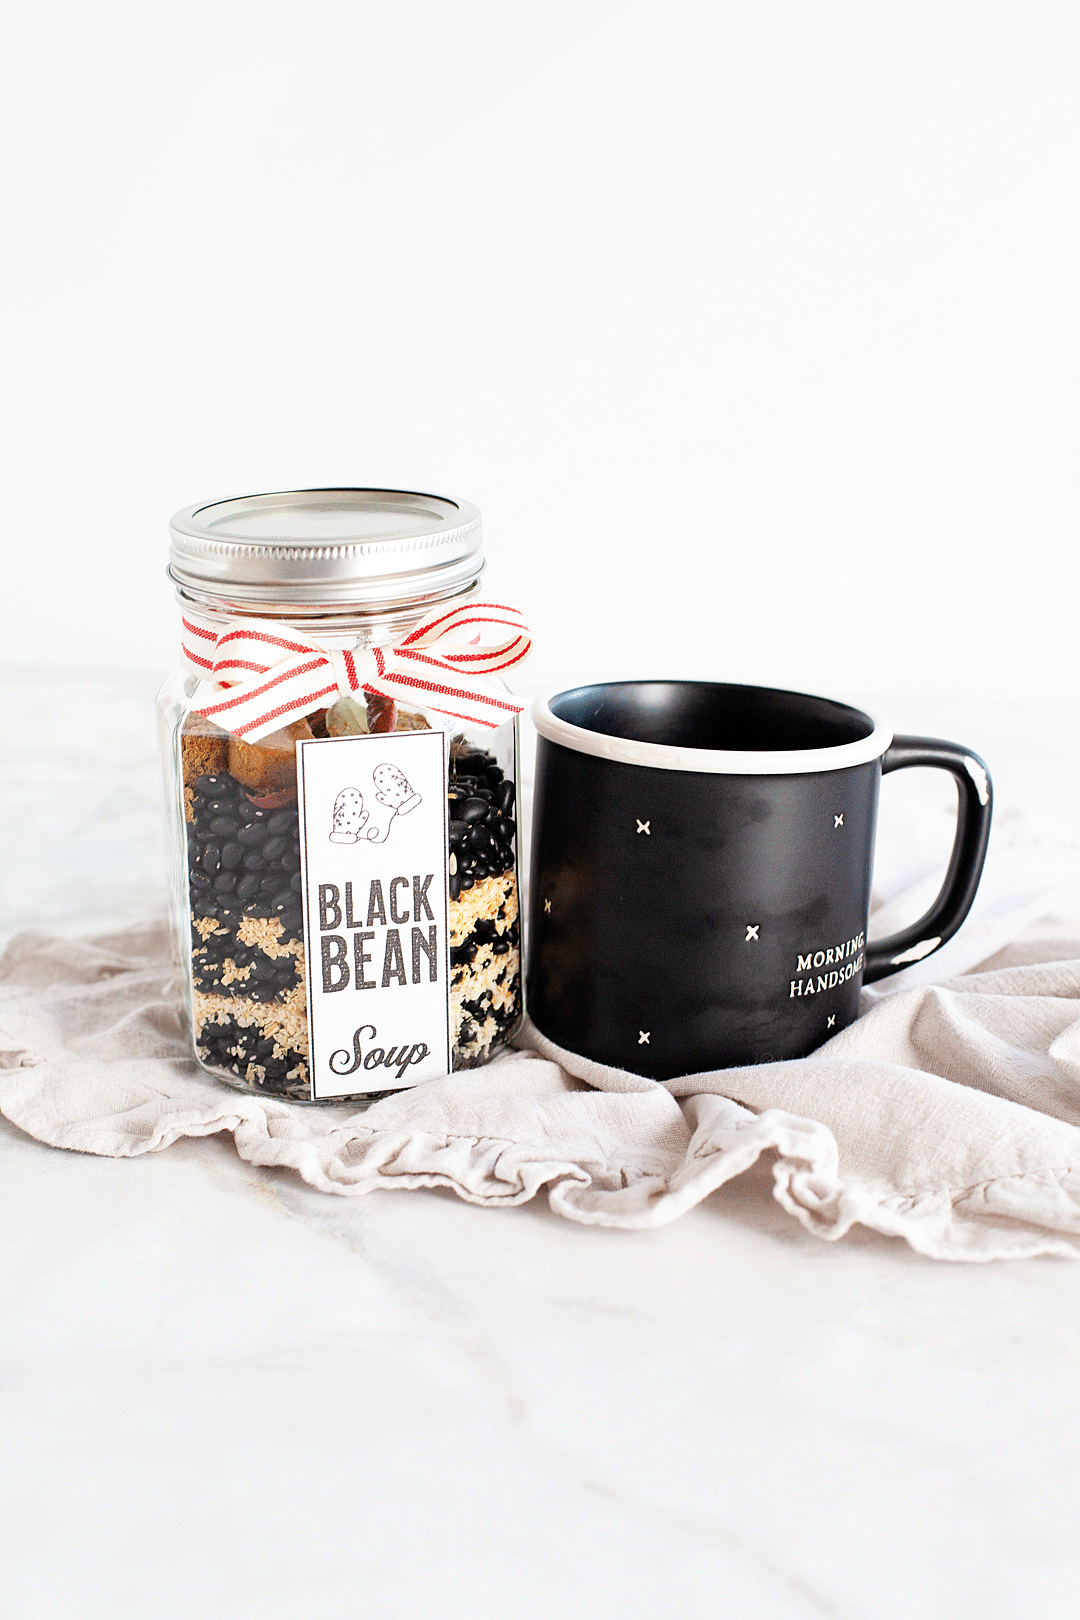
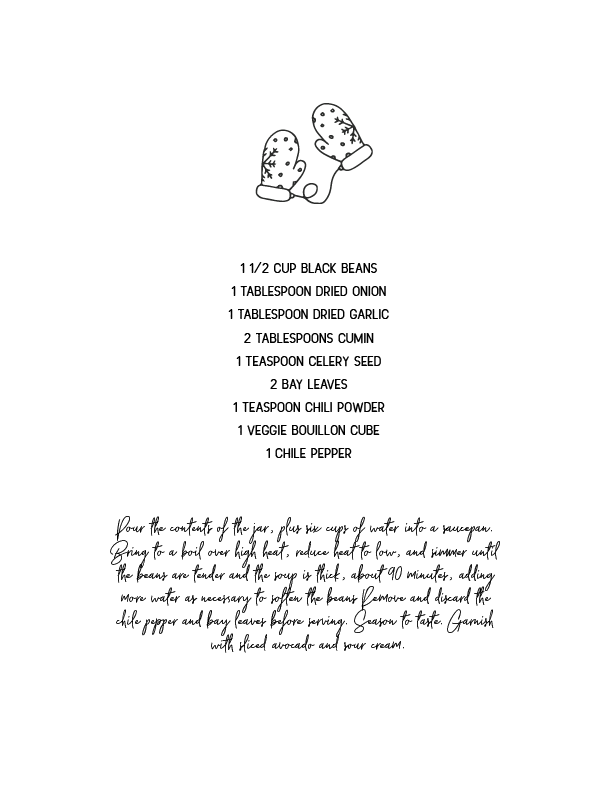
This spicy gem, BLACK BEAN SOUP, is a staple at many houses and will for sure be appreciated by whomever you gift this soup too. HERE are the recipe and mixing directions.
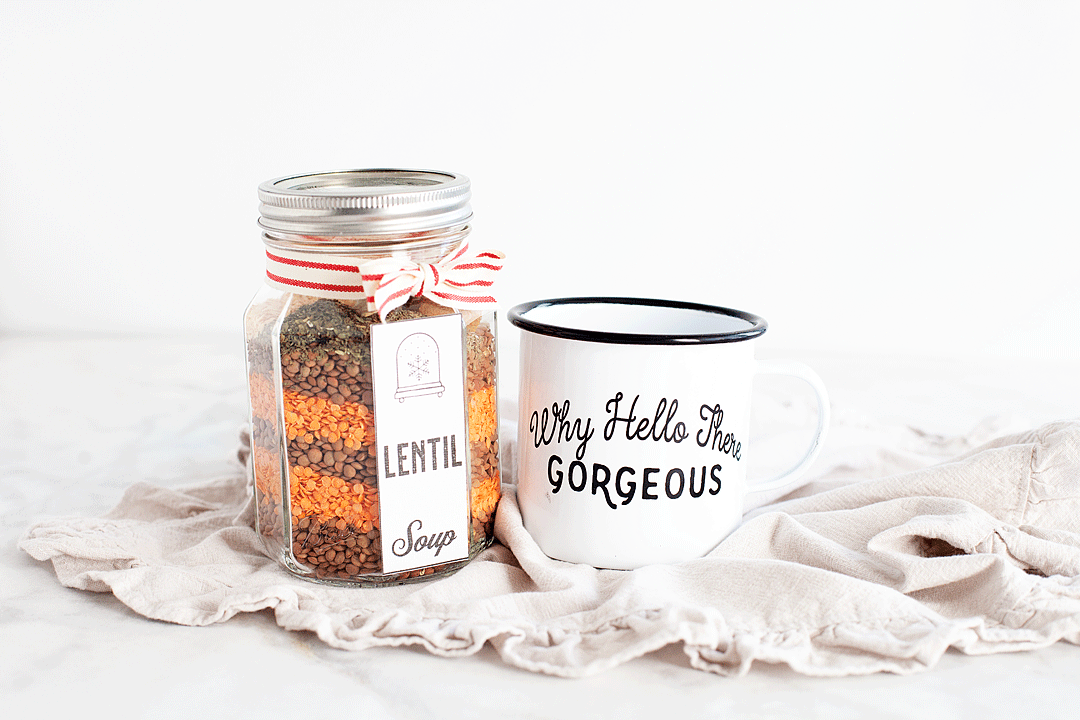
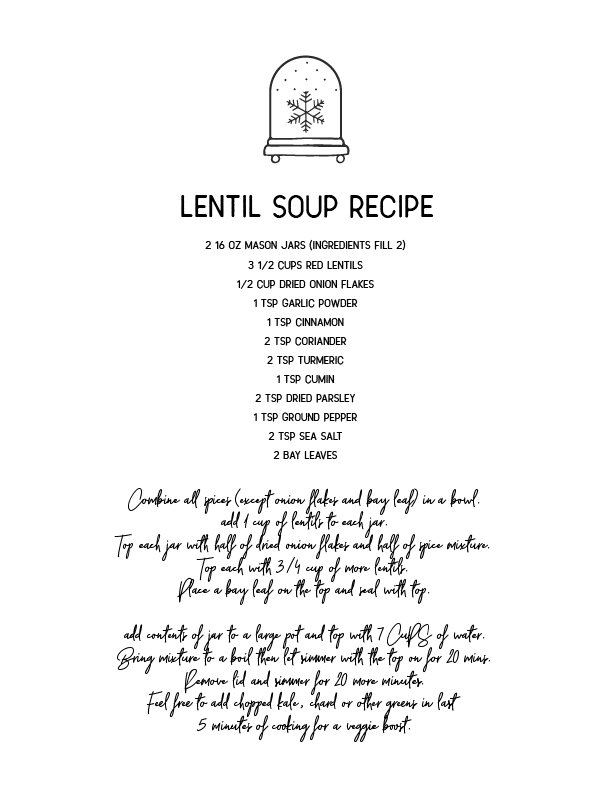
Lentils have become a favorite of mine and this soup does not disappoint! You can download the recipe for this treat HERE.
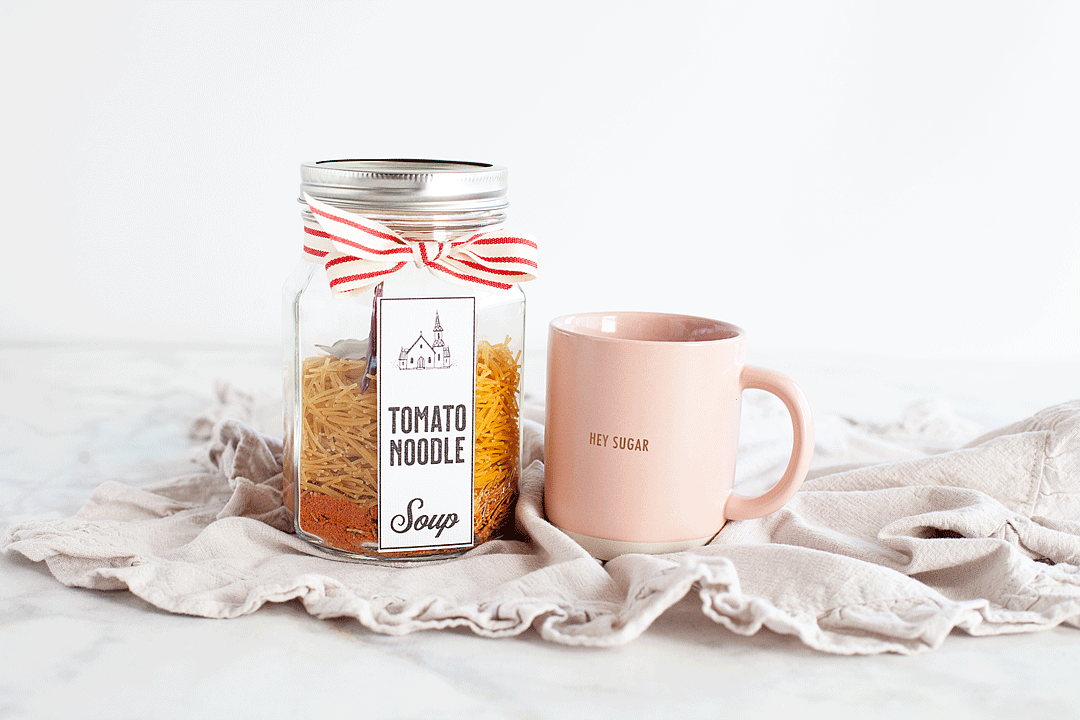
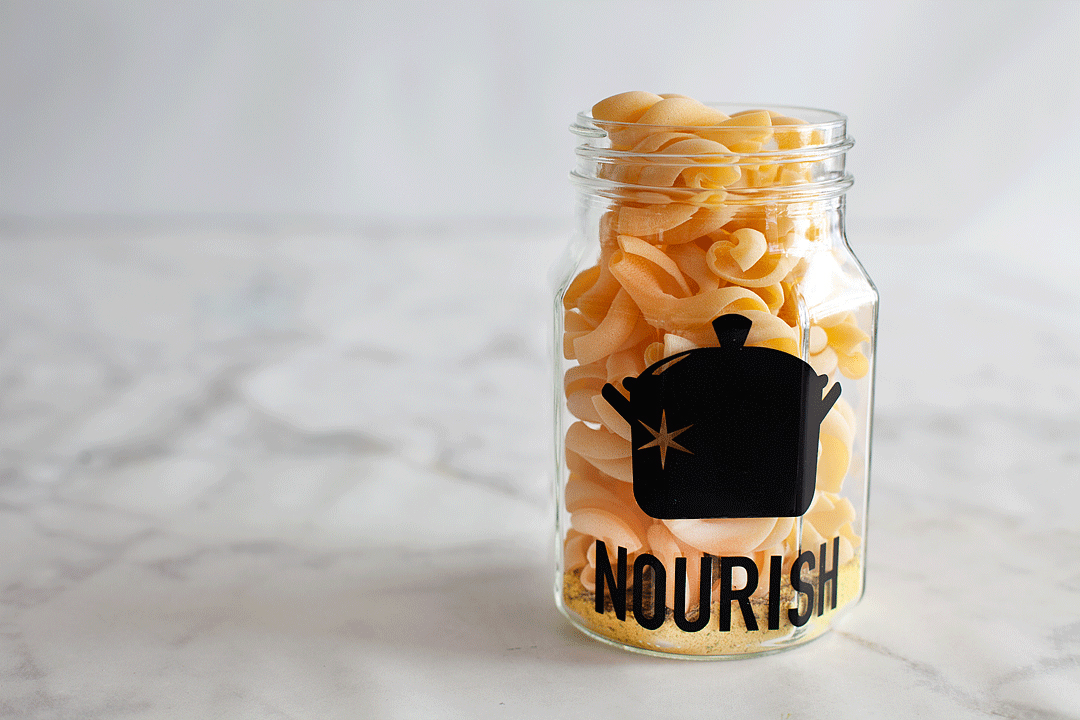
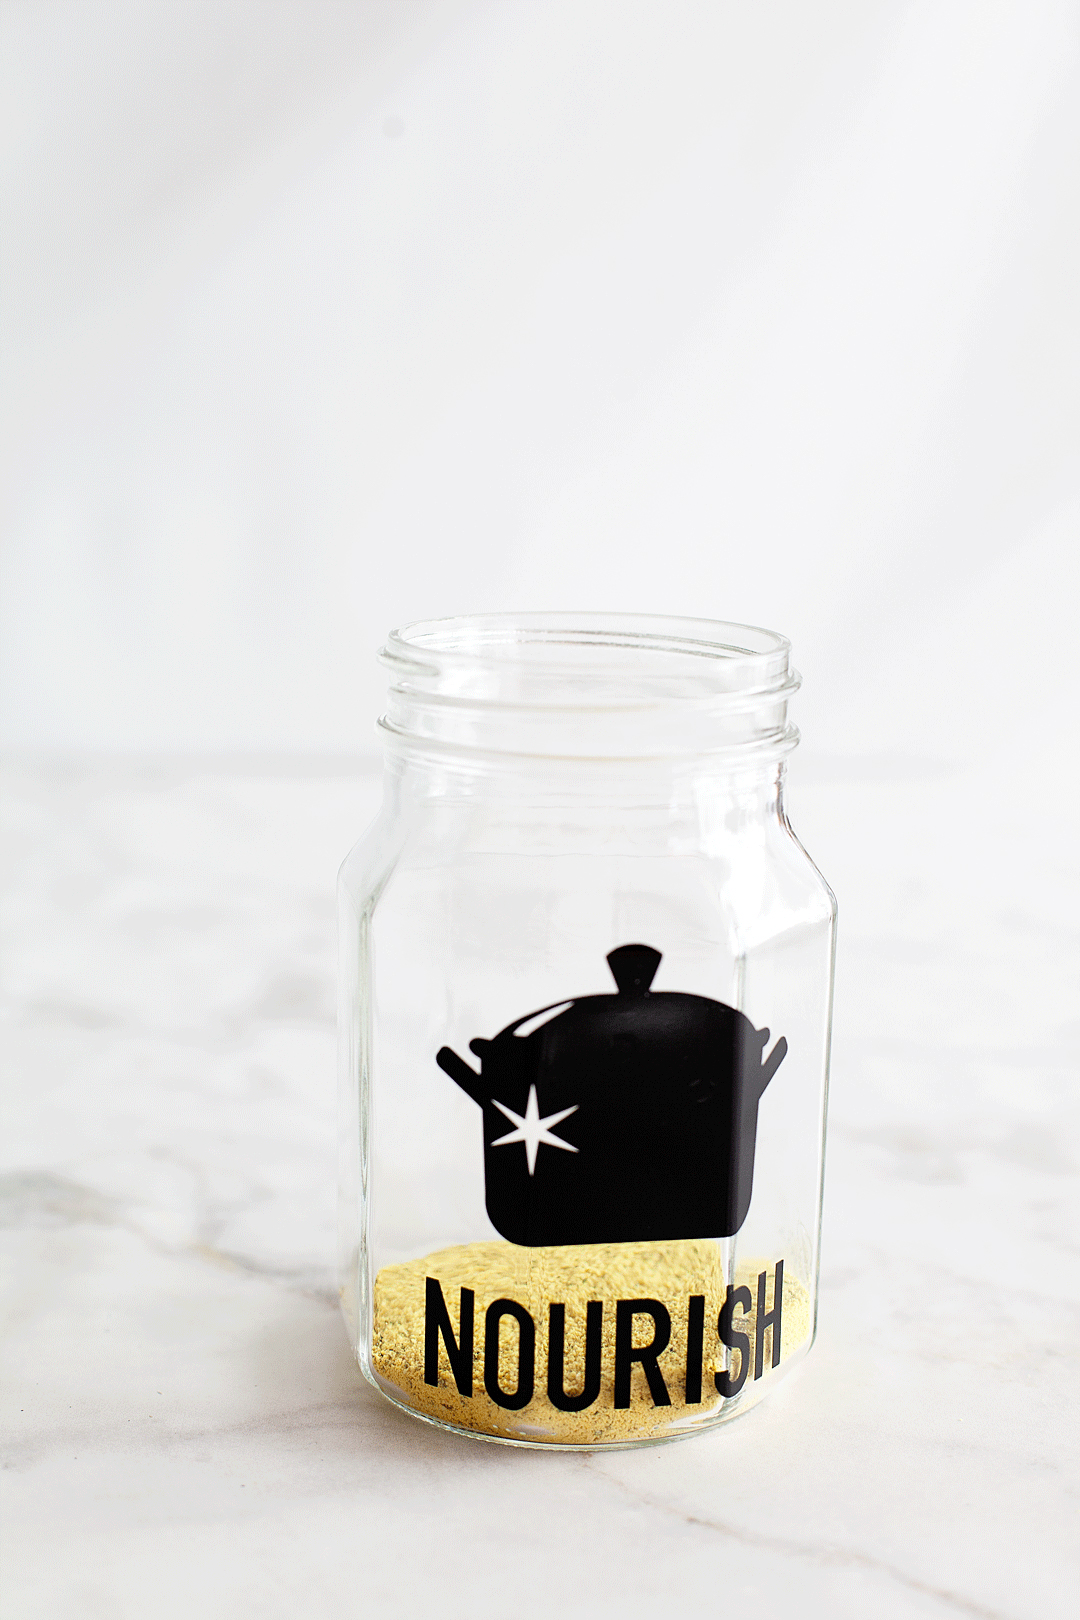
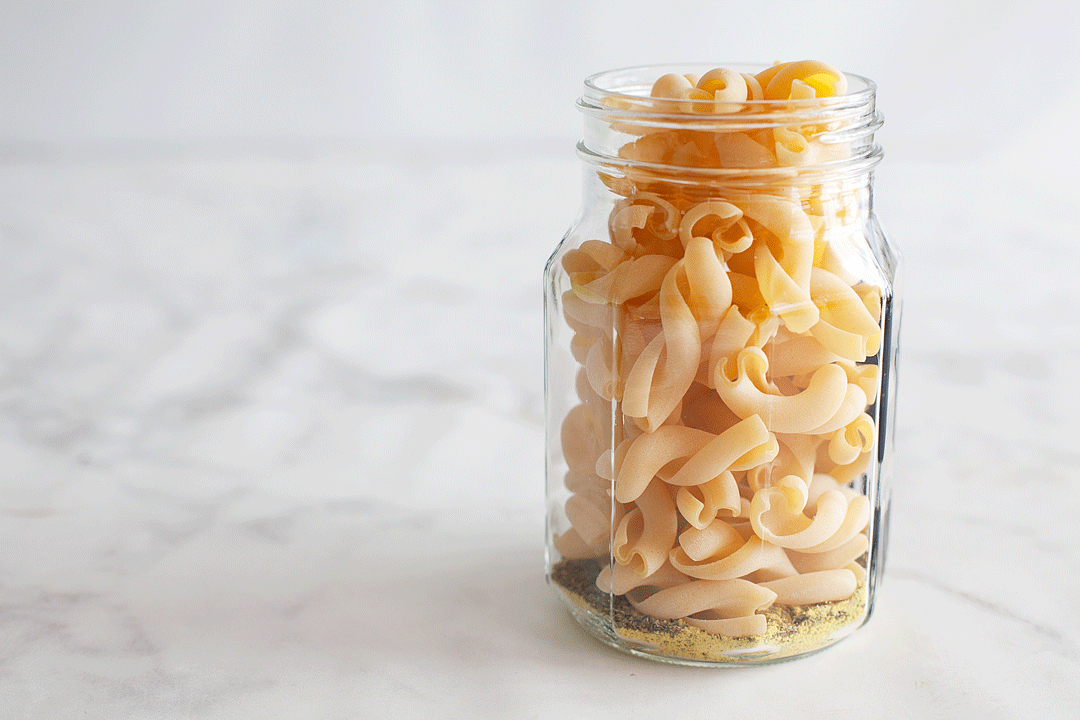
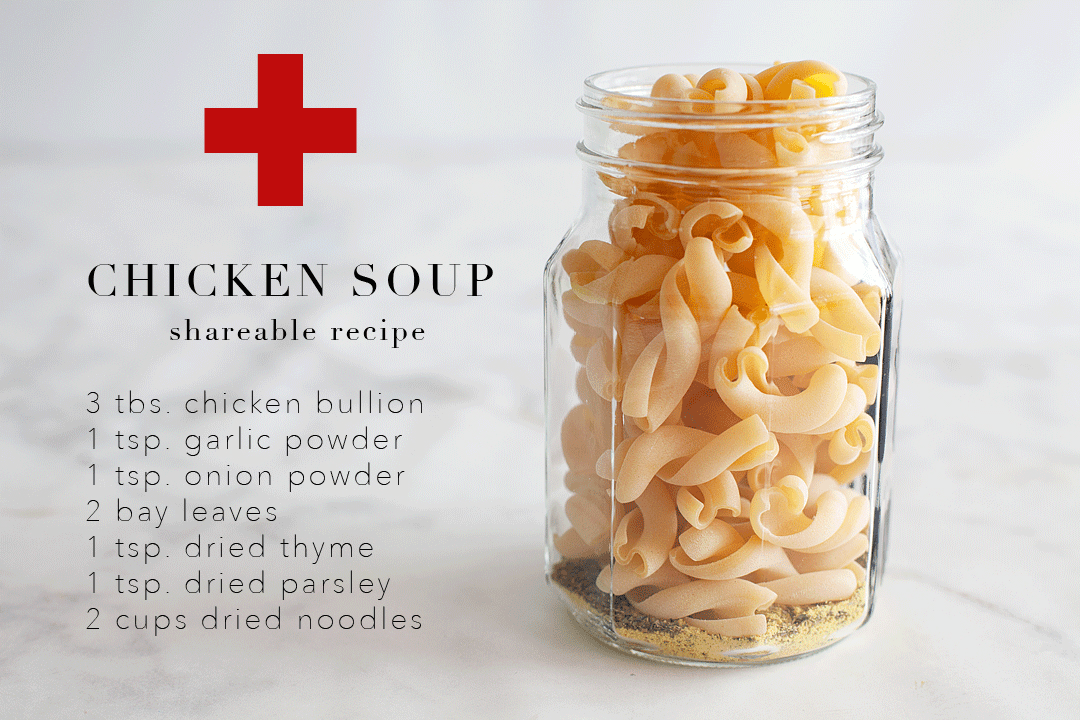
Now, last but not least is a little cheater method… If you are in a super hurry, grab a packet of a Tomato Based Soup with Pasta and an extra bag of Mexican style noodles to add to the mix and dump it into your Sharing Jar. This simple but heartwarming soup is fabulous during those winter months. Plus, it’s SUPER easy to throw together this gift!

You can download the mixing directions HERE.
Now you need to go stock up on some of the giftable Ball® Sharing Jars and get busy, those holidays wait for no one! Surprise your friends and neighbors with this thoughtful gift this season.