+ This Red and White Christmas Tree is brought to you by Treetopia +
I’m so excited for Christmas this year!
I love decorating for the holidays and this year has been so fun. I’ve been selected to participate in the 2015 Treetopia Design Council. I’ve totally shaken-up my routine and I’ve played around with new colors, new concepts… AND, I love it!
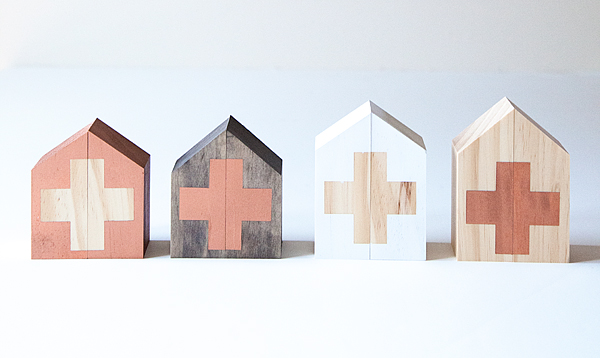
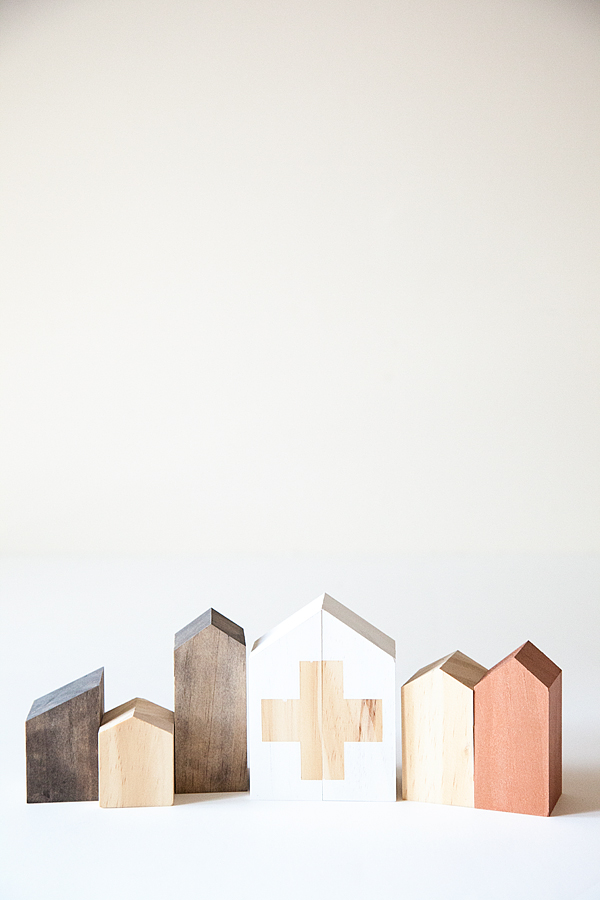
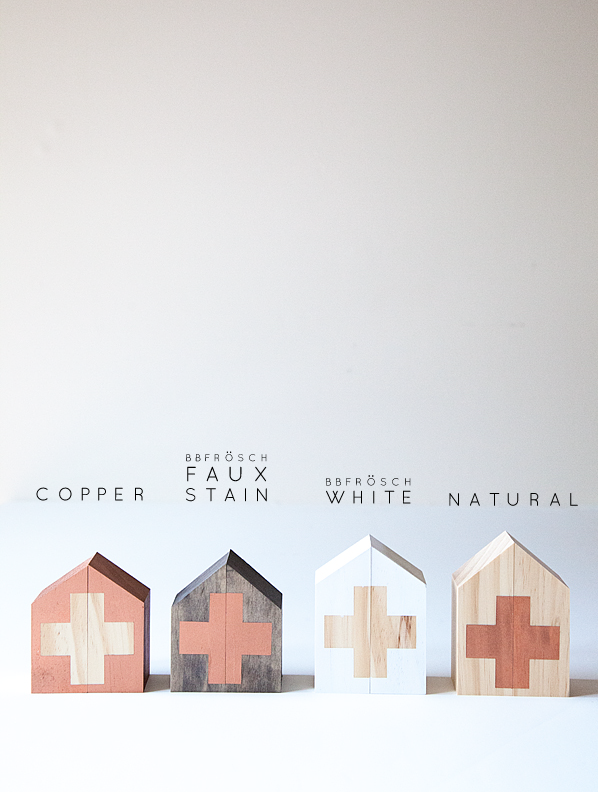
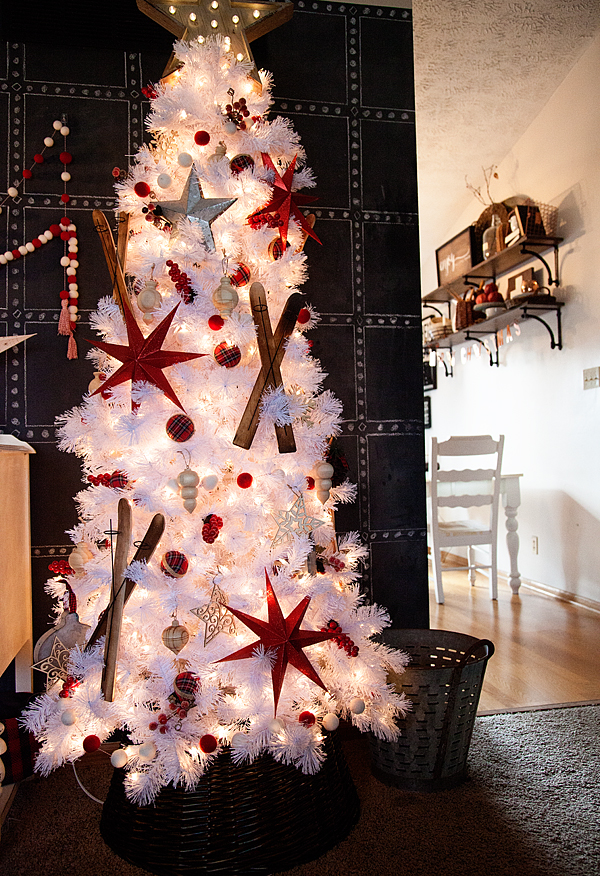
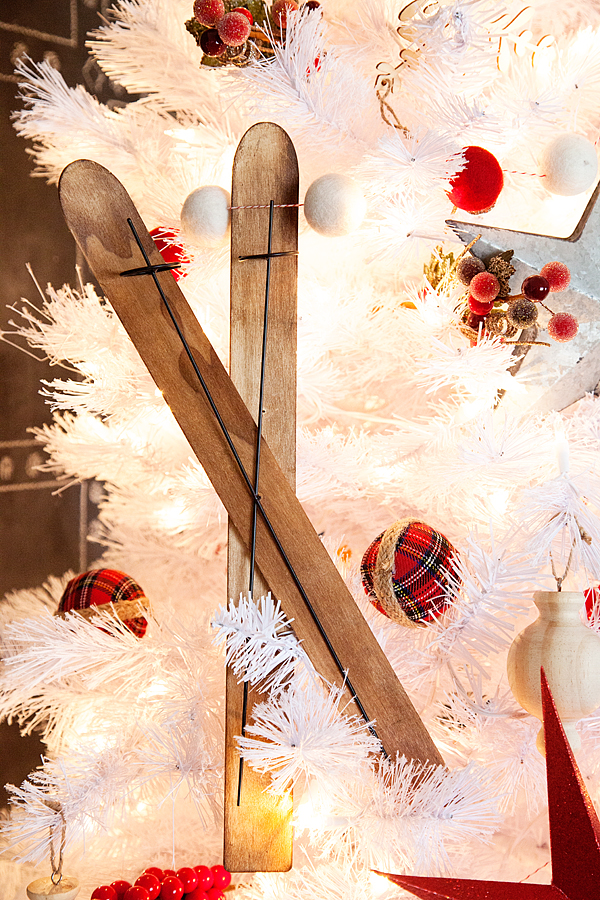
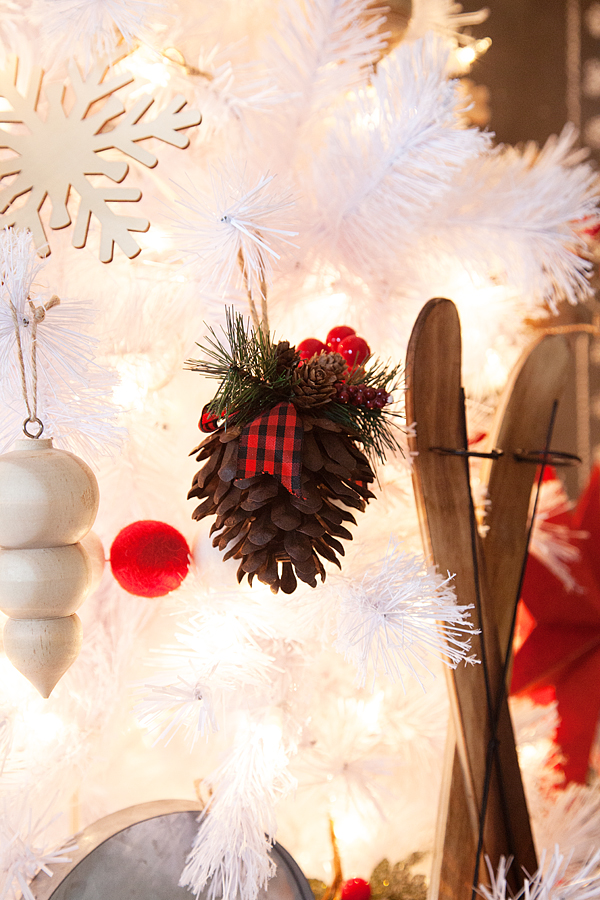
Our theme this year is more of a European / Old World simplicity. I’ve already shared our first tree for one of our rooms and it has more of the natural, old world feel. This new tree is for our front room and it has more of a Swiss Chalet feel to it with a pinch of whimsy…
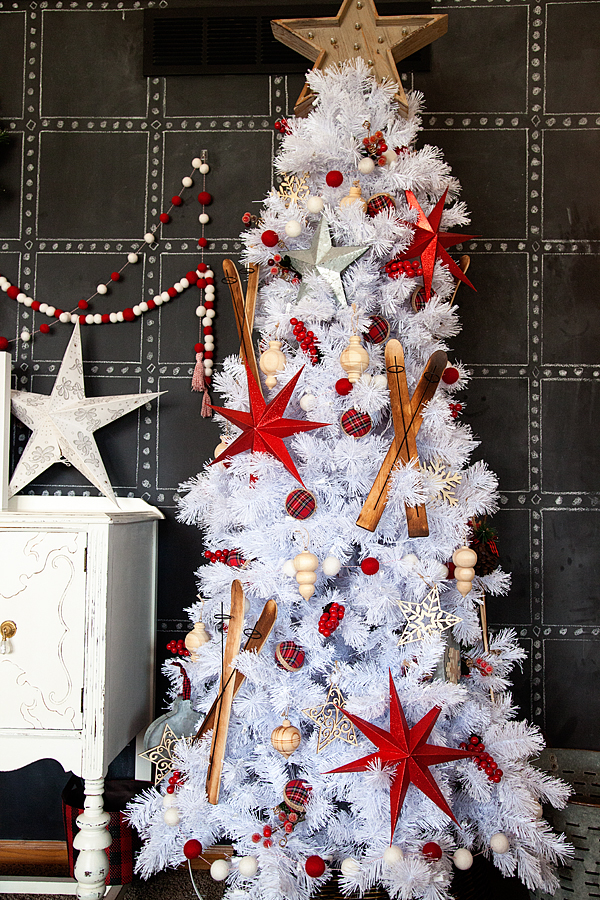
I’ve always wanted a white tree and this one is a gem from Treetopia.
In our family we kind of take the less-is-more direction when it comes to decorating our Christmas trees and I found a few simple ornaments that fit perfectly with our theme and gave it a simple but beautiful outcome.


Looking for more tree inspiration? You should come and check-out the other Treetopia Design Council Members.
Disclaimer – I am a member of the Treetopia Design Council and received a tree to participate in this design challenge.