This Halloween Decorations post brought to you by American Crafts // ' Tis the season to start dressing up our homes with all kinds of creepy, crawly decor. I have to admit in the past I have not been much of a Halloween decor person. I've never really gotten into the macabre & grotesque side of Halloween. However, In recent years the Halloween trends have become way more fun in my eyes and I've fallen in love with decorating for this playful holiday. Companies like American Crafts have also made it so dang EASY to dress-up our home decor and spook things out for our parties!
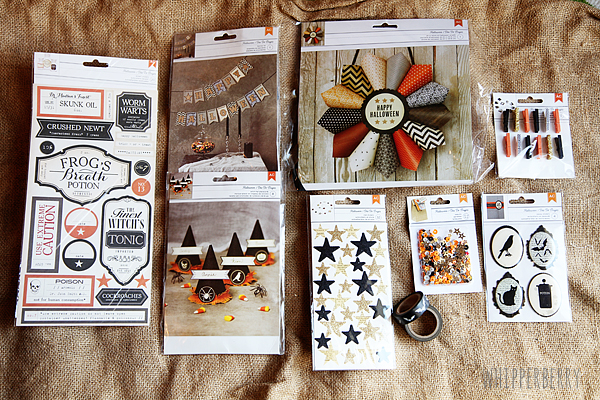
A few weeks ago the crew at American Crafts sent over some goodies that they have created for Target for this year's Halloween season and they are soooo stylish and fun to work with!
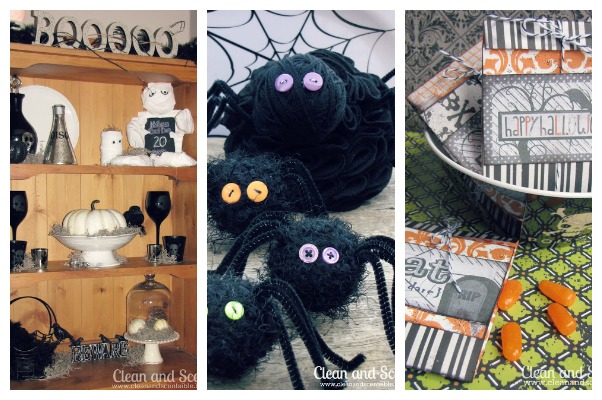
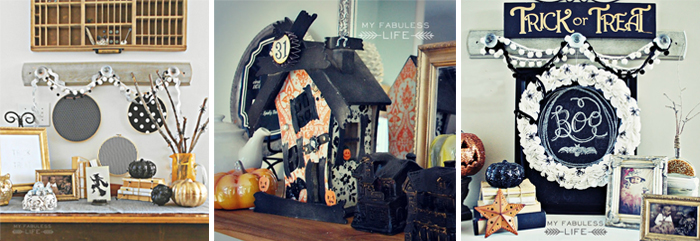
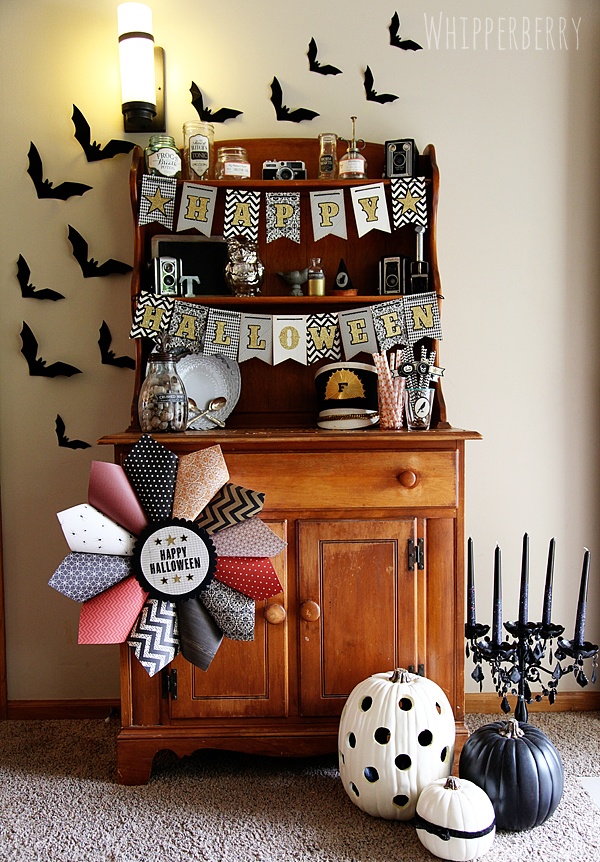
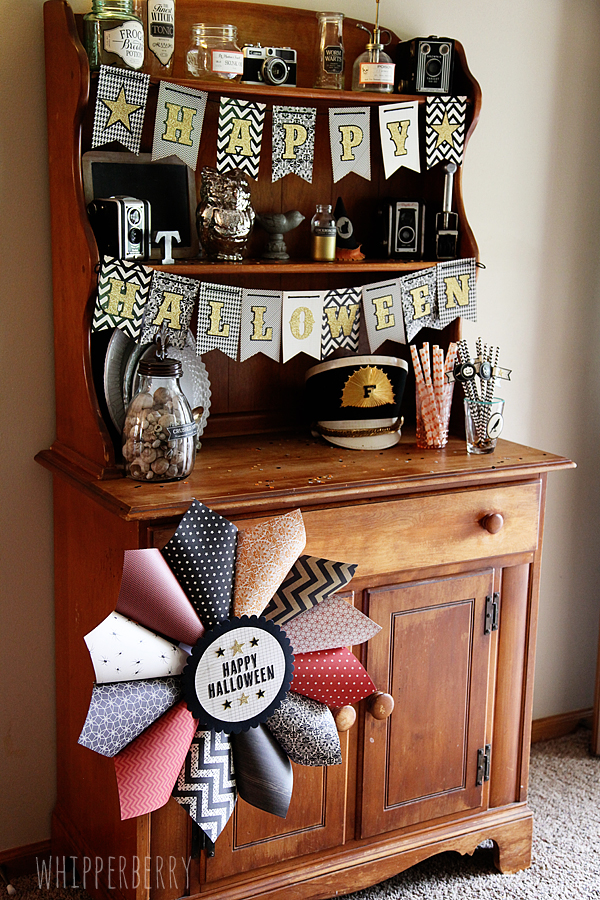
The products range from full kits like the paper wreath, witches hats & banner all the way down to stylish washi tape and everything in between. You can buy little individual elements to create with, or buy a full kit that comes with everything you need. I put together this stunning paper wreath that was a SNAP to make.
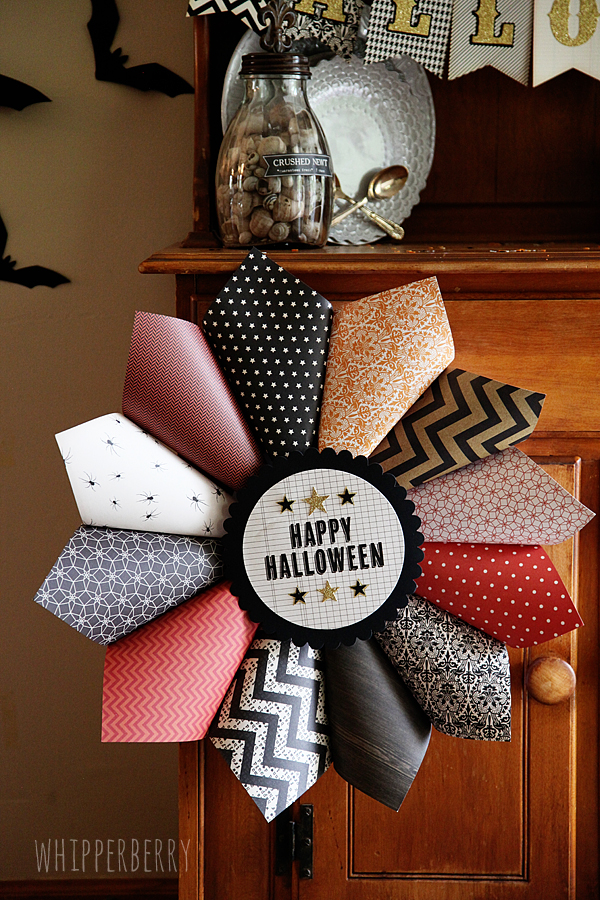
The kits come with everything you need, you don't even have to bust out the glue or tape. The instructions are easy to follow and the project comes together really quick. For this one I did find that a stapler did come in a little handy at times, but for the most part everything worked like a charm. I used the wreath to dress-up my entryway and I love how everything turned out.
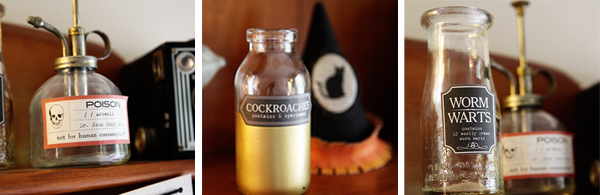
I added stickers to some glass containers that I had laying around. It's simply amazing how even just that, transforms the whole scene into something a little spooky.
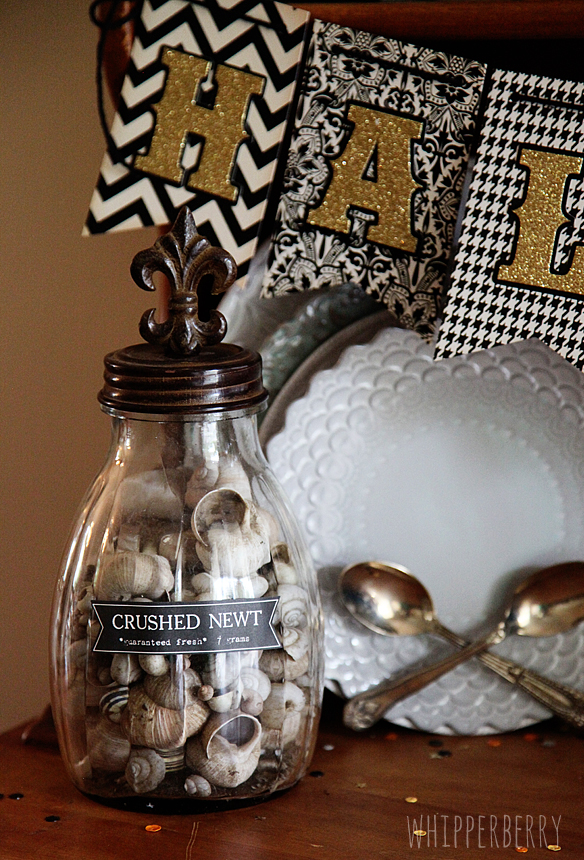
Next, I made the banner from the Happy Halloween banner kit. The EASIEST BANNER EVER!! Seriously… Everything is self-adhesive so it's just stick-it and go.
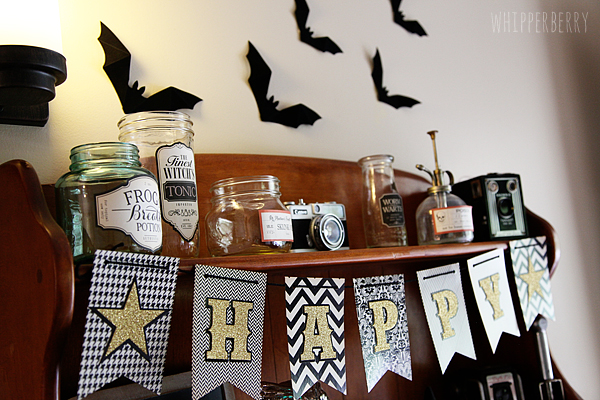
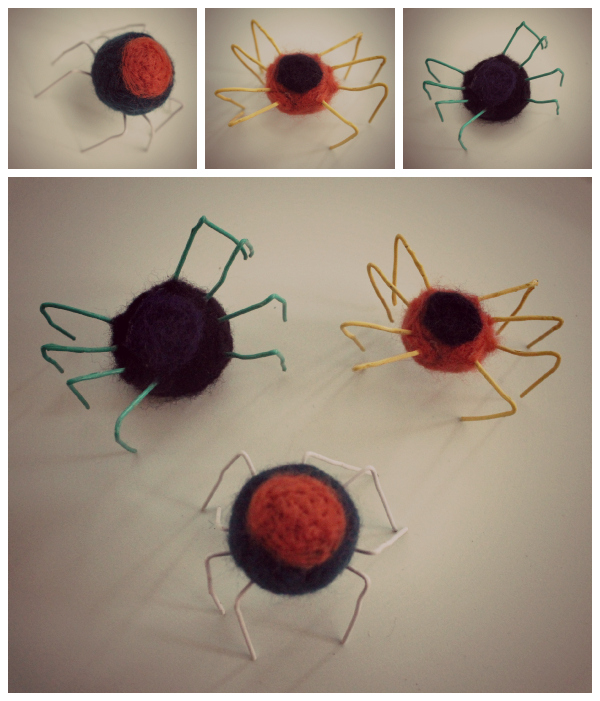
The cool thing is you can make whatever element just how it is pictured in the kit, or you can (if you feel comfortable) bring out your creative side and use the elements to invent your own masterpiece. I used the elements from the witches hat kit to dress-up some straws for the display.
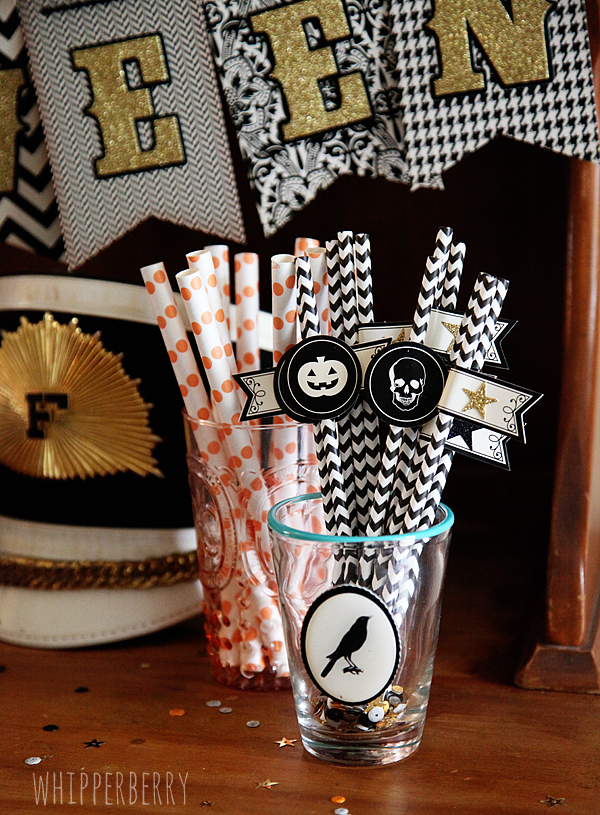
I love how they turned out!
You can find all of these fun products, plus several more at your local Target store. Go grab'em before they are gone. As cute as they are, they are sure to sell out FAST!!
Disclaimer // This is an American Crafts sponsored post. I received free product and payment for this post. However, all thoughts, ideas and opinions are my very own. I want you to know that I will NEVER post on a product that I don't love or would use in my normal everyday life.