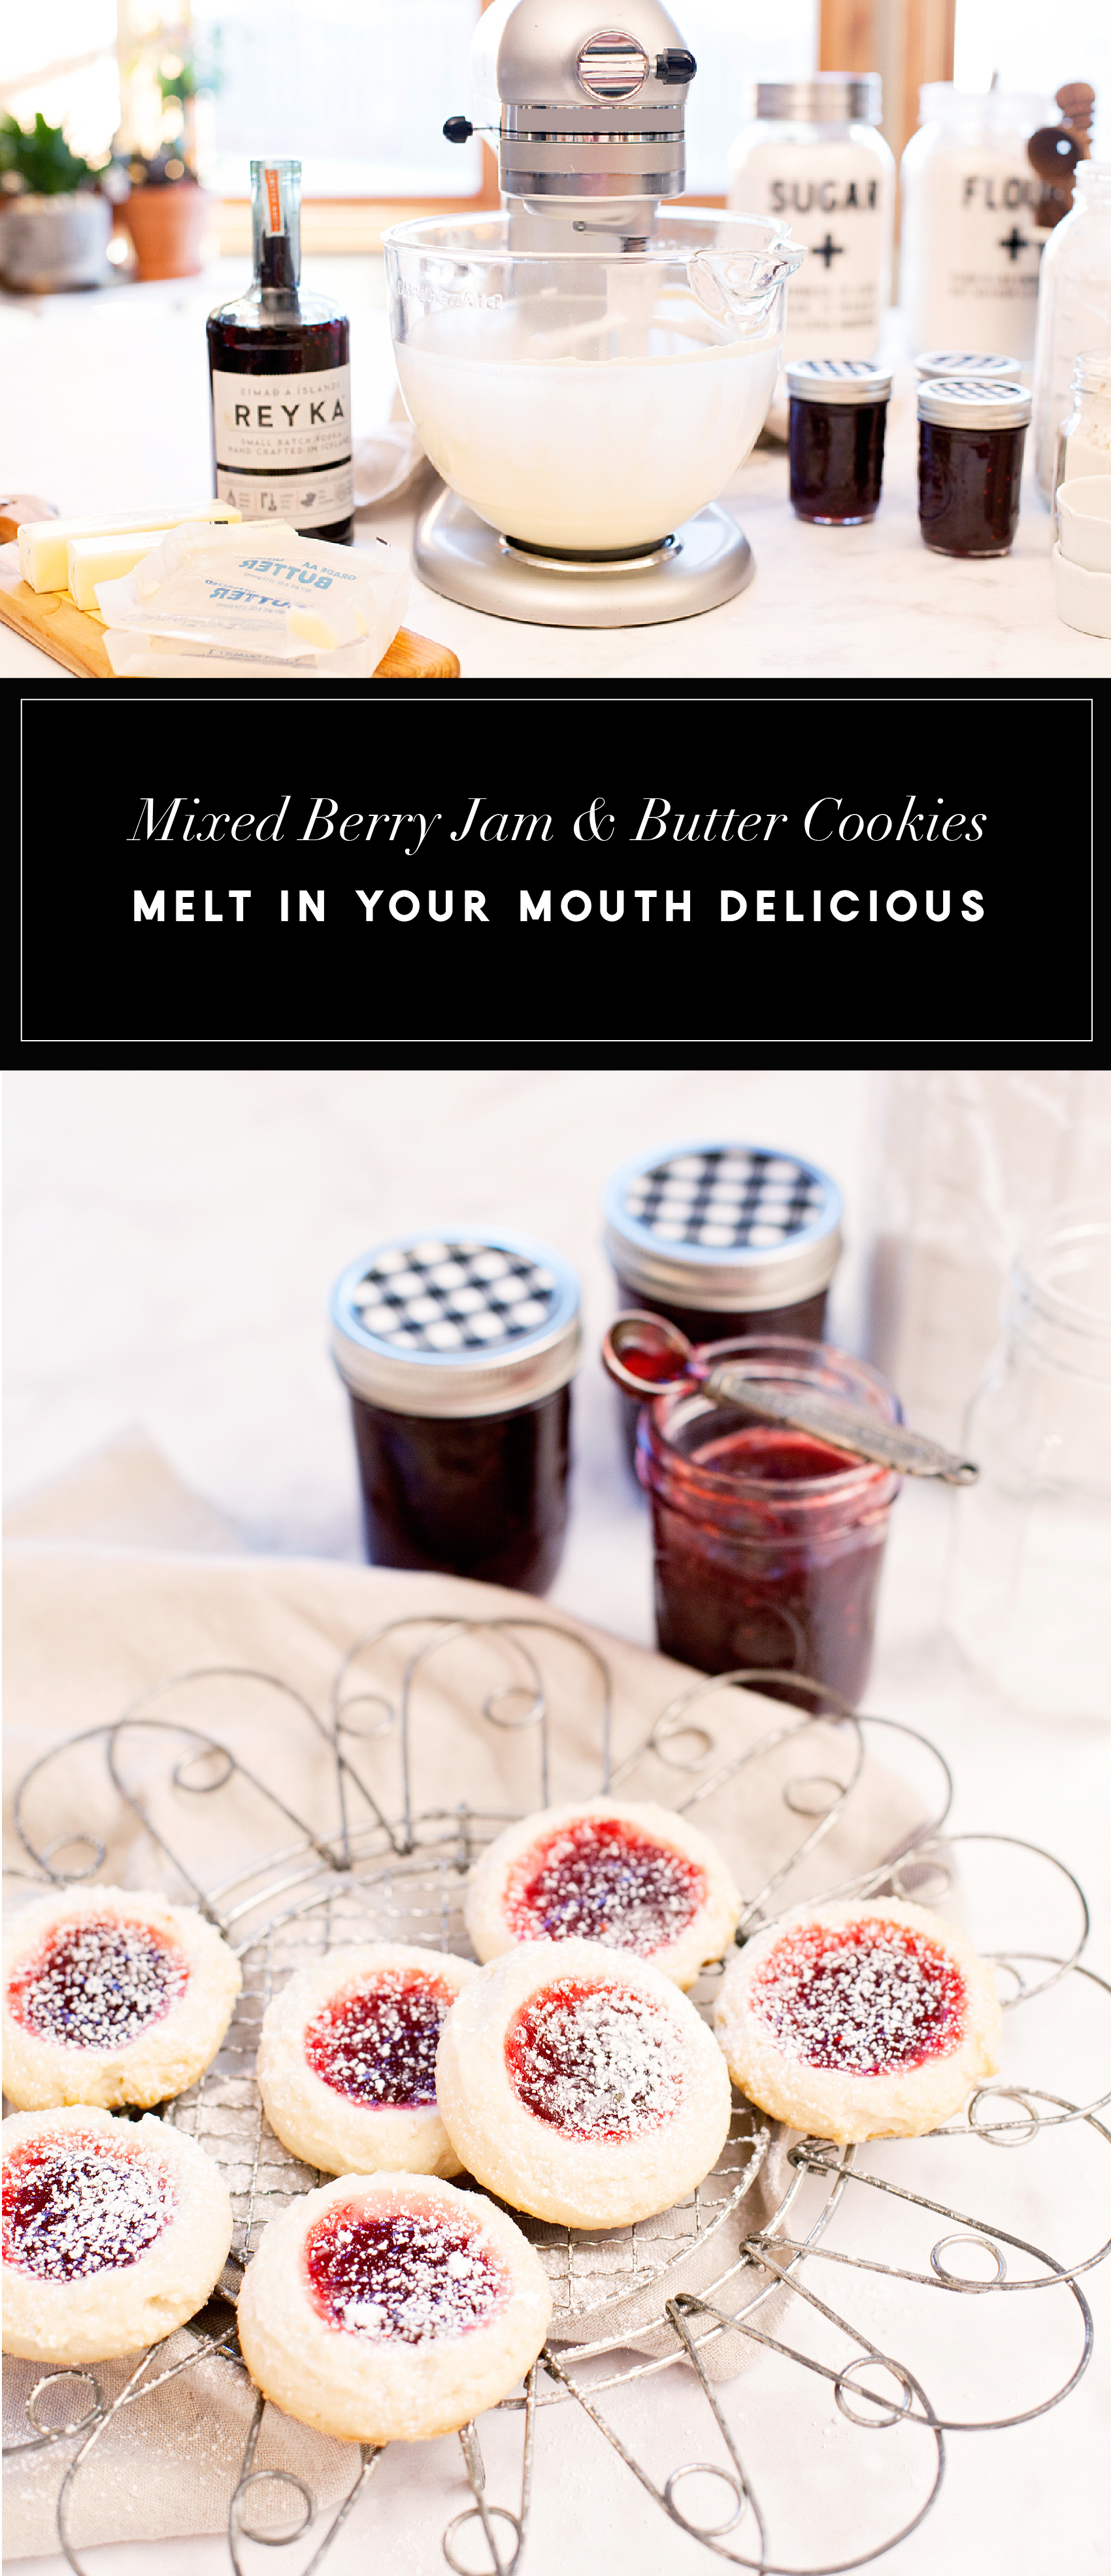
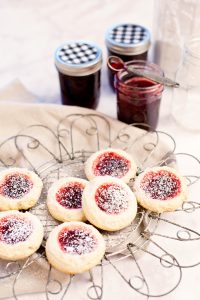
Is there anything better than the smell of cookies baking in the oven? One of my favorites is my Mixed Berry Jam and Butter cookies. The butter cookie literally melts in your mouth and then the jam follows with a burst of berry flavor… Oh my, it’s soooo good!! What makes these cookies extra special is the homemade mixed berry jam. It’s a must for sure, no cutting corners here. Come and learn how to make this beautiful jam along with my scrumptious mixed berry jam and butter cookies.
+ This post is brought to you by Newell Brands, makers of Ball® Fresh Preserving Products +
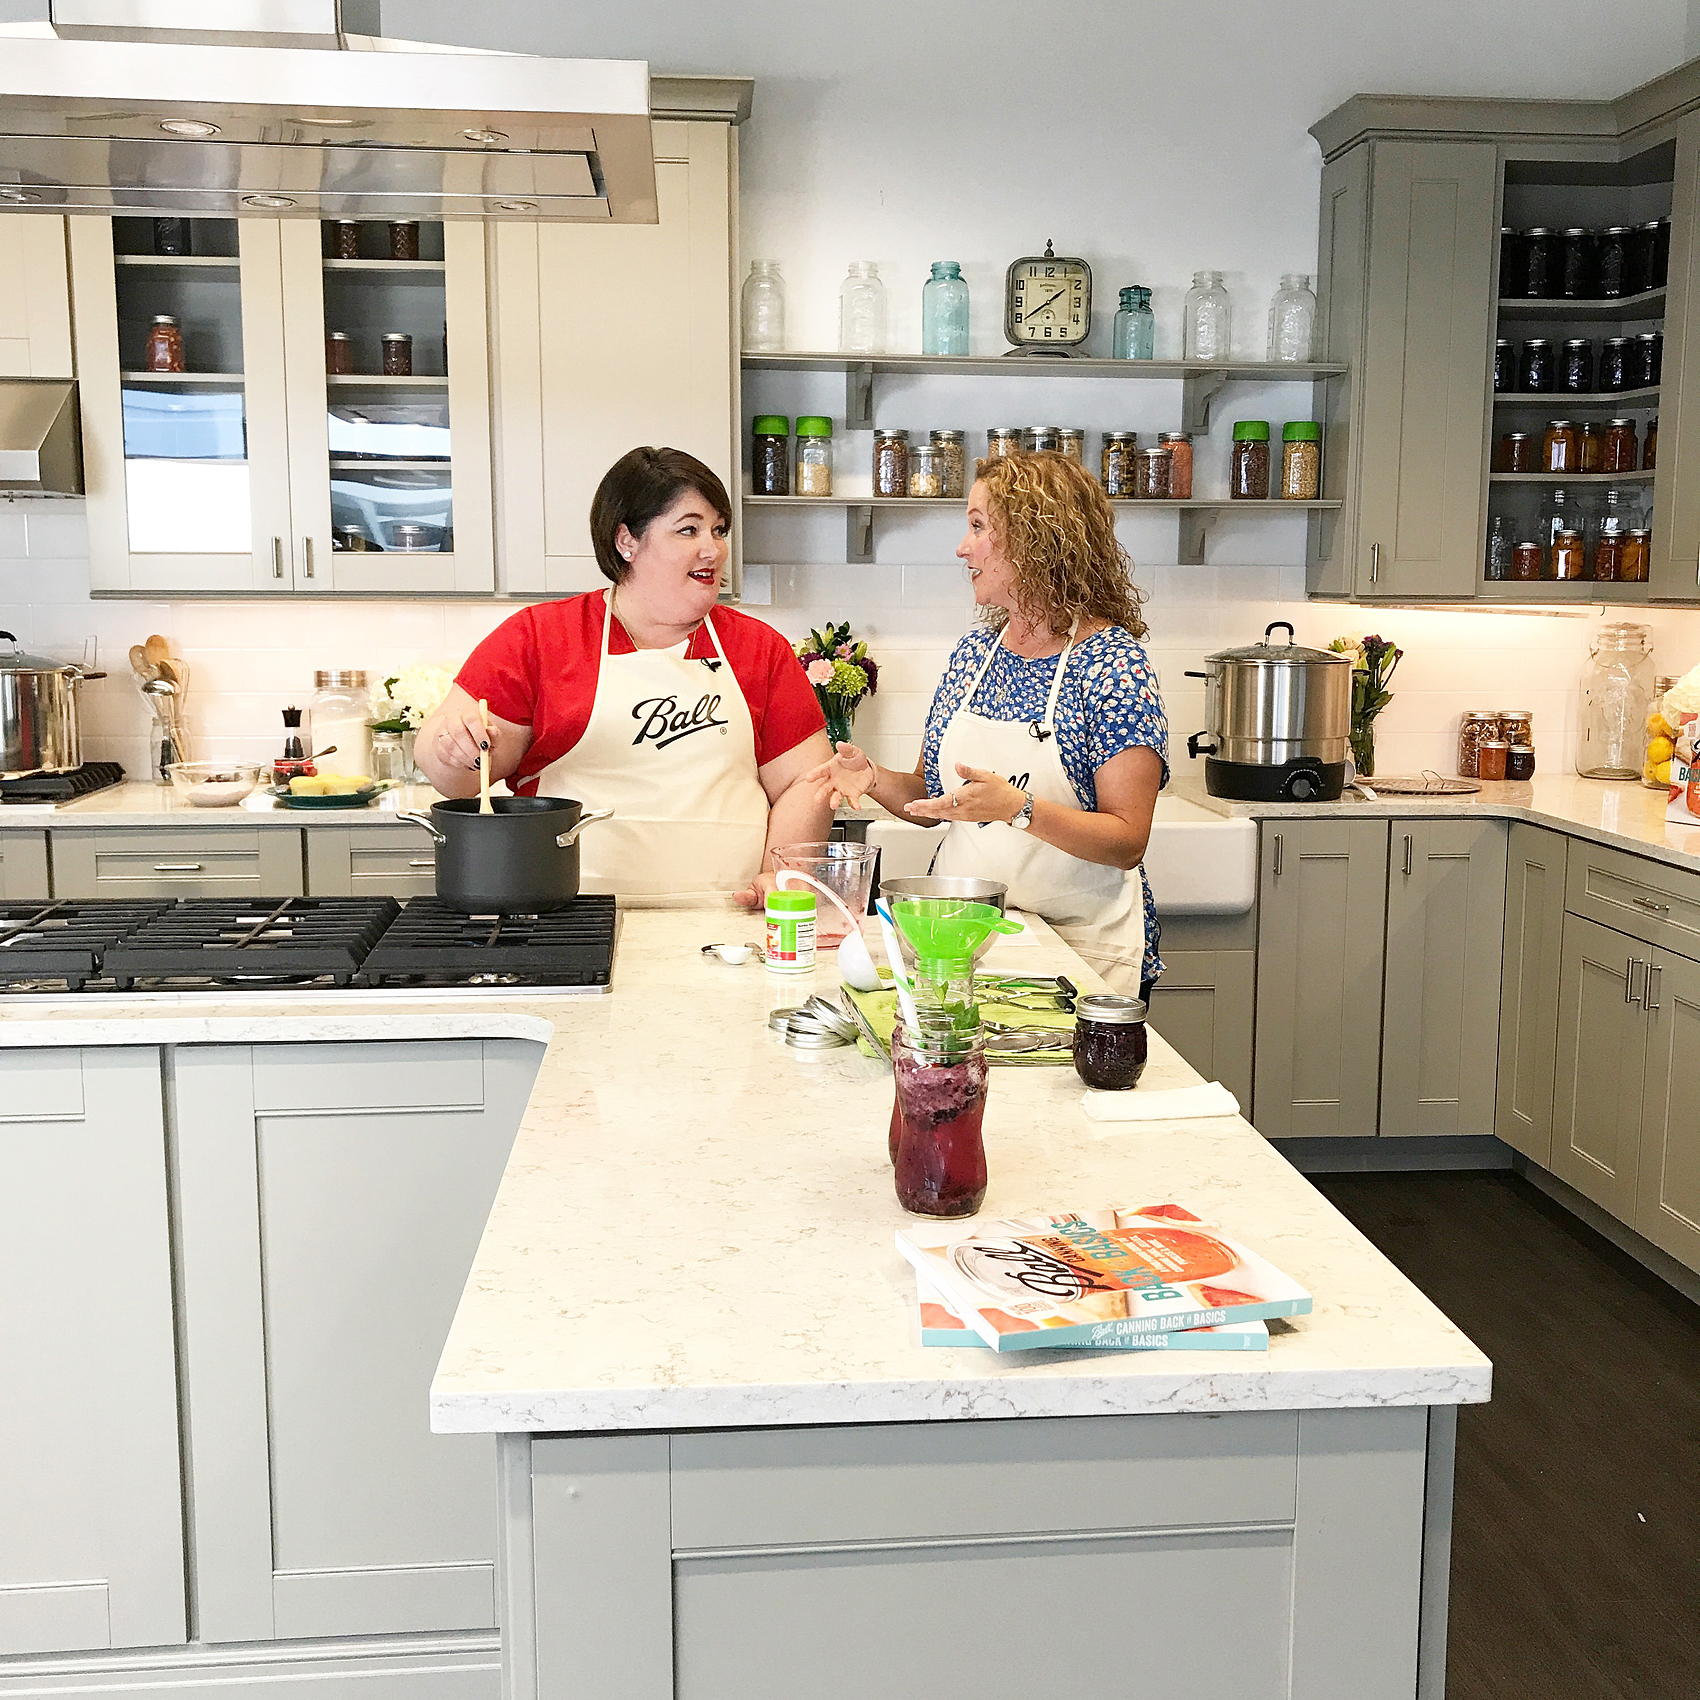
A few months ago, some of you may remember, I had the wonderful opportunity to travel to the Ball® Canning headquarters at Newell Brands in Indiana. I learned all kinds of fun stuff about how to preserve all of those scrumptious summer treats that we love like peaches & berries so that we can enjoy them all year long.
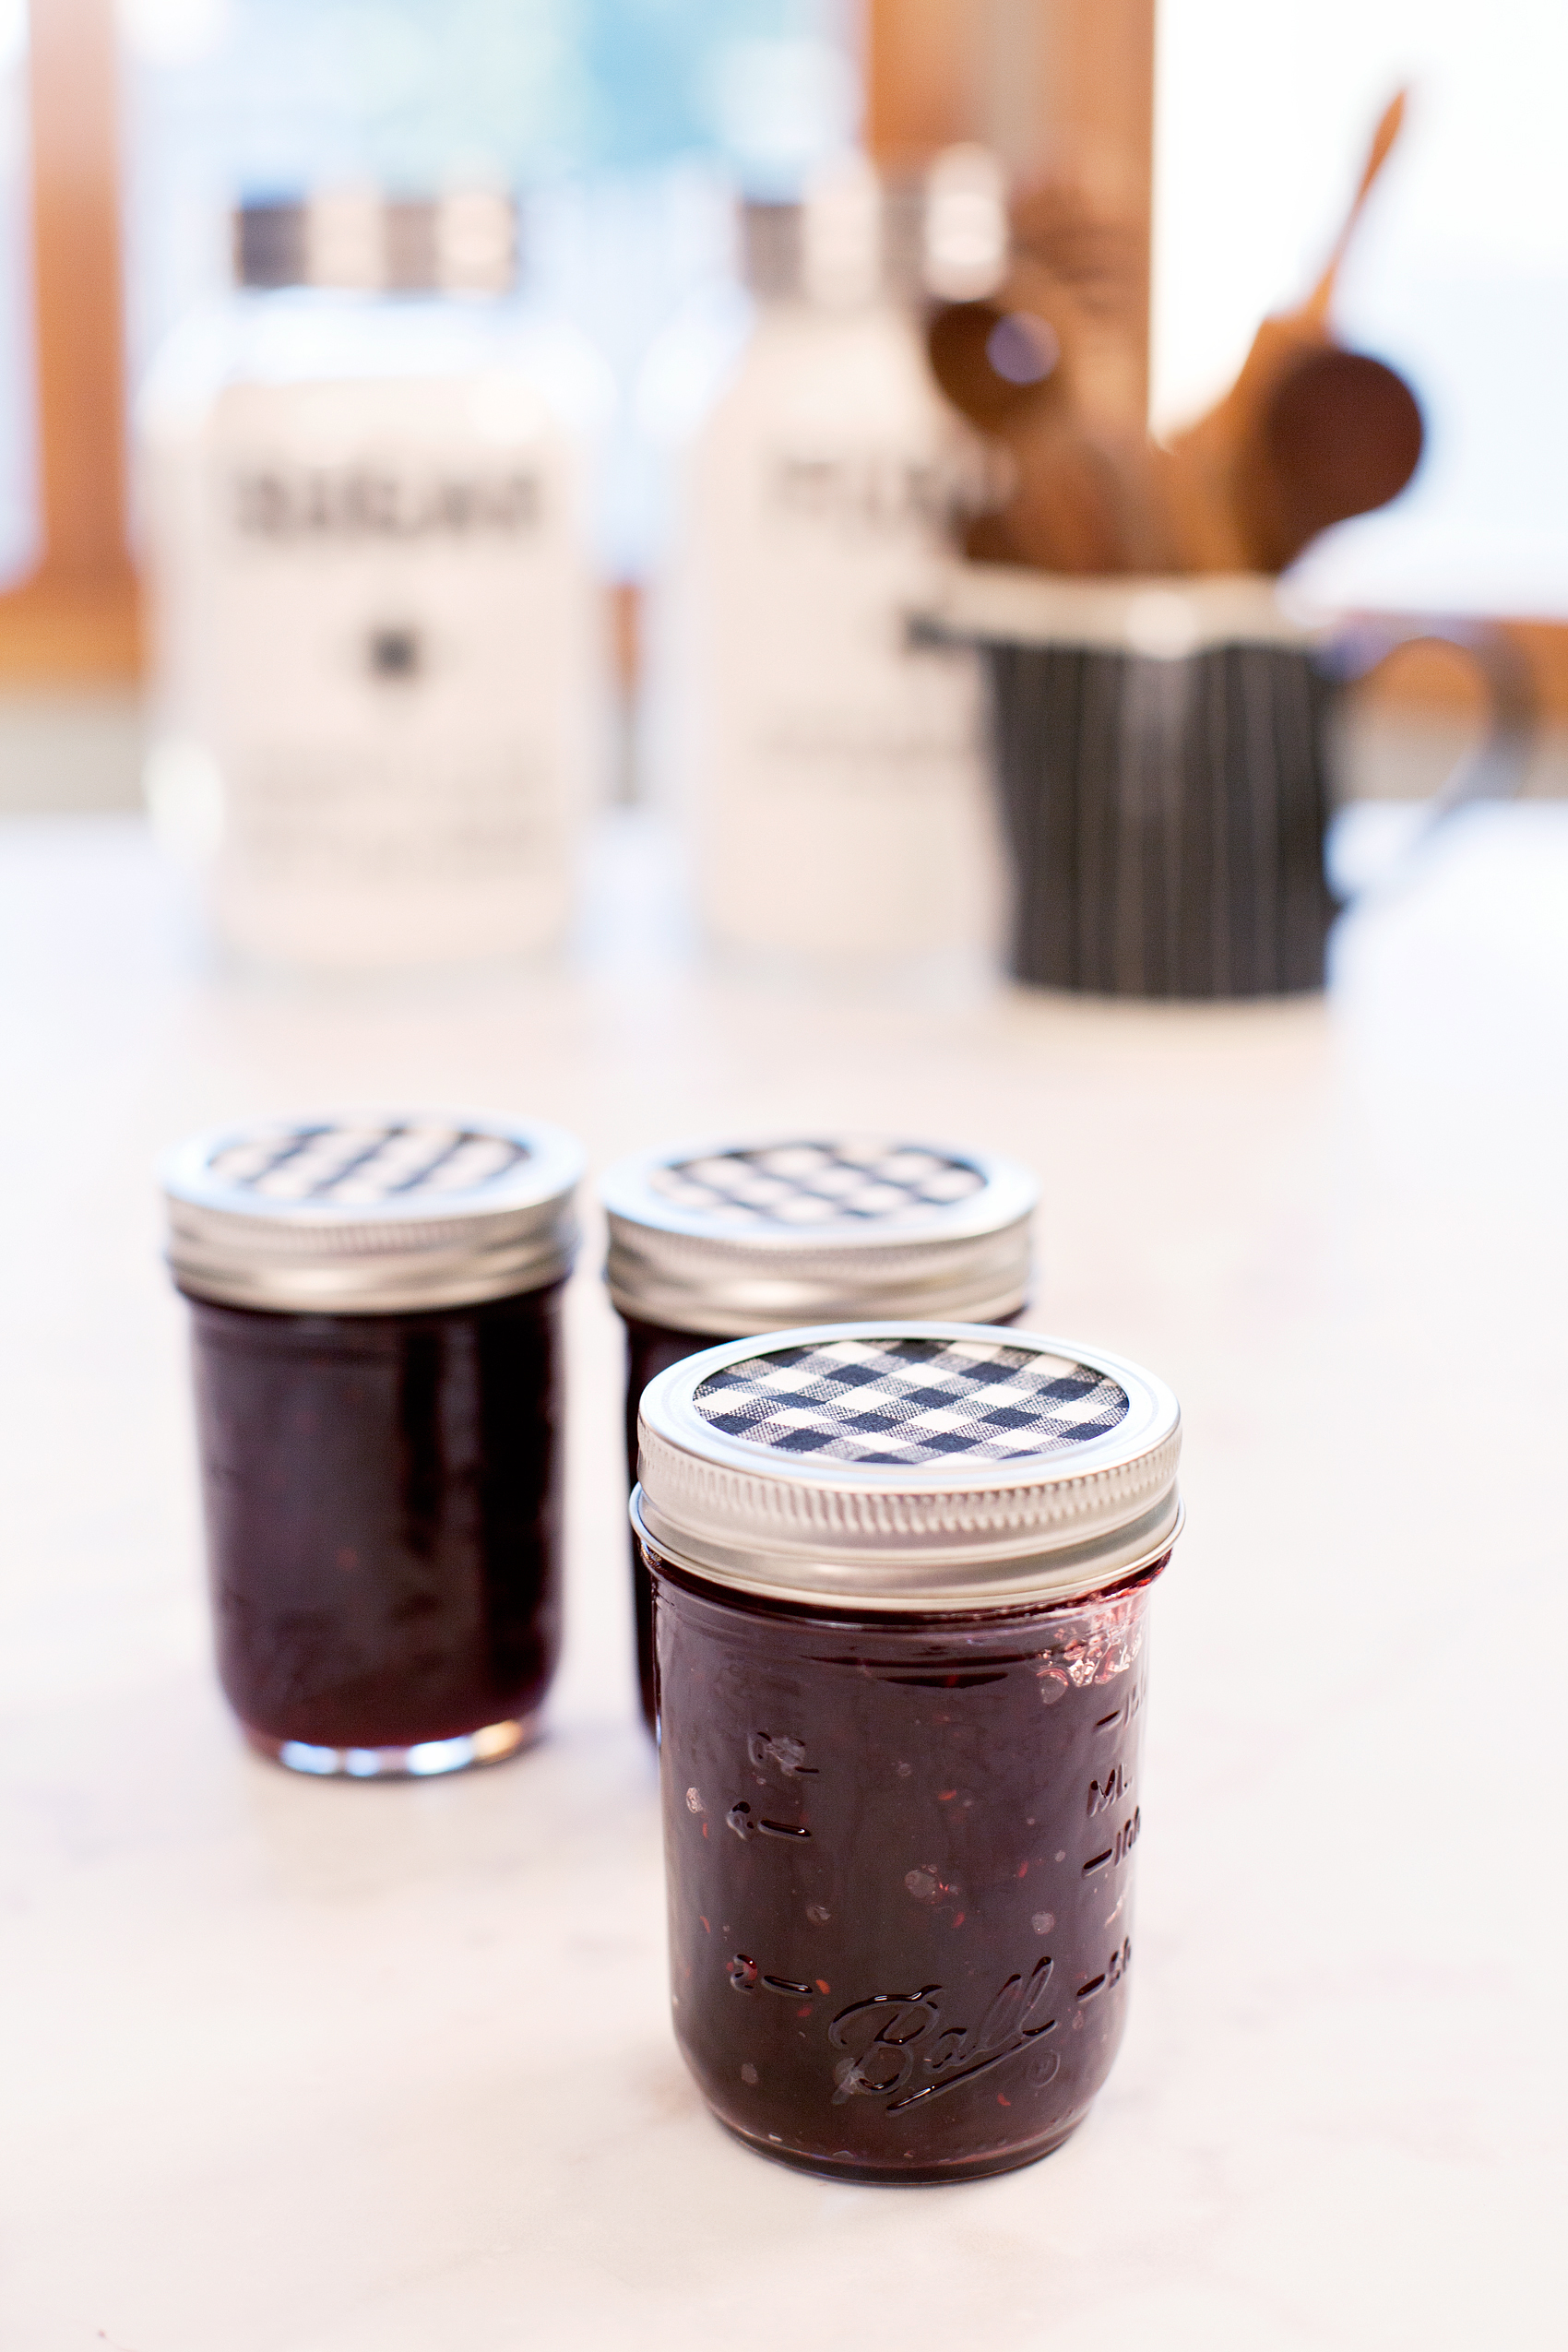
I had a hands-on lesson that we filmed on how to make my favorite mixed berry jam that I am using for the cookies. I’ve come home and made more jam and my family LOVES it! They love it so much on toast, peanut butter & jam sandwiches, even on top of vanilla yogurt. I thought I would make some of our favorite butter cookies and add some of the jam to make a Mixed Berry Jam and Butter Cookie. I would call it a thumbprint cookie but, I actually didn’t use my thumb… But more on that in a bit.
Mixed Berry Jam Recipe
First off, you need to make your jam. For that you can head over to the Ball® Fresh Preserving site so that you can follow there step-by-step directions. You know, it’s really important to follow a tested and proven recipe when it comes to preserving food. It would be horrible to make your family sick by using untested recipes that create opportunities for bacteria to grow in your preserved food.
Ball® Jars in the Pantry
I have found that it’s really quite handy to use Ball® jars for canning and preserving food and also use them to store dry goods in my pantry. Check it out…
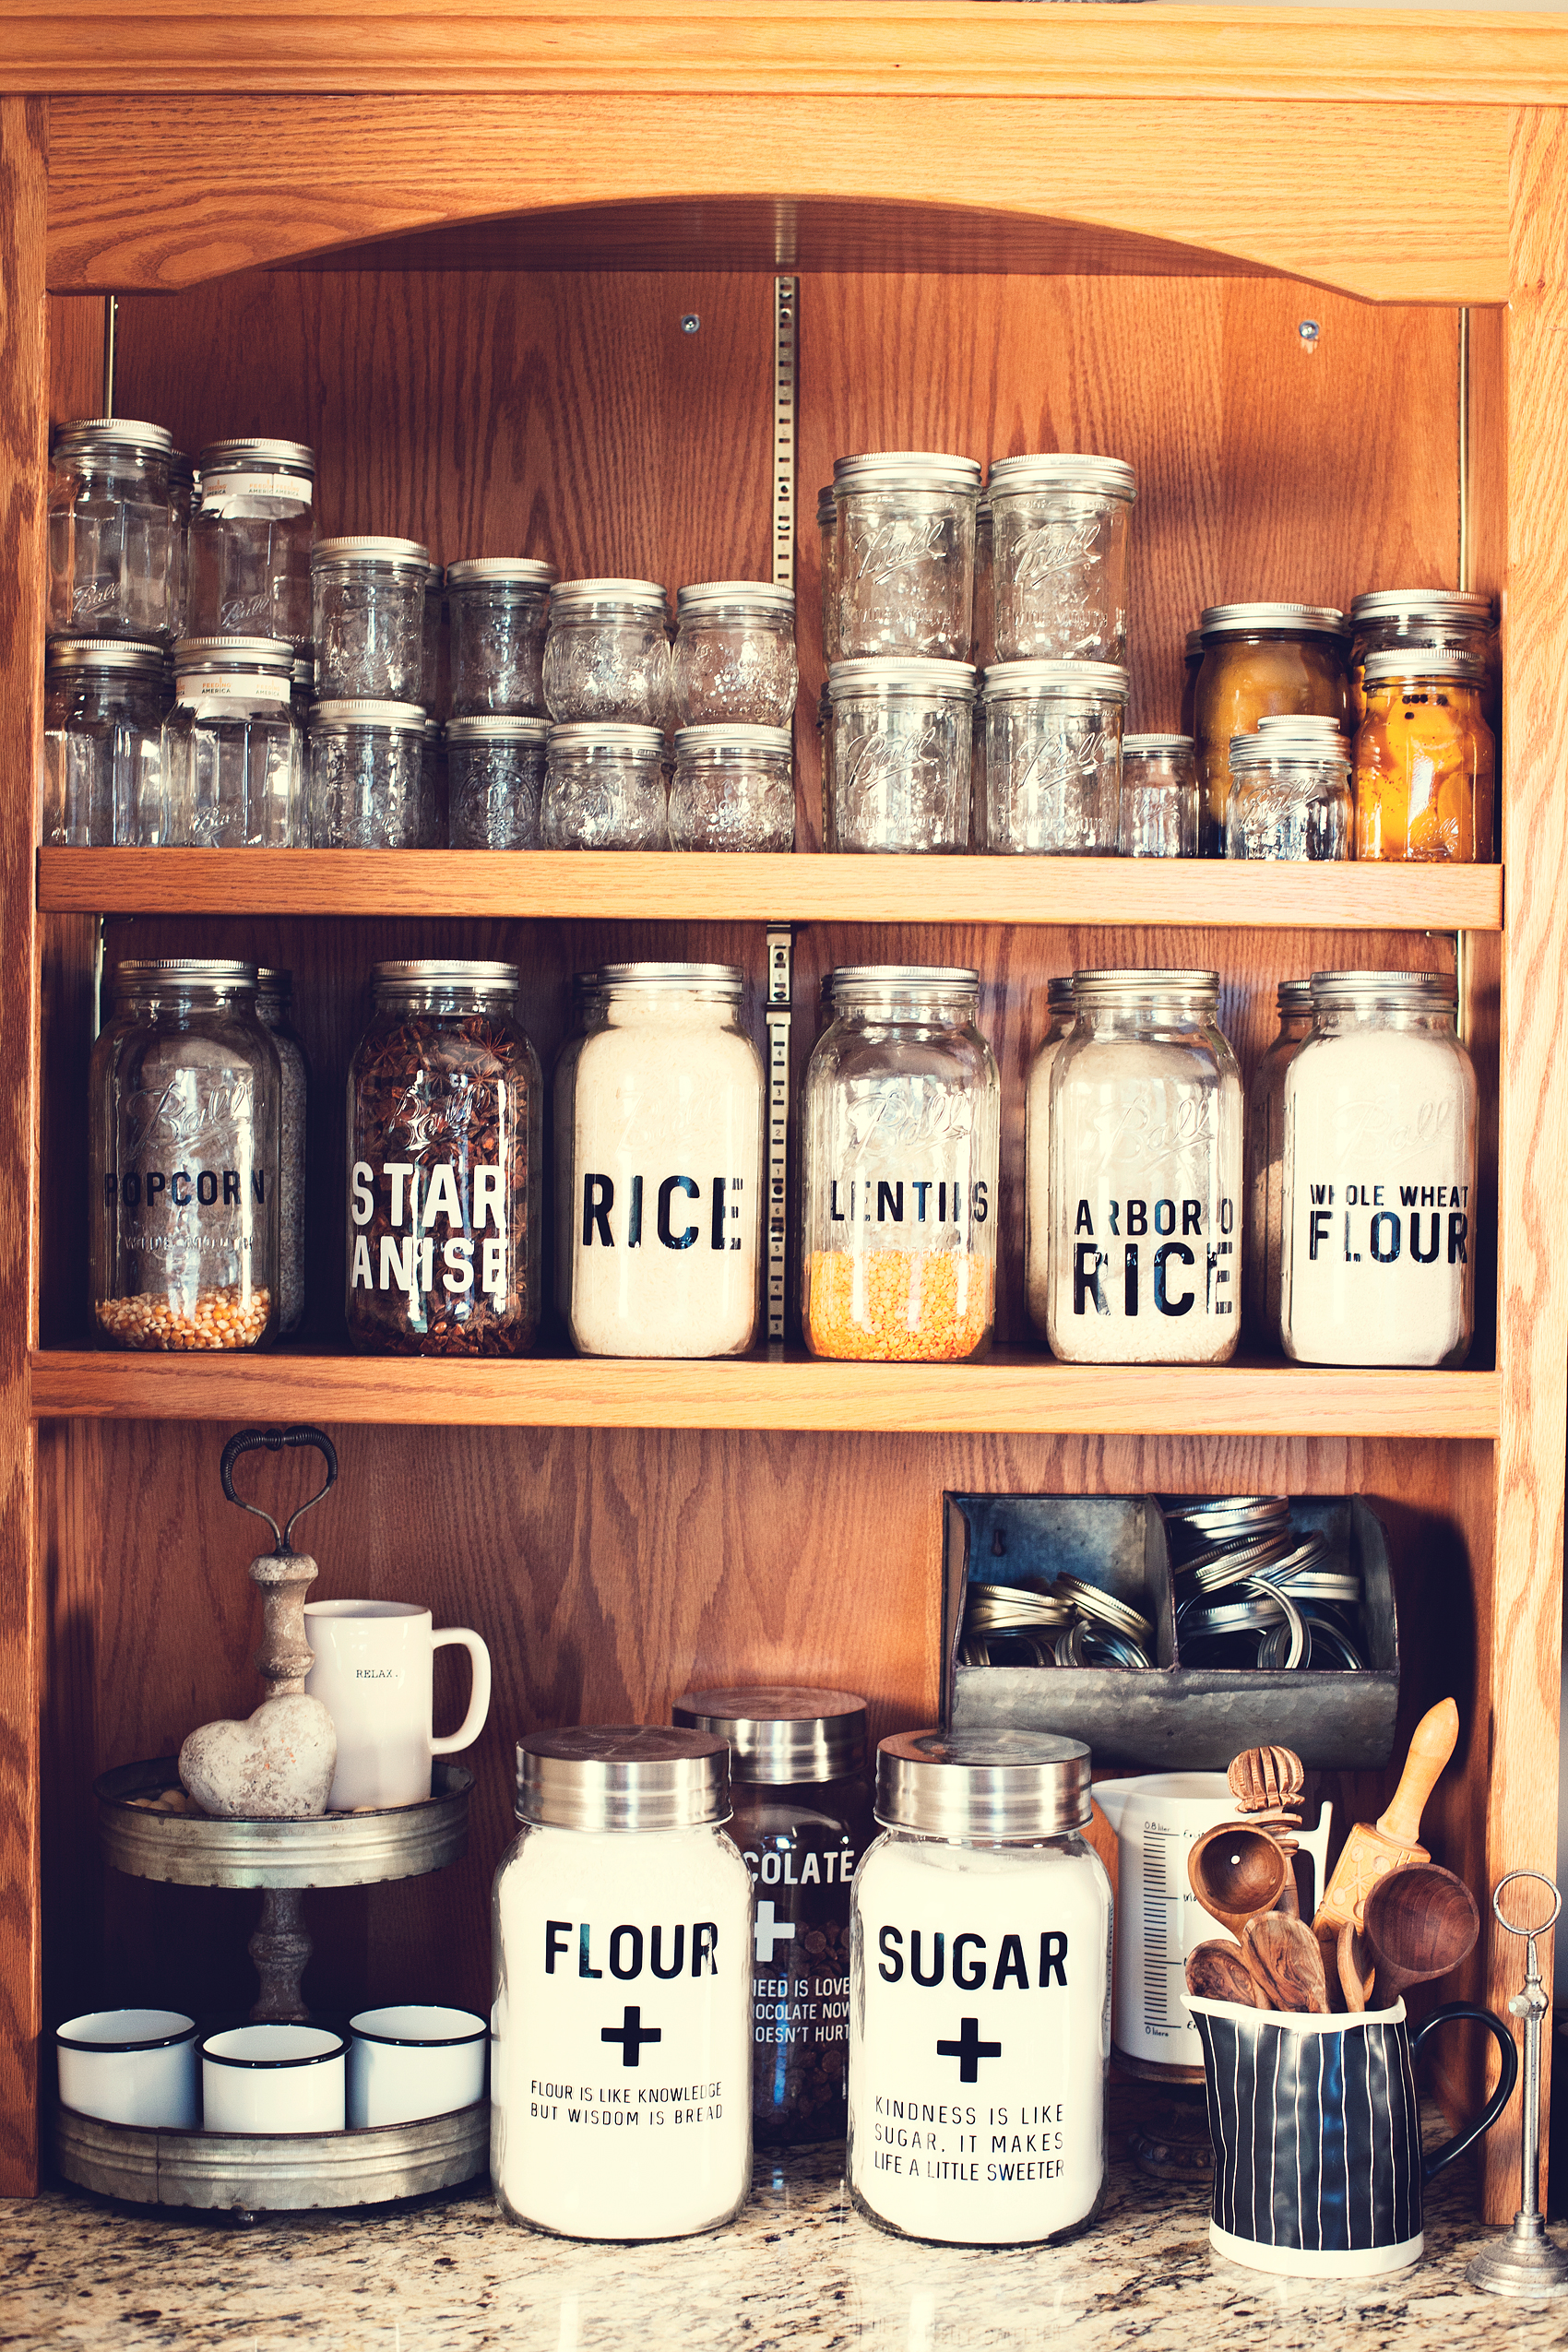
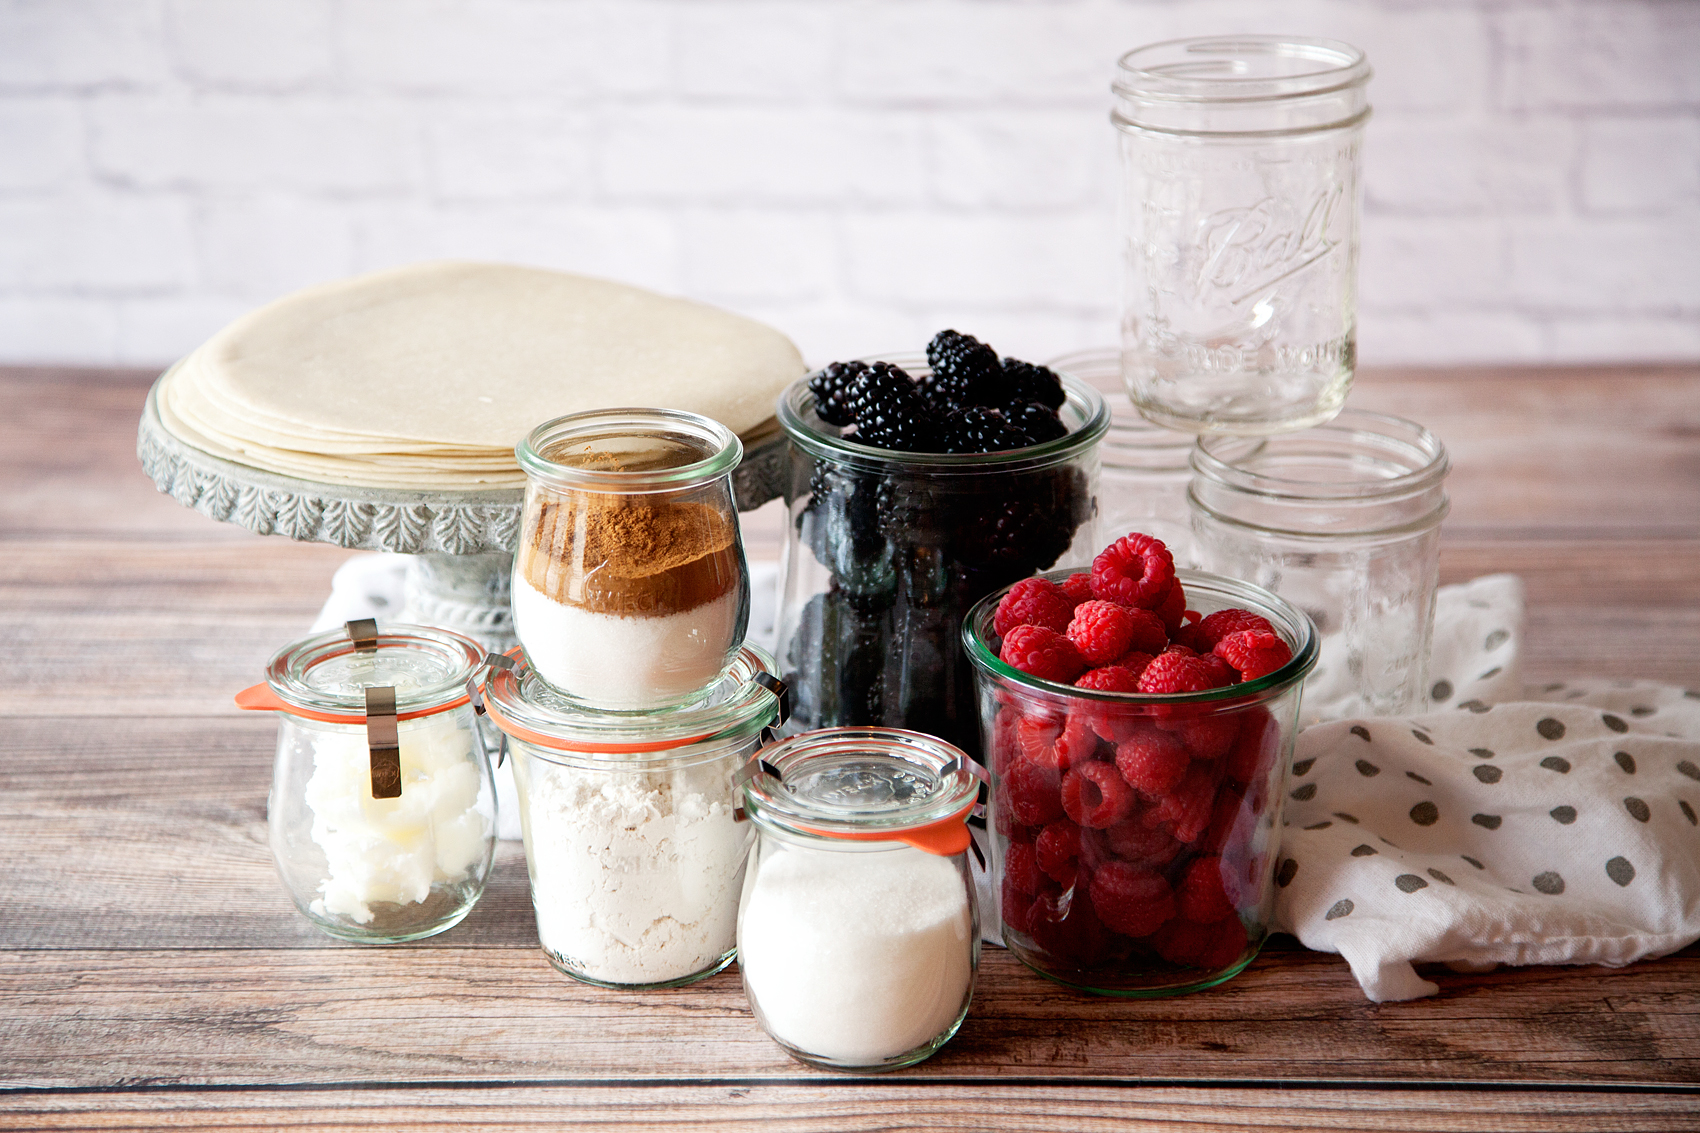
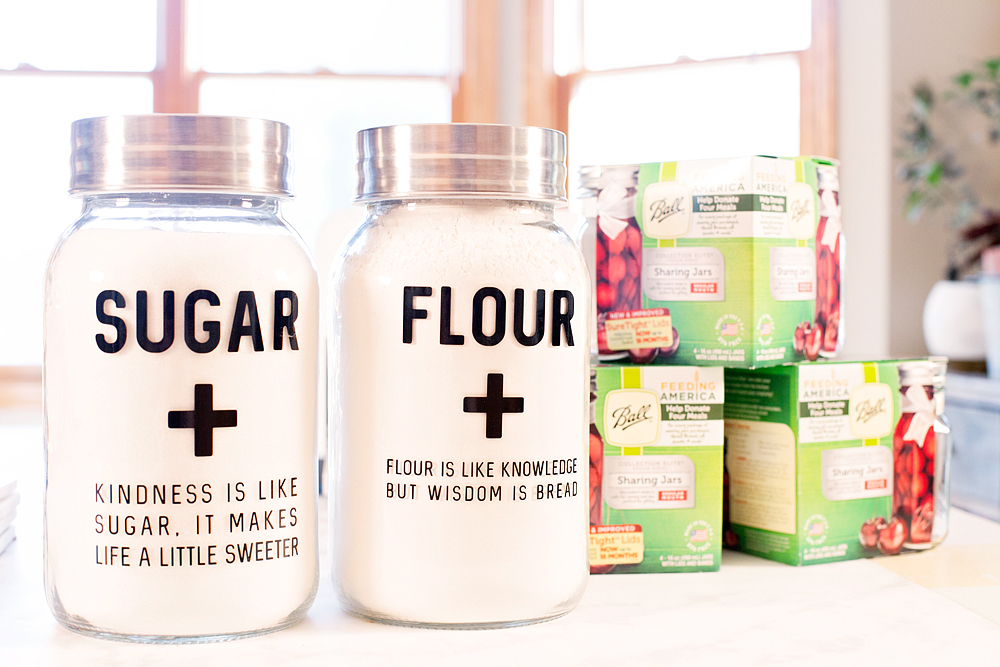
I always keep some Ball® Jars on hand, so when I do have a fresh batch of berries, peaches, beets, you name it, I can easily preserve a batch and have it ready in no time. I especially like to keep some of the BALL® REGULAR MOUTH HALF-PINT 8 OZ. GLASS MASON JARS in the pantry so I’m ready when I have fruit or veggies ready to can. If you have to stop and run to the store to grab your Ball® Jars, thats makes the process even longer. I also use the BALL® SUPER WIDE MOUTH GALLON 128 OZ. COMMEMORATIVE GLASS JAR to store my flour, sugar and other dry goods that I use often and the BALL® WIDE MOUTH HALF-GALLON 64 OZ. GLASS MASON JARS for other dry goods that I use while cooking. LOVE THEM!!
Mixed Berry Jam and Butter Cookies Recipe
Now that you’ve made your mixed berry jam, we can get started on this SIMPLE recipe! I love that it is easy to whip-up and doesn’t have too many ingredients. Here’s a quick video to show you how to make them.
Butter and Jam Cookies from WhipperBerry from Heather Thoming on Vimeo.
Isn’t that fun? I made these quickly with my daughter and the whole family almost died with delight. The cookies totally melt in your mouth and then the sweet tanginess of the jam really makes them extra special. You’ll notice a few things that may be a little different that your normal thumbprint cookie. We didn’t use our thumbs, nor did we refrigerate the dough before we baked them. I tend to like a more uniform cookie, so we use a cookie scoop and then a 1/2 a teaspoon measuring spoon to make the “thumbprints” in the cookie. Again, more for uniformity than anything. Here’s the recipe…
Mixed Berry Jam and Butter Cookies
Prep
Cook
Total
Yield 25 cookies
These melt in your mouth delights are perfect for after school or for sharing with neighbors. The homemade Mixed Berry Jam from Ball® Fresh Preserving is really the star of the show!
Ingredients
- 1 cup {2 sticks} unsalted butter, softened
- ½ cup powdered sugar, plus ¼ cup more for dusting
- 2 teaspoons pure vanilla extract
- ⅛ tsp table salt
- 2 cups all purpose flour
- ½ cup of Ball® Fresh Preserving Mixed Berry Jam
Instructions
- Preheat oven to 325°F with rack on middle position. Line a baking sheet with parchment paper.
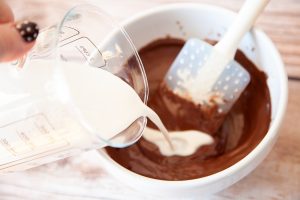
- In the bowl of a stand mixer fitted with paddle attachment on high speed, beat butter and sugar until creamy and light, 2-3 minutes. This is where the magic happens, make sure to take the time to beat the butter and sugar until it's nice and fluffy.
- Add vanilla and salt, scraping down bowl as needed. Switch to low and slowly mix in flour, just until combined. Dough should be somewhat sticky.
- Using a large cookie scoop, scoop dough on to a parchment-lined baking sheets. Take a 1/2 teaspoon dip it in a bowl of flour and press down the center of each ball, making a deep well in the middle.
- Fill cookie centers generously with Mixed Berry Jam. I use the the same 1/2 teaspoon that use to make the wells in the cookie to add the jam
- Bake 20 minutes or until golden brown and puffy. Let cool 5 min. on baking sheet, then gently transfer to finish cooling on wire rack.
- When cookies are completely cooled, dust with confectioners' sugar. Cookies can be kept in airtight container at room temp for a few days.
Pro Tips
- This cookie dough is less sweet than others, making space for the very sweet mixed berry jam and the generous dusting of powdered sugar at the end.
- These cookies are not intended too brown much, as they're more of a shortbread color so keep and eye on them.
Disclosure + I am a paid partner for Newell Brands, makers of Ball® Fresh Preserving Products. However, all thoughts and opinions expressed are entirely my own.
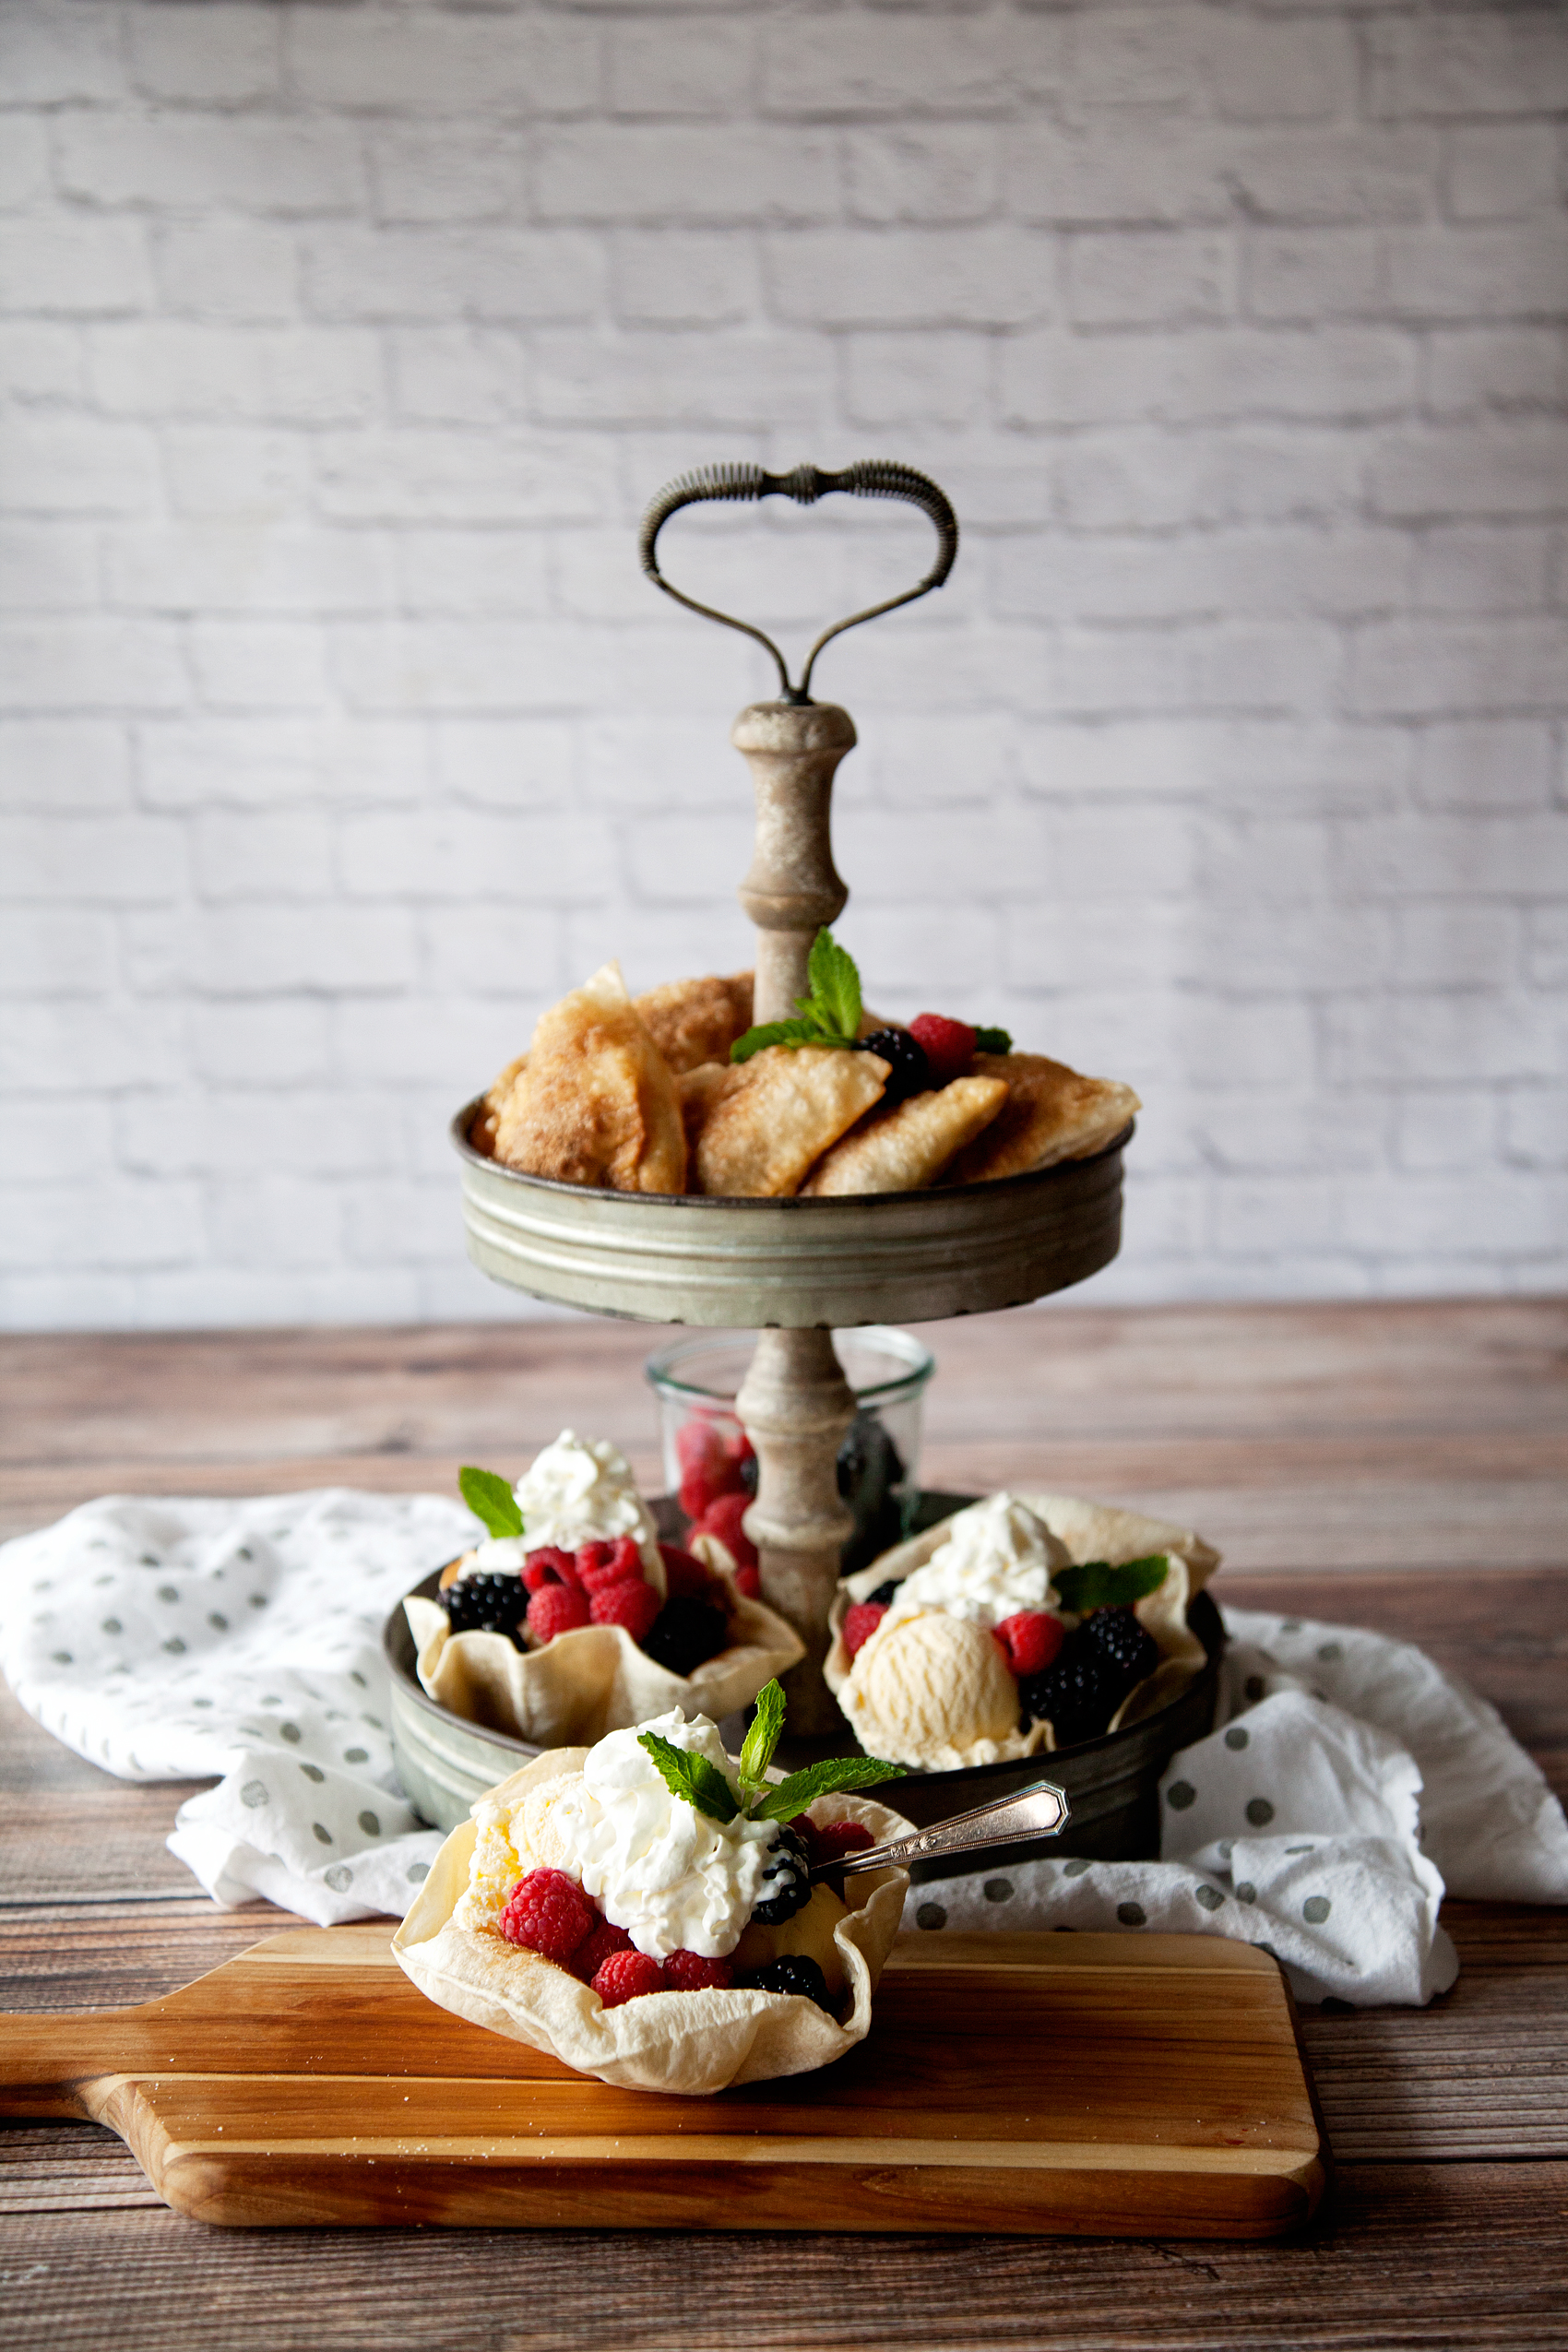
 That’s the key phrase though… JUST FINE. When I prepared my first TortillaLand® tortilla and tasted it, all of a sudden, just fine was no longer good enough. There is magic to cooking your own tortillas. It truly only takes an extra 60 seconds to cook and they taste warm, light, full of the flavor that tortillas are supposed to have. Somehow, unlocking those flavors right before you plan on eating them is the best way to have a tortilla! Whether you are using it for a humble quesadilla or creating some tasty desserts with them, the old saying is true… Fresh is best!