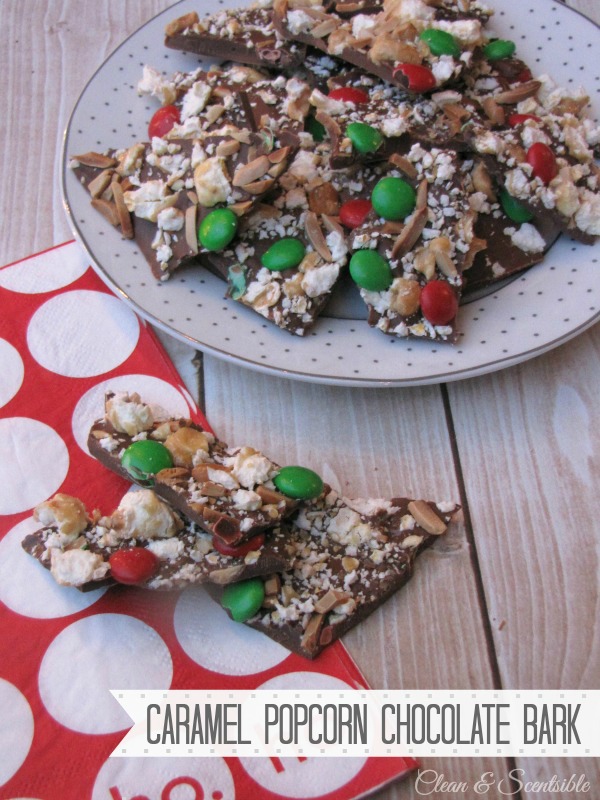
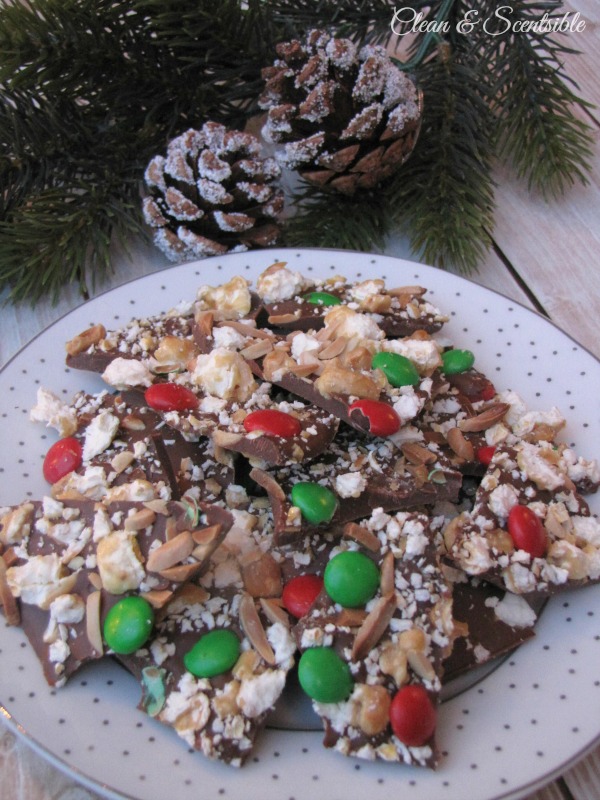
Hello Whipperberry readers! Jenn here again from Clean and Scentsible! With only SIX days left until Christmas, I thought that you might be able to use a quick and easy Christmas treat! This caramel popcorn chocolate bark recipe is SO yummy and would make a great neighbor or hostess gift too!
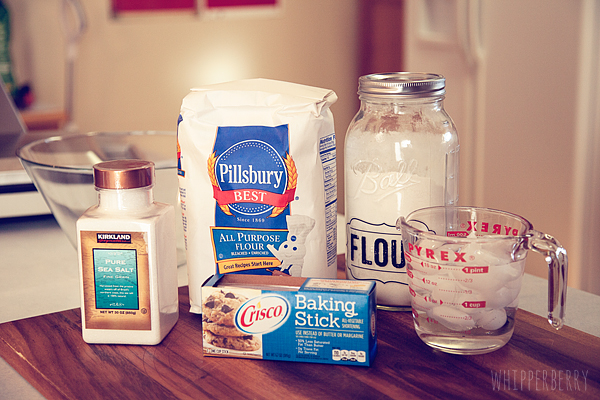
Ingredients
- 600 grams milk chocolate
- 3 cups Crunch N Munch or other caramel popcorn
- 1/2 cup sliced almonds
- chocolate M&Ms
Directions
- Line a baking sheet with parchment or non stick aluminum foil.
- Place sliced almonds on a baking sheet and bake at 350 F. Stir every 2 minutes until golden brown.
- Break the chocolate up into smaller pieces and place in a microwave-safe bowl.
- Melt the chocolate in the microwave on 50% power. Start with 60 seconds, stir, and then continue to microwave in 30 second intervals until melted {stirring well between each interval}. Do not overheat the chocolate!
- Pour the melted chocolate onto the baking sheet and spread with a spatula.
- Place the popcorn into a ziploc bag and crush the popcorn into smaller pieces. Sprinkle over top of the chocolate.
- Add the toasted almonds and M&Ms. Press lightly into the chocolate. Place the baking sheet in the fridge for approximately one hour and then break up the chocolate into pieces.

If you are looking to make this for a gift, head on over to Clean and Scentsible for this cute paper treat box tutorial {and free Christmas tag printable!} All you need is a couple of pieces of scrapbook paper!

I hope you get a chance to stop on by to see some of my other Christmas ideas as well!

Christmas Mantel / Lego Snowglobes / Fun Christmas Breakfast Ideas
You can also always connect with me here: FACEBOOK / PINTEREST / INSTAGRAM / TWITTER
I wish you all a wonderful Christmas season filled with love, family, and happiness! Thanks, as always, to Heather for having me! Merry Christmas!