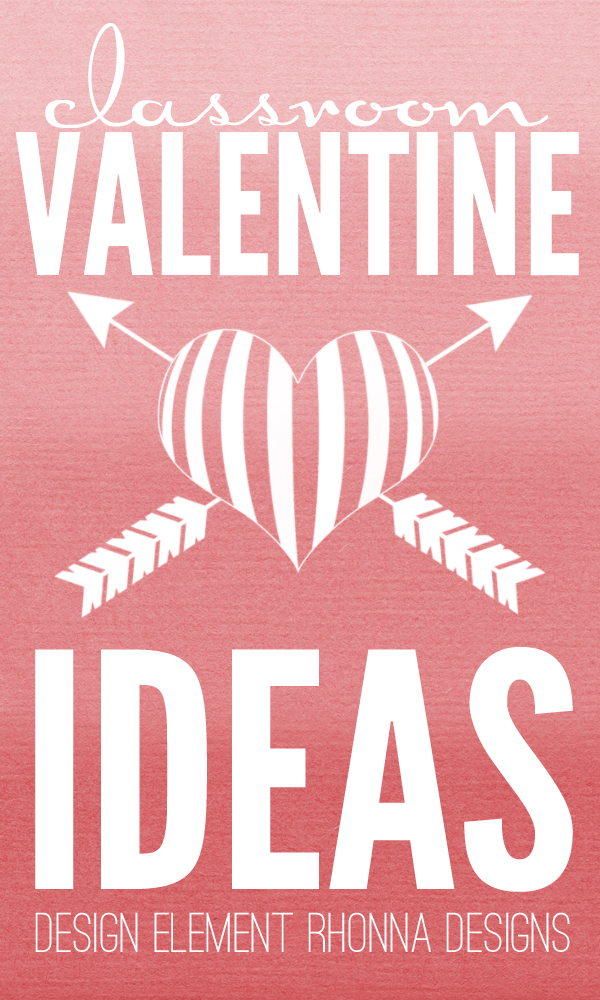
Classroom Valentine's Day Ideas // I have been spending quite a bit of time going through all of the fun link parties that I've hosted over the last several weeks and I found sooooo many fabulous ideas that I thought it would be fun to share them for Valentine's day. Yes, I know that it is a little late for this year, but it's a fabulous way to get ready for next year! Here is the first round… Classroom Valentine Ideas!
Every single one of these ideas are from YOU my Friday Flair friends and those of you who may be new to WhipperBerry who linked up to the Valentine's Day super link party.
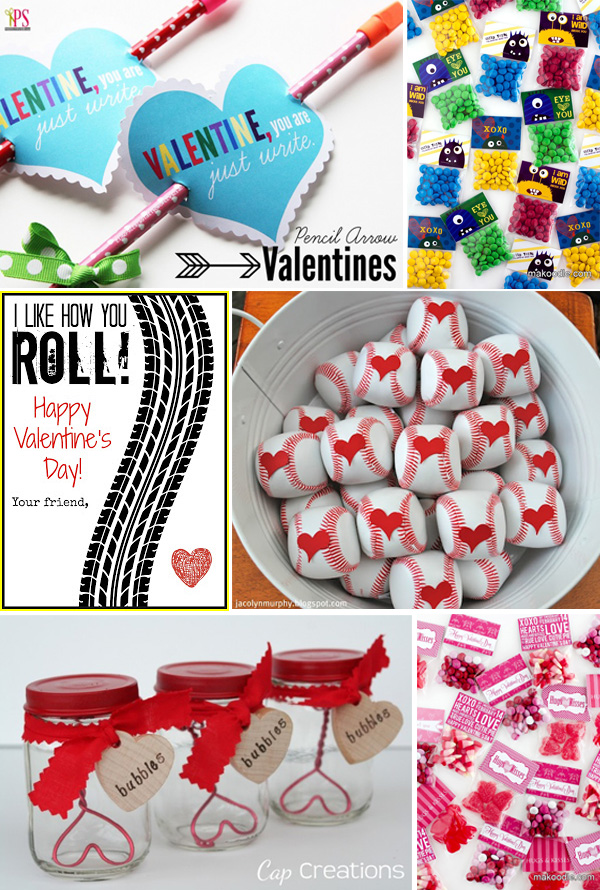
1. positively splendid heart printable 2. makoodle monster treats 3. life, love & leyton i like how you roll 4. worthy of the prize baseball valentine 5. cap creations bubbles 6. makoodle valentine's treat bad toppers
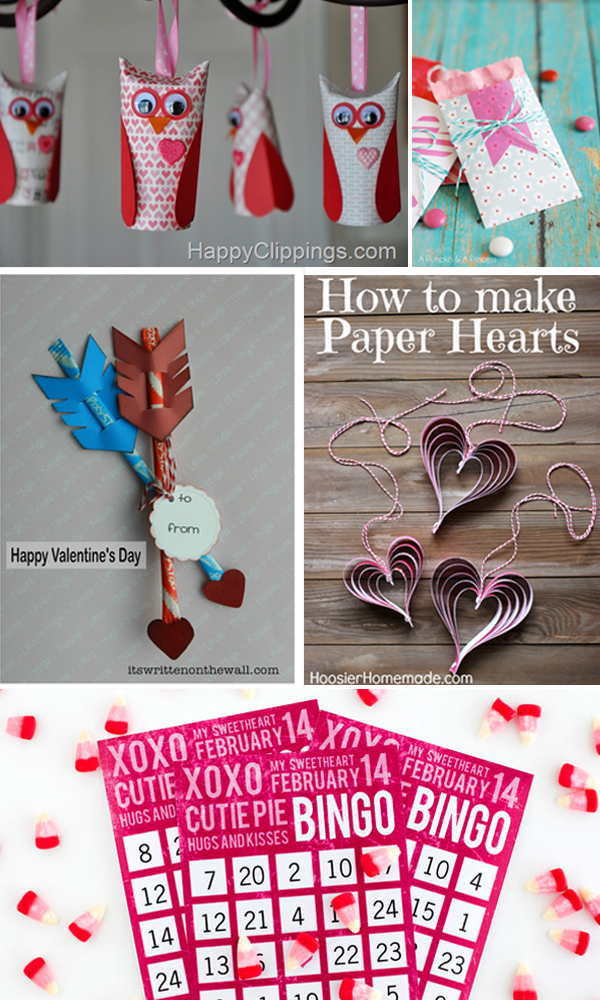
1. happy clippings owls 2. pumpkin & a princess pockets 3. it's written on the wall pixie stick arrows 4. hoosier handmade paper hearts 5. makoodle bingo
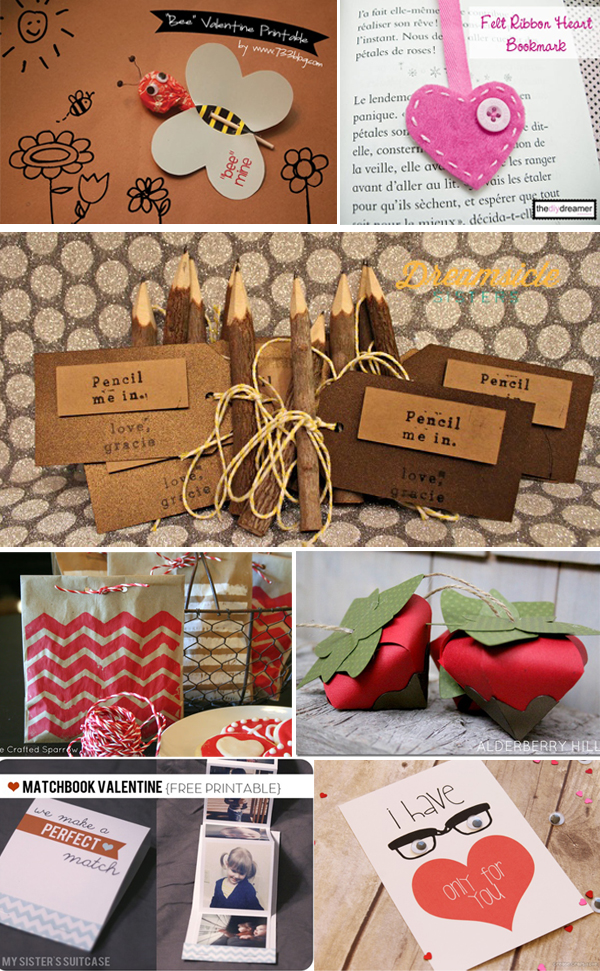
1. seven thirty three bee valentine 2. diy dreamer heart bookmark 3. dreamsicle pencils 4. the crafted sparrow treat bags 5. alderberry hill paper strawberries 6. my sisters suitcase matchbook valentine 7. create craft love eyes for you
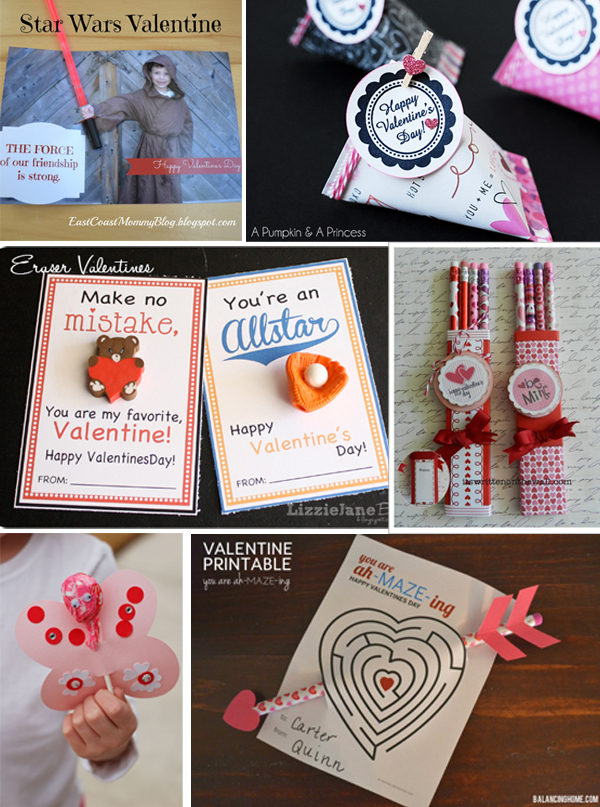
1. east coast mommy star wars 2. pumpkin & a princess paper treats 3. lizzie jane baby eraser valentine's 4. it's written on the wall pencil box 6. all things simple butterfly 7. balancing home maze valentine
Thank you all so much for sharing your amazing ideas with us all!!