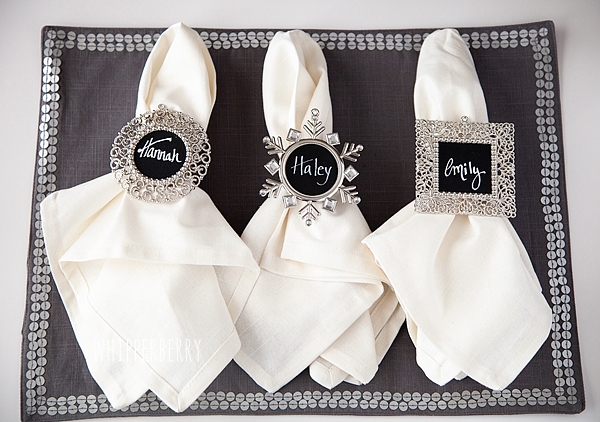
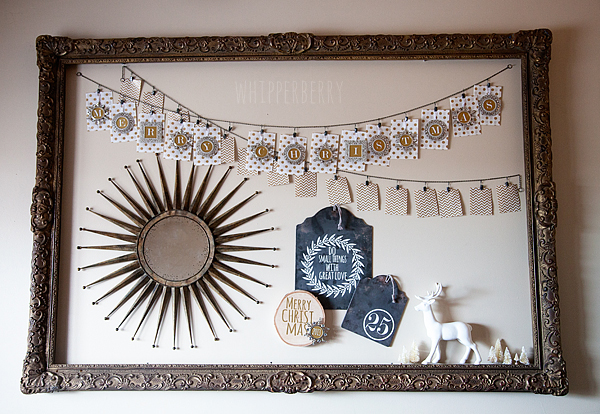
Silhouette Black Friday // It's HERE!! The best day of the crafting year…
So… Here's the skinny…
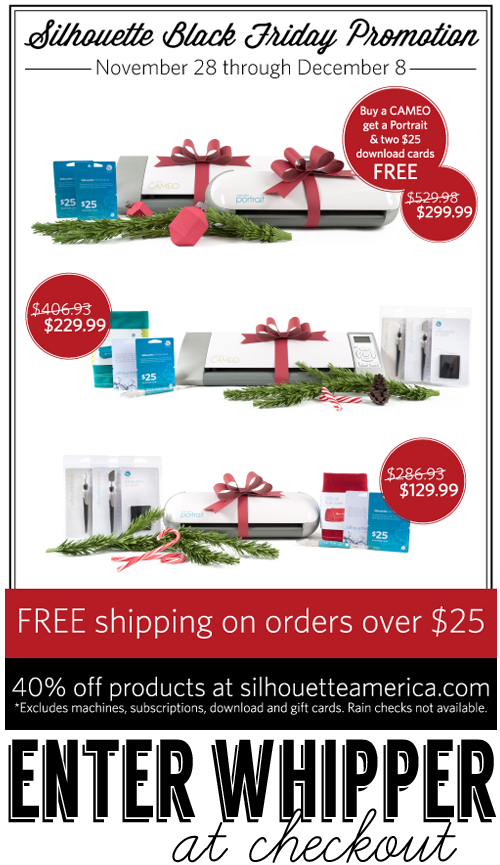
(1) A Silhouette CAMEO®, Silhouette Studio® Designer Edition Software, a dust cover (the color is decided by Silhouette), a $25 download card, a hook, a scraper, a spatula, and a pick-me-up® tool for $229.99. Retail price for all of this would total $406.93 (over 40% savings!)
(2) A Silhouette Portrait®, Silhouette Studio® Designer Edition Software, a dust cover (the color is decided by Silhouette), a $25 download card, a hook, a scraper, a spatula, and a pick-me-up® tool for $129.99. Retail price for all of this would total $286.93 (over 40% savings!)
(3) A Silhouette CAMEO®, a Silhouette Portrait®, and two $25 download cards for $299.99. That’s right: If you buy a Silhouette CAMEO® at full price, you get two $25 download cards and a Silhouette Portrait® ABSOLUTELY FREE! Retail price for all of this would be $406.93 (over 40% savings!)
(4) 40% off consumable products at silhouetteamerica.com. This excludes machines, subscriptions, download and gift cards. Cannot be combined with any other offers. Rain checks not available.
(5) FREE SHIPPING on orders over $25.
Click HERE to enter Silhouette Black Friday Site!
Don't forget to enter WHIPPER to receive the special deals.
ALSO… Congrats goes to Katie L. you've won the Silhouette CAMEO from last week's CAMEO giveaway. You'll receive an email from me will all the goodies.
Happy Shopping!