• Skip to primary navigation
  • Skip to main content
  • Skip to primary sidebar
  • Skip to footer

Whipperberry

WhipperBerry • Your Home For Creative Inspiration

  • Home
  • Recipes
    • Starters
    • Easy Weeknight Dinners
    • Main Dish
    • Salads
    • Side Dish
    • Soups & Stews
    • Desserts
    • Breakfast
    • Miscellaneous
  • Tutorials
    • Creative Crafts
    • DIY Decor
    • Fabric Crafts
    • Food How-To
    • Jewlery
    • Paint Projects
    • Paper Art
    • Party Styling
    • Photography and Graphic Design
    • Silhouette
  • Holidays
    • Easter
    • Mother’s Day
    • Father’s Day
    • 4th of July
    • Halloween
    • Thanksgiving
    • Christmas
    • Valentine’s Day
  • Gift Ideas
    • Gifts For Everyone
    • Gifts for Dad
    • Mother’s day
    • For The Girls
    • For The Kids
    • Teacher Gift Ideas
    • Christmas
  • Printables
    • Holiday
    • Gift Idea
    • LDS Primary
  • Travel
  • About
    • Terms
  • Contact
  • Nav Social Menu

    • Facebook
    • Instagram
    • Pinterest
    • RSS
    • Twitter

Gift Giving

White Chocolate Ginger Scone Mix In A Jar 

50 · Nov 6, 2018 · 6 Comments

This post is brought to you by Ball® Fresh Preserving Products by Newell Brands

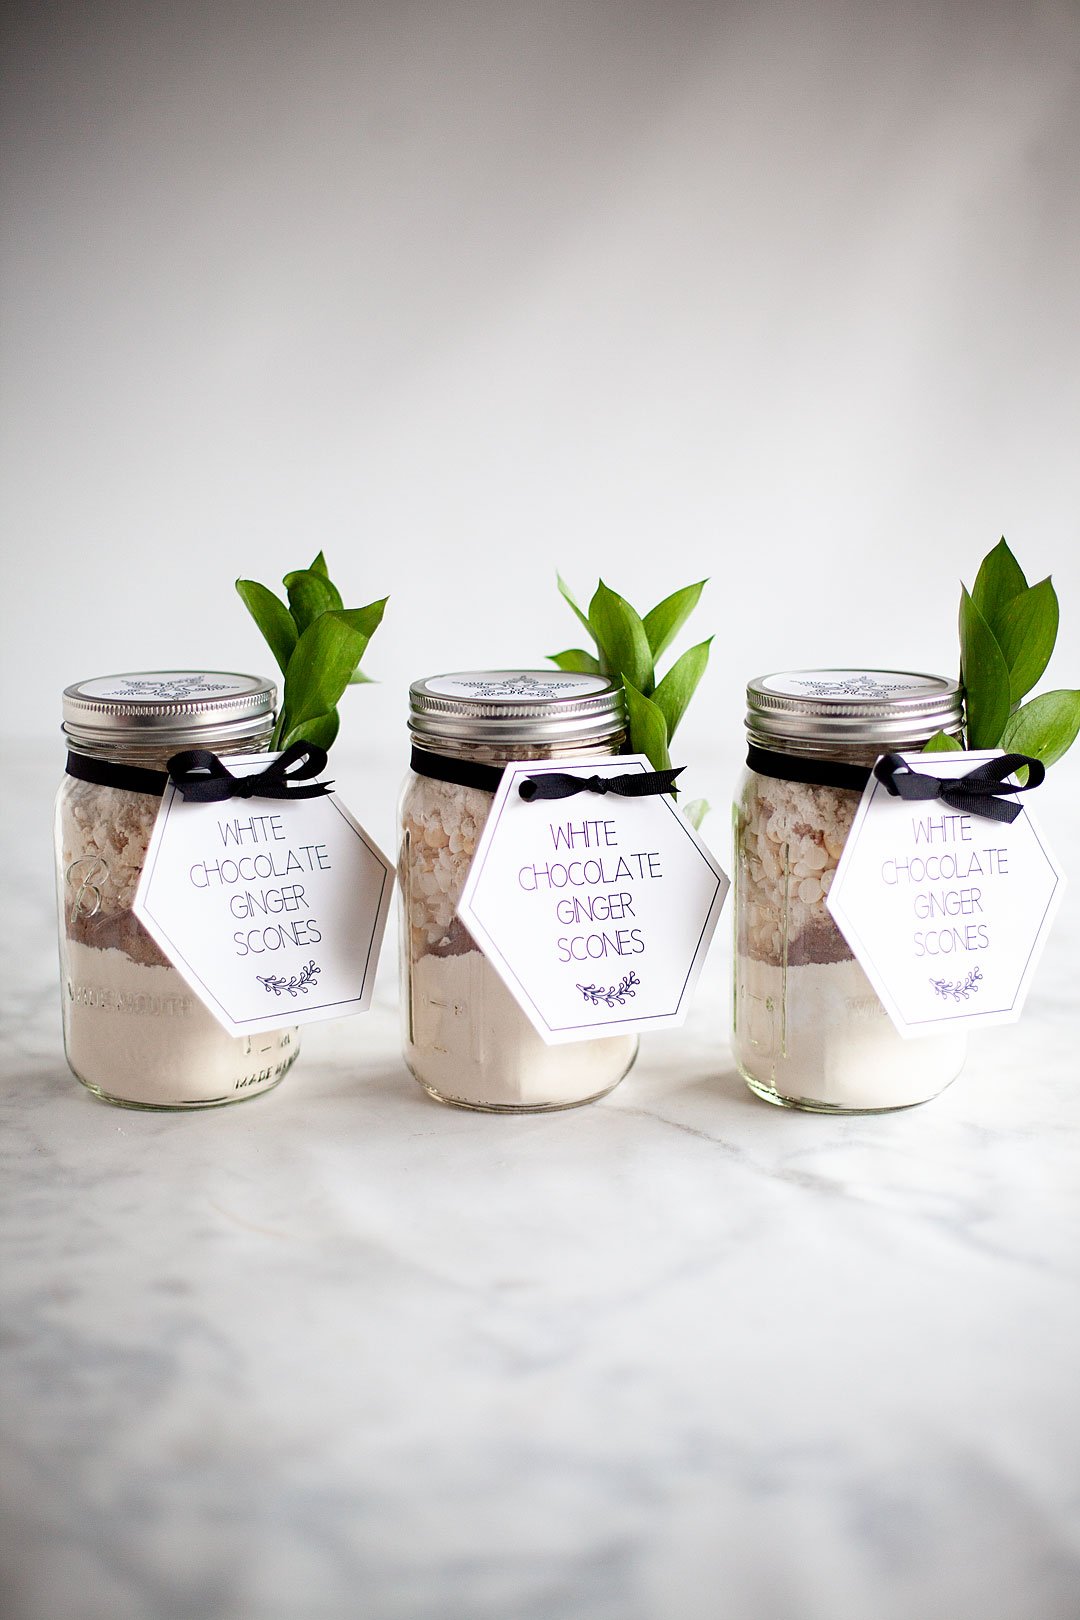
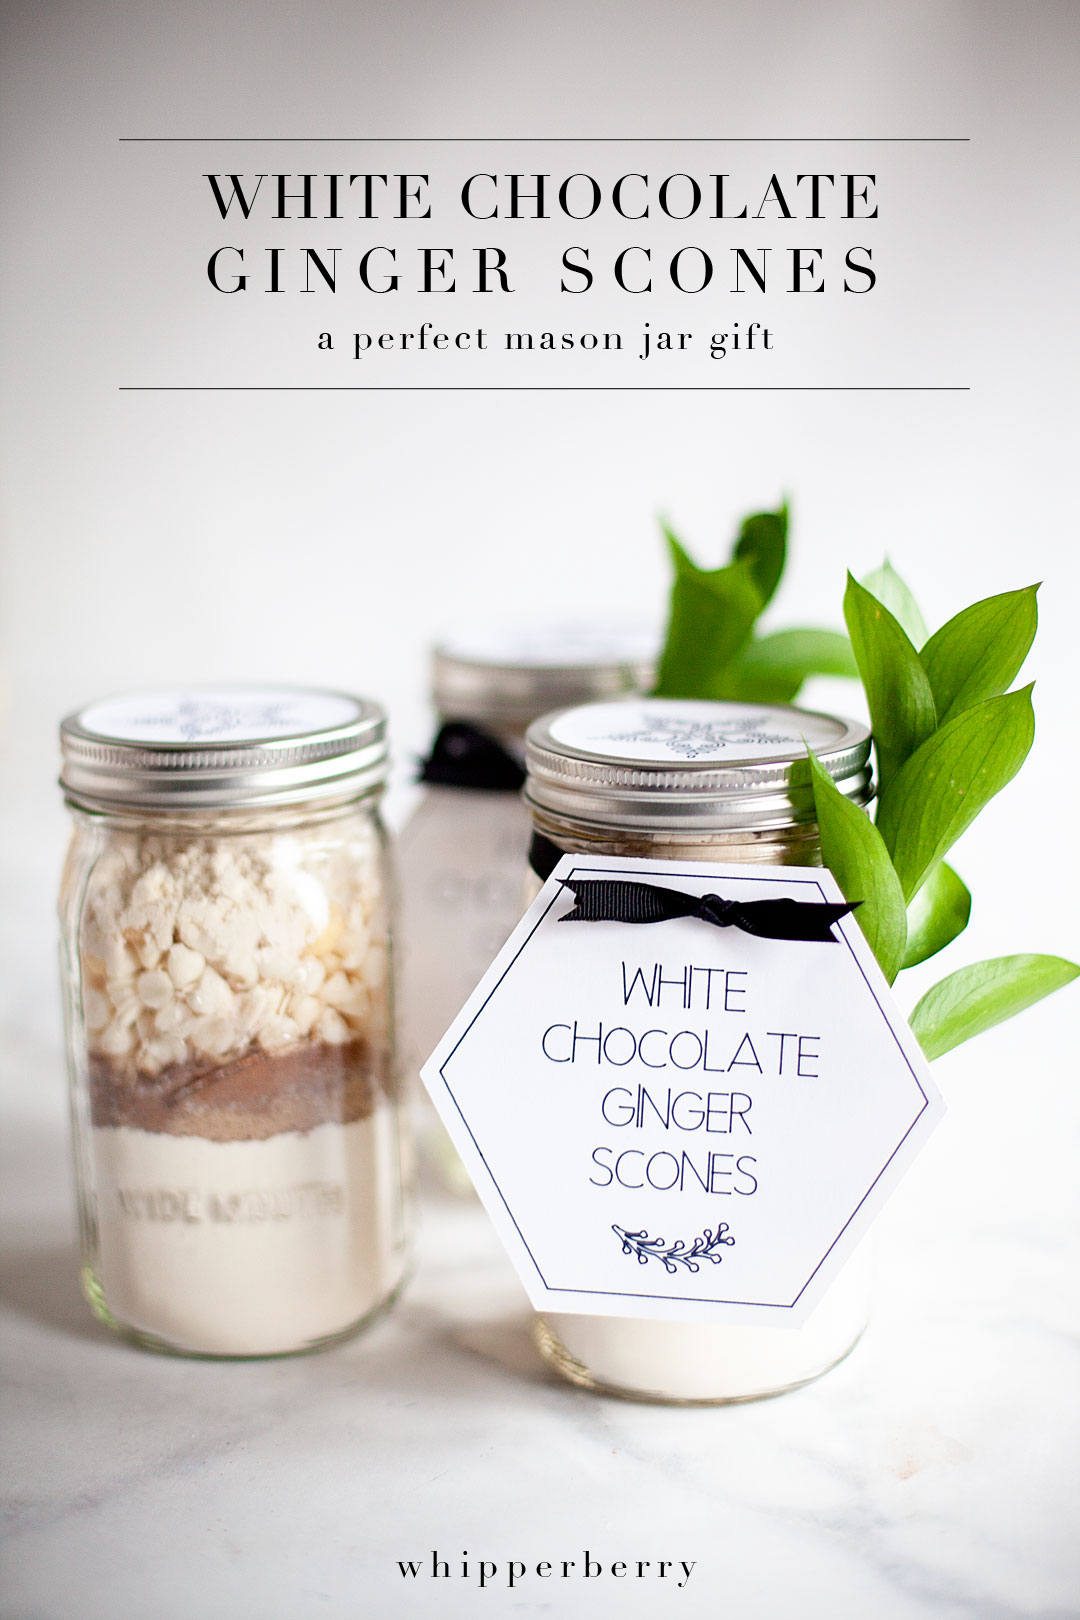
When it comes to Holiday gifting, I wholeheartedly believe the best friend, neighbor, co-worker, and teacher gifts come wrapped in a jar. Don’t you? Scrumptious jellies, jams, preserved fruit, and veggies. Not to mention; candies, cookies, fudge, cupcakes, rolls… I could go on and on. I LOVE what you can do with a simple Ball® Mason Jar. This year, I’m working on all kinds of fun gifts for the Holidays that will look spectacular gifted inside of a jar. One of my favorites is the White Chocolate Ginger Scone Mix in a jar. It’s really easy to put together a whole bunch of these gifts and really not expensive at all. It’s always a bonus to save a little money during the holidays.

This year, I’m working on all kinds of fun gifts for the Holidays that will look spectacular gifted inside of a jar. One of my favorites is the White Chocolate Ginger Scone Mix in a jar. It’s really easy to put together a whole bunch of these gifts and really not expensive at all. It’s always a bonus to save a little money during the holidays. @ballcanning #giftsinajar #neighborgifts #teachergifts #sconeinajar

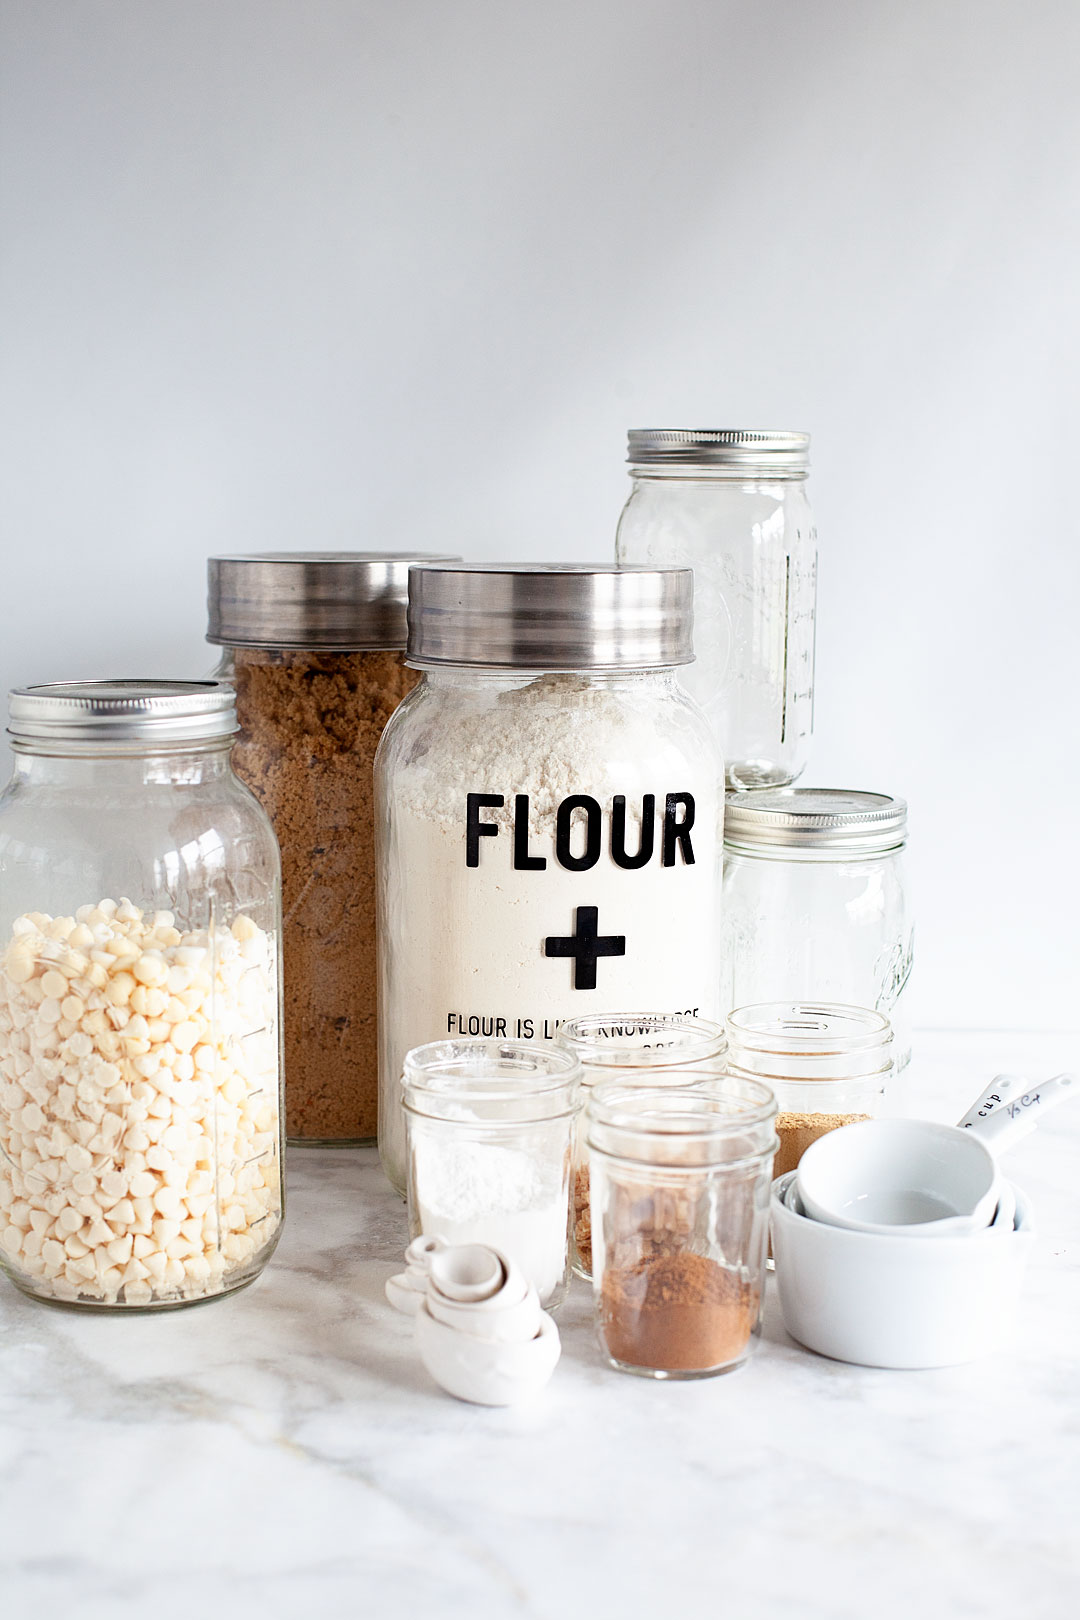
To put these together you will need to gather a few ingredients, grab some classic BALL® WIDE MOUTH QUART JARS and in no time you’ll have a bunch of scrumptious gifts to share with your friends and neighbors. Here’s what you need…

White Chocolate Ginger Scones Mix Supplies

This year, I’m working on all kinds of fun gifts for the Holidays that will look spectacular gifted inside of a jar. One of my favorites is the White Chocolate Ginger Scone Mix in a jar. It’s really easy to put together a whole bunch of these gifts and really not expensive at all. It’s always a bonus to save a little money during the holidays. @ballcanning #giftsinajar #neighborgifts #teachergifts #sconeinajar

  • BALL® HOME CANNING FUNNEL
  • 2 tsp Ginger, ground
  • 3 3/4 cups All-purpose flour
  • 2 Tbsp Baking powder
  • 1/4 tsp Baking soda
  • 1/2 cup Brown sugar, packed
  • 1 tsp Cinnamon, ground
  • 1/4 tsp Cloves, ground
  • 1/4 tsp Nutmeg, ground
  • 1/2  tsp Salt
  • 1 cup White Chocolate Chips
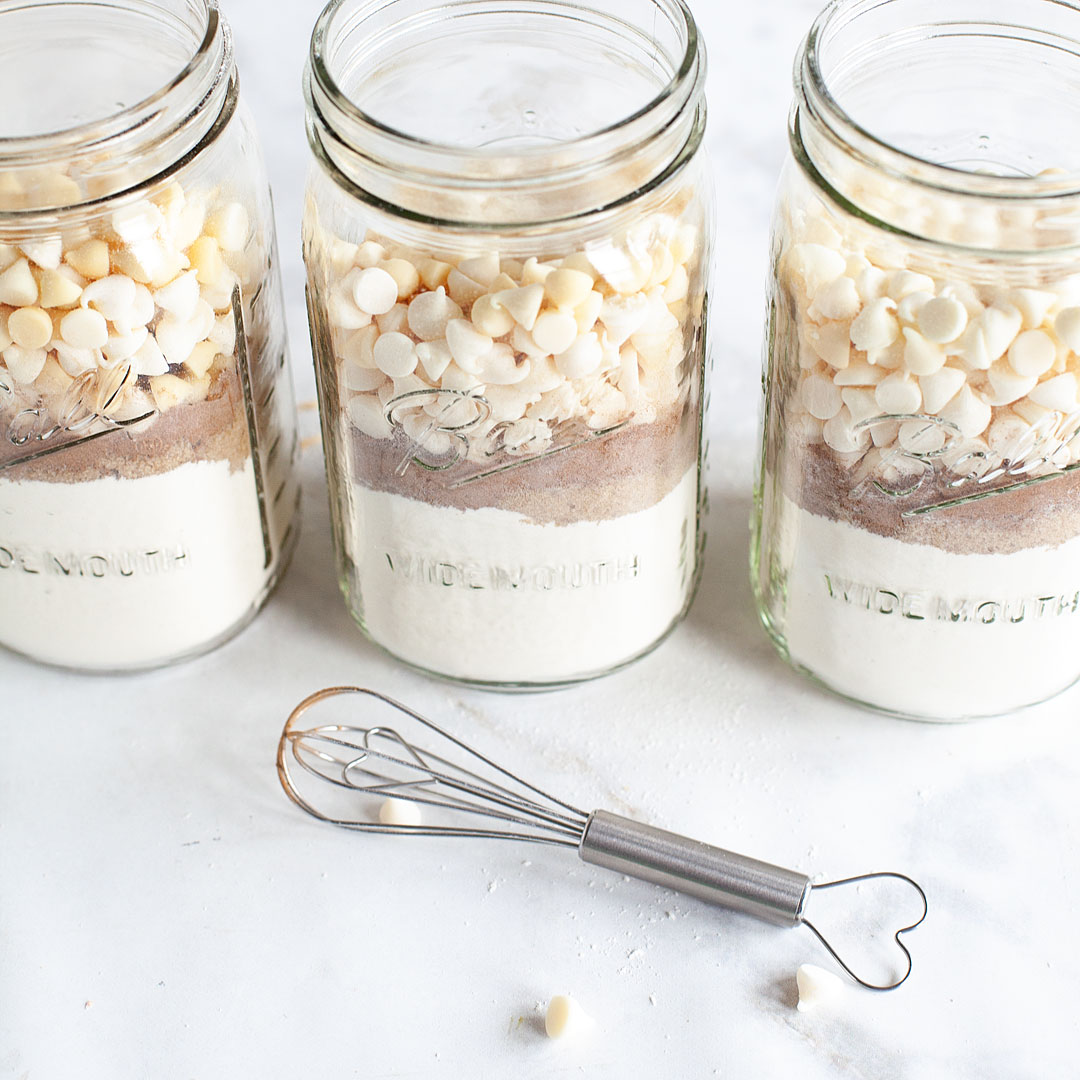
  • 3 – Quart size wide-mouth Ball® Jars
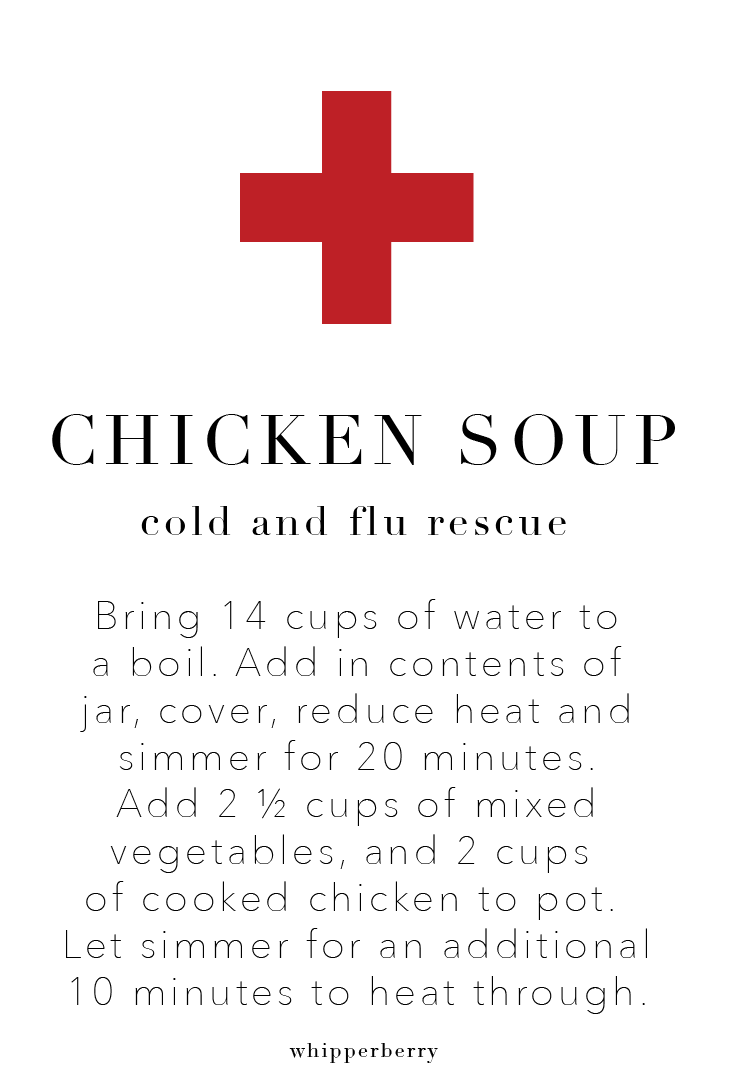
  • Printed copies of the baking instructions and labels on card stock paper
  • Ribbon
  • Greenery

Instructions

Now, this project makes 3-quart jars, however, feel free to double, triple… quadruple the recipe to make however many you need. 

This year, I’m working on all kinds of fun gifts for the Holidays that will look spectacular gifted inside of a jar. One of my favorites is the White Chocolate Ginger Scone Mix in a jar. It’s really easy to put together a whole bunch of these gifts and really not expensive at all. It’s always a bonus to save a little money during the holidays. @ballcanning #giftsinajar #neighborgifts #teachergifts #sconeinajar

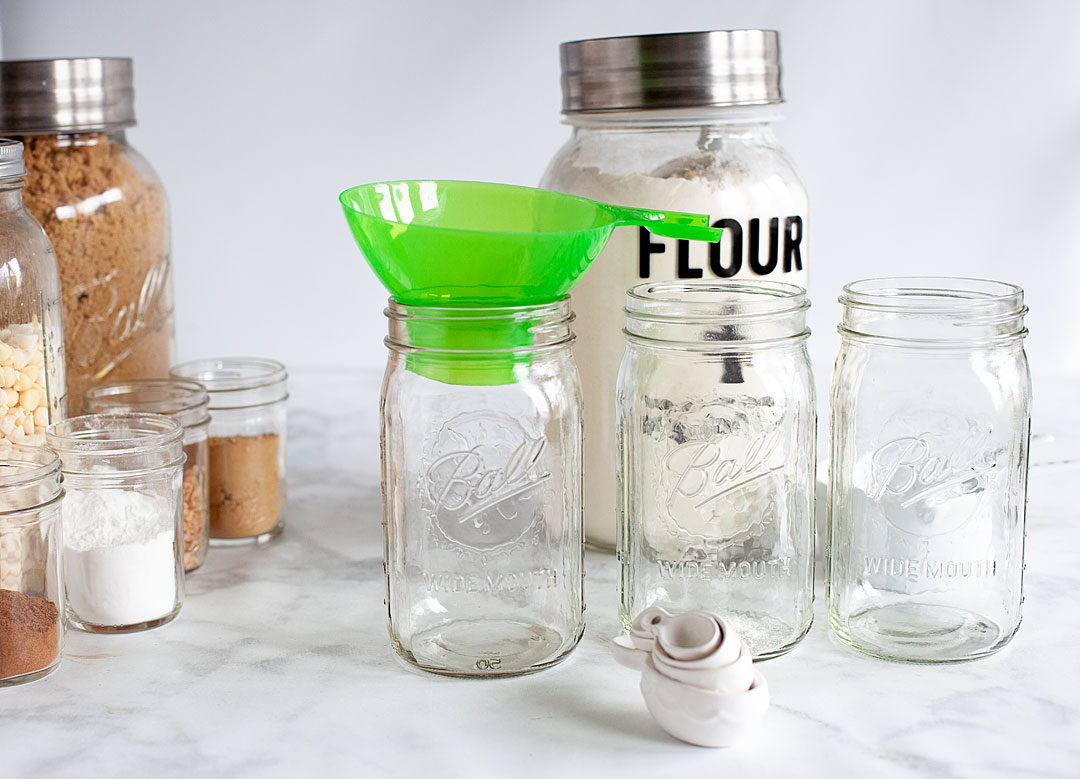
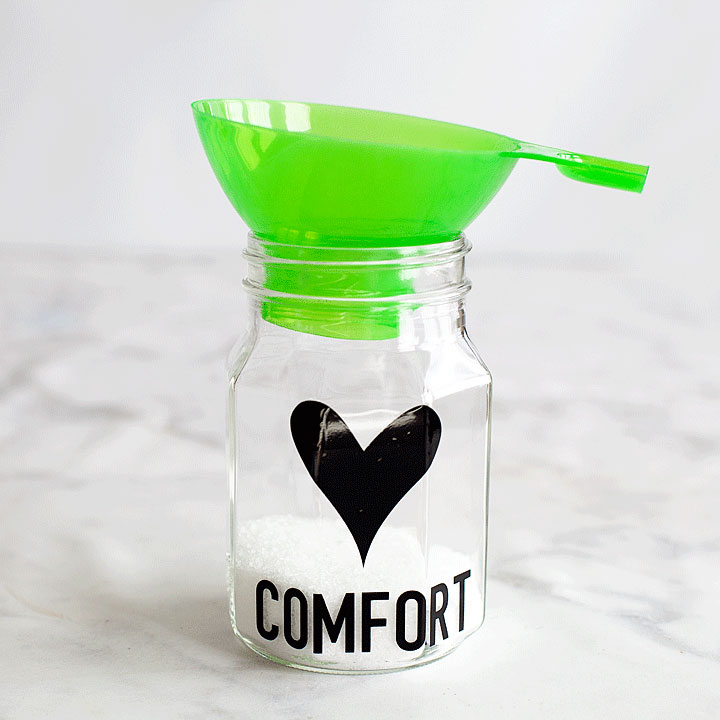
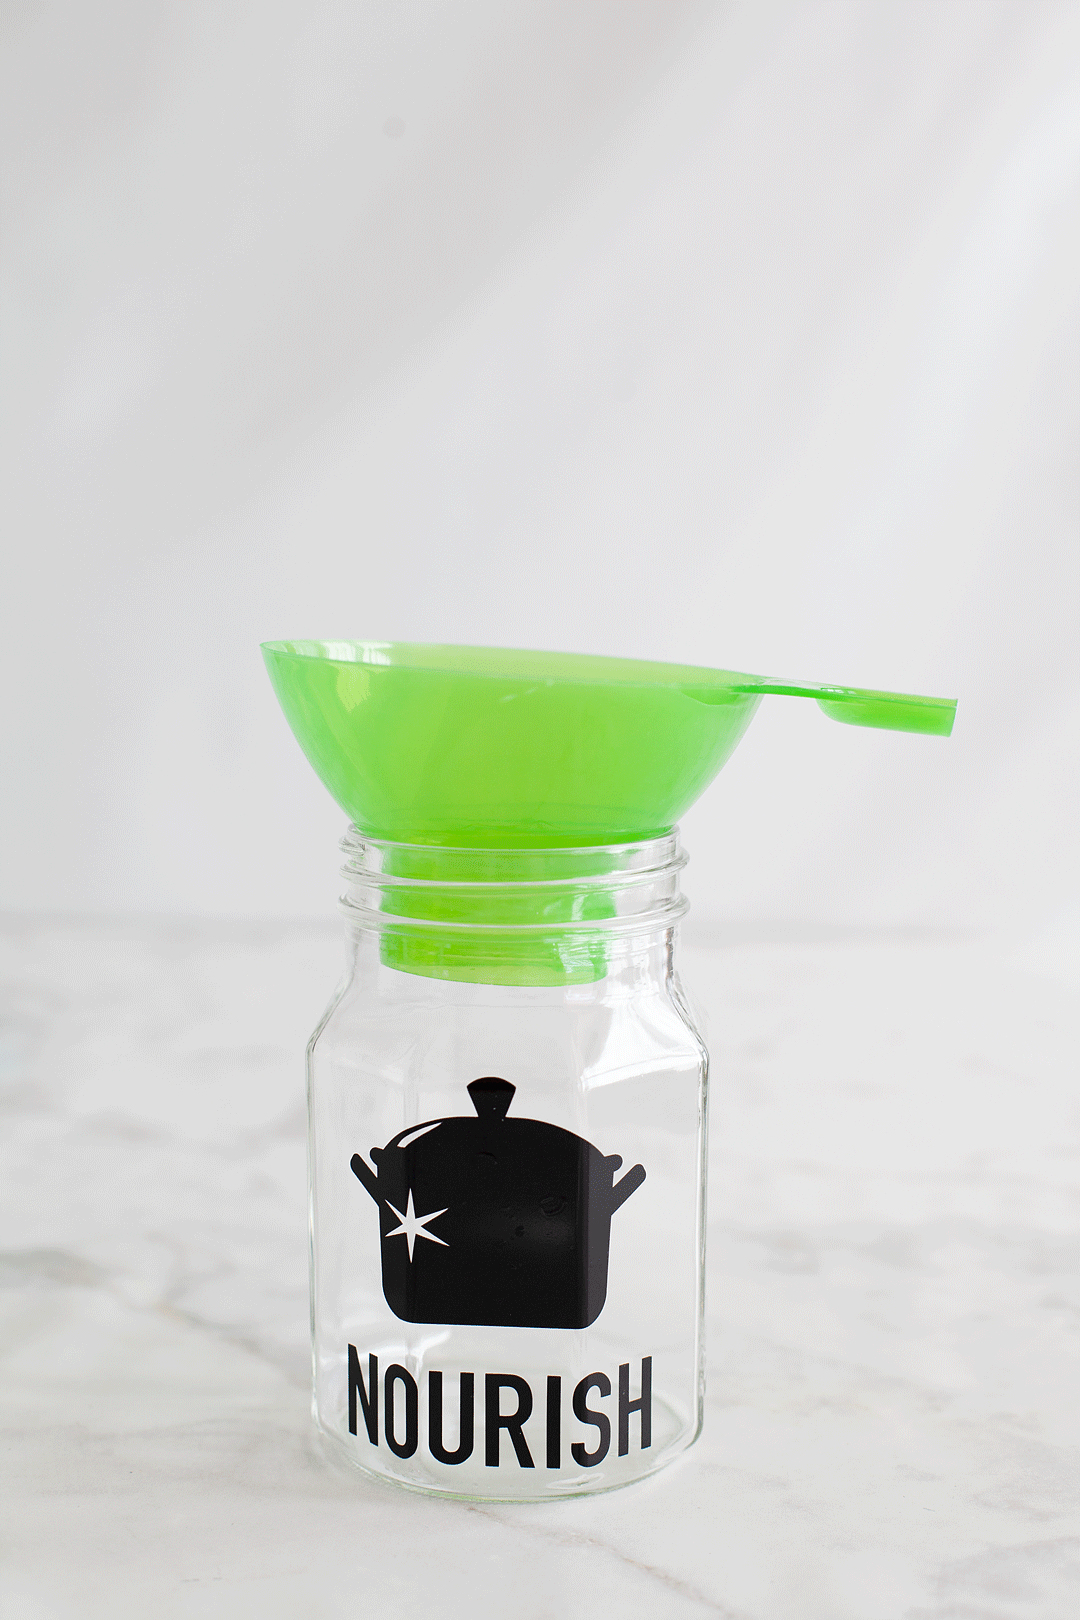
One tool I find invaluable when creating gifts like this is my handy funnel. I love this thing! It’s specially designed for wide mouth mason jars and it helps so much with keeping the mess down, not to mention wasted ingredients. 

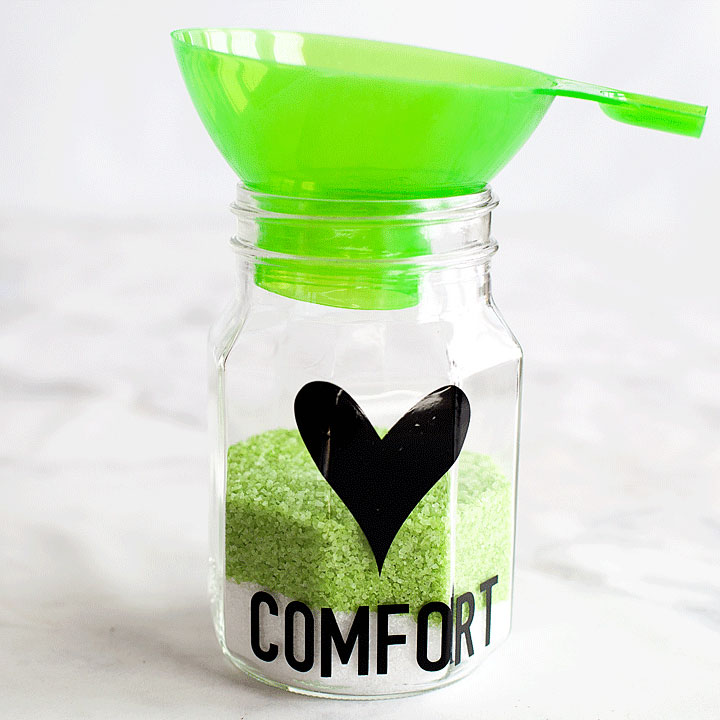
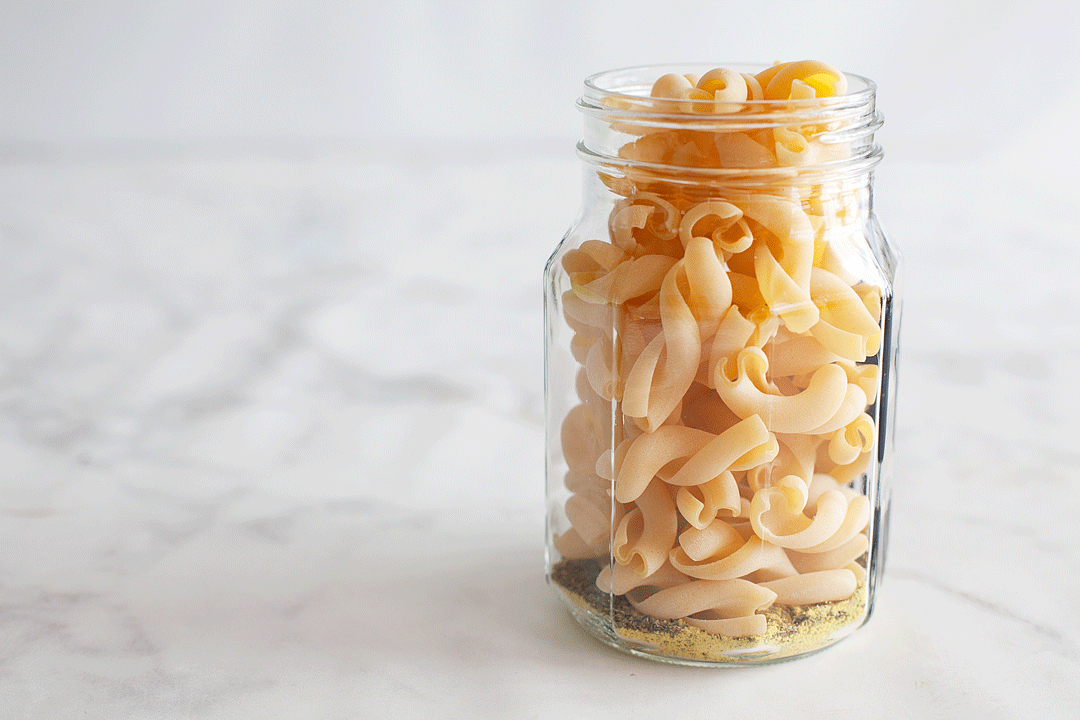
I like to line up my jars like an assembly line and then layer each ingredient. 

This year, I’m working on all kinds of fun gifts for the Holidays that will look spectacular gifted inside of a jar. One of my favorites is the White Chocolate Ginger Scone Mix in a jar. It’s really easy to put together a whole bunch of these gifts and really not expensive at all. It’s always a bonus to save a little money during the holidays. @ballcanning #giftsinajar #neighborgifts #teachergifts #sconeinajar

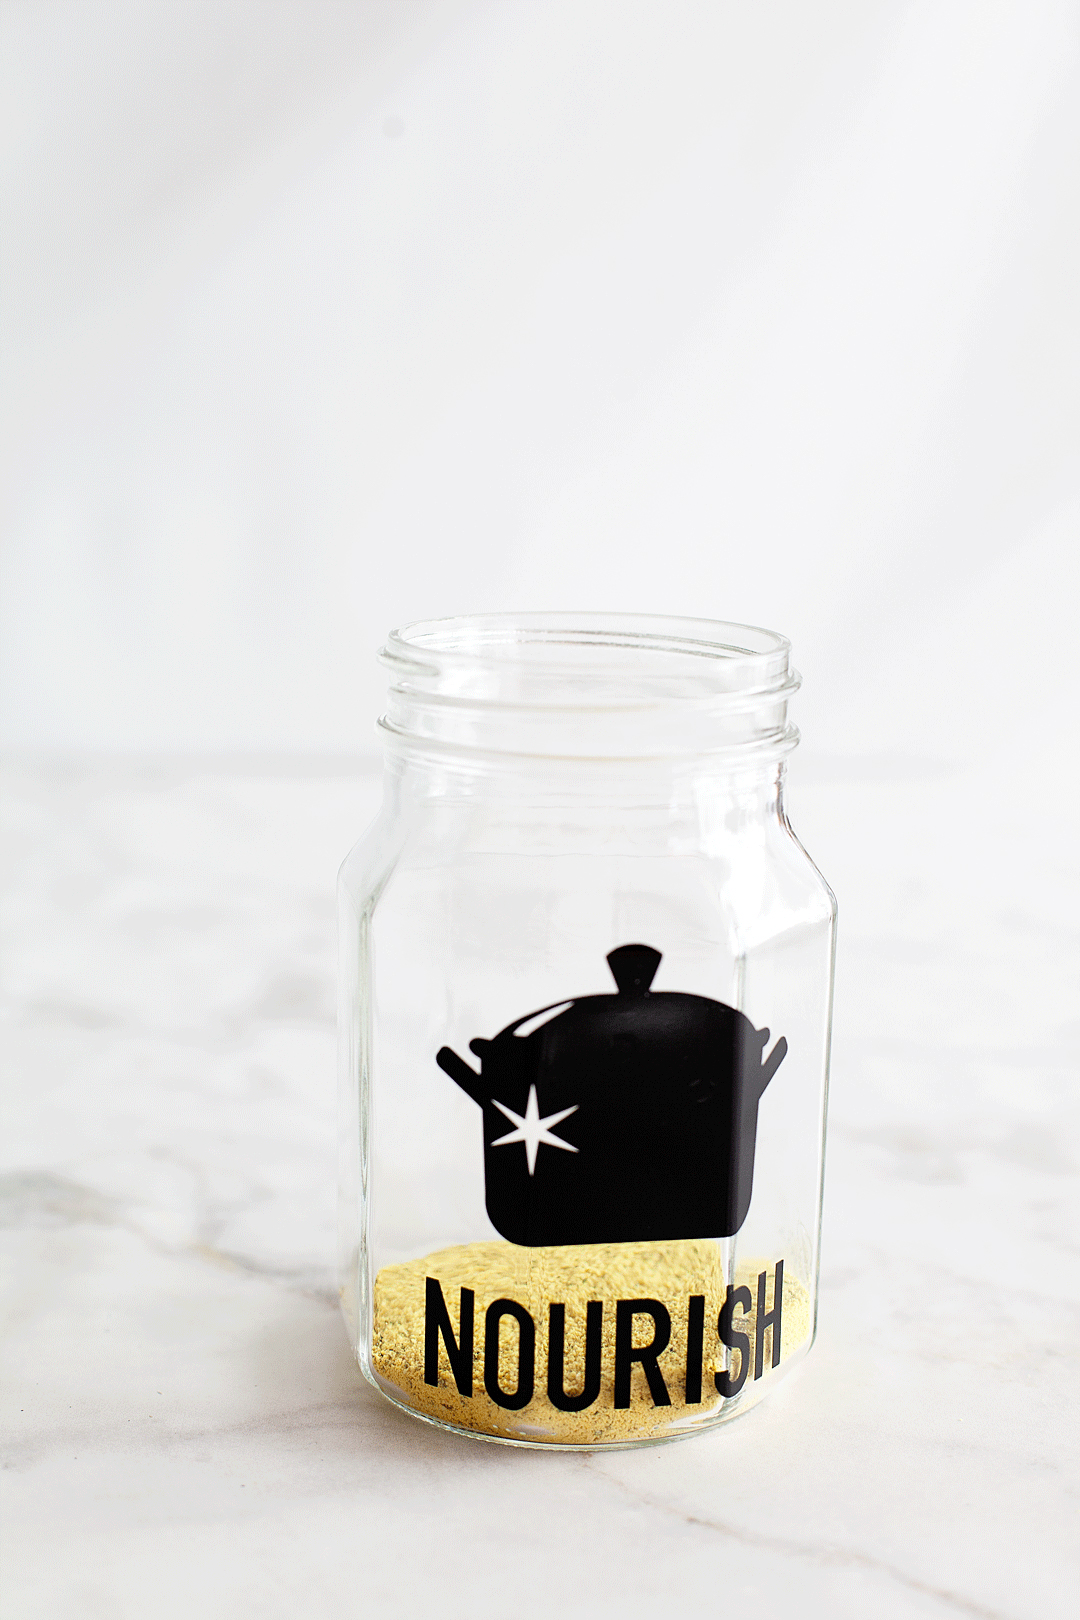
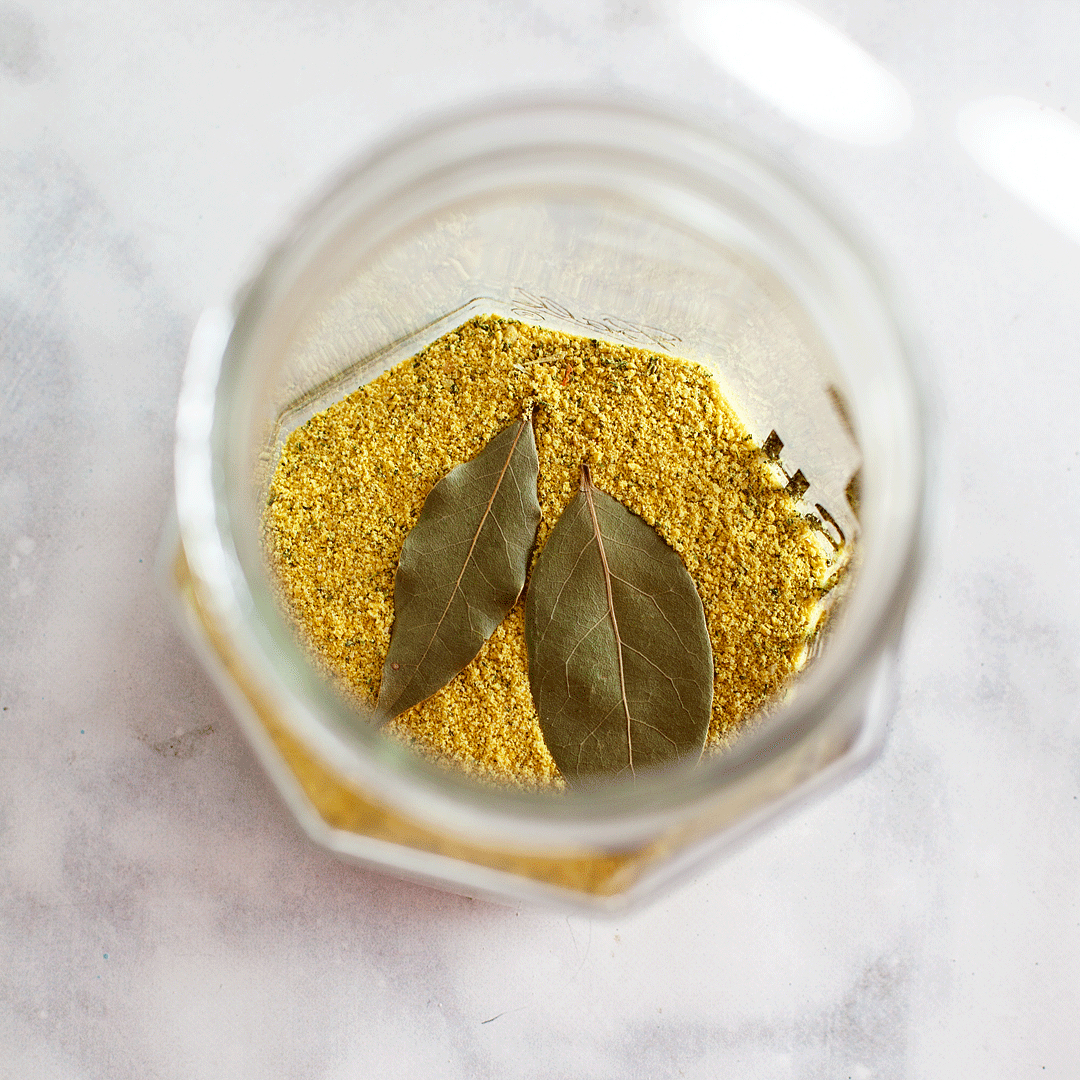
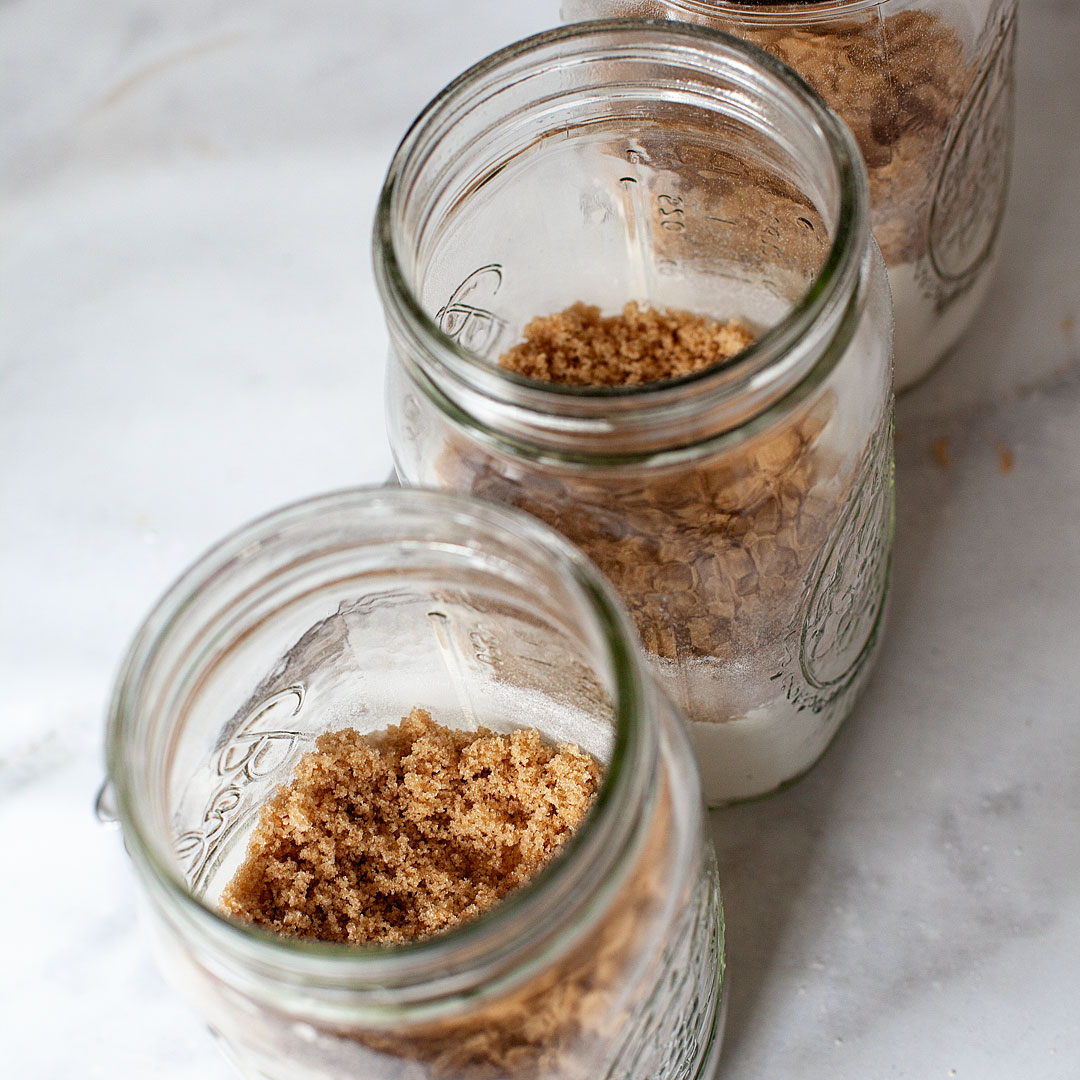
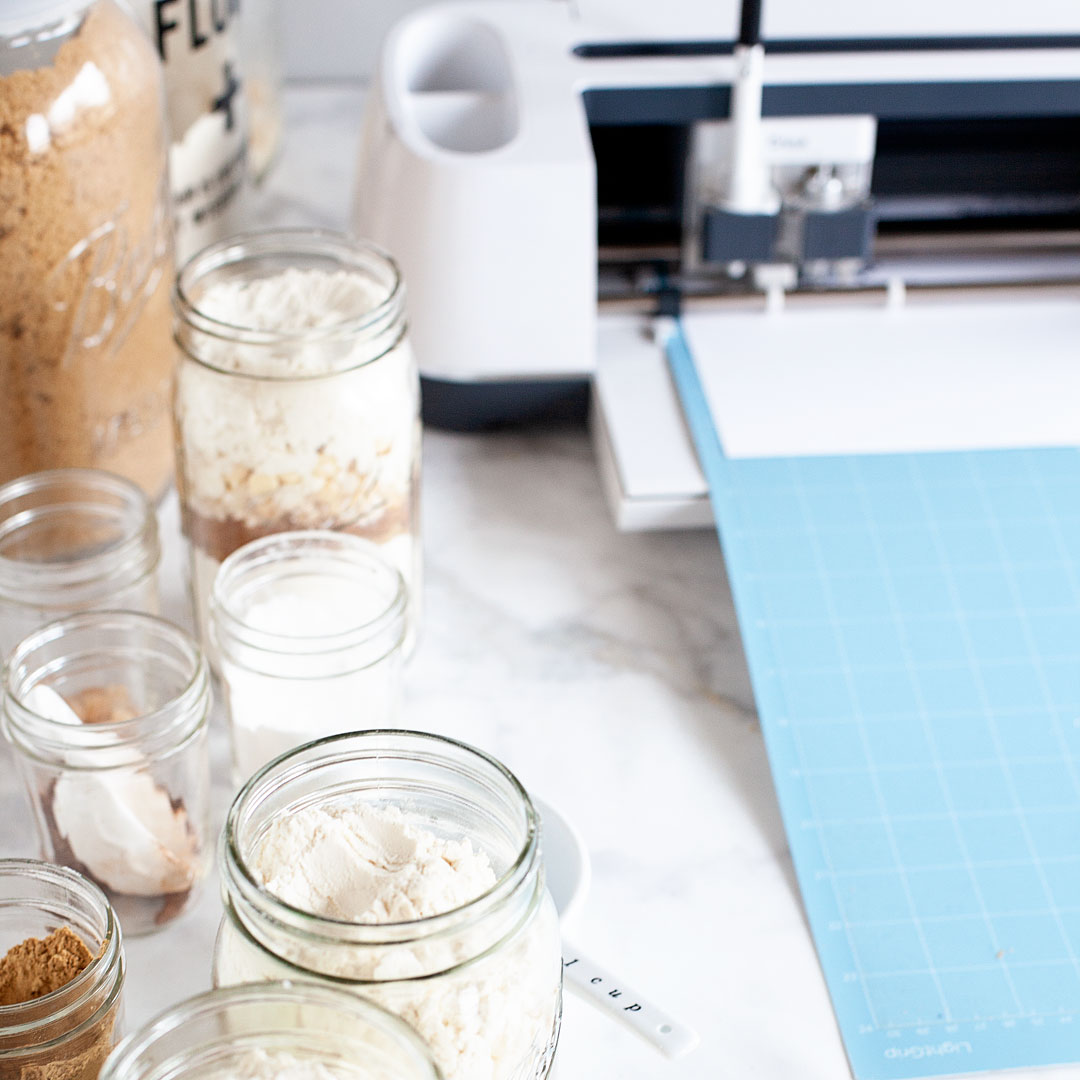
I start with the flour, baking powder, and baking soda. In a small bowl, I combine those three ingredients and then evenly distribute them into the 3 jars.

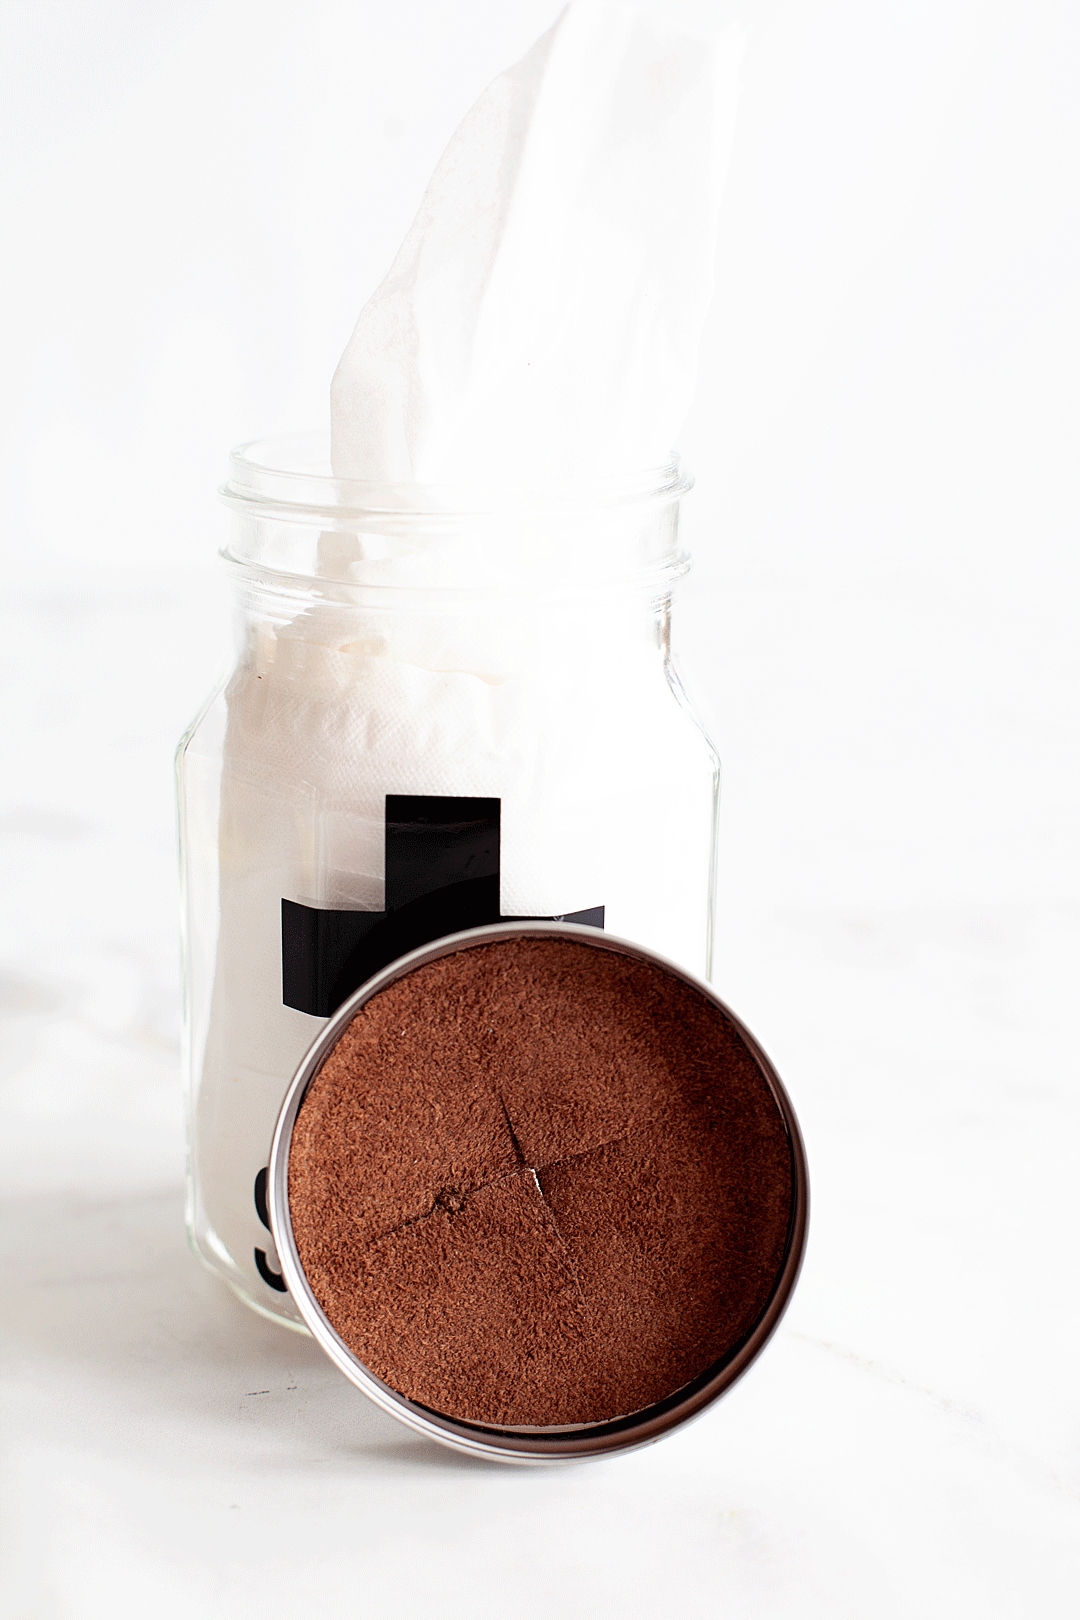
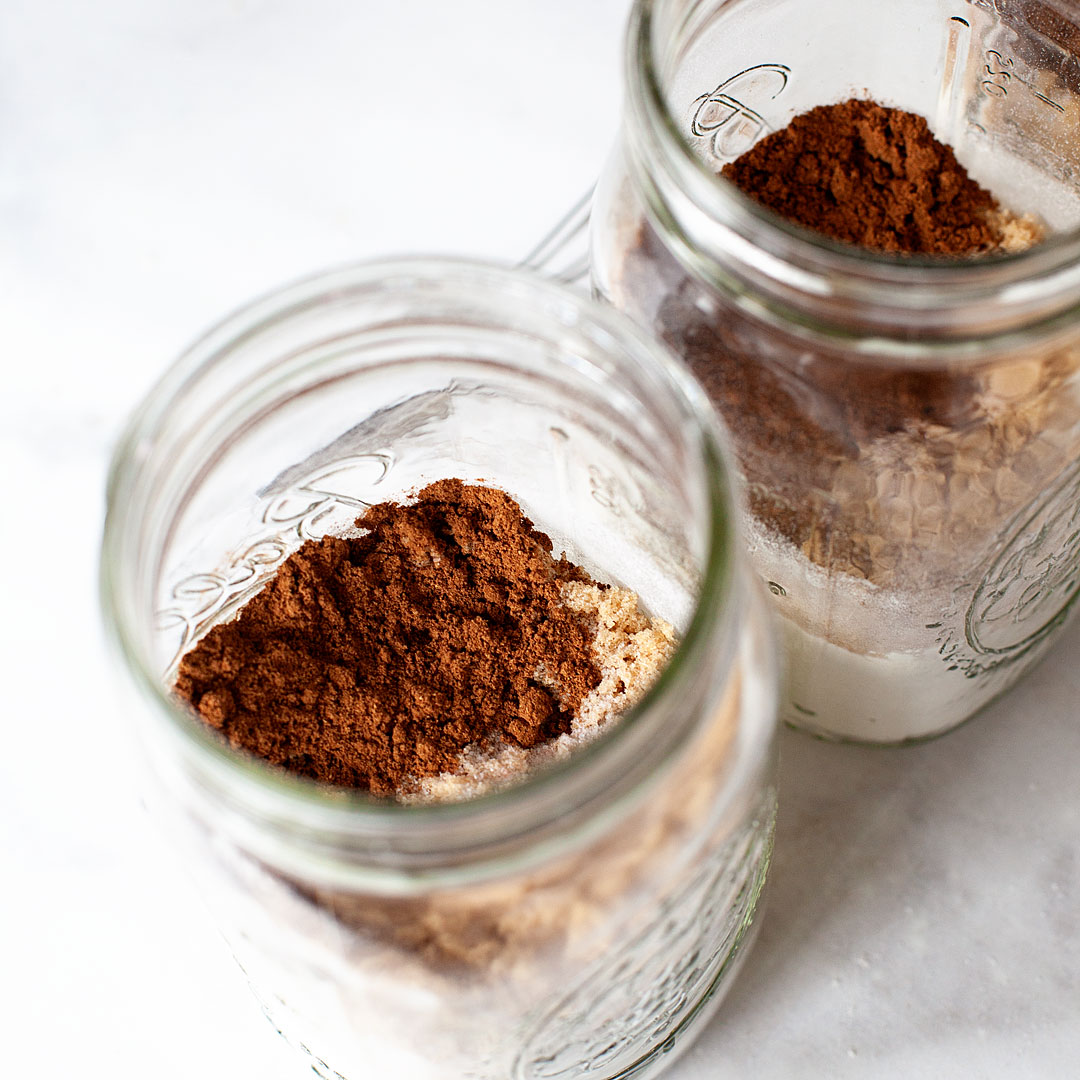
Next, I add the brown sugar, then the spices & salt.

This year, I’m working on all kinds of fun gifts for the Holidays that will look spectacular gifted inside of a jar. One of my favorites is the White Chocolate Ginger Scone Mix in a jar. It’s really easy to put together a whole bunch of these gifts and really not expensive at all. It’s always a bonus to save a little money during the holidays. @ballcanning #giftsinajar #neighborgifts #teachergifts #sconeinajarThis year, I’m working on all kinds of fun gifts for the Holidays that will look spectacular gifted inside of a jar. One of my favorites is the White Chocolate Ginger Scone Mix in a jar. It’s really easy to put together a whole bunch of these gifts and really not expensive at all. It’s always a bonus to save a little money during the holidays. @ballcanning #giftsinajar #neighborgifts #teachergifts #sconeinajar

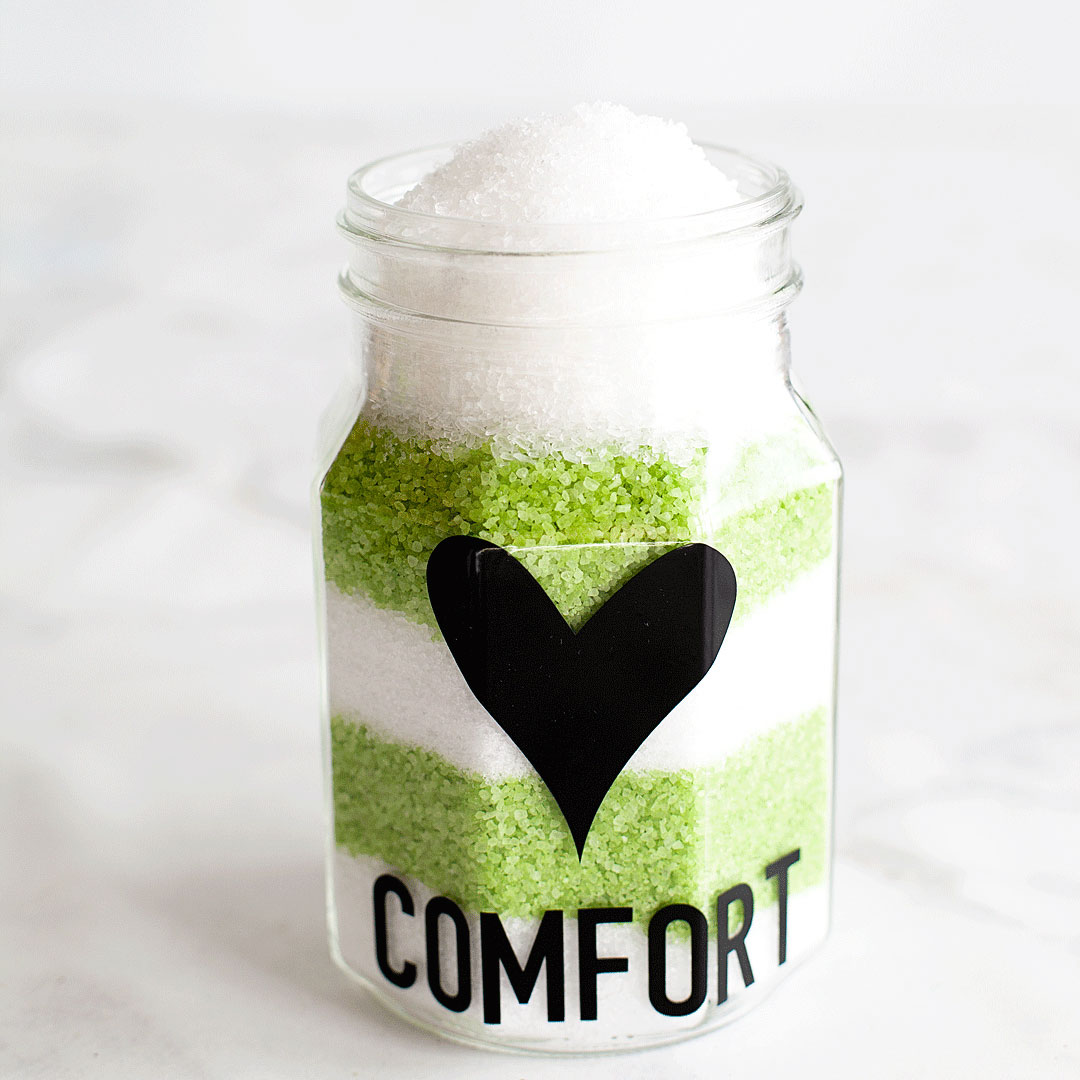
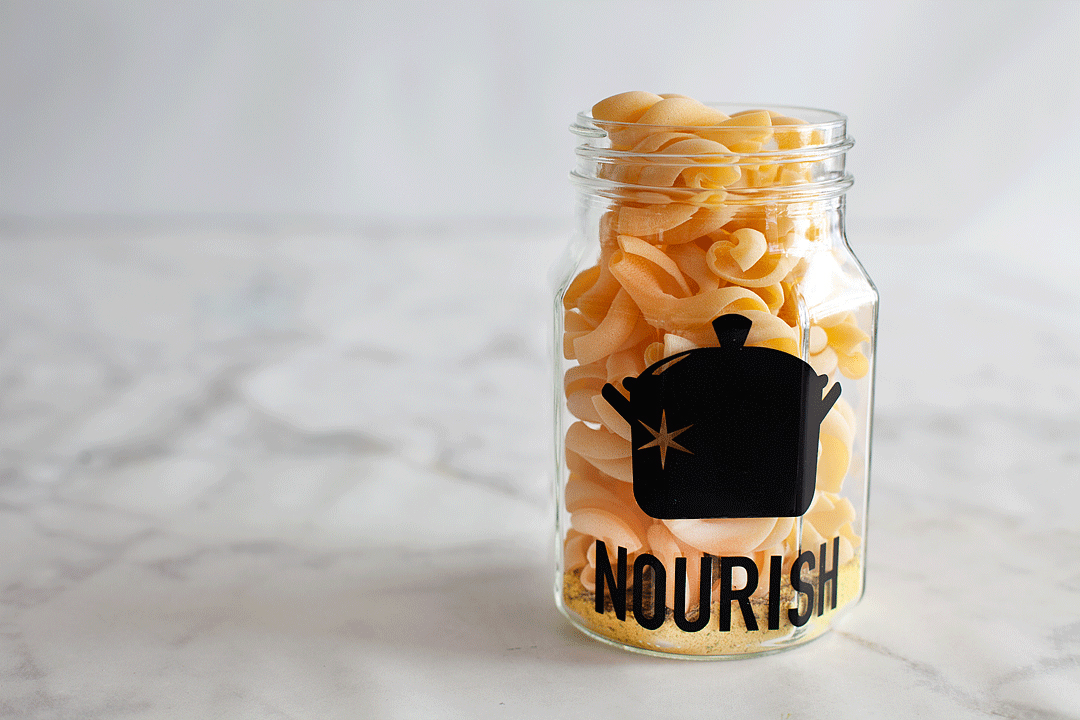
Then, top it all off with the white chocolate chips.

This year, I’m working on all kinds of fun gifts for the Holidays that will look spectacular gifted inside of a jar. One of my favorites is the White Chocolate Ginger Scone Mix in a jar. It’s really easy to put together a whole bunch of these gifts and really not expensive at all. It’s always a bonus to save a little money during the holidays. @ballcanning #giftsinajar #neighborgifts #teachergifts #sconeinajar

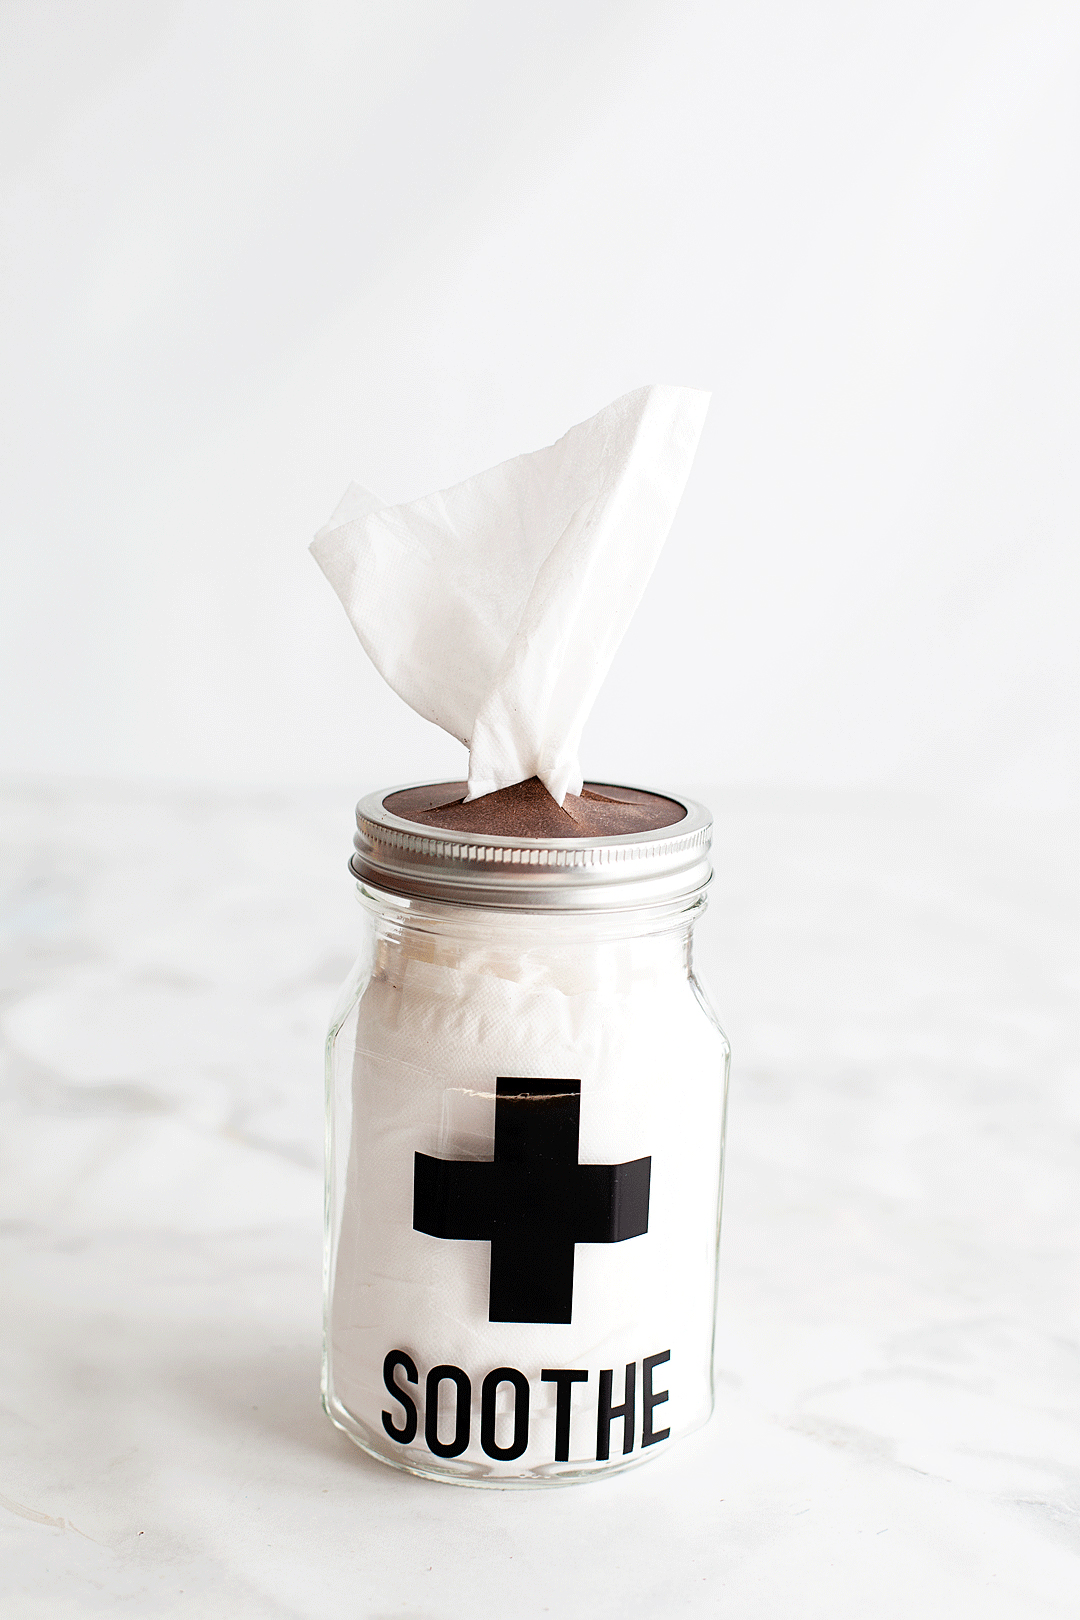
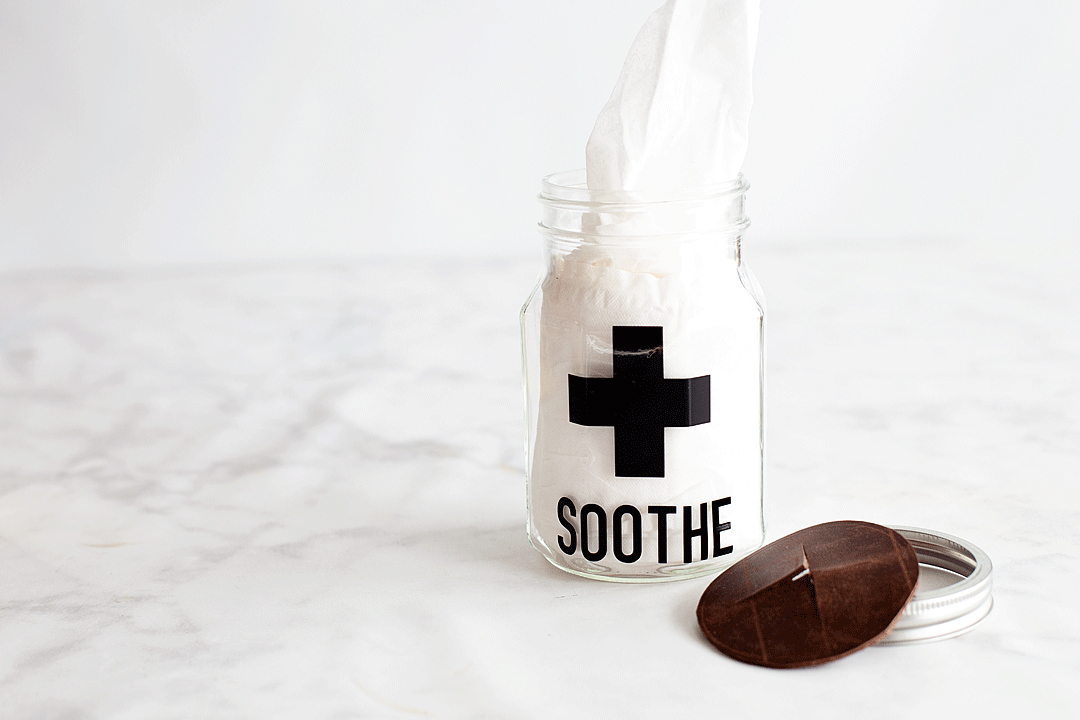
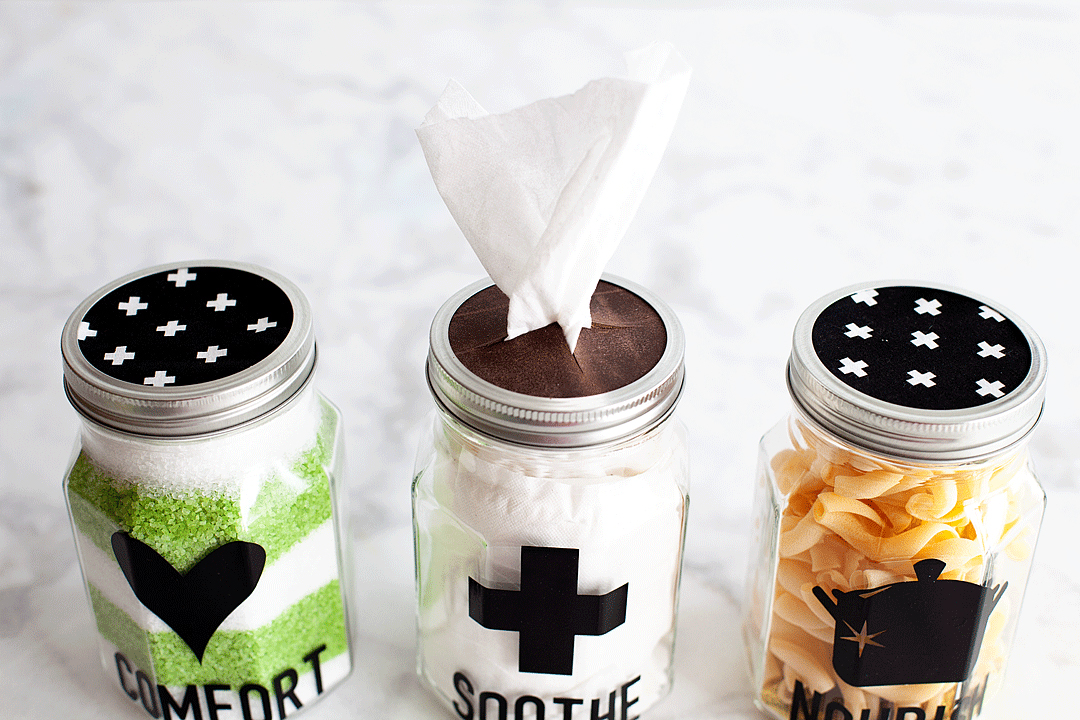
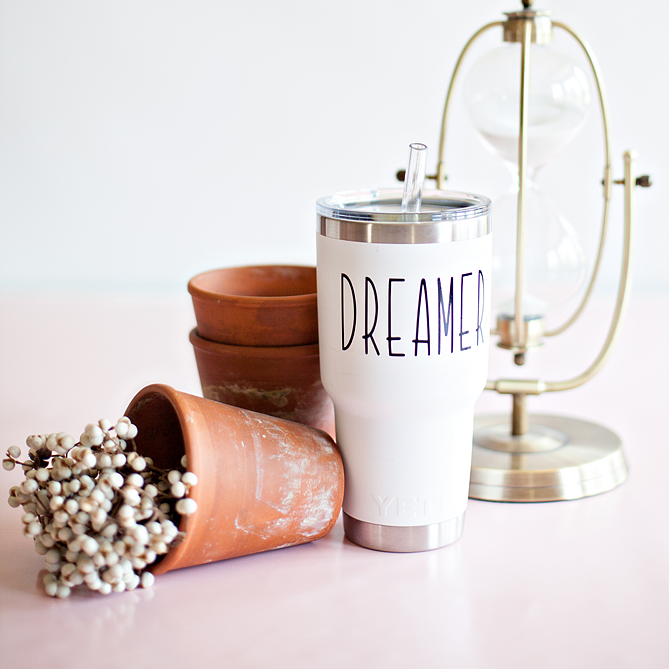
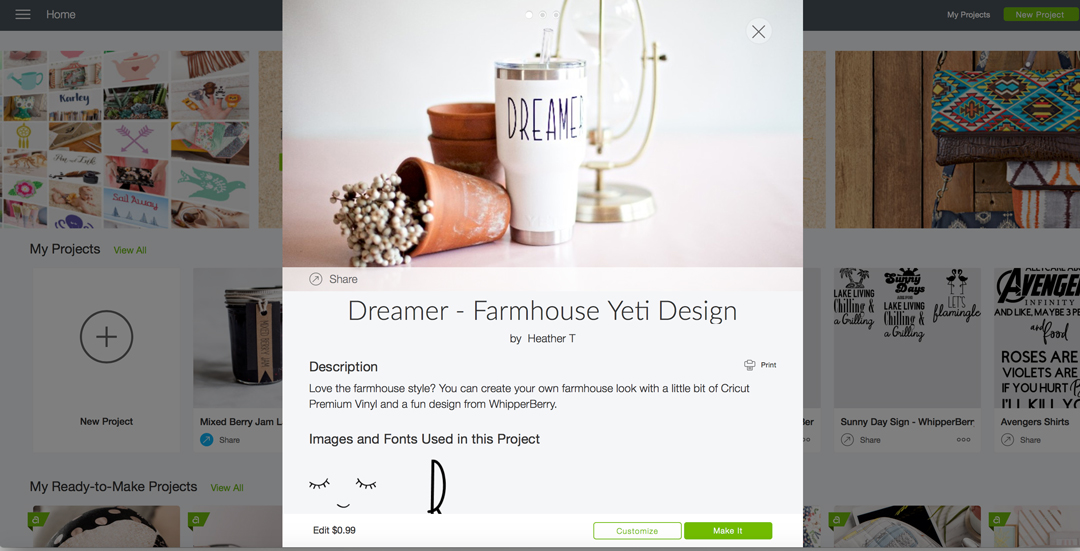
Now is the extra fun part, decorating the jar. I have two options for you here. If you are a Cricut owner and would like to use my Cricut cut files for the jars, you can access those HERE.

This year, I’m working on all kinds of fun gifts for the Holidays that will look spectacular gifted inside of a jar. One of my favorites is the White Chocolate Ginger Scone Mix in a jar. It’s really easy to put together a whole bunch of these gifts and really not expensive at all. It’s always a bonus to save a little money during the holidays. @ballcanning #giftsinajar #neighborgifts #teachergifts #sconeinajarThis year, I’m working on all kinds of fun gifts for the Holidays that will look spectacular gifted inside of a jar. One of my favorites is the White Chocolate Ginger Scone Mix in a jar. It’s really easy to put together a whole bunch of these gifts and really not expensive at all. It’s always a bonus to save a little money during the holidays. @ballcanning #giftsinajar #neighborgifts #teachergifts #sconeinajar

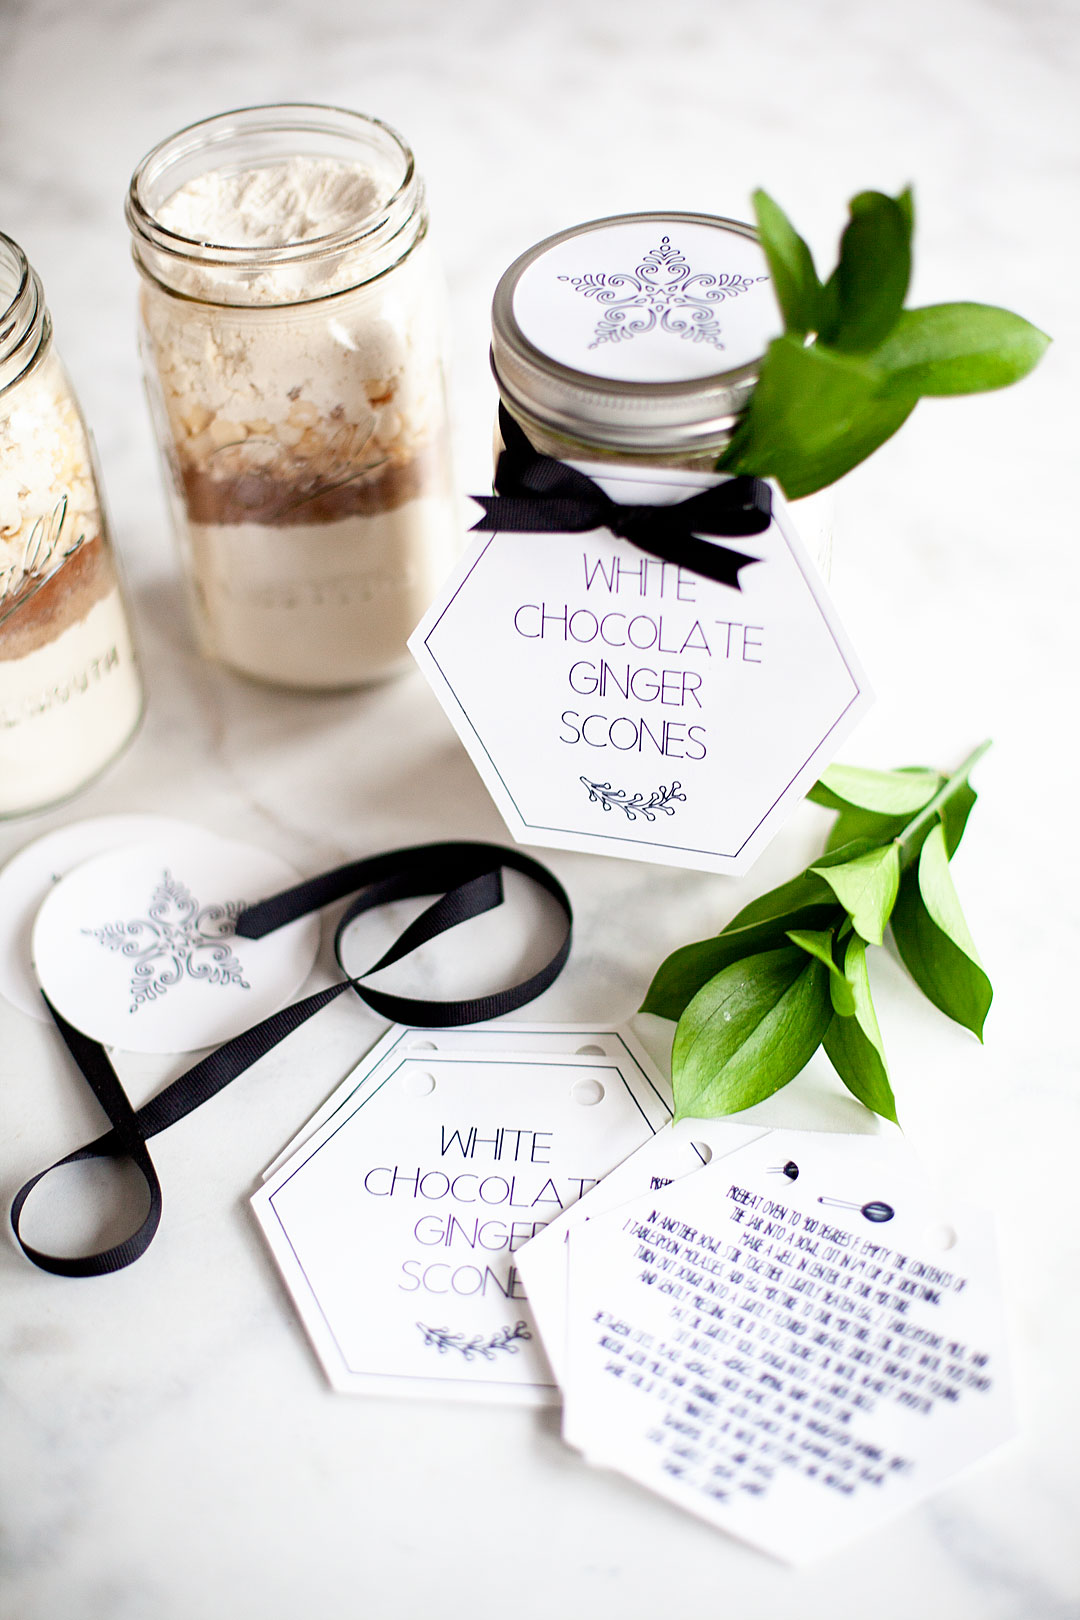
The graphics for these labels will be different than the printable labels, however, they are both just as classy.

This year, I’m working on all kinds of fun gifts for the Holidays that will look spectacular gifted inside of a jar. One of my favorites is the White Chocolate Ginger Scone Mix in a jar. It’s really easy to put together a whole bunch of these gifts and really not expensive at all. It’s always a bonus to save a little money during the holidays. @ballcanning #giftsinajar #neighborgifts #teachergifts #sconeinajar

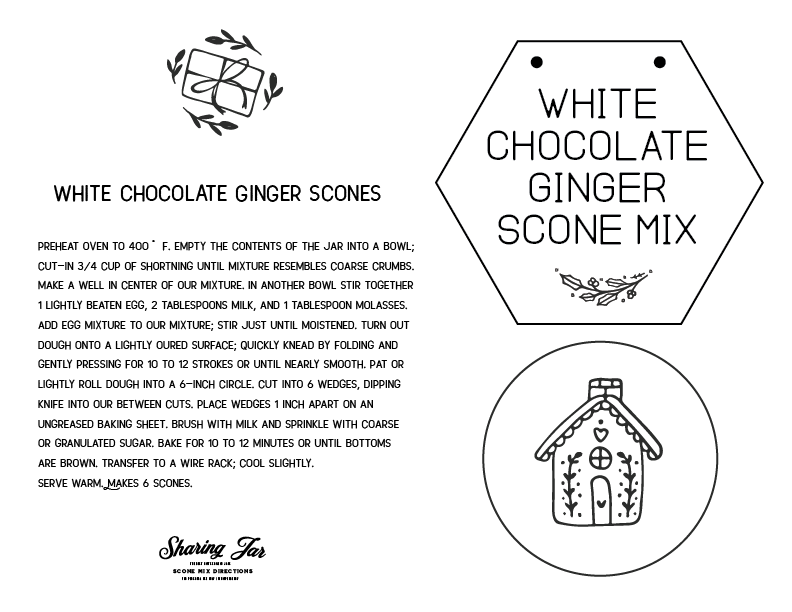
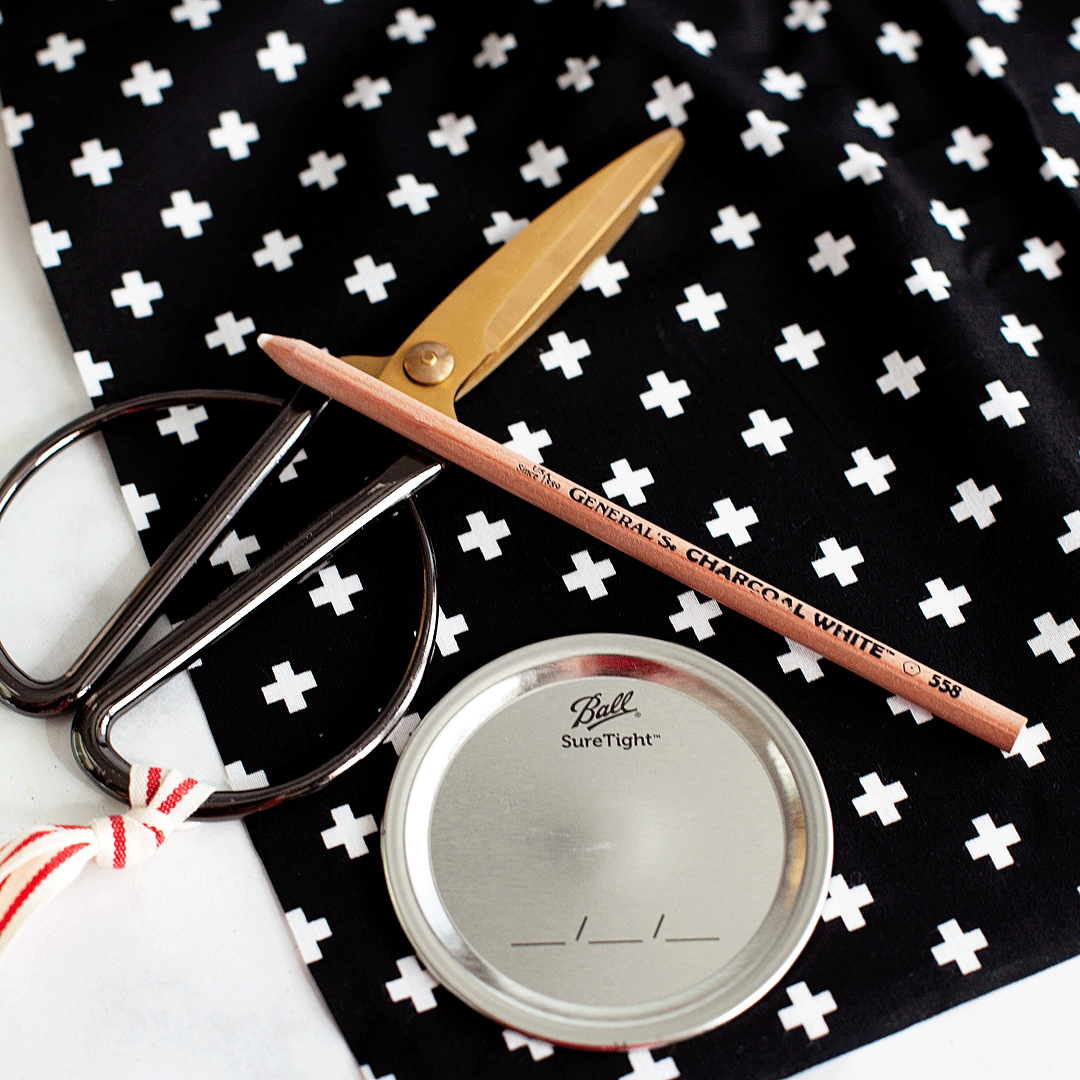
If you would like to print your labels, HERE is the link to be able to download this printable label, jar topper & mixing directions.

This year, I’m working on all kinds of fun gifts for the Holidays that will look spectacular gifted inside of a jar. One of my favorites is the White Chocolate Ginger Scone Mix in a jar. It’s really easy to put together a whole bunch of these gifts and really not expensive at all. It’s always a bonus to save a little money during the holidays. @ballcanning #giftsinajar #neighborgifts #teachergifts #sconeinajar

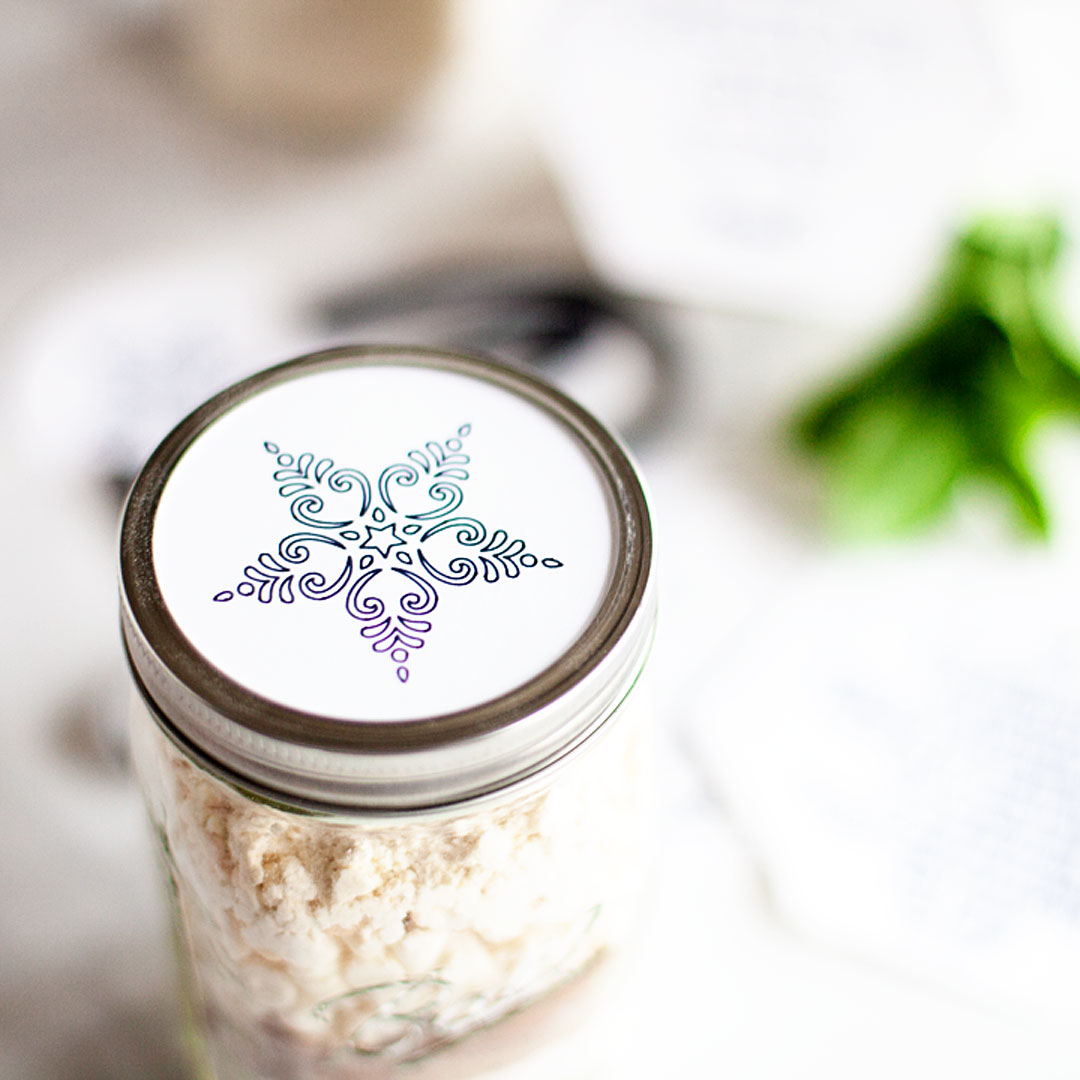
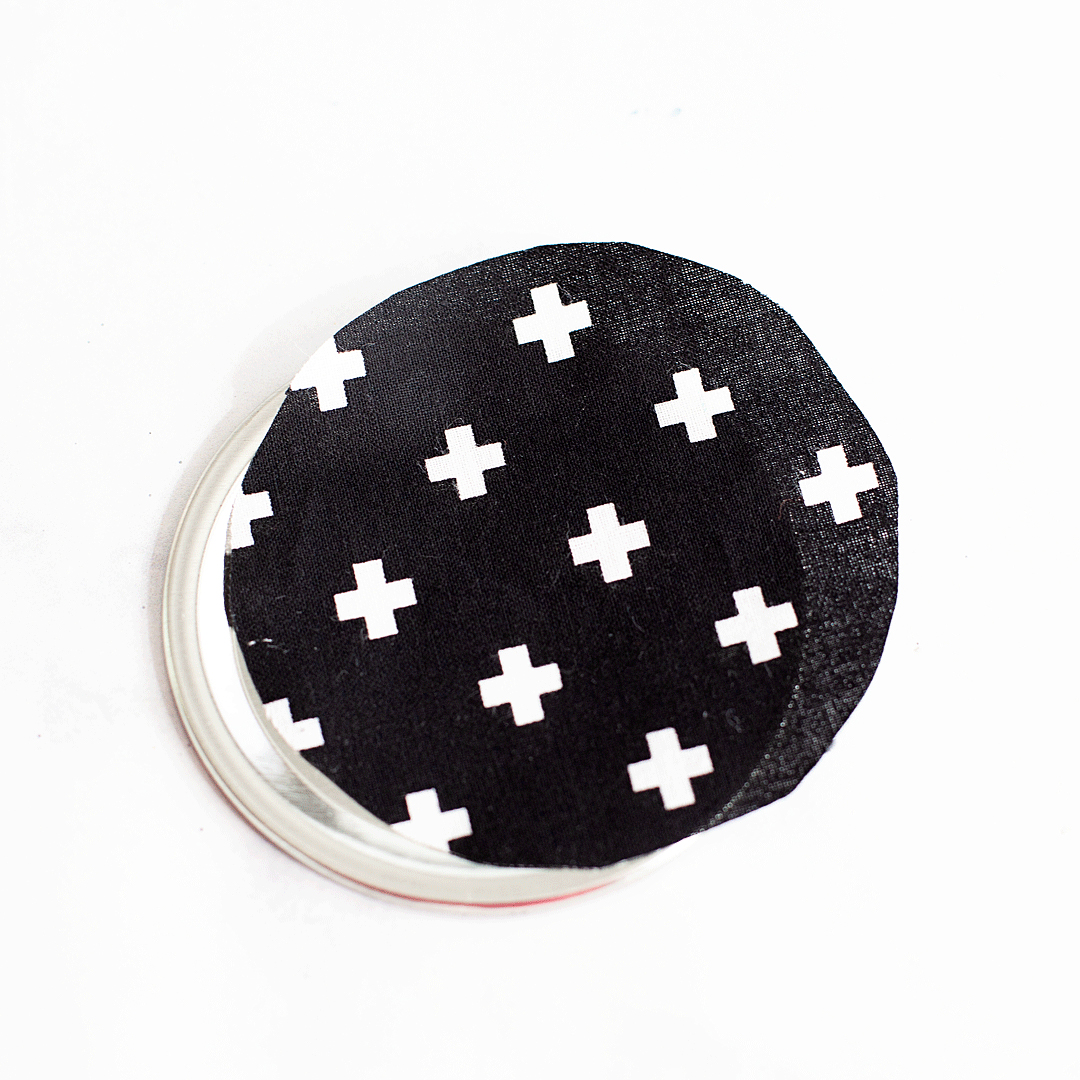
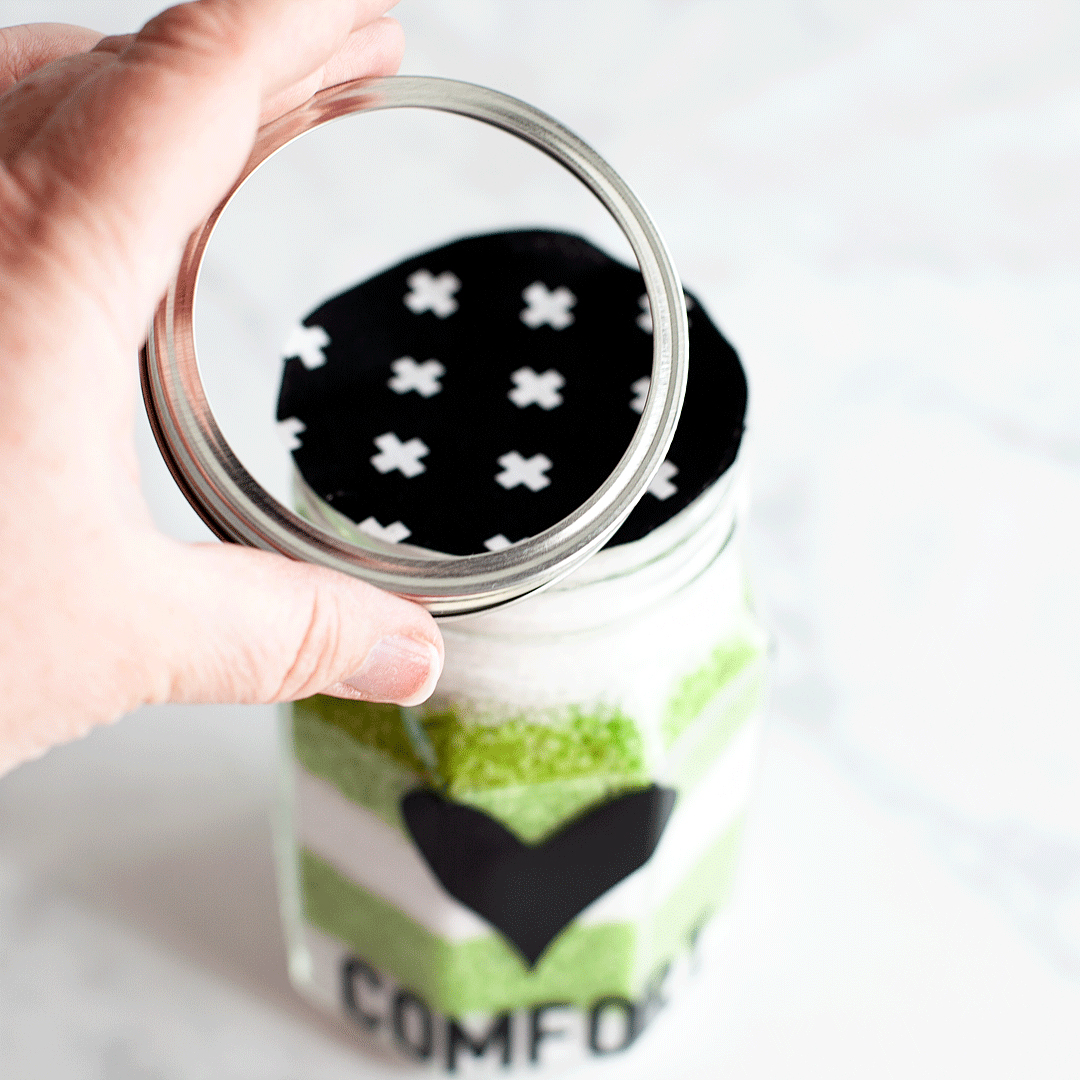
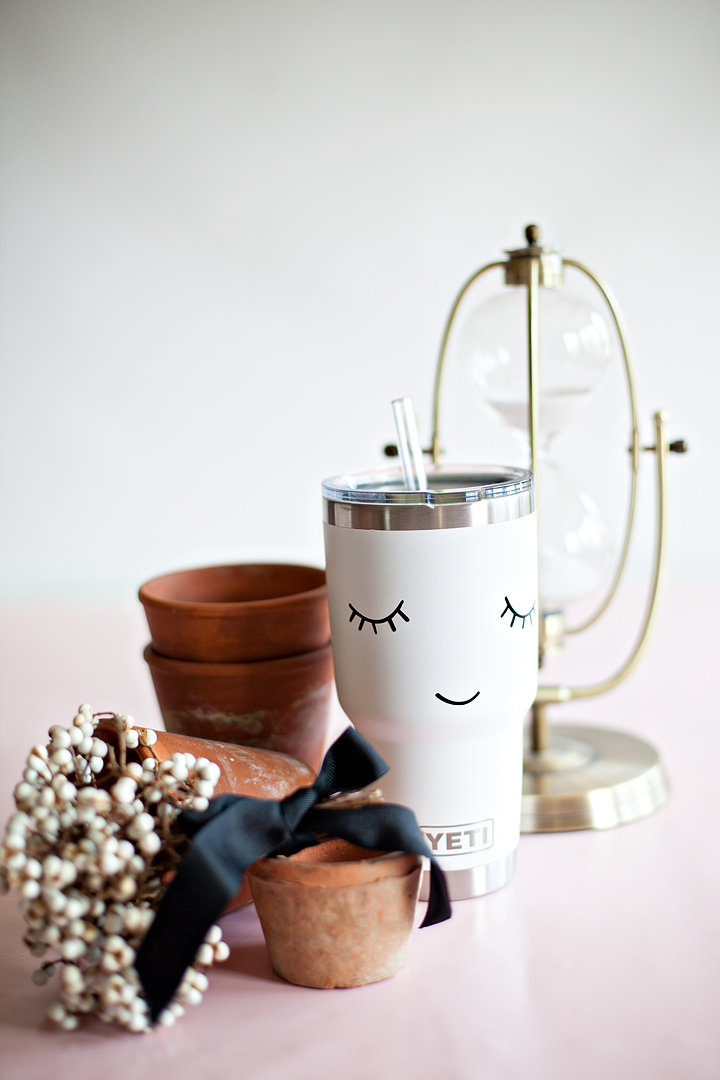
Now, all you have to do is add your jar toppers to the lid and tie your label on with ribbon along with a sprig of greenery. 

This year, I’m working on all kinds of fun gifts for the Holidays that will look spectacular gifted inside of a jar. One of my favorites is the White Chocolate Ginger Scone Mix in a jar. It’s really easy to put together a whole bunch of these gifts and really not expensive at all. It’s always a bonus to save a little money during the holidays. @ballcanning #giftsinajar #neighborgifts #teachergifts #sconeinajar

Cold and Flu Rescue Kit

49 · Oct 29, 2018 · 1 Comment

This post is brought to you by Ball® Fresh Preserving Products by Newell Brands

As much as we hate to admit it, cold and flu season is on its way. There is nothing more miserable than one of those lousy winter colds. What’s almost just as bad is watching someone you care for dealing with a cold or, Heaven forbid, the flu! I’m always looking for ways to help cheer them up and let them know that we love them and hope for their better health. That’s when I came up with this idea for a Cold and Flu Rescue Kit to share with those loved ones that are suffering. 

As much as we hate to admit it, cold and flu season is on its way. There is nothing more miserable than one of those lousy winter colds. What’s almost just as bad is watching someone you care for dealing with a cold or, Heaven forbid, the flu! I’m always looking for ways to help cheer them up and let them know that we love them and hope for their better health. That’s when I came up with this idea for a Cold and Flu Rescue Kit to share with those loved ones that are suffering. • WhipperBerry

There is just something special when someone takes the time to put together a simple little gift to let you know that they care when you are feeling down in the dumps. I have been on both ends of this, and it is never taken for granted in my books. So, if you have someone in your life needing a little TLC, I have the ticket for you. 

You all know of my love of all things jars, so of course, I put this little gift set together in my new favorite Ball® Quart Size Wide Mouth Sharing Jars. They are beautiful in their own right and they look even better dressed-up a bit. Here is what you will need for the whole kit.

Cold and Flu Rescue Kit Supplies

  • Ball® Quart Size Wide Mouth Sharing Jars
  • Ball® Home Canning Funnel for Mason Jars
  • Black vinyl (optional)
  • Cricut cutting machine (optional)
  • Cricut transfer tape (optional)
  • Scissors and craft knife
  • WhipperBerry Jar Designs
  • Epsom Salt soothing Eucalyptus and Menthol Mineral Bath
  • Small box of tissues
  • 4×4 piece of leather
  • 2 4×4 pieces of coordinating fabric
  • 3 heaping tbsp. of chicken bouillon – powdered
  • 1 tsp. garlic powder
  • 1 tsp. onion powder
  • 2 bay leaves
  • 1 tsp. dried thyme
  • 1 tsp. dried parsley
  • 2 cups of noodles

Instructions

As much as we hate to admit it, cold and flu season is on its way. There is nothing more miserable than one of those lousy winter colds. What’s almost just as bad is watching someone you care for dealing with a cold or, Heaven forbid, the flu! I’m always looking for ways to help cheer them up and let them know that we love them and hope for their better health. That’s when I came up with this idea for a Cold and Flu Rescue Kit to share with those loved ones that are suffering. 

Now, the vinyl decals on the side of the jars are super cute, but if you don’t have a Cricut cutting machine don’t worry, they don’t make or break this project. However, if you do have one and would like to make the decals, you can have access to my project in Cricut Design Space. It’s already all set for you, sized for these jars and everything. Cut out the decals and adhere them to the side of the jar using the transfer tape. If you need a little help applying the vinyl, I have a good tutorial for applying vinyl that you may want to check out first. 

As much as we hate to admit it, cold and flu season is on its way. There is nothing more miserable than one of those lousy winter colds. What’s almost just as bad is watching someone you care for dealing with a cold or, Heaven forbid, the flu! I’m always looking for ways to help cheer them up and let them know that we love them and hope for their better health. That’s when I came up with this idea for a Cold and Flu Rescue Kit to share with those loved ones that are suffering. 

Once your vinyl is applied (if you are doing this step), the next step is to fill the jars and dress-up the lids. 

The Comfort Jar

The comfort jar is filled with comforting mineral bath salts. I found two different colored Epsom salt baths that were infused with Eucalyptus, menthol & spearmint and layered it in the jar using the Ball® Home Canning Funnel creating stripes.

As much as we hate to admit it, cold and flu season is on its way. There is nothing more miserable than one of those lousy winter colds. What’s almost just as bad is watching someone you care for dealing with a cold or, Heaven forbid, the flu! I’m always looking for ways to help cheer them up and let them know that we love them and hope for their better health. That’s when I came up with this idea for a Cold and Flu Rescue Kit to share with those loved ones that are suffering. 

As much as we hate to admit it, cold and flu season is on its way. There is nothing more miserable than one of those lousy winter colds. What’s almost just as bad is watching someone you care for dealing with a cold or, Heaven forbid, the flu! I’m always looking for ways to help cheer them up and let them know that we love them and hope for their better health. That’s when I came up with this idea for a Cold and Flu Rescue Kit to share with those loved ones that are suffering. 

As much as we hate to admit it, cold and flu season is on its way. There is nothing more miserable than one of those lousy winter colds. What’s almost just as bad is watching someone you care for dealing with a cold or, Heaven forbid, the flu! I’m always looking for ways to help cheer them up and let them know that we love them and hope for their better health. That’s when I came up with this idea for a Cold and Flu Rescue Kit to share with those loved ones that are suffering. 

Next, I take a piece of cloth and trace a circle using the lid of the jar with a pencil or chalk pencil. Cut out the fabric and then place it on top of the jar lid and secure it with the band.

As much as we hate to admit it, cold and flu season is on its way. There is nothing more miserable than one of those lousy winter colds. What’s almost just as bad is watching someone you care for dealing with a cold or, Heaven forbid, the flu! I’m always looking for ways to help cheer them up and let them know that we love them and hope for their better health. That’s when I came up with this idea for a Cold and Flu Rescue Kit to share with those loved ones that are suffering. 

As much as we hate to admit it, cold and flu season is on its way. There is nothing more miserable than one of those lousy winter colds. What’s almost just as bad is watching someone you care for dealing with a cold or, Heaven forbid, the flu! I’m always looking for ways to help cheer them up and let them know that we love them and hope for their better health. That’s when I came up with this idea for a Cold and Flu Rescue Kit to share with those loved ones that are suffering. 

As much as we hate to admit it, cold and flu season is on its way. There is nothing more miserable than one of those lousy winter colds. What’s almost just as bad is watching someone you care for dealing with a cold or, Heaven forbid, the flu! I’m always looking for ways to help cheer them up and let them know that we love them and hope for their better health. That’s when I came up with this idea for a Cold and Flu Rescue Kit to share with those loved ones that are suffering. 

The Sooth Jar

This one is my favorite! It’s a tissue jar with a leather lid!!! How cool is that?  

As much as we hate to admit it, cold and flu season is on its way. There is nothing more miserable than one of those lousy winter colds. What’s almost just as bad is watching someone you care for dealing with a cold or, Heaven forbid, the flu! I’m always looking for ways to help cheer them up and let them know that we love them and hope for their better health. That’s when I came up with this idea for a Cold and Flu Rescue Kit to share with those loved ones that are suffering. 

For this one, you will need a cube size box of tissues. Open the box from the side and pull the tissues out of the box. Take a third of the tissues and unfold the first tissue flap. Roll into a loose cylinder shape and place into the jar making sure to keep that tissue flap at the top. This will be the starting tissue once you put the lid on.

Again, take your leather and trace the lid of the mason jar and cut out the circle with your scissors. Next, cut an “X” with a craft knife into the center of the circle. 

As much as we hate to admit it, cold and flu season is on its way. There is nothing more miserable than one of those lousy winter colds. What’s almost just as bad is watching someone you care for dealing with a cold or, Heaven forbid, the flu! I’m always looking for ways to help cheer them up and let them know that we love them and hope for their better health. That’s when I came up with this idea for a Cold and Flu Rescue Kit to share with those loved ones that are suffering. 

Place the leather inside of the mason jar band and place lid on the tissue jar making sure to pull the lead tissue through the opening in the leather lid. 

As much as we hate to admit it, cold and flu season is on its way. There is nothing more miserable than one of those lousy winter colds. What’s almost just as bad is watching someone you care for dealing with a cold or, Heaven forbid, the flu! I’m always looking for ways to help cheer them up and let them know that we love them and hope for their better health. That’s when I came up with this idea for a Cold and Flu Rescue Kit to share with those loved ones that are suffering. 

I think I will be making one of these for every room in my house!

The Nourish Jar

This one is pretty straightforward. It may not be your Mom’s chicken noodle soup but, it’s pretty tasty in its own right. Plus, it’s easy to make and share. 

As much as we hate to admit it, cold and flu season is on its way. There is nothing more miserable than one of those lousy winter colds. What’s almost just as bad is watching someone you care for dealing with a cold or, Heaven forbid, the flu! I’m always looking for ways to help cheer them up and let them know that we love them and hope for their better health. That’s when I came up with this idea for a Cold and Flu Rescue Kit to share with those loved ones that are suffering. 

Again, you will be using your funnel to help keep this nice and tidy. Layer your chicken bouillon, garlic powder, onion powder, bay leaves, thyme, parsley, and noodles.

As much as we hate to admit it, cold and flu season is on its way. There is nothing more miserable than one of those lousy winter colds. What’s almost just as bad is watching someone you care for dealing with a cold or, Heaven forbid, the flu! I’m always looking for ways to help cheer them up and let them know that we love them and hope for their better health. That’s when I came up with this idea for a Cold and Flu Rescue Kit to share with those loved ones that are suffering. 

As much as we hate to admit it, cold and flu season is on its way. There is nothing more miserable than one of those lousy winter colds. What’s almost just as bad is watching someone you care for dealing with a cold or, Heaven forbid, the flu! I’m always looking for ways to help cheer them up and let them know that we love them and hope for their better health. That’s when I came up with this idea for a Cold and Flu Rescue Kit to share with those loved ones that are suffering. 

As much as we hate to admit it, cold and flu season is on its way. There is nothing more miserable than one of those lousy winter colds. What’s almost just as bad is watching someone you care for dealing with a cold or, Heaven forbid, the flu! I’m always looking for ways to help cheer them up and let them know that we love them and hope for their better health. That’s when I came up with this idea for a Cold and Flu Rescue Kit to share with those loved ones that are suffering. 

As much as we hate to admit it, cold and flu season is on its way. There is nothing more miserable than one of those lousy winter colds. What’s almost just as bad is watching someone you care for dealing with a cold or, Heaven forbid, the flu! I’m always looking for ways to help cheer them up and let them know that we love them and hope for their better health. That’s when I came up with this idea for a Cold and Flu Rescue Kit to share with those loved ones that are suffering. 

You’ll top this with another fabric circle. 

As much as we hate to admit it, cold and flu season is on its way. There is nothing more miserable than one of those lousy winter colds. What’s almost just as bad is watching someone you care for dealing with a cold or, Heaven forbid, the flu! I’m always looking for ways to help cheer them up and let them know that we love them and hope for their better health. That’s when I came up with this idea for a Cold and Flu Rescue Kit to share with those loved ones that are suffering. 


Print out the chicken soup recipe and add that to your kit and then you’re ready to go. Then Pin this one so that you don’t forget what to put in the jars. 

Place the Ball® Sharing Jars into a basket or a bin and run to the rescue of your family member, friend, co-worker or whomever STAT! They will truly appreciate this thoughtful gift as you come to their rescue in their time of need. 

How to Personalize Your Yeti Cup • Yeti Tumbler Design Ideas

62 · May 21, 2018 · Leave a Comment

Personalized Yeti

I’ve become a little obsessed with my Yeti cup to help me do just that. I’m also a HUGE believer in making everything look as fabulous as possible. Yeti has these WHITE Yeti 30 oz. Tumblers and I ran out and grabbed a few. I knew that it would look amazing when I dressed it up with a stylish design cut out of Cricut Premium Outdoor vinyl. I took off to Michaels to grab some of my favorite vinyl and set to work. Let me show you how to personalize your Yeti.

Here are Some Ways to Personalize Your Yeti Tumbler

This is so fun! Obviously, you can do this with any type of cup, I’m just a huge Yeti fan. I’m also a huge Cricut Fan so if you don’t have one, grab a friend who does and offer to make her a cup as well!

Supplies Needed for This Cricut Yeti Cup Design

  • Your favorite cup
  • Dreamer • Farmhouse Yeti Design
  • Cricut Premium Outdoor vinyl
  • Cricut Transfer Paper
  • Cricut Explore 3

Instructions to Get Cricut Vinyl on Your Yeti

First, you’ll need to open Cricut Design Space with the link provided above to access my design. If you are working with the same type of tumbler all you need to do is click the MAKE IT button on the bottom right of the screen and follow the steps on your machine.

If you are using a different size cup, you’ll need to measure your cup and decide what size to make your vinyl and then resize it in Design Space. Click on the CUSTOMIZE button also in the bottom right. Size the design to fit your cup and then follow the directions in Design Space to cut the design. Keep in mind… Either way, You’ll have to pay 99¢ to have access to the cute face in Cricut Design Space.

Next, you’ll need to apply your vinyl on your tumbler by following these HOW TO APPLY VINYL instructions that I posted not too long ago. Once you apply your vinyl, you’re all set to look FABULOUS this summer carrying around your white Yeti that has been customized just for you!

Are you a @Yeti lover like me? I love to personalize my Yeti Tumblers with my @cricut Maker and some simple Premium Outdoor Vinyl. It works in the dishwasher just great and is my favorite way to Say hydrated this summer! -WhipperBerry


Other Yeti Cup Designs for Ladies

Using a Circut Maker is the best way to personalize your Yeti tumbler. There are so many different designs that you can make. You definitely don’t have to make the farmhouse design but I wanted to show you how it works and well, I liked this design!

Please browse around the website here at WhipperBerry for other Cricut ideas.

Good luck personalizing your yeti cup!

SaveSaveSaveSaveSaveSave

SaveSave

SaveSave

Garden Girl Canvas Zipper Bag Tutorial • Mother’s Day Gift Idea

2 · Apr 28, 2018 · 2 Comments

Hello… Mother’s Day is right around the corner, are you getting ready? I always love to create something fun for my Mom and for all the “Mothers” in my life. My Mom is a true garden girl and I thought it would be fun to create a cute garden girl canvas zipper bag using the new Cricut Patterned Iron-On for Mother’s Day. Have you guys seen this? It’s the cutest stuff!

+ This post brought to you by the amazing crew at Cricut +My Mom is a true garden girl and I thought it would be fun to create a cute garden girl canvas zipper bag using the new Cricut Patterned Iron-On for Mother's Day. Have you guys seen this? It's the cutest stuff! • created by whipperberry

Cricut Patterned Iron-On

You guys… This stuff is so fun to work with! It comes in florals, lace, polka-dots, geometrics, plus more. The Cricut Patterned Iron-On is the next creative wave coming out of the fabulous minds of the crew at Cricut. They are constantly working to make more and even better consumable products for us to use as we create with our favorite crafting machine. This iron-on vinyl is created with the long-lasting Strong Bond™ technology and adheres nicely to many types of fabrics. It works like a dream when using the Cricut EasyPress or even your home iron.

My Mom is a true garden girl and I thought it would be fun to create a cute garden girl canvas zipper bag using the new Cricut Patterned Iron-On for Mother's Day. Have you guys seen this? It's the cutest stuff! • created by whipperberry

Garden Girl Design

If your mom or a loved one enjoys tending to their garden or sprucing up their home’s exterior, you might want to complement this handmade gift with something unique for the outdoors. Beautiful flower arrangements look wonderful both inside and outside, especially in window displays. Consider exploring options like Custom Made Window Boxes that can be tailored to fit specific styles and window sizes, adding a personalized touch to any garden lover’s home.

Since my Mom loves flowers, I thought the Anna Griffin floral patterns in the Francesca sampler would be perfect. I’ve been crushing on Anna Griffin’s work for years so, this was a natural fit for me as I started to design this Garden Girl bag.

My Mom is a true garden girl and I thought it would be fun to create a cute garden girl canvas zipper bag using the new Cricut Patterned Iron-On for Mother's Day. Have you guys seen this? It's the cutest stuff! • created by whipperberry

The design is pretty simple, it’s a flower that I found in the Cricut Design Space and then sliced the words into the flower and added a couple of leaves. But, no worries… I’ve got you covered. You can click on the link below, in the project supplies section, it will open this project up for you to use in Cricut Design Space.

Supplies

  • canvas zipper pouch
  • Cricut Patterned Iron-On
  • Garden Girl Cricut Design Space Project
  • Cricut machine
  • Cricut EasyPress or home iron
  • Cricut EasyPress Mat or towel
  • Cricut Iron-On Protective Sheet
  • Sharpie

Instructions

Now, that you’ve seen the video, here is the step by step instructions.

  1. Open the project in Cricut Design Space and click on the customize button. You may need to resize the design in order to fit your canvas bag.
  2. Cut the design on your Cricut machine following the steps that Cricut Design Space will walk you through. Make sure that when working with any iron-on material you need to MIRROR YOUR IMAGE and CUT ON THE WRONG SIDE of the iron-on vinyl.
  3. Weed your iron-on material. To “weed” vinyl or iron-on material means that you remove any iron-on material that you don’t want on your bag. For this design, you’ll want to remove the outside of the flower and leaves, then remove the letters from the inside of the flower.
  4. Pre-heat your Cricut EasyPress to 340˚ and set-up your EasyPress Mat.
  5. Place the canvas bag on the EasyPress Mat and prepare the surface by pre-heating the space where you are going to add the design for 15 seconds. This allows for greater adhesion for the Patterned Iron-On.
  6. Place your flower down on the surface of your bag then, slide the leaves under the flower and place them where you would like them. I trimmed the bottom of the leaves a bit since they were going to be covered by the flower.
  7. Remove the flower, cover the leaves with the Protective Iron-On Sheet and press the leaves at 340˚ for 30 seconds and gently pressing down on the EasyPress. First, on one side and then an additional 30 seconds on the other side.
  8. Remove the Iron-On Protective Sheet and then, peel back the clear protective film on the leaves.
  9. Place the flower over the leaves. Replace the Cricut Iron-On Protective Sheet and press again, like before. 30 seconds on one side, then 30 more on the other side.
  10. Let cool for a few minutes and then remove the protective film.
  11. At this point, you can decide whether you want to fill in the letters with Sharpie. I wanted my Garden Girl to stand out a little more so I decided to fill them in. You may have selected a Patterned Iron-On where the words standout just fine and you won’t need to fill them in. This is your call basically.

With that, your bag is finished and ready to gift to your favorite Garden Girl!

What would you like to create with the new Cricut Patterned Iron-On? Leave a comment and let me know, I love to see what you guys are working on!

My Mom is a true garden girl and I thought it would be fun to create a cute garden girl canvas zipper bag using the new Cricut Patterned Iron-On for Mother's Day. Have you guys seen this? It's the cutest stuff! • created by whipperberry

This is a sponsored conversation written by me on behalf of Cricut. The opinions and text are all mine.

  • « Go to Previous Page
  • Page 1
  • Page 2
  • Page 3
  • Page 4
  • Interim pages omitted …
  • Page 10
  • Go to Next Page »

Primary Sidebar

Heather from Whipperberry
Hello... my name is Heather and I'm the creator of WhipperBerry a creative lifestyle blog packed full of great recipes and creative ideas for your home and family. I find I am happiest when I'm living a creative life and I love to share what I've been up to along the way... Come explore, my hope is that you'll leave inspired!

Footer

  • Privacy Policy
  • Crafts
  • Food
  • Gifts
  • Holidays
  • Home
  • Mom Life
  • Recipes
  • Travel

Copyright © 2026 · Seasoned Pro