• Skip to primary navigation
  • Skip to main content
  • Skip to primary sidebar
  • Skip to footer

Whipperberry

WhipperBerry • Your Home For Creative Inspiration

  • Home
  • About
    • Terms
  • Recipes
    • ZipList
    • Starters
    • Easy Weeknight Dinners
    • Main Dish
    • Salads
    • Side Dish
    • Soups & Stews
    • Desserts
    • Breakfast
    • Miscellaneous
  • Tutorials
    • Creative Crafts
    • DYI Decor
    • Fabric Crafts
    • Food How-To
    • Jewlery
    • Paint Projects
    • Paper Art
    • Party Styling
    • Photography and Graphic Design
    • Silhouette
  • Holidays
    • St. Patrick’s Day
    • Easter
    • Mother’s Day
    • Father’s Day
    • 4th of July
    • Halloween
    • Thanksgiving
    • Christmas
    • New Years
    • Valentine’s Day
  • Gift Ideas
    • Gifts For Everyone
    • Gifts for Dad
    • Mother’s day
    • For The Girls
    • For The Kids
    • Teacher Gift Ideas
    • Christmas
  • Printables
    • Holiday
    • Gift Idea
    • LDS Primary
  • Travel
  • Contact
  • Nav Social Menu

    • Facebook
    • Instagram
    • Pinterest
    • RSS
    • Twitter

Guest Post

Lunchbox Notes /// Kiki & Company

20 · Sep 20, 2012 · 15 Comments

Hi everyone! I am so happy to be here today at Whipperberry. My name is Kiki and I blog over at Kiki and Company. 

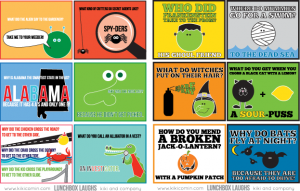
I am thrilled to be here helping Heather out as she gets ready to move her family across the US and it really inspired todays free printable. I don't know about you, but one of my favorite things to do is put a little note in my kids lunch, hide one in their backpack or put one on their freshly made bed. I love the reaction my kiddos give me. They always come home with an extra big hug when they found a little note that brought a smile to their face. Today I whipped up a few for older kids (and it will of course work for younger ones as well!). They are little sentiments of inspiration to help them get through those jr. high hallways, high school classes, or in Heather's case..those first days being in a new school. (I am even printing some off to keep in my purse in case one of my OWN friends needs a little boost!)
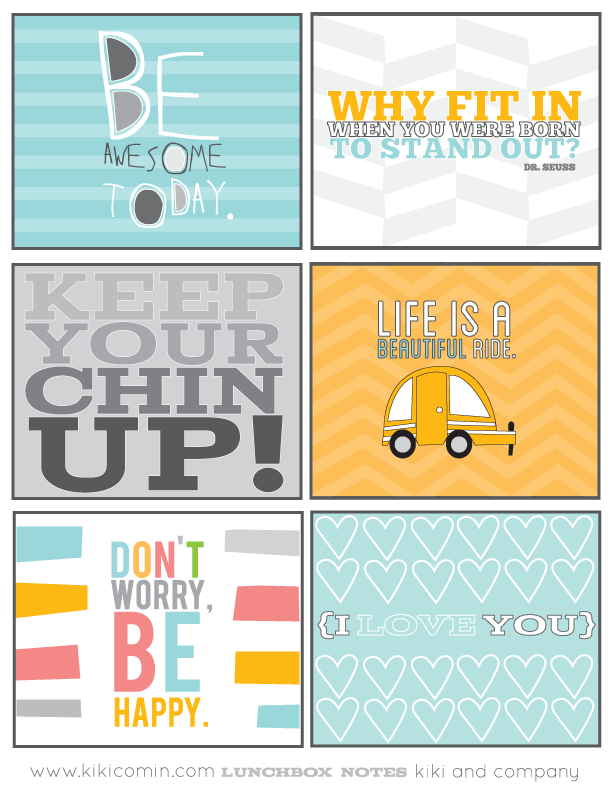
You can pick up the notes RIGHT HERE and start spreading some smiles!


If you would like to grab more of the free Lunchbox series, you can find them HERE at my blog.

You also don't want to miss FREEBIES every month in my newsletter..you can sign up for it on my sidebar!

Thanks for having me, Heather. I will miss you more than words can say here in Vegas.. those Nebraskans are truly hitting the jackpot!


Isn’t Kiki just divine? I am totally going to print some of those Lunchbox Notes for my kiddos to have while we are going through the moving process.  I’m sure they are going to need it!

I’ve been lucky enough to call Kiki a, “in person” friend as well as an “online” friend.  She is the sweetest person out there and I’m truly going to miss having her close by.  She is a real talent, that girl!  Make sure you bookmark Kiki & Company {if you haven’t already} because she does some aaaamazing work!
 

Sail Cloth Shower Curtains | Guest Post

2 · Jul 3, 2012 · 3 Comments

Soooo when I was at Haven I met the sweetest lady that I just fell in love with and her name is Kari and she has the most beautiful blog called Thistlewood Farm. She is one of those sweet southern belle ladies with a personality the size of Georgia and I ADORE her!!  When I had a chance to check out her amazing blog after we met I was blown away with her work and HAD to share her talents with you today as she teaches us how to make sail cloth shower curtains.  So, take it away Kari…


Hello Whipperberry readers. I'm Kari from Thistlewood Farm and I am so excited to be here with you today, sharing my numbered sailcloth shower curtain project.

Sailcloth Shower Curtain Tutorial

Supplies:

Red Cotton fabric from Wal-mart (the thicker the better)


Scissors

White Shower Curtain

Sharpie

Pins


Step 1:

Print out extremely large numbers on your computer in Ariel Bold.

These were printed at 700 x.

Cut out numbers and photograph them on grapevine.

Because printed numbers photographed on the table just aren't the same.

And because you have been pinning photo props on pinterest in your quest to be a highly sought after grapevine numbers photographer.


Number four image


Step 2:

Take your 700x Bold Ariel Font numbers and trace them with a sharpie.

Backwards.

Because when you traced them frontwards….the sharpie showed.

And even though you tried to fray the sharpie off the edges.

You still knew it was there.

And the little bits of sharpie that still showed even after you tried to fray the edges took on the proportions of the Empire State Building lit up red white and blue for the fourth of July.

Trust me.

Backwards is so much more sharpieless.


Number cutout


Step 3:

Cut out the numbers.

And then pin them onto the white shower curtain.

I pinned them diagonally.

To create the impression that I had just ripped the sail off a sailboat.

And hung it up as a shower curtain in the bathroom.

And so it would look like this without spending the $100.


Step 4:

Pin the numbers onto the shower curtain.

Stitch a one-inch border in contrasting thread.

Fray the edges.

And hang shower curtain and liner on nickel-plated hooks.


Total cost if you would have bought it online: $100.00.

Total cost for project: $16.93.

Simple.

Easy.

For less than the cost of a movie, popcorn and a box of junior mints.

PS For more project inspiration or just a glass of sweet tea….stop by for a visit at Thistlewood Farm!

PPS Thank you so much for having me over today, Heather. You are such a rock star and so full of creativity and inspiration!


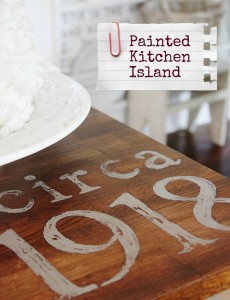
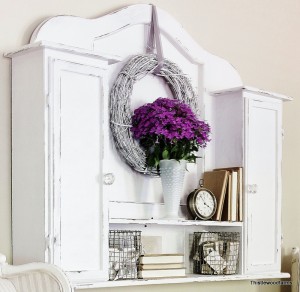
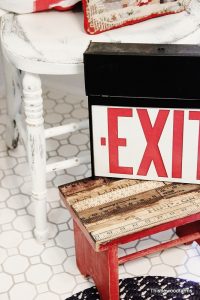
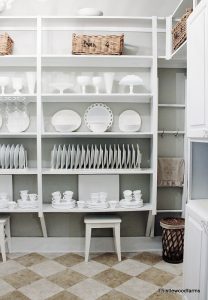
Here is some more of Kari's work from Thistlewood Farm…


  1. Painted Kitchen Island
  2. Garage Sale Hutch
  3. Yard Stick Stool
  4. Butler's Pantry

I want to move into her house now!!! Thank Kari for sharing your amazing talent's with us today.

Birthday Photo Session |Blog Swap with the Dating Divas

7 · Jun 27, 2012 · 1 Comment

Super excited!! Blog swappin' with the Dating Divas today!! Here is a wonderful birthday photo session idea from Kristen {today is her birthday!!} Happy Birthday my dear… and you can see my post over at their blog, The Dating Divas.


Hey Whipper Berry readers!!! I am excited to be guest blogging here today, we at The Dating Divas absolutely love Heather, and because it was her birthday last week, and my birthday today I am here to celebrate! Over at thedatingdivas.com we are always coming up with great ideas on how to date your spouse, but today I want to talk birthday parties! I am all about going above and beyond to celebrate birthdays in my family, whether its an Awesome 80's Party for my hubby, or one of my kid's first birthday parties, every birthday boy/girl should be celebrated and feel special on their big day!

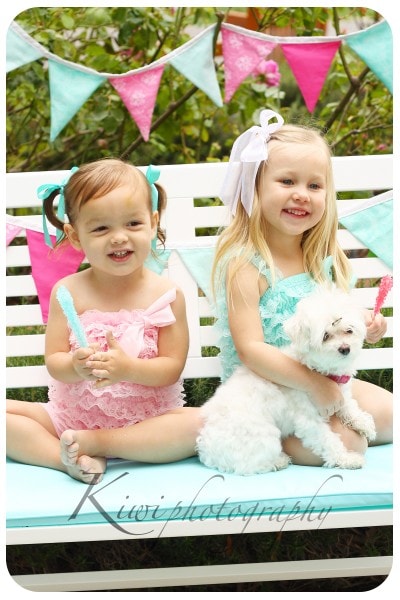
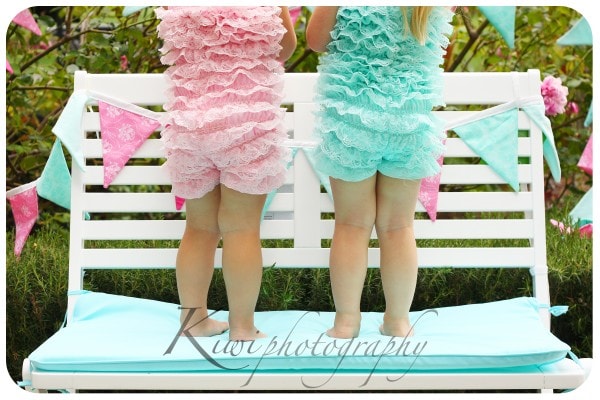
Recently we moved across the country during the week of my daughters third birthday. At 3 years old my daughter LOVES birthdays and would be devastated if her's was skipped, and of course I would never let that happen! 🙂 Instead of spending a lot of time (which I didn't have) planning a big party with lots of guests I decided to take my daughters favorite things, her best friend, our friends' doggie, FiFfi (whom she adores), all the ruffles and dress ups I could find, and lots of treats, and do a photoshoot for her to celebrate her birthday.

It was fun, candid, and perfect for my sweet little princess. I love that it felt like a playdate with her best friend and fifi. They both loved to get dressed up and with the treats and blowing out candles made this day really special.

It was something so small, that was and is still talked about. Especially because we printed pictures and displayed them in my daughters room so she can always remember this day and her favorite things. Everytime she looks at these pictures she lights up and loves to talk about her besties, and her birthday party.

For more birthday ideas you can check out our past "birthday week" posts with loads of ideas at TheDatingDivas.com

Color Your Summer Guest Post | KoJo Designs

0 · Jun 5, 2012 · 1 Comment

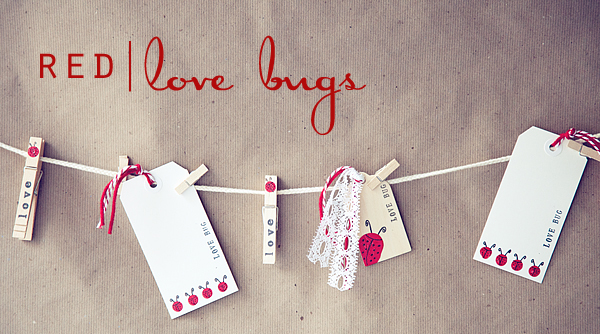
Hey guys, I'm playing over at KoJo Designs today!  Kirstin has a fun series going on called Color Your Summer with all kinds of fun projects to do with or for your kiddos this summer to add a little splash of color to your day.  My assignment was red {one of my favorite colors!}

Come on over and play with us…

Also… Don't forget to come back later today.  I have a fun giveaway that will post later this afternoon!!

  • Go to page 1
  • Go to page 2
  • Go to page 3
  • Go to page 4
  • Go to Next Page »

Primary Sidebar

Heather from Whipperberry
Hello... my name is Heather and I'm the creator of WhipperBerry a creative lifestyle blog packed full of great recipes and creative ideas for your home and family. I find I am happiest when I'm living a creative life and I love to share what I've been up to along the way... Come explore, my hope is that you'll leave inspired!

Footer

  • Privacy Policy

Copyright © 2023 · Seasoned Pro