• Skip to primary navigation
  • Skip to main content
  • Skip to primary sidebar
  • Skip to footer

Whipperberry

WhipperBerry • Your Home For Creative Inspiration

  • Home
  • About
    • Terms
  • Recipes
    • ZipList
    • Starters
    • Easy Weeknight Dinners
    • Main Dish
    • Salads
    • Side Dish
    • Soups & Stews
    • Desserts
    • Breakfast
    • Miscellaneous
  • Tutorials
    • Creative Crafts
    • DYI Decor
    • Fabric Crafts
    • Food How-To
    • Jewlery
    • Paint Projects
    • Paper Art
    • Party Styling
    • Photography and Graphic Design
    • Silhouette
  • Holidays
    • St. Patrick’s Day
    • Easter
    • Mother’s Day
    • Father’s Day
    • 4th of July
    • Halloween
    • Thanksgiving
    • Christmas
    • New Years
    • Valentine’s Day
  • Gift Ideas
    • Gifts For Everyone
    • Gifts for Dad
    • Mother’s day
    • For The Girls
    • For The Kids
    • Teacher Gift Ideas
    • Christmas
  • Printables
    • Holiday
    • Gift Idea
    • LDS Primary
  • Travel
  • Contact
  • Nav Social Menu

    • Facebook
    • Instagram
    • Pinterest
    • RSS
    • Twitter

WhipperBerry Creative Team

Simple DIY Art

3 · Apr 2, 2014 · 8 Comments

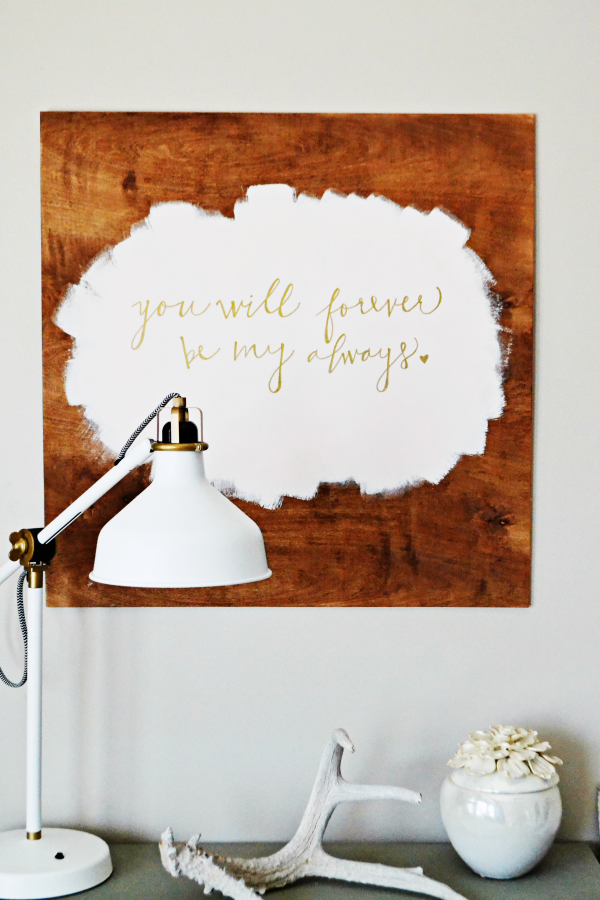
Simple DIY Art // Hey all! It’s Jenn from My Fabuless Life! Last month I shared my embroidery hoop bulletin board I did for my daughter’s big girl bedroom, and since then, I’ve caught the makeover fever, because I’ve moved onto my master bedroom and am here to show you a quick, simple art project you can do for less than $10. Finding large scale art for those bigger walls can get expensive, which is why I love creating my own. You can customize everything about it, for next to nothing!

simple art

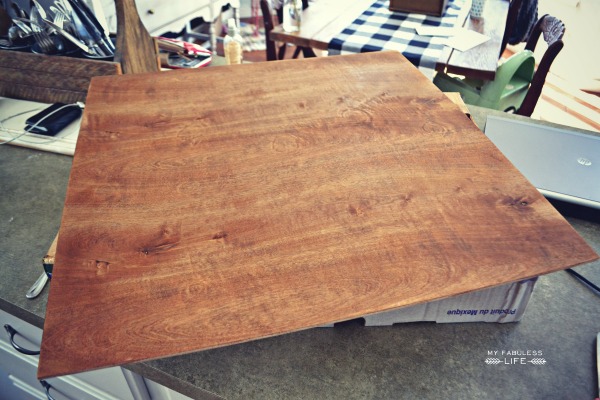
I started with a 4′ x 4′ piece of thin, pine plywood from my home improvement store (in the lumber section with the peg board), and stained the whole thing. If you’re more into the painted look, you can do that too, it’s up to you.

wood art

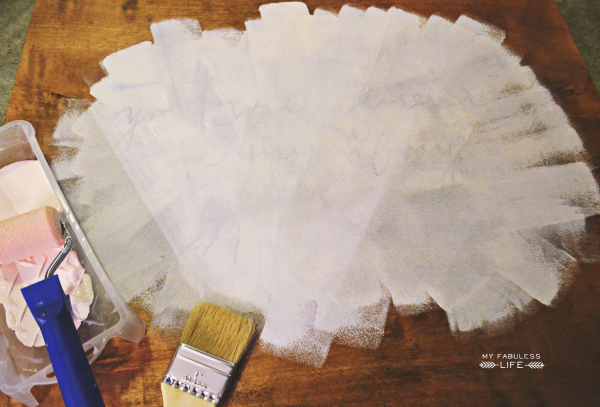
My original plan was just to put the text right on the wood (which you’ll notice below), but after I wrote directly on the wood, it was hard to see, so I got out the paint. I wanted a really unique, sort of “messy” look, so I just grabbed one of my favorite sponge rollers and roughly rolled out the paint in the pattern I wanted. I let that coat dry, added another, and filled in some spots with a paint brush, and then it was time for the writing.

diy art 3

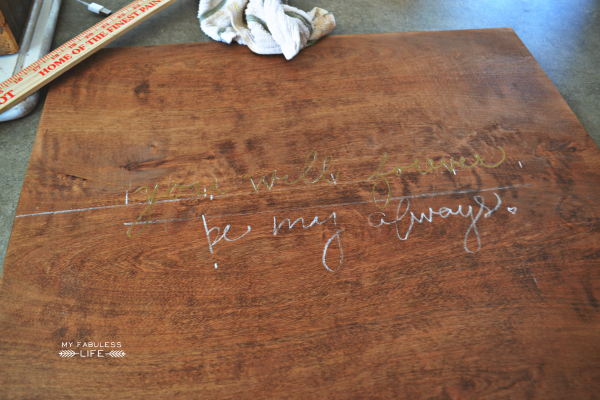
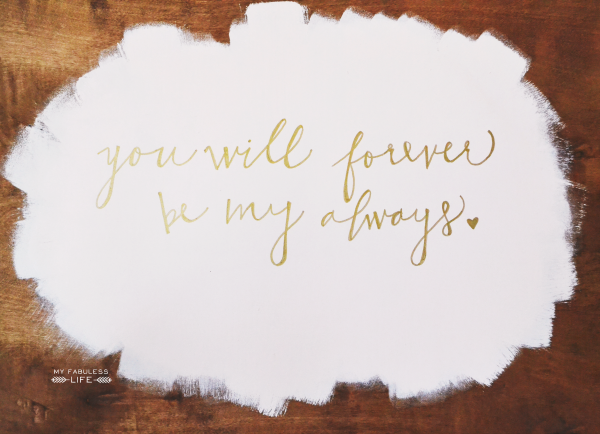
Remember, I tried writing first, so this picture is a little backwards. You’ll notice though, that if you’re writing with white, it would be just fine. Anyway, I measured for where I wanted the writing to go, and then drew a line with chalk so that the text wouldn’t be all over the place.  Then, I wrote out my phrase with chalk and wrote right over it with a gold paint pen. After the gold was dry, I just wiped off the remaining chalk with a damp cloth.

diy art 2

I did mine free hand, but if you’d rather use one of your favorite fonts, this method is AWESOME for transferring the font to your board.

diy art

To hang it, I just hot glued a pop tab to the back of the wood like a picture hanger and hung it on a little nail. And that’s it! Super simple art!!

diy calligraphy

You Might Also Enjoy:

girls bedroom ideas

Vintage Modern Girl’s Room / Free Spring Printables / Small Laundry Room Makeover
Mini-Egg Dessert Bars

4 · Mar 21, 2014 · 4 Comments

Hey guys!  Jenn here again from Clean and Scentsible.  Like many of you, I have been counting down the last days of winter and am so excited that today I finally get to say Happy Spring!  I am SO ready for some warmer weather, longer days, and pretty spring blooms.  Now that spring is here, Easter will soon be around the corner and I have a yummy treat to share with you today with my all-time favorite chocolate – mini-eggs!

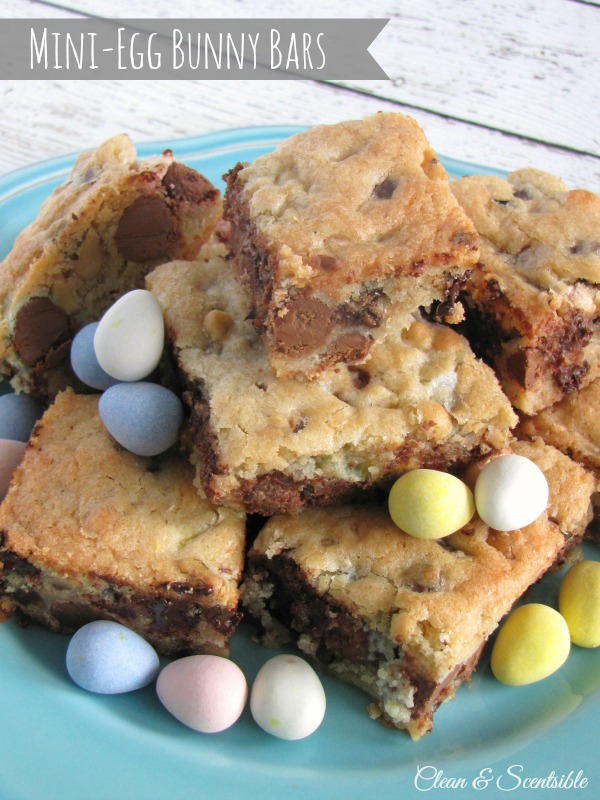
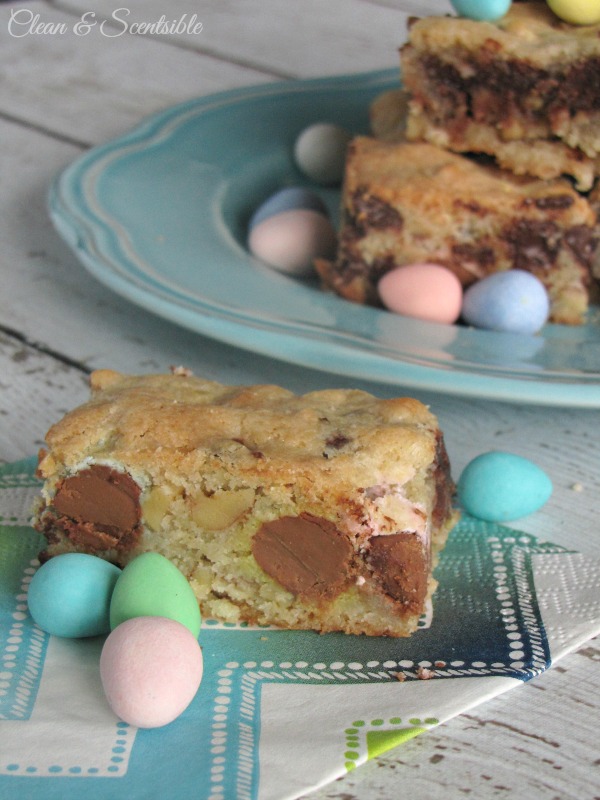
Mini-Eggs Dessert Bars

These mini-egg dessert bars are super easy to make – the trick is to not eat all of the mini-eggs before you get around to actually making them!

Mini-Egg Dessert Bars.

Mini-Egg Dessert Bars
 
Save Print
Usher in the Easter season with these yummy mini chocolate egg dessert bars.
Author: Jenn // Clean and Scentsible
Recipe type: Dessert
Cuisine: American
Serves: 12-14
Ingredients
  • 1 cup flour
  • ½ tsp salt
  • ½ tsp baking powder
  • 1 cup sugar
  • 1 cup mini eggs
  • ¾ cup chopped nuts {I used walnuts}
  • ⅓ cup chocolate chips
  • ½ cup butter, softened
  • 2 eggs, lightly beaten
  • ½ tsp vanilla
Instructions
  1. Preheat oven to 350F.
  2. Sift the flour, baking powder, salt, and sugar together. Mix in the butter, beaten eggs, and vanilla and stir until well blended.
  3. Add the mini-eggs, chocolate chips, and nuts.
  4. Prepare a 9x9-inch baking pan with non-stick cooking spray.
  5. Pour the batter into the pan and bake for 30 to 35 minutes. Allow to cool and cut into squares.
3.2.2310

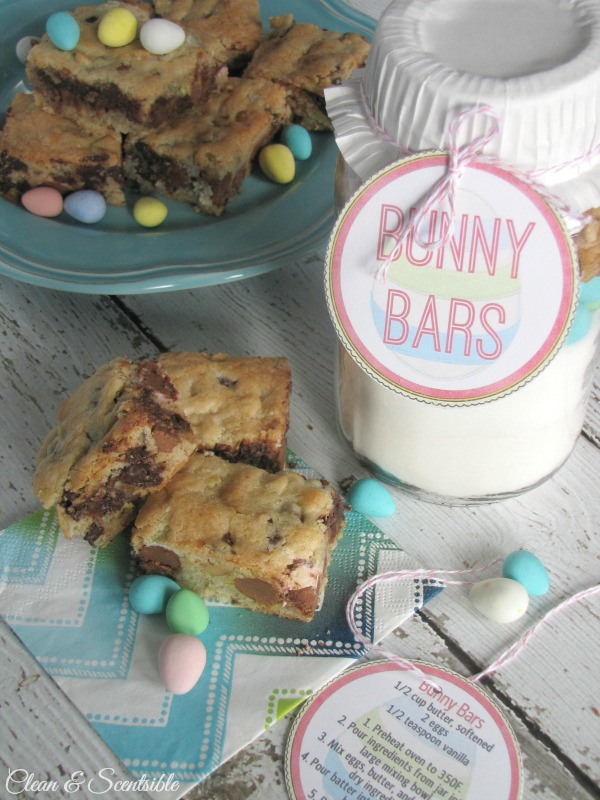
If you are looking for a fun Easter gift idea, the dry ingredients for these bars can be packaged up in a mason jar and would make a nice little hostess gift or treat for your favorite teacher or neighbor.

Mini-Egg Dessert Bars

Just layer the ingredients in a 1 quart mason jar as follows:

  • flour, baking powder, salt
  • sugar
  • mini-eggs
  • chocolate chips and nuts

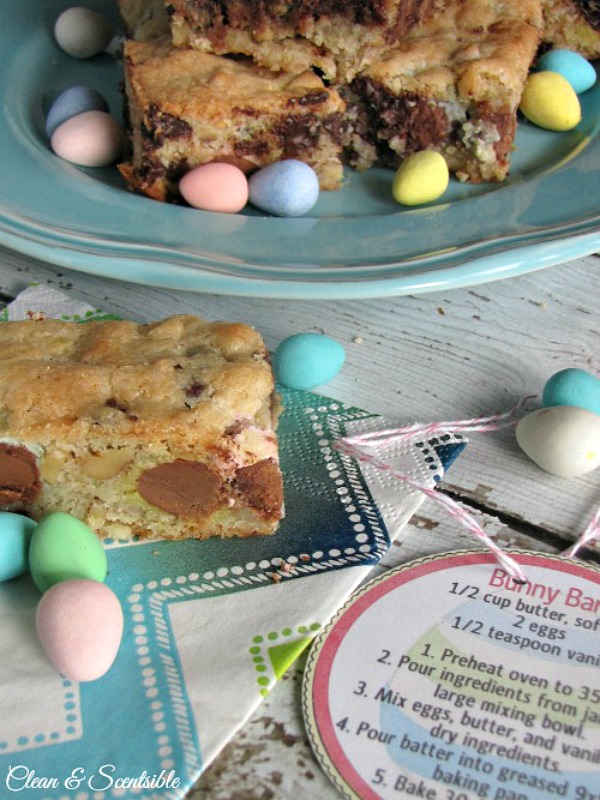
I have also created some printables to help you dress up your jars – there is a Bunny Bars label for the front and baking instructions for the back.  

Just head over to Clean and Scentsible to download them!

Mini-Egg Dessert Bars
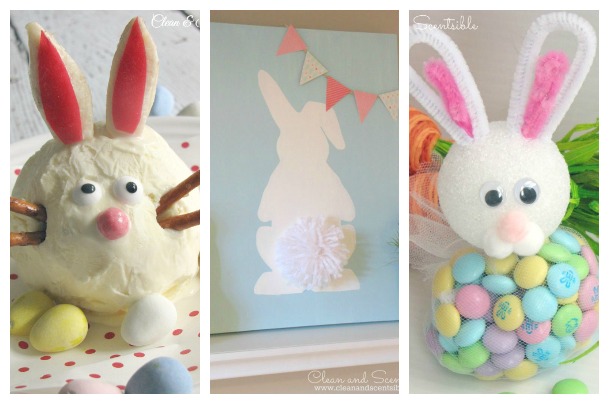
If you are looking for more Easter ideas, you might also want to check out these posts….

Easter Projects
Easter Bunny Sundaes
Easter Bunny Canvas
Easter Bunny Treats

Have a wonderful spring and thanks so much to Heather for having me!

Chocolate VS Vanilla Cupcakes // Classic Chocolate Cupcake Recipe

7 · Mar 18, 2014 · 7 Comments

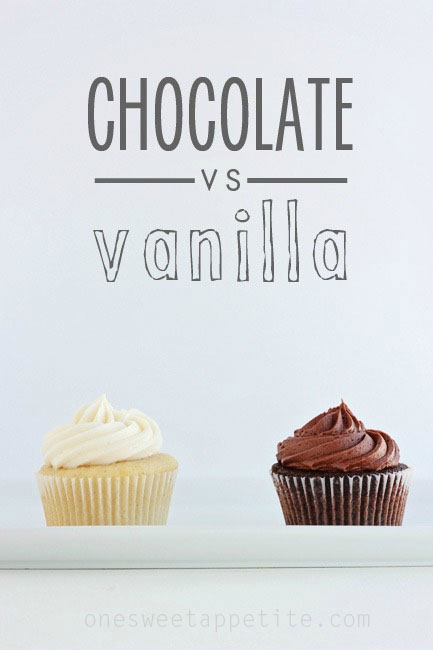
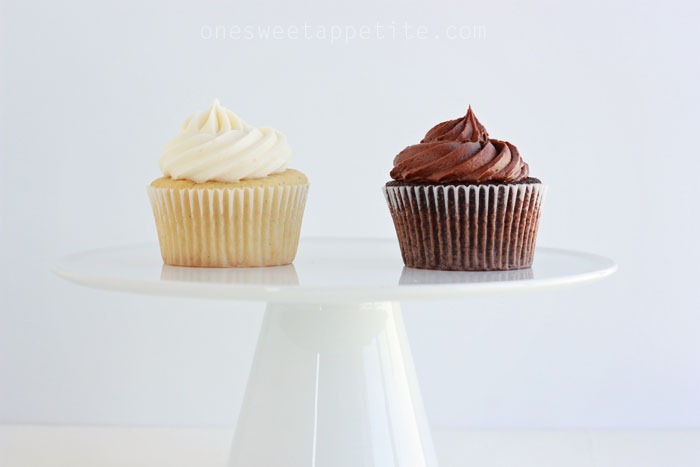
Classic Chocolate Cupcake Recipe // Are you a chocolate or vanilla fan?? I’m a vanilla girl all the way, but when I asked my son what he wanted for his birthday treat he chose chocolate. Which shouldn’t surprise me at all. He’s five. Every five year old loves a good chocolate cupcake, right? Except a few hours later he changed his mind and VANILLA was the winning flavor… I decided to put the two classic flavors to the test and whipped up a batch of both for a chocolate vs. vanilla showdown!

chocolate-vs-vanilla1

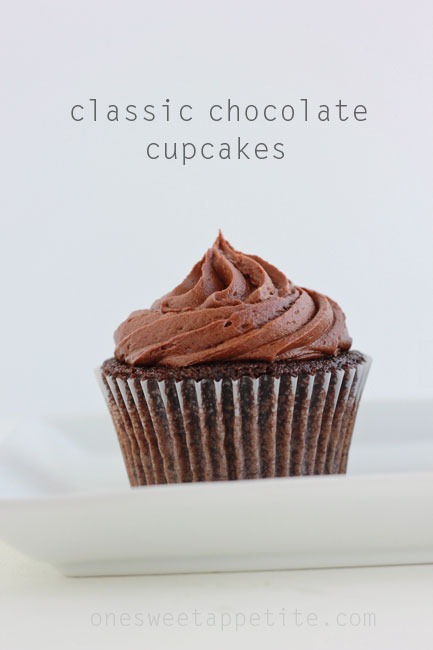
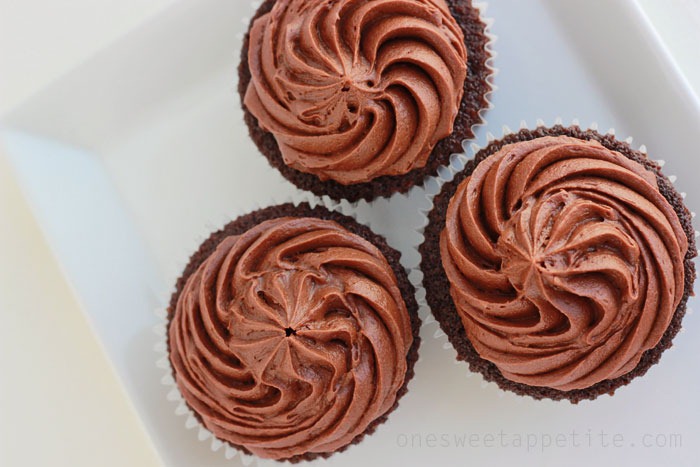
These chocolate cupcakes are moist and delicious. I topped them with a simple chocolate frosting that had guests begging for more. My sister in law even asked if she could scrape off the topping on a few of the leftover cakes! So without further ado…

chocolate-cupcake-recipe

For the cupcake:
1/2 cup butter, softened
1-1/2 cups sugar
2 regular sized Hershey chocolate bars, melted
3 eggs
3/4 cup canola or vegetable oil
1 tablespoon vanilla extract
heaping 1/3 cup plain Greek yogurt (I used Tillamook)
1-1/2 cups flour
3/4 teaspoon salt
3/4 teaspoon soda
3/4 cup cocoa powder
3/4 cup water

Preheat your oven to 350 degrees. Line two muffin tins with paper liners and set aside.

Cream together the butter and sugar. Slowly stir in the melted chocolate and eggs. Add the oil, vanilla, and yogurt. Stir until combined.

Whisk together the flour, salt, soda, and baking powder in a separate bowl. Slowly mix into your wet ingredients along with the water.

Fill your paper cups half to 3/4 full. Bake for 15-18 minutes, or until a toothpick comes out clean.

For the frosting:
1/2 cup plus 1 tablespoon soft butter
4 cups powdered sugar
3/4 cup cocoa powder
3-4 tablespoons whole milk
1 teaspoon vanilla extract

Cream together the butter and powdered sugar. Add the milk, cocoa, and vanilla. Whip until your desired consistency is reached.

chocolate-cupcakes

The overall vote for these at the party was that they were amazing! But did they win the chocolate vs. vanilla challenge?? Hop over to my blog for the vanilla cupcake recipe and to see which cake took home the prize!

vanilla-or-chocolate1
Which would you vote for? Are you a chocolate or vanilla fan? Don’t forget to hop over to my site, One Sweet Appetite, for the class vanilla cupcake recipe!

Classic Chocolate Cupcake Recipe
 
Save Print
Prep time
20 mins
Cook time
20 mins
Total time
40 mins
 
Are you a chocolate or vanilla fan? The classic chocolate cake recipe may sway your vote!
Author: Jesseca // One Sweet Appetite via WhipperBerry
Recipe type: Dessert
Cuisine: American
Ingredients
  • For the cupcake:
  • ½ cup butter, softened
  • 1-1/2 cups sugar
  • 2 regular sized Hershey chocolate bars, melted
  • 3 eggs
  • ¾ cup canola or vegetable oil
  • 1 tablespoon vanilla extract
  • heaping ⅓ cup plain Greek yogurt (I used Tillamook)
  • 1-1/2 cups flour
  • ¾ teaspoon salt
  • ¾ teaspoon soda
  • ¾ cup cocoa powder
  • ¾ cup water
  • For the frosting:
  • ½ cup plus 1 tablespoon soft butter
  • 4 cups powdered sugar
  • ¾ cup cocoa powder
  • 3-4 tablespoons whole milk
  • 1 teaspoon vanilla extract
Instructions
  1. For the cupcakes... Preheat your oven to 350 degrees. Line two muffin tins with paper liners and set aside.
  2. Cream together the butter and sugar. Slowly stir in the melted chocolate and eggs. Add the oil, vanilla, and yogurt. Stir until combined.
  3. Whisk together the flour, salt, soda, and baking powder in a separate bowl. Slowly mix into your wet ingredients along with the water.
  4. Fill your paper cups half to ¾ full. Bake for 15-18 minutes, or until a toothpick comes out clean.
  5. For the frosting... Cream together the butter and powdered sugar. Add the milk, cocoa, and vanilla. Whip until your desired consistency is reached.
3.2.1275

Basil Lemonade // Recipe

0 · Mar 11, 2014 · 7 Comments

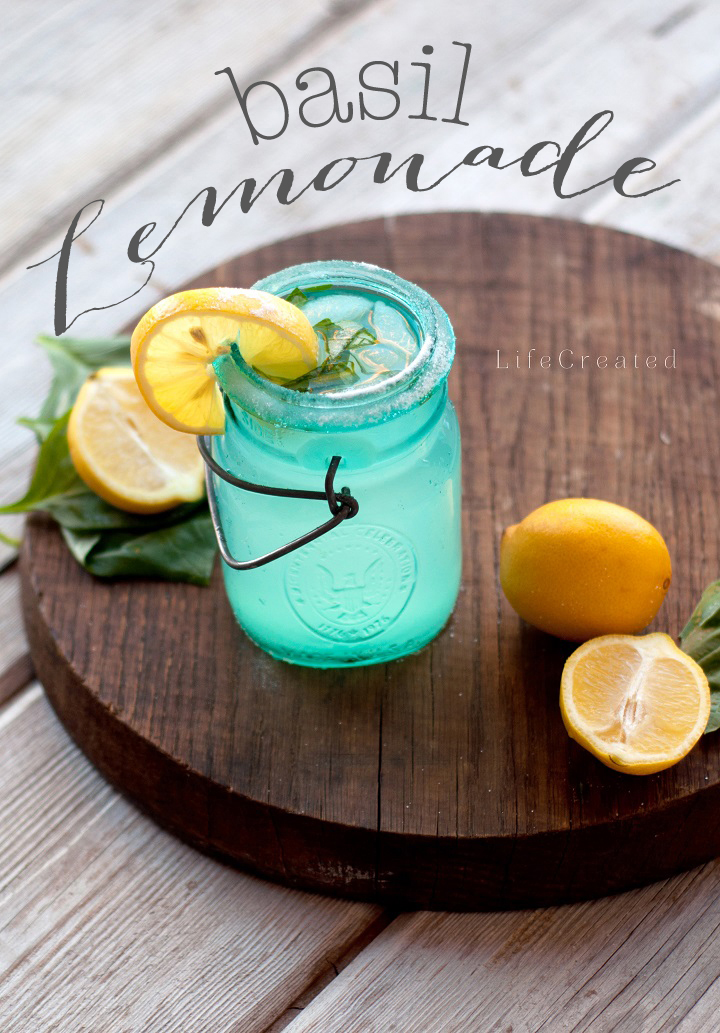
Basil Lemonade from Creative Team Member Stephanie @ Life Created // I can never have enough lemons…lemon candles, lemon ice cream…lemon hand lotion…and yes, lemonade. I can drink a gallon in a day, so I have to watch how much sugar I use, but there is always a craving for something lemon in my cup on a hot day.

basil-lemonade-#whipperberry

Maybe you have a favorite store bought brand you like to buy, or maybe you make your own!

Either way, if you like yours sweet, or tart, try adding a few basil leaves with those ice cubes next time.

It is so easy to make delicious lemonade with a hint of basil…this drink also looks pretty in a pitcher

basil lemonade

Basil Lemonade

1 cup pure cane sugar

6 cups water

5 large basil leaves

20 lemons juiced

Directions

In a saucepan, over low-medium heat, dissolve the sugar in 2 cups of water and whisk well. Let cool.

Juice your lemons.  It is a good idea to strain your lemon juice for pulp and seeds.

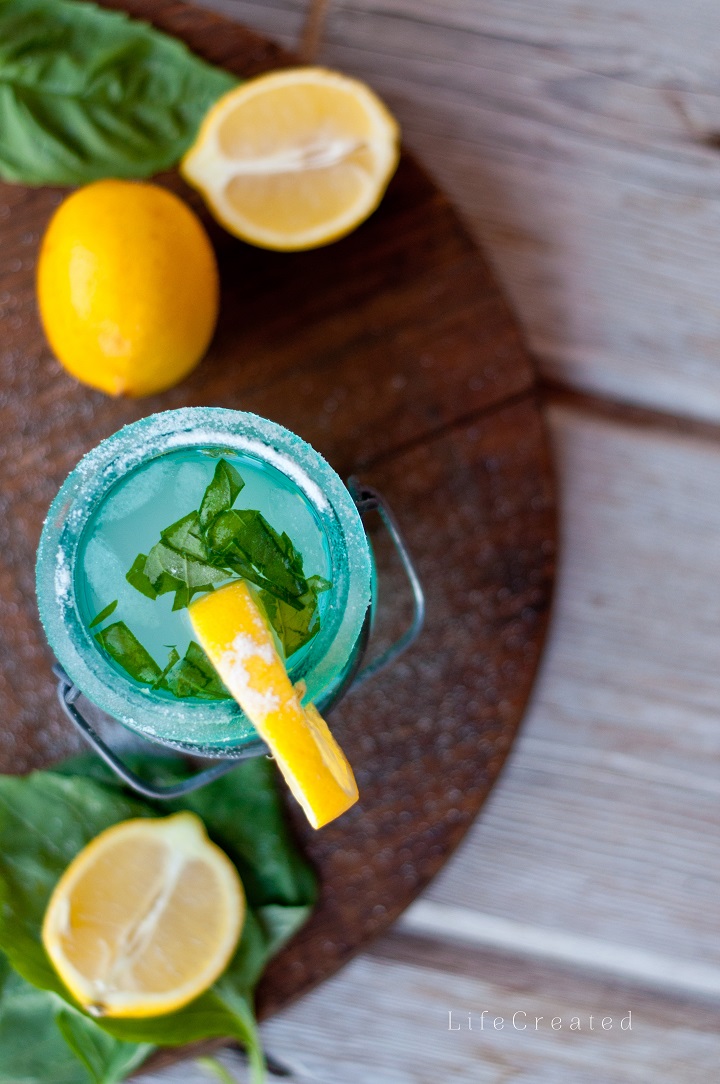
Wash your basil leaves and chop into pieces. Let your basil leaves sit in your lemon juice, refrigerated for a few hours.

Once chilled, you can strain your juice to get the basil leaves out, or leave them in if you rather.

In your container, pour the sugar water and lemon juice together, along with the remaining 4 cups of water and a lot of ice.

The ice will slowly melt, adding to dilute the lemonade. Feel free to add more water or sugar depending on if you like your lemonade tart or sugary.

Enjoy your lemonade with a hint of basil!

basil lemonade

Basil Lemonade
 
Save Print
Prep time
10 mins
Cook time
10 mins
Total time
20 mins
 
A tasty new take on your everyday lemonade!
Author: Stephanie
Recipe type: Drinks
Cuisine: American
Ingredients
  • 1 cup pure cane sugar
  • 6 cups water
  • 5 large basil leaves
  • 20 lemons juiced
Instructions
  1. In a saucepan, over low-medium heat, dissolve the sugar in 2 cups of water and whisk well. Let cool.
  2. Juice your lemons. It is a good idea to strain your lemon juice for pulp and seeds.
  3. Wash your basil leaves and chop into pieces. Let your basil leaves sit in your lemon juice, refrigerated for a few hours.
  4. Once chilled, you can strain your juice to get the basil leaves out, or leave them in if you rather.
  5. In your container, pour the sugar water and lemon juice together, along with the remaining 4 cups of water and a lot of ice.
  6. The ice will slowly melt, adding to dilute the lemonade. Feel free to add more water or sugar depending on if you like your lemonade tart or sugary.
  7. Enjoy your lemonade with a hint of basil!
3.2.1275

For more fun ideas and recipes from Stephanie, visit her site Life Created!

  • Go to page 1
  • Go to page 2
  • Go to page 3
  • Interim pages omitted …
  • Go to page 7
  • Go to Next Page »

Primary Sidebar

Heather from Whipperberry
Hello... my name is Heather and I'm the creator of WhipperBerry a creative lifestyle blog packed full of great recipes and creative ideas for your home and family. I find I am happiest when I'm living a creative life and I love to share what I've been up to along the way... Come explore, my hope is that you'll leave inspired!

Footer

  • Privacy Policy

Copyright © 2023 · Seasoned Pro