This post is brought to you by Ball® Fresh Preserving Products by Newell Brands
Do you know that old saying from Chaucer, “Idle hands are the Devil’s tools”? It’s an understatement when it comes to toddlers and preschoolers. I’m the mother of four and I would have to say, I’ve experienced love from those cute little puggy hands along with total mayhem. We have one member of our family who has been called “Poopy Picasso” a few times in their life. I’ll let you figure that one out on your own. I’ve also worked in early childhood education and have learned that busy hands that have been guided successfully, are hands that are constantly learning and growing. That’s why I am making these Toddler Activity Jars for all of my younger friends this year for the holidays.
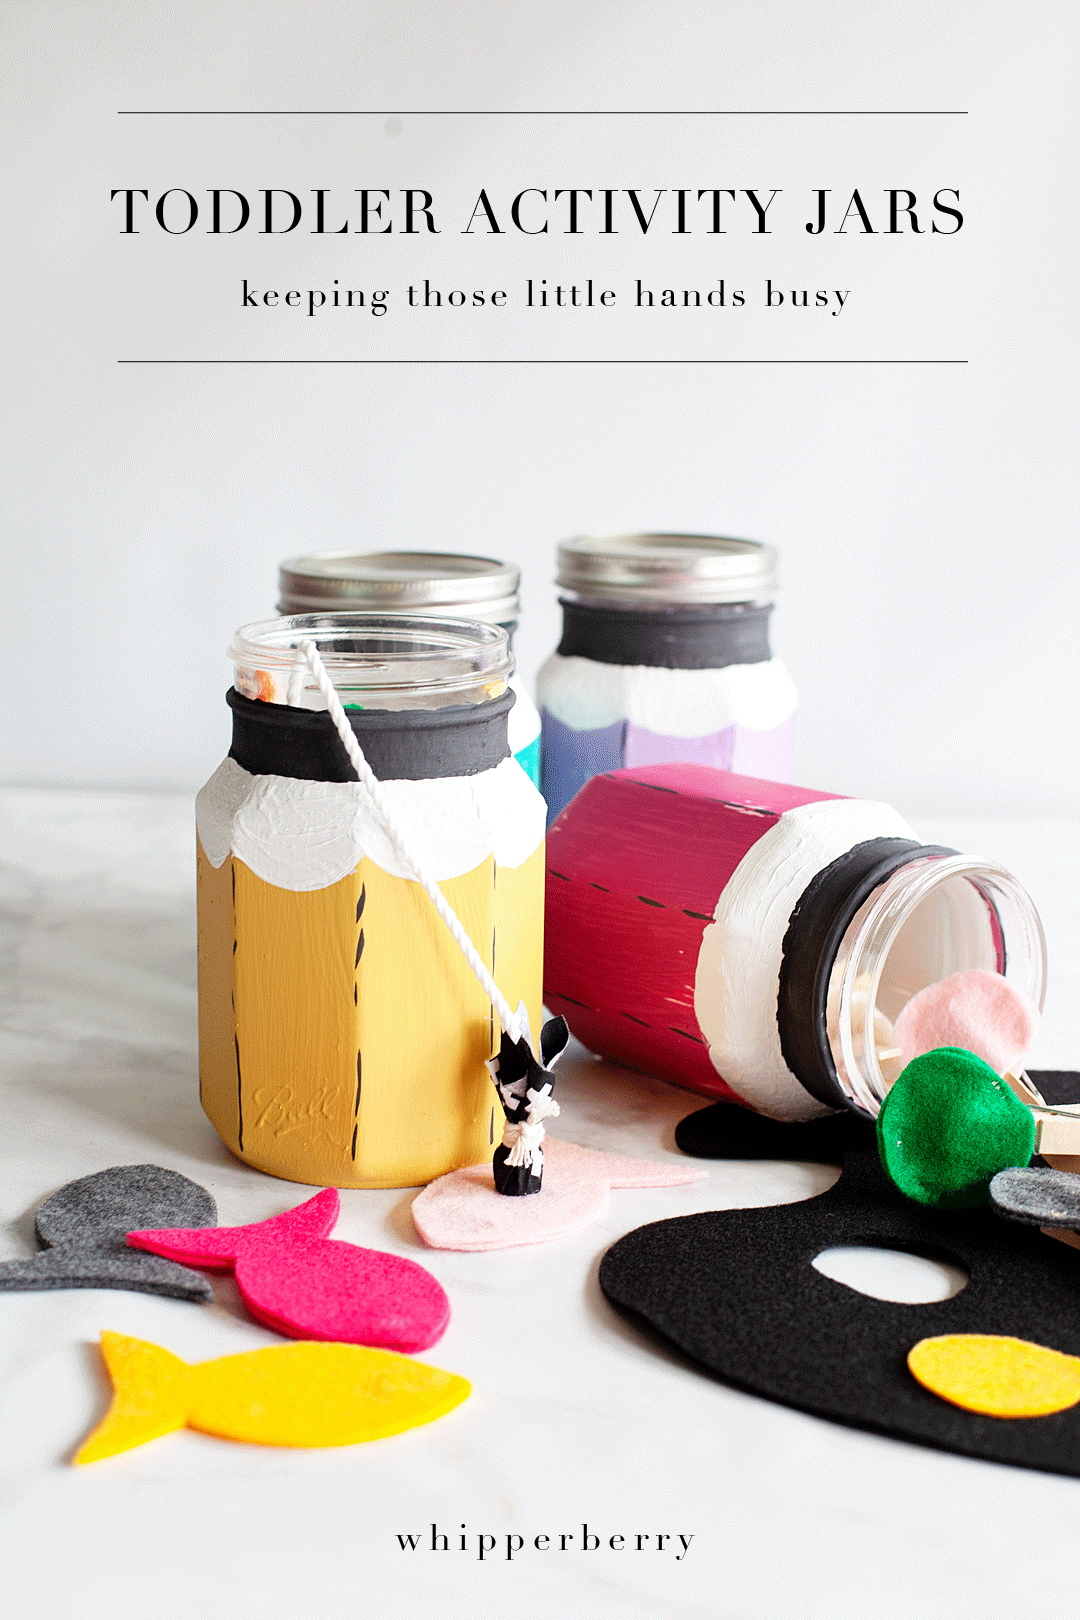
There are two key components for this project. The cute Ball® Sharing Jars along with fun activities inside of the jars. These jars are meant to be managed by an adult so that the kiddos won’t risk breaking the jars. I like to keep mine on a shelf where the little ones can see them but have to ask to have them brought down by a grown-up. They know there are going to have something fun inside, and each time you bring one of the jars down, they never know what they are going to find. One time the yellow jar will have the fishing game, the next time it might have a matching game or, maybe a pad of paper and some fun crayons. That’s what’s fun about these jars, they will always have something fun and colorful inside. That’s pure magic for this age group. Here’s what you need to do to make some of your own.
Toddler Activity Jars Supplies
- Ball® Wide Mouth Quart Sharing Jars
- Chalk Paint
- White
- Black
- 4 complimenting colors
- Chalk painting brush
- Small flat paint brush
- 600 grit sandpaper
Instructions
The minute I was introduced to the Ball® Sharing Jars I thought they would look super cute as a pencil jar and couldn’t wait for a chance to give that project a go. Now, when chalk painting jars like this, the plan from the beginning is that you will distress them a bit as you are finishing up the project. With that in mind, you will want to decide on what color you want to come through as you distress down through the paint. For this project, I decided to go with white as an undercoat and then set to work.
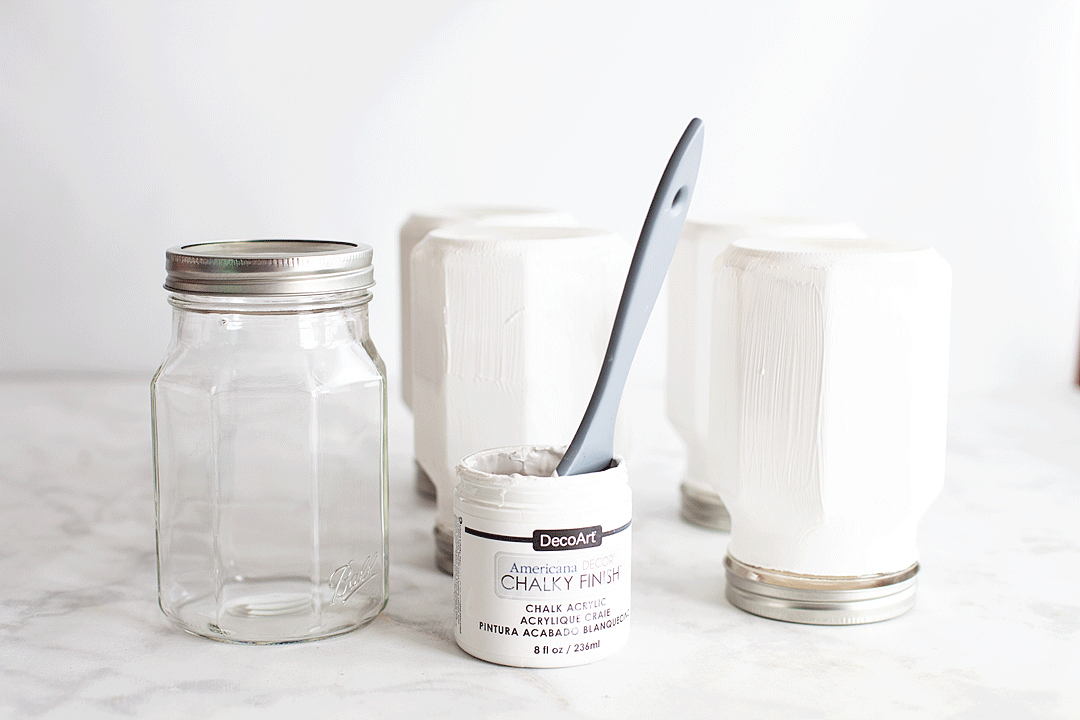
I painted two coats of the white letting it dry in between coats. Make sure that you don’t paint the bottom of the jar. This is a fun little element that the toddlers will love. It’s a little window where they can sneak a peek to see what’s inside.
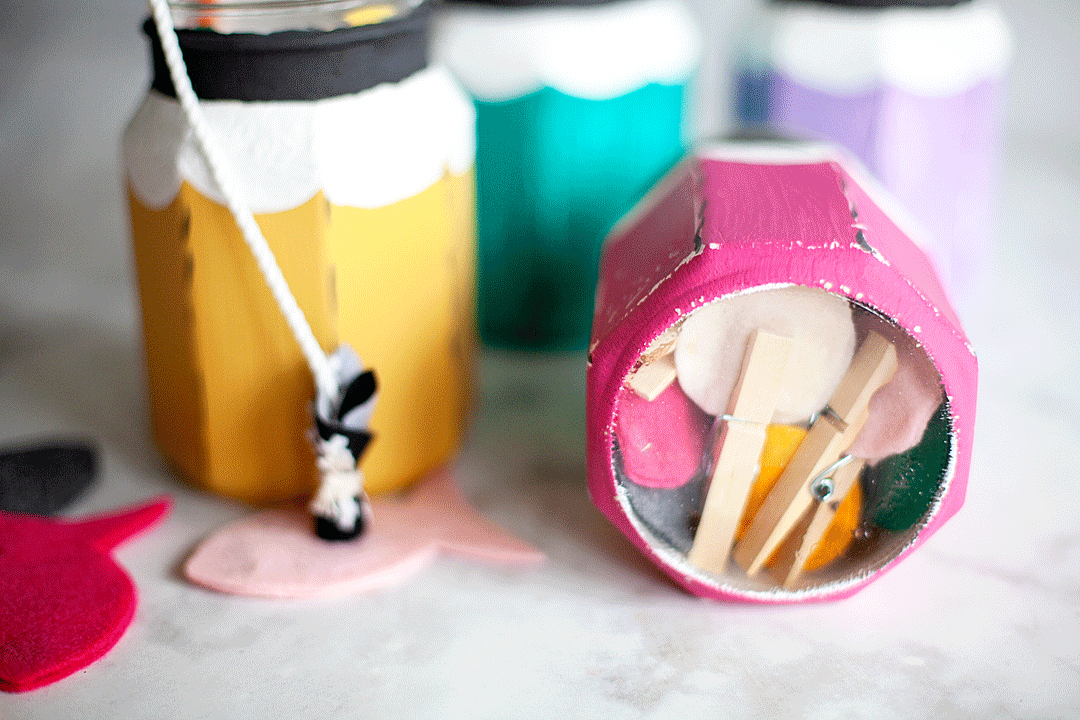
Next, I painted the four different colors, one on each of the four jars.
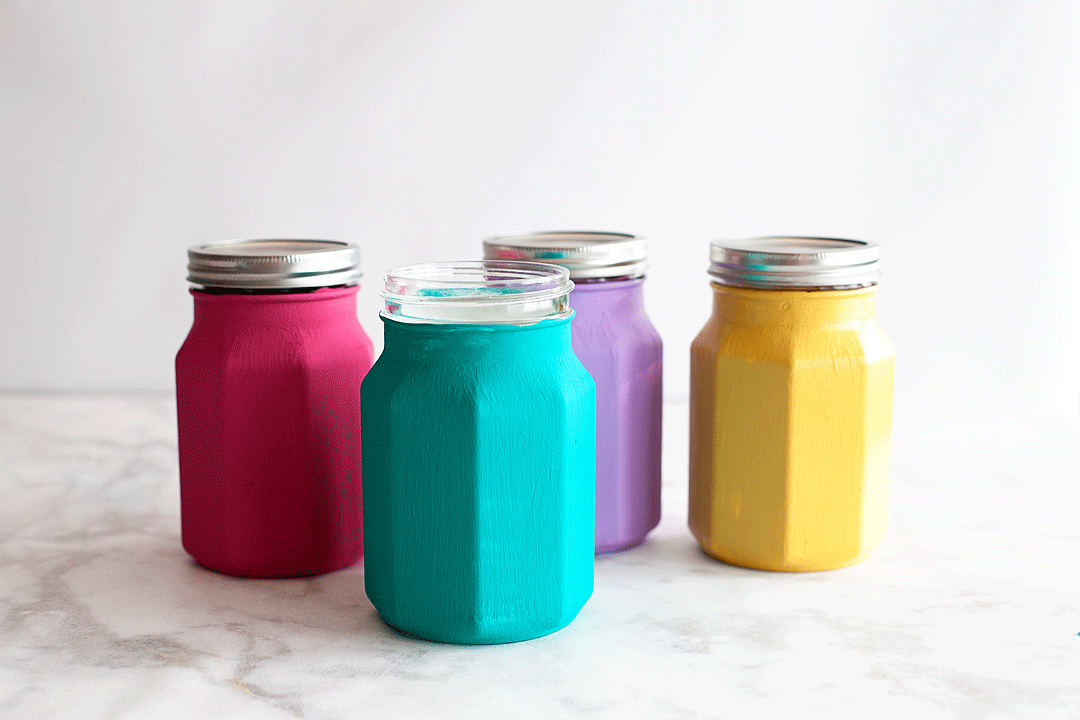
Because of the nice white bottom layers, I didn’t really need a 2nd coat for the other colors. I let these dry overnight at this point. You really need the paint to have time to not only dry but to also cure. The following day I distressed the jars to give them that worn-in look.
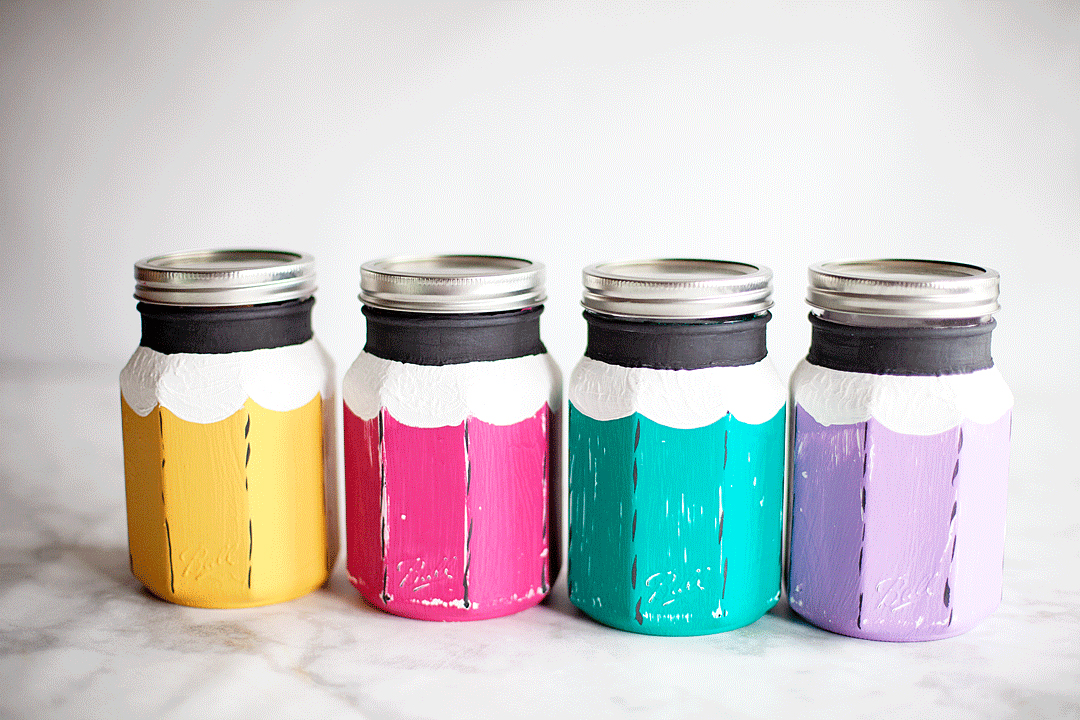
Once the distressing was finished and I had wiped the jars down with a damp cloth and let them dry, I added the white scallop at the top to look like the sharpened pencil. I just followed the lines of the Sharing Jar which are perfect for the pencil shape. I painted in rough small circles with a thicker chalk paint to add some texture to the surface to make it look more like wood. Once that had dried, I added a ring of black chalk paint to make it look like the pencil lead. I also used the small flat brush to lightly line the raised edges on the side of the Sharing Jar to highlight the jars structure and its pencil-like shape.
Now, with these jar being used by sticky little fingers, I would use a chalk paint finishing wax to protect the paint and keep it from distressing any further.
Pro Tip – If brush lines bother you in your finished project (sometimes it adds to the effect of the project) all you have to do is smooth the surface of the paint after each layer of paint. You can do that by lightly sanding it with a 600 grit sandpaper.
Toddler Activity Ideas
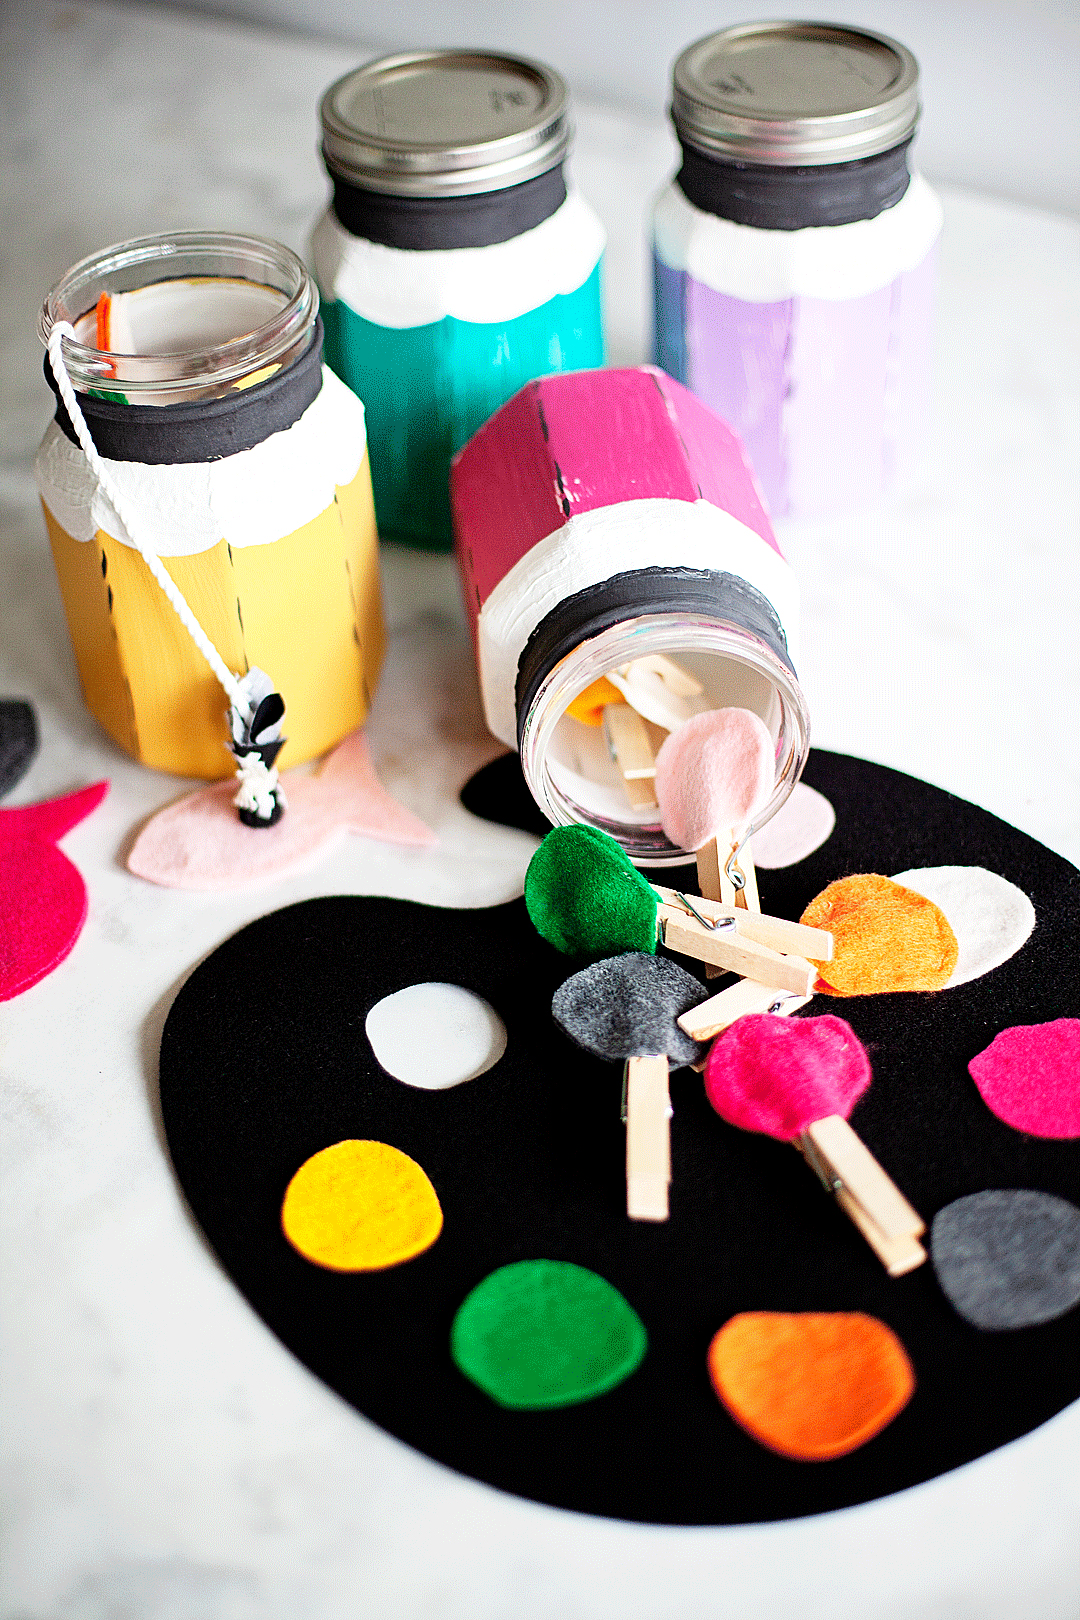
Here is where the sky is the limit. You can fill these jars with all kinds of fun for toddlers and preschoolers alike. I made a couple to show what you could with these fun jars. A color matching paint palette & a fishing game. Both of these projects were no-sew and easy to put together. I used my Cricut cutting machine to cut the felt, but you could always print a pattern and then cut them out yourself. If you do happen to have a Cricut Maker, you are more than welcome to use my Toddler Activity cut files for this project. It’s already sized and ready to go.
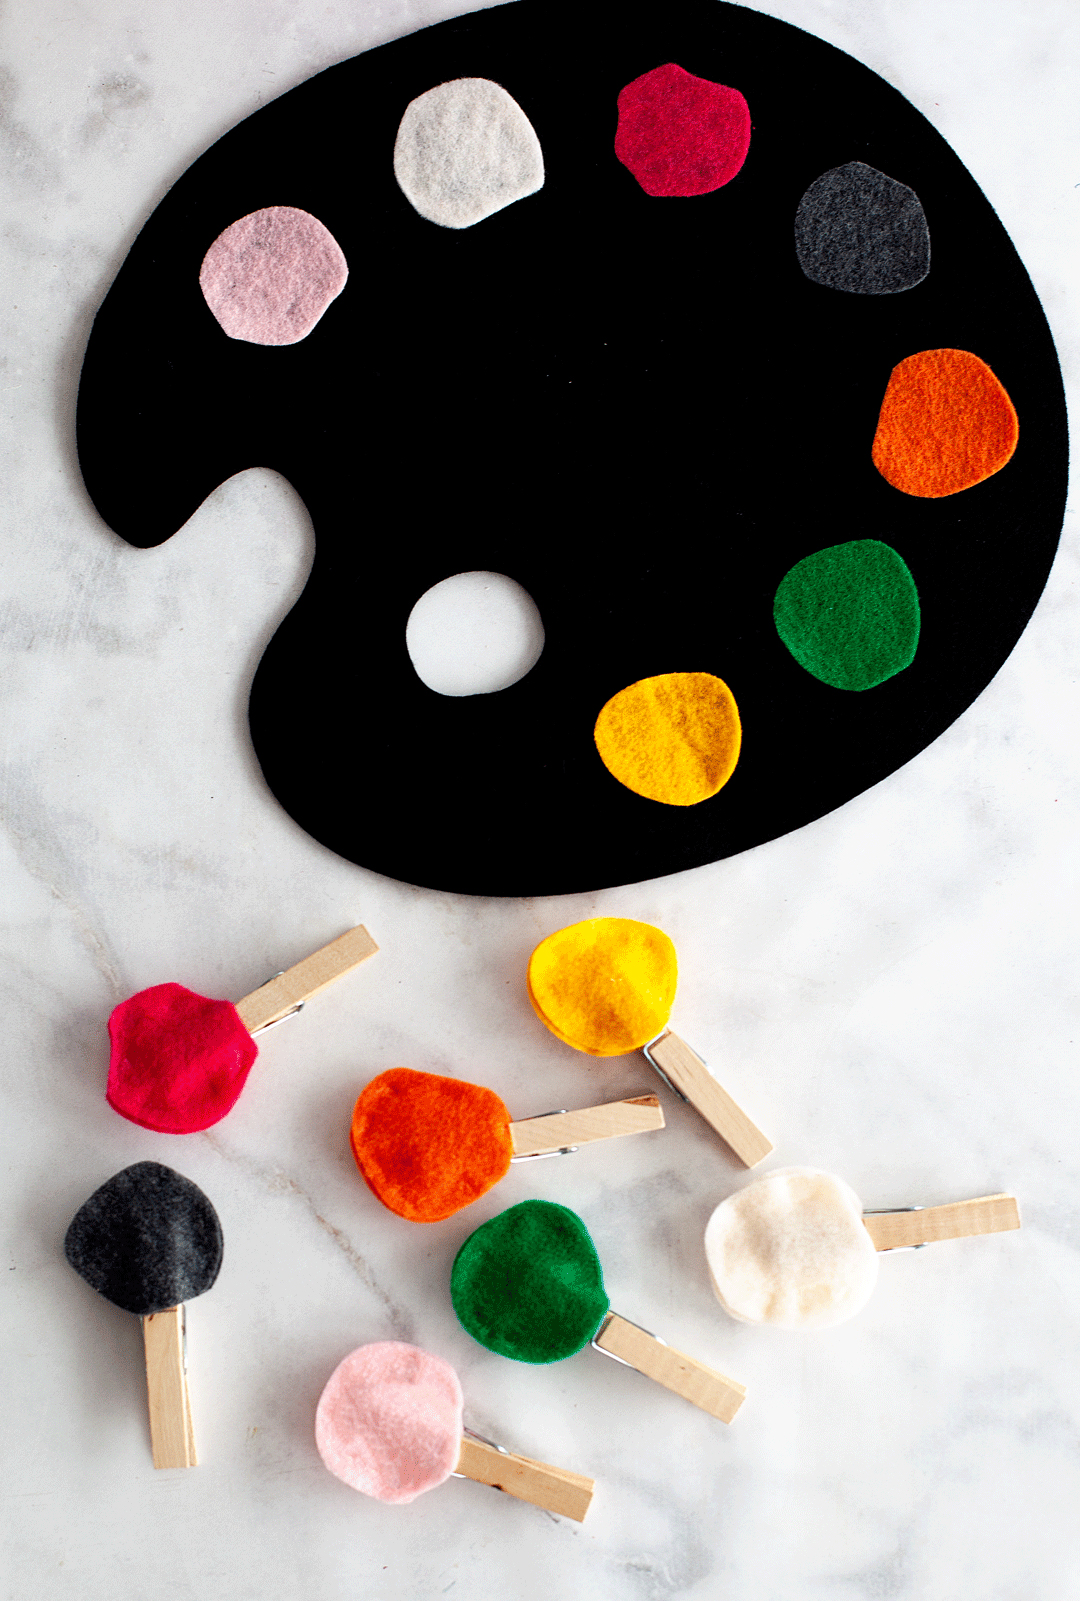
The paint palette was easy, I glued the circles of “paint” onto the artist’s palette with some fabric glue and then glued two other circles of “paint” onto a clothespin. One on the top of the clothespin and one sandwiching the top section of the clothespin, inside of the open pin, so the top piece of wood is sandwiched in felt and the bottom section is free. This way your little ones can clip the paint sticks onto the corresponding paint on the palette.
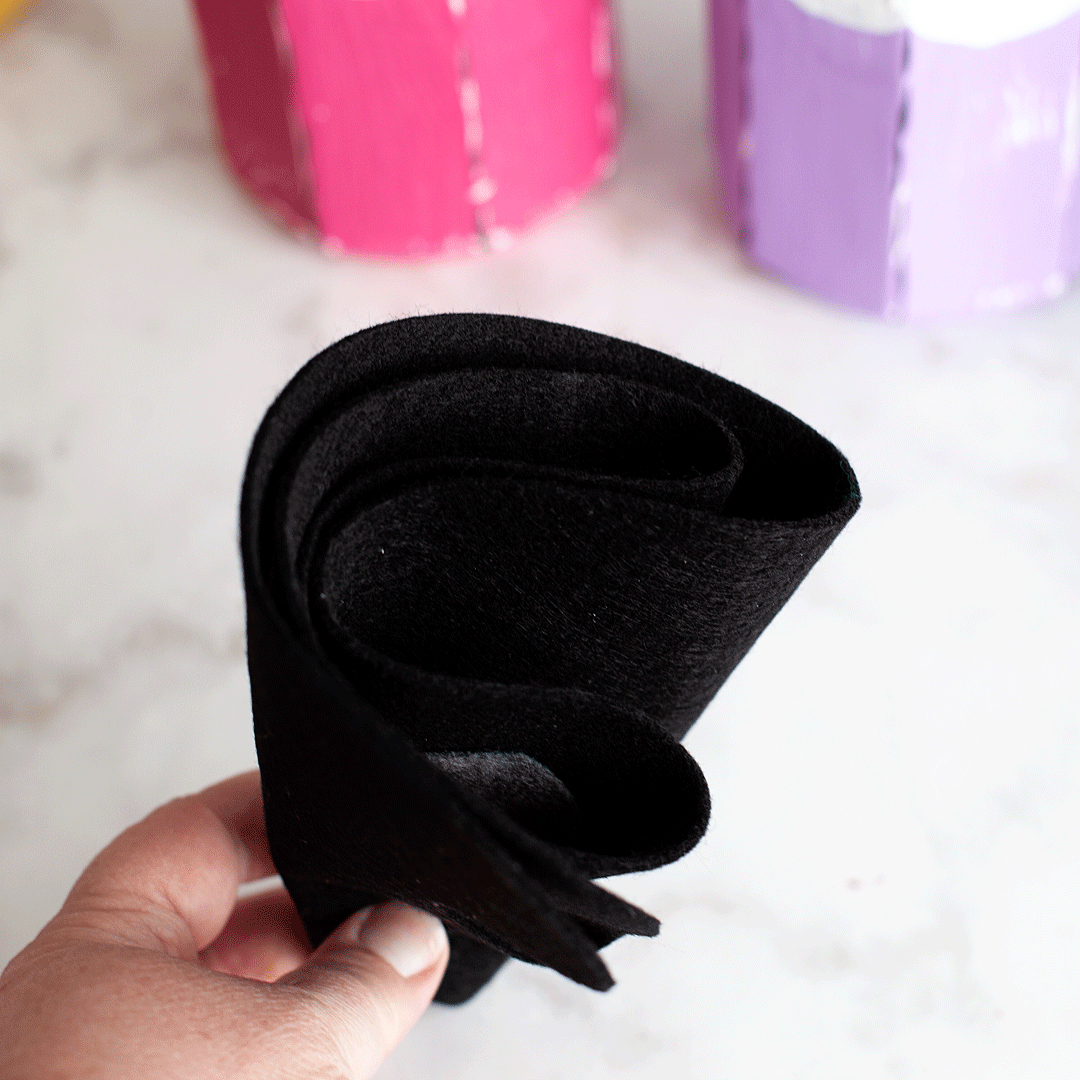
When the glue is totally dry, I fold the palette in half and then roll it up like a cone and place it inside of the jar and put all of the paint sticks inside as well.
The fishing game is just as simple. Just a little cutting and gluing.
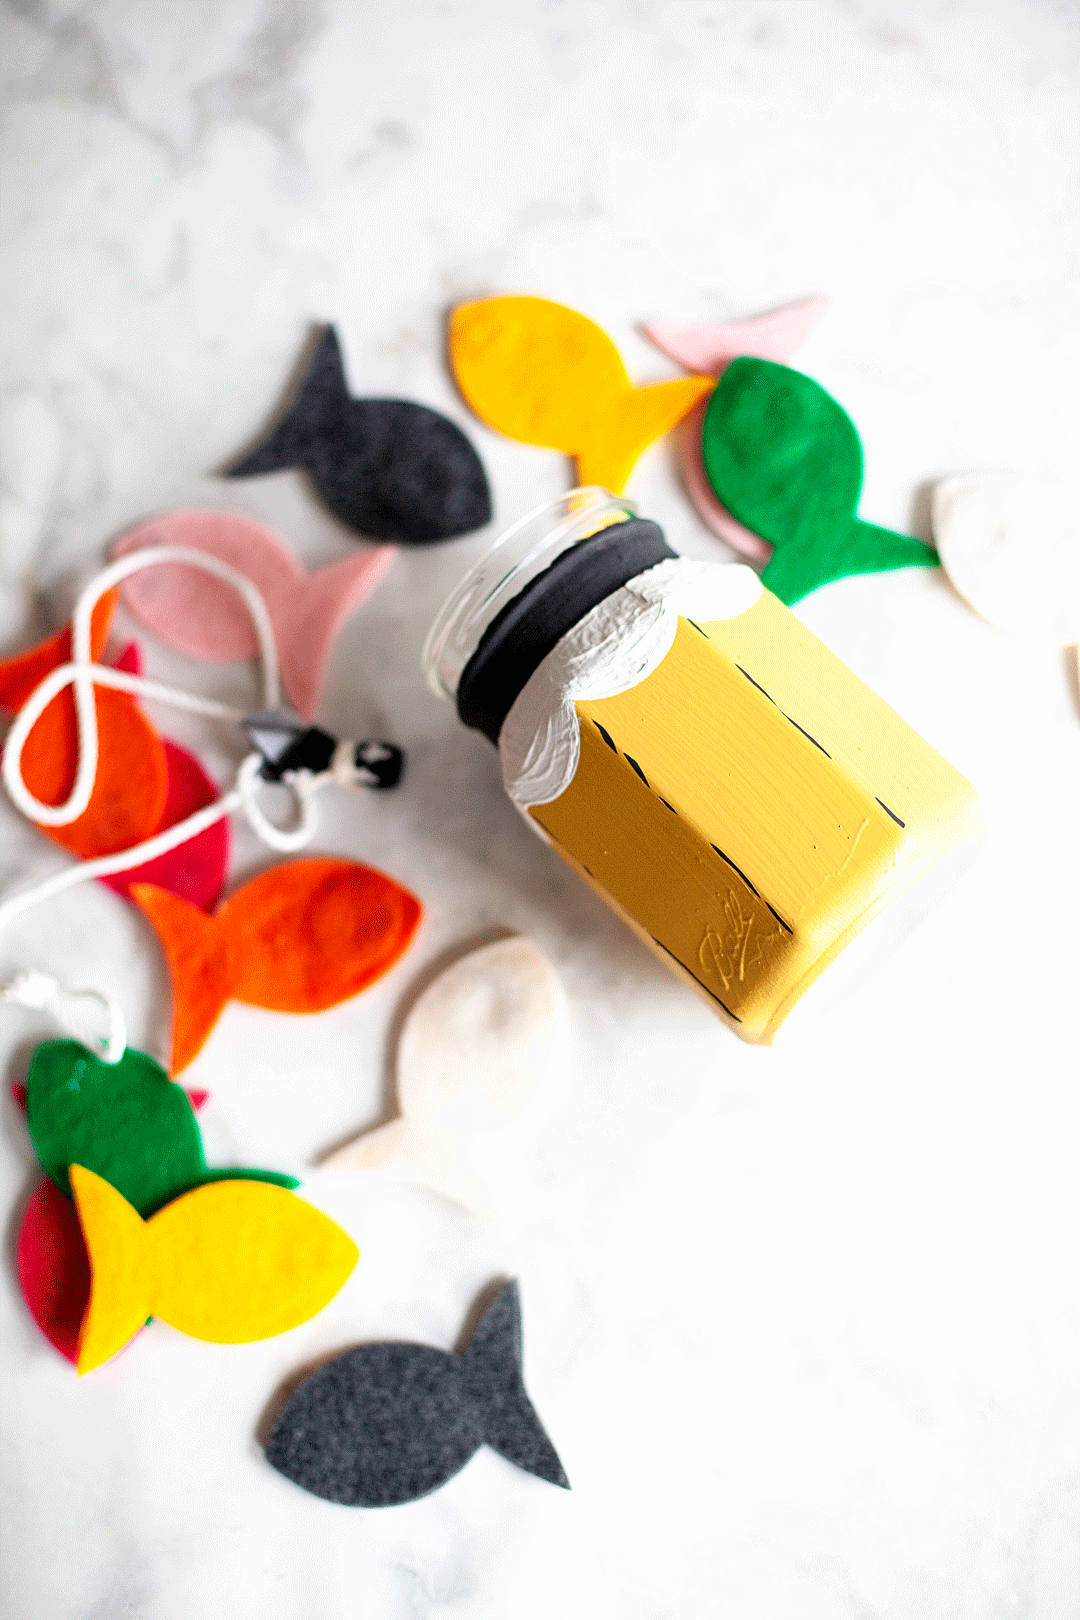
I placed a heavy-duty washer in between two layers of felt fish and used a fabric glue to glue the two pieces of felt together.
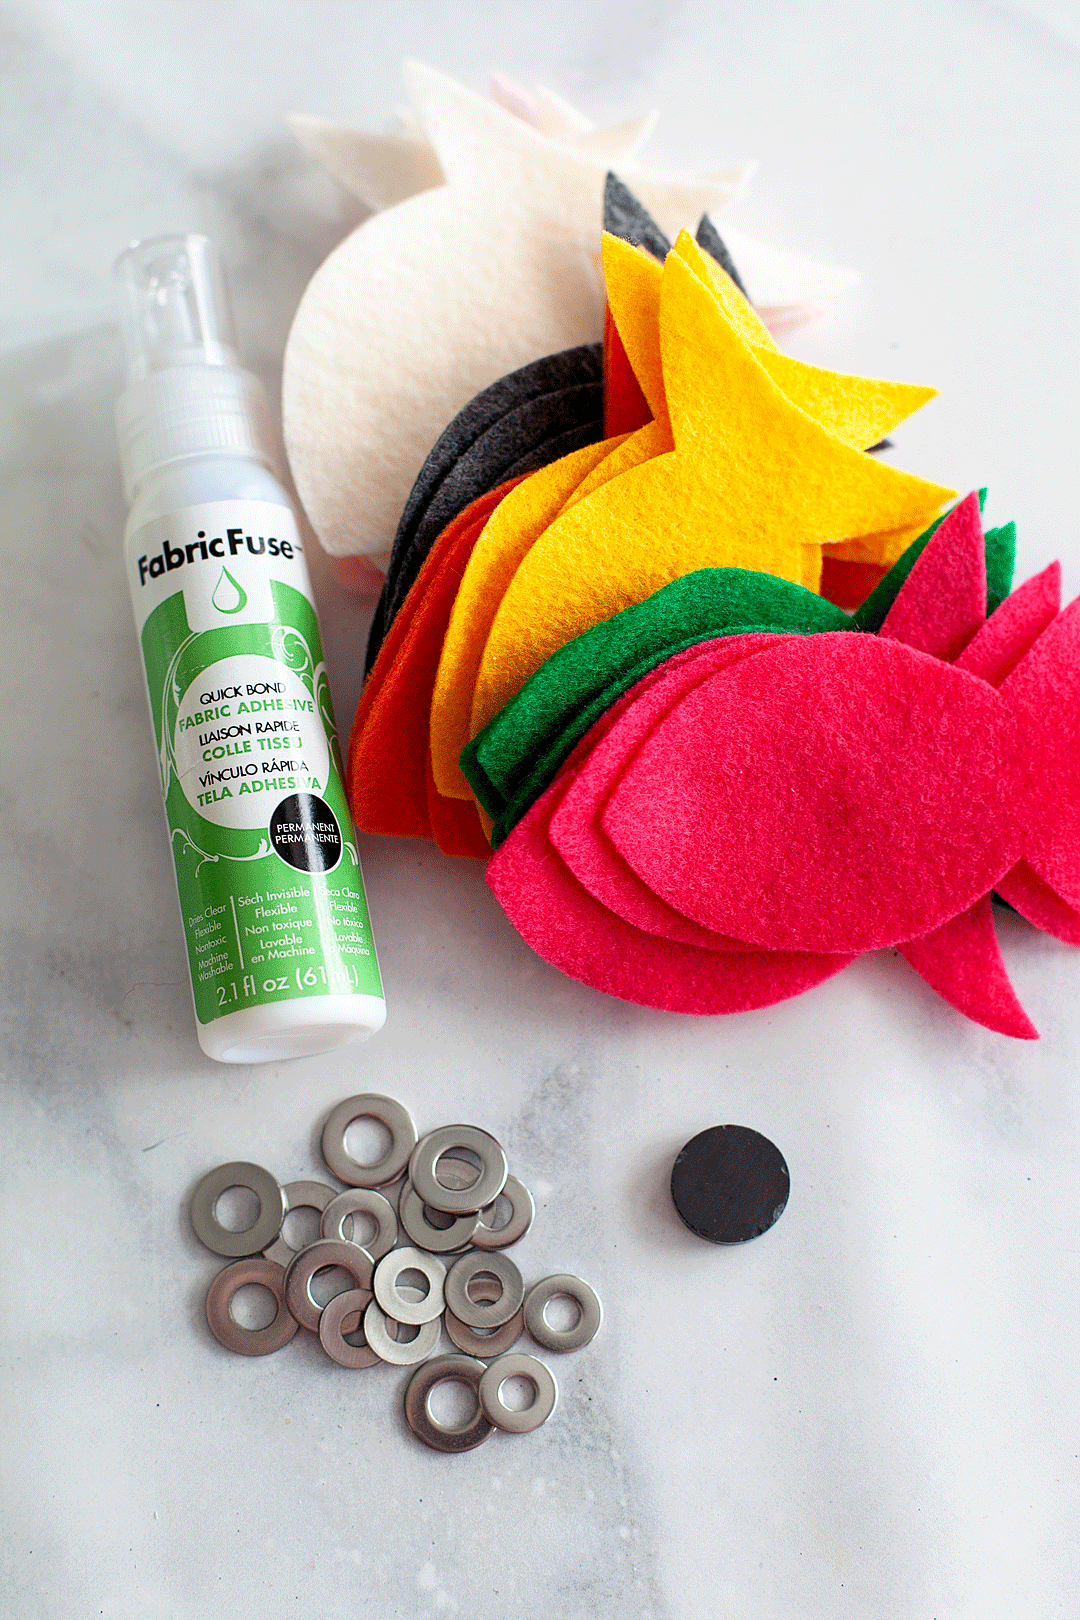
Then I wrapped a strong magnet in fabric (to minimize the choking hazard) tied it off with a string. Then, I hot glued a piece of rope to the wrapped magnet. I put a finger loop at the top of the string for our little friends to slip their finger into and go fishing!
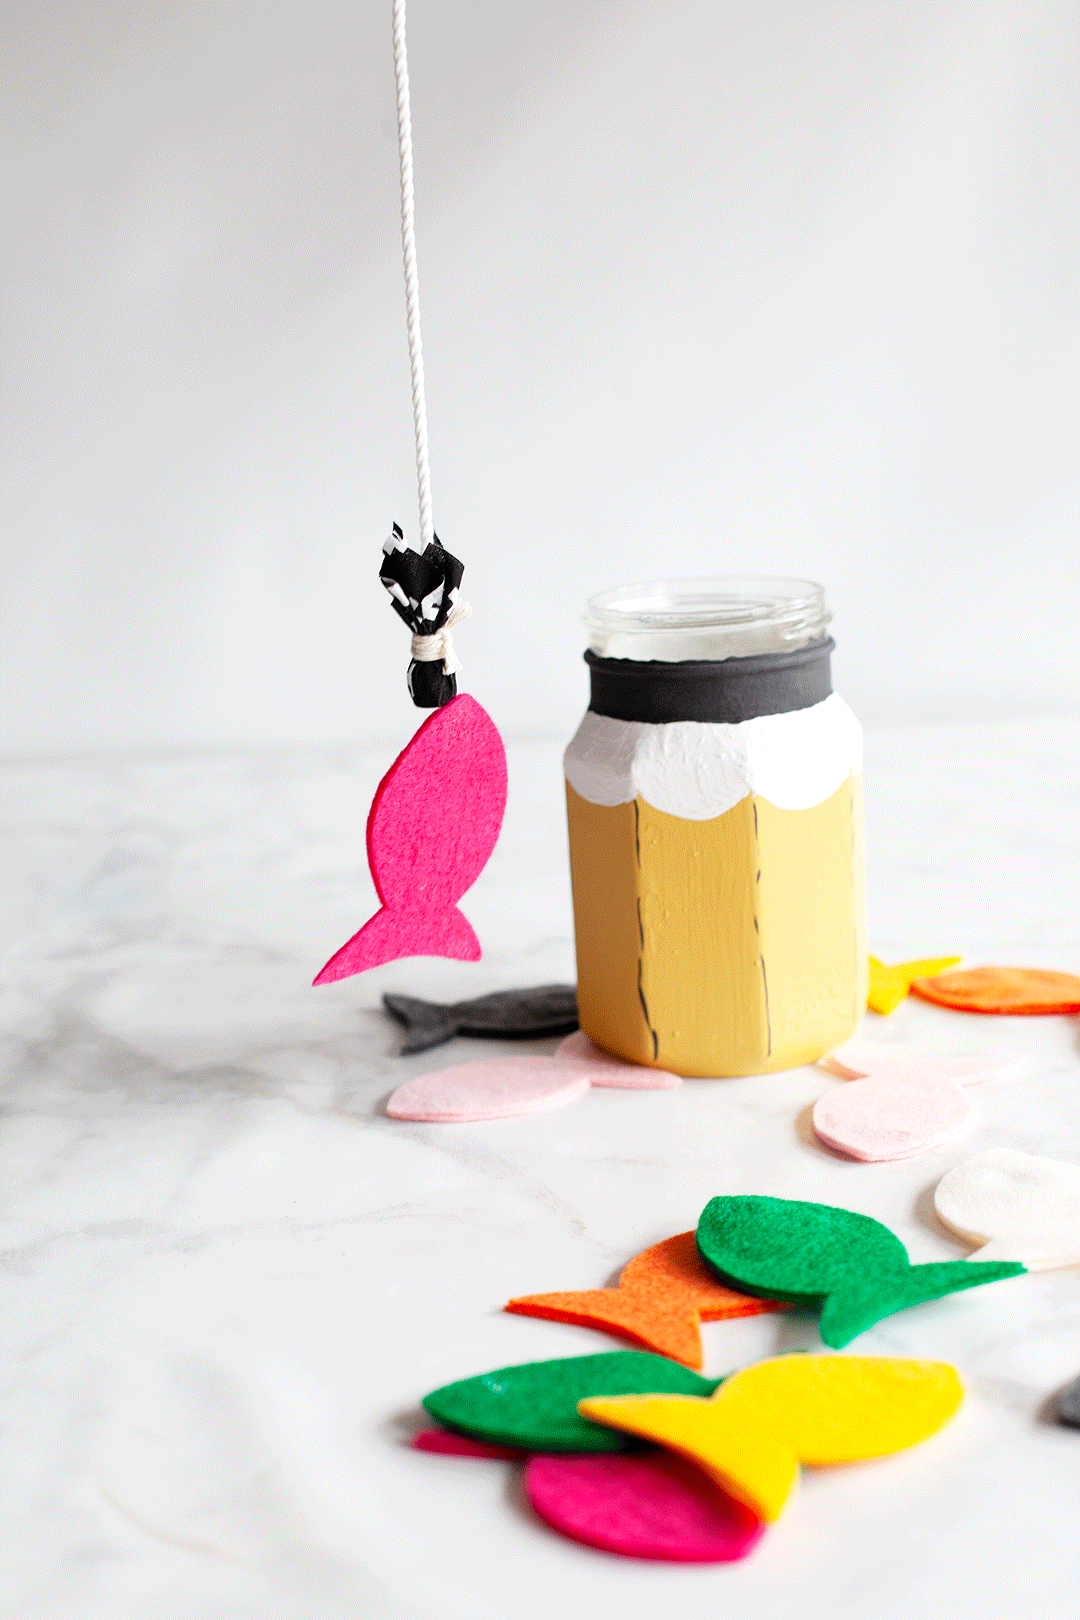
These are just two ideas to fill your fun pencil jars! You can make some memory games, matching letters and number games. All kinds of stuff will go in these fun jars.
27
Leave a Reply