• Skip to primary navigation
  • Skip to main content
  • Skip to primary sidebar
  • Skip to footer

Whipperberry

WhipperBerry • Your Home For Creative Inspiration

  • Home
  • Recipes
    • Starters
    • Easy Weeknight Dinners
    • Main Dish
    • Salads
    • Side Dish
    • Soups & Stews
    • Desserts
    • Breakfast
    • Miscellaneous
  • Tutorials
    • Creative Crafts
    • DIY Decor
    • Fabric Crafts
    • Food How-To
    • Jewlery
    • Paint Projects
    • Paper Art
    • Party Styling
    • Photography and Graphic Design
    • Silhouette
  • Holidays
    • Easter
    • Mother’s Day
    • Father’s Day
    • 4th of July
    • Halloween
    • Thanksgiving
    • Christmas
    • Valentine’s Day
  • Gift Ideas
    • Gifts For Everyone
    • Gifts for Dad
    • Mother’s day
    • For The Girls
    • For The Kids
    • Teacher Gift Ideas
    • Christmas
  • Printables
    • Holiday
    • Gift Idea
    • LDS Primary
  • Travel
  • About
    • Terms
  • Contact
  • Nav Social Menu

    • Facebook
    • Instagram
    • Pinterest
    • RSS
    • Twitter

Chalkboard

How To Prime a Chalkboard – Blackboard Seasoning

28 · Aug 12, 2022 · Leave a Comment

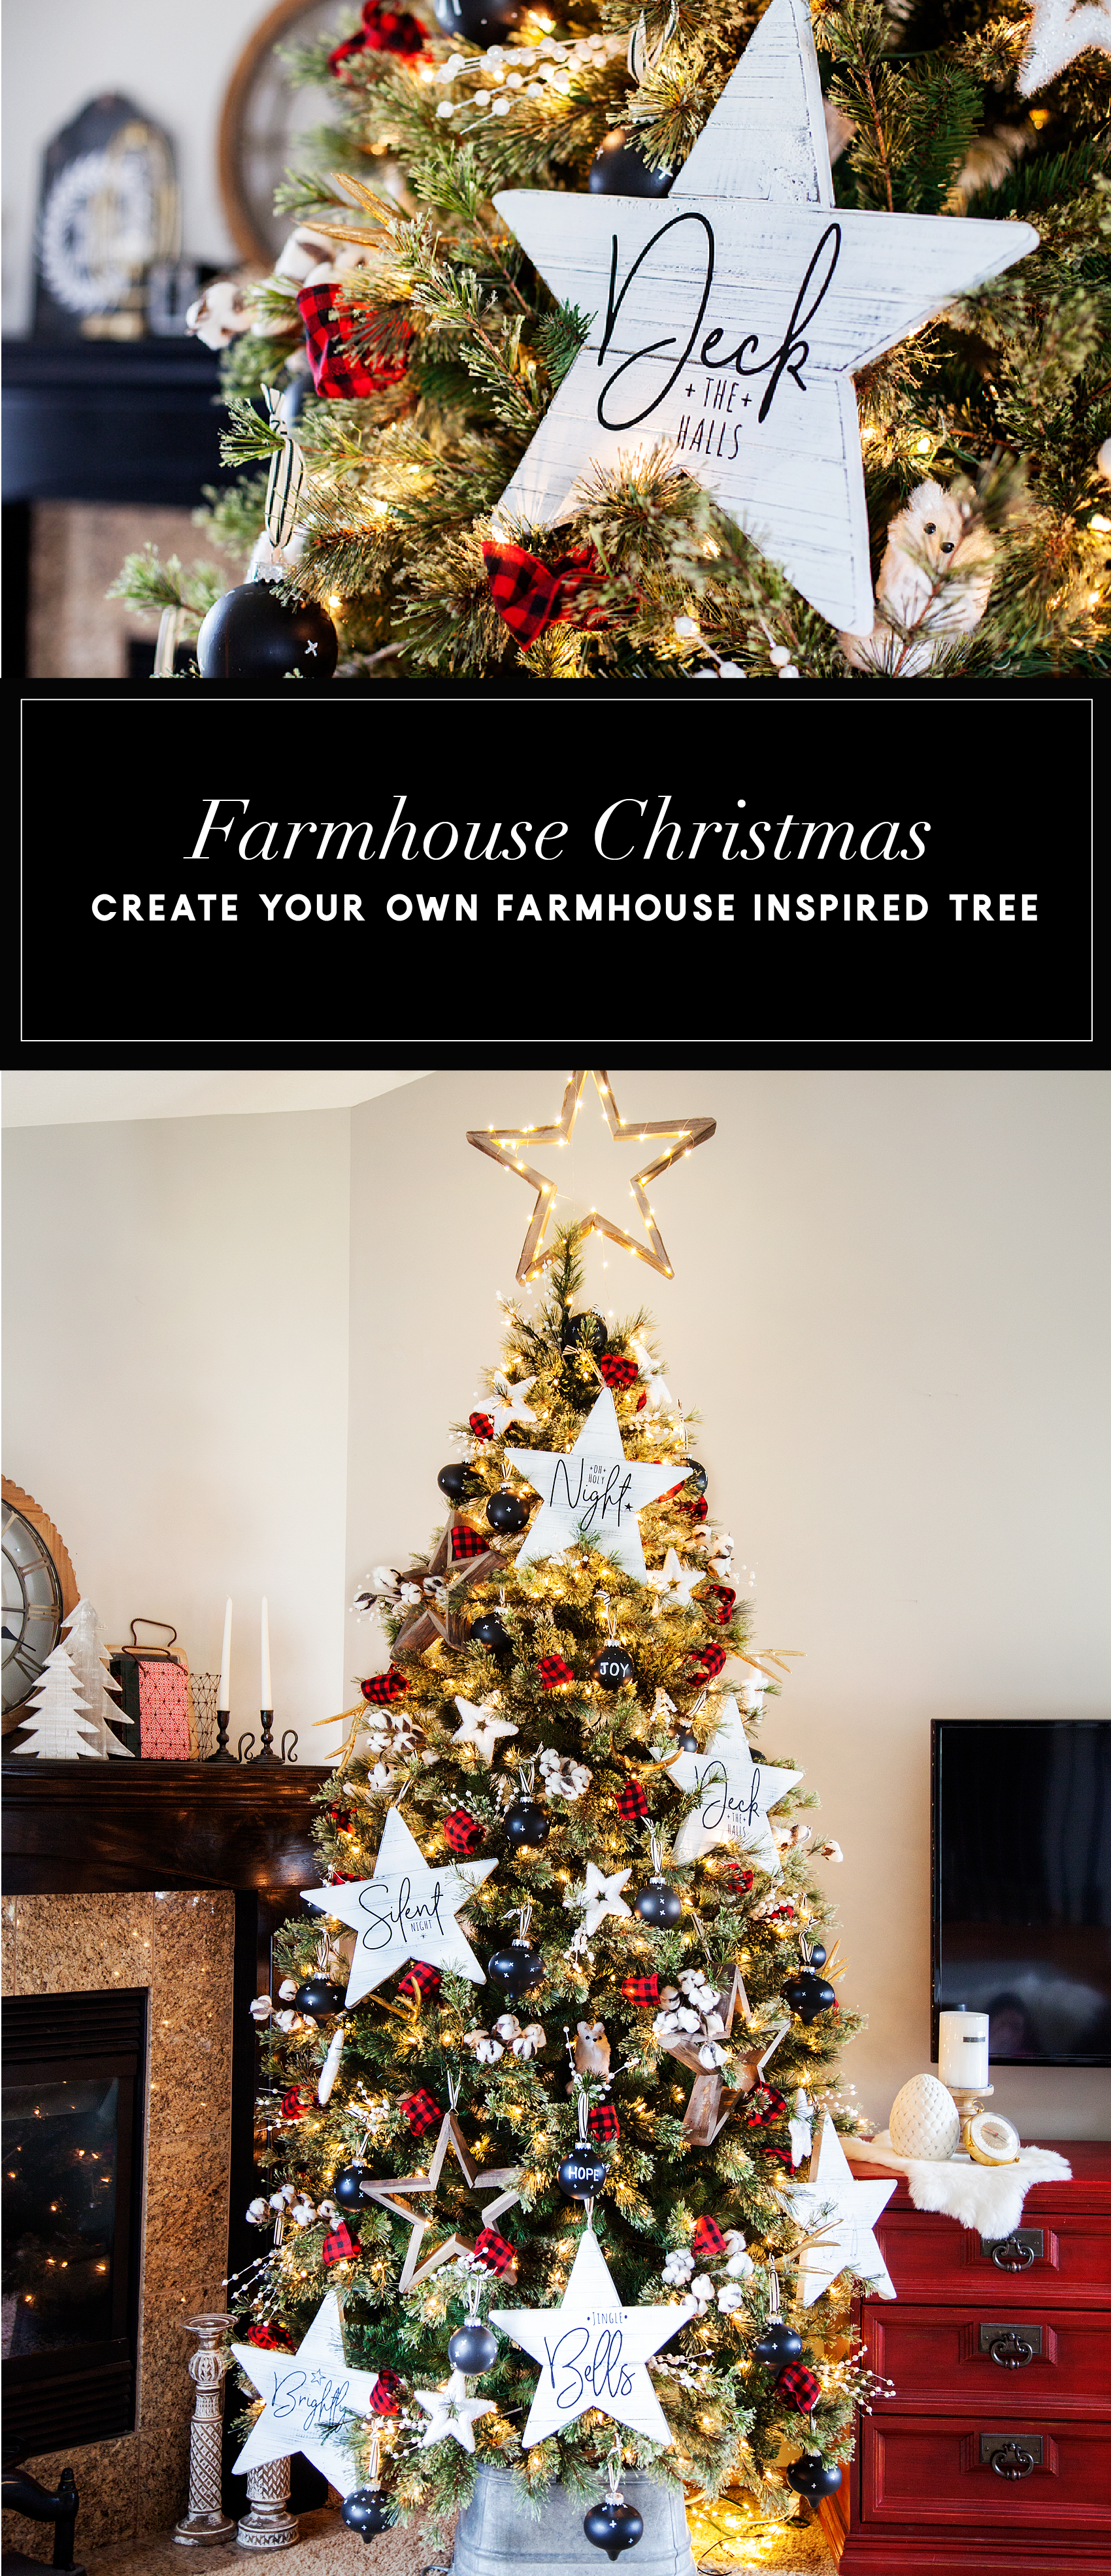
Chalkboards are such a fun way to decorate around the house, in your office, or for parties! Here is a quick video showing you how to prime your chalkboard. Make sure to read this whole article for other tips and tricks!


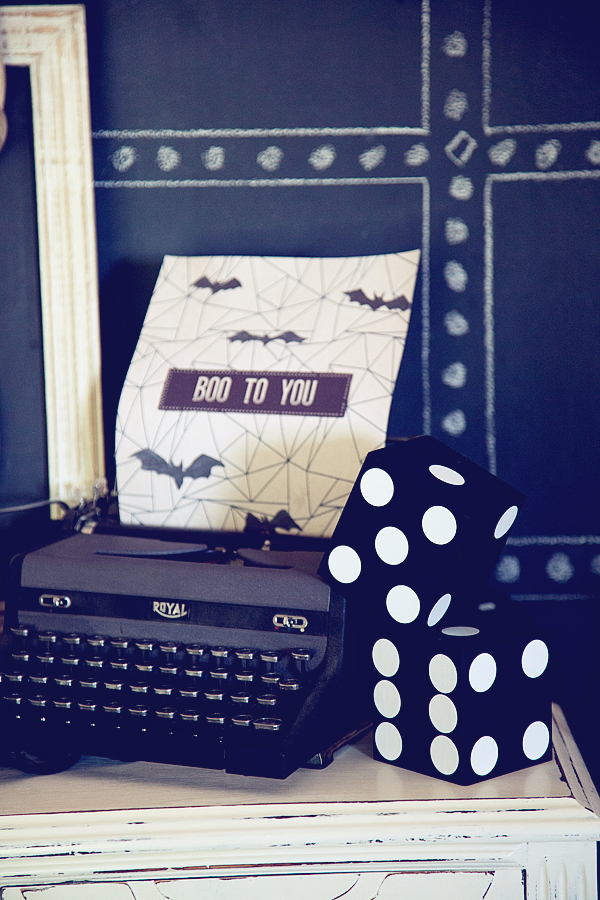
Chalkboard signs, labels, and even entire chalkboard walls are a clever and creative way to personalize your home decor. Whether using a traditional slate chalkboard, or a surface painted with chalkboard paint, a little bit of preparation and maintenance goes a long way to ensure your chalk art will always look vibrant.

What Does it Mean to Prime a Chalkboard?

Just like applying a primer coat before painting a house, or brushing on a layer of gesso to stretched canvas, your chalk art will look best when the chalkboard surface is properly primed. Priming fills any tiny holes or pores in your chalkboard with a thin layer of chalk dust. This smooths out the surface of your chalkboard, making it easy to write/draw on, and easy to erase.

Have you ever tried to erase something on a chalkboard, and the images stubbornly remain there, just barely visible? That’s commonly known as “ghosting”. Thankfully, priming is an easy way to prepare the chalkboard so that “ghosting” doesn’t occur.

How To Prepare a Chalkboard Before Using It

If you’re using a traditional slate chalkboard, there isn’t much you need to do to prepare it. Make sure it’s clean of any dirt or tiny bits of debris (natural slate can have tiny chips at the edges). Once it’s cleaned and dry, you can go ahead and prime the surface.

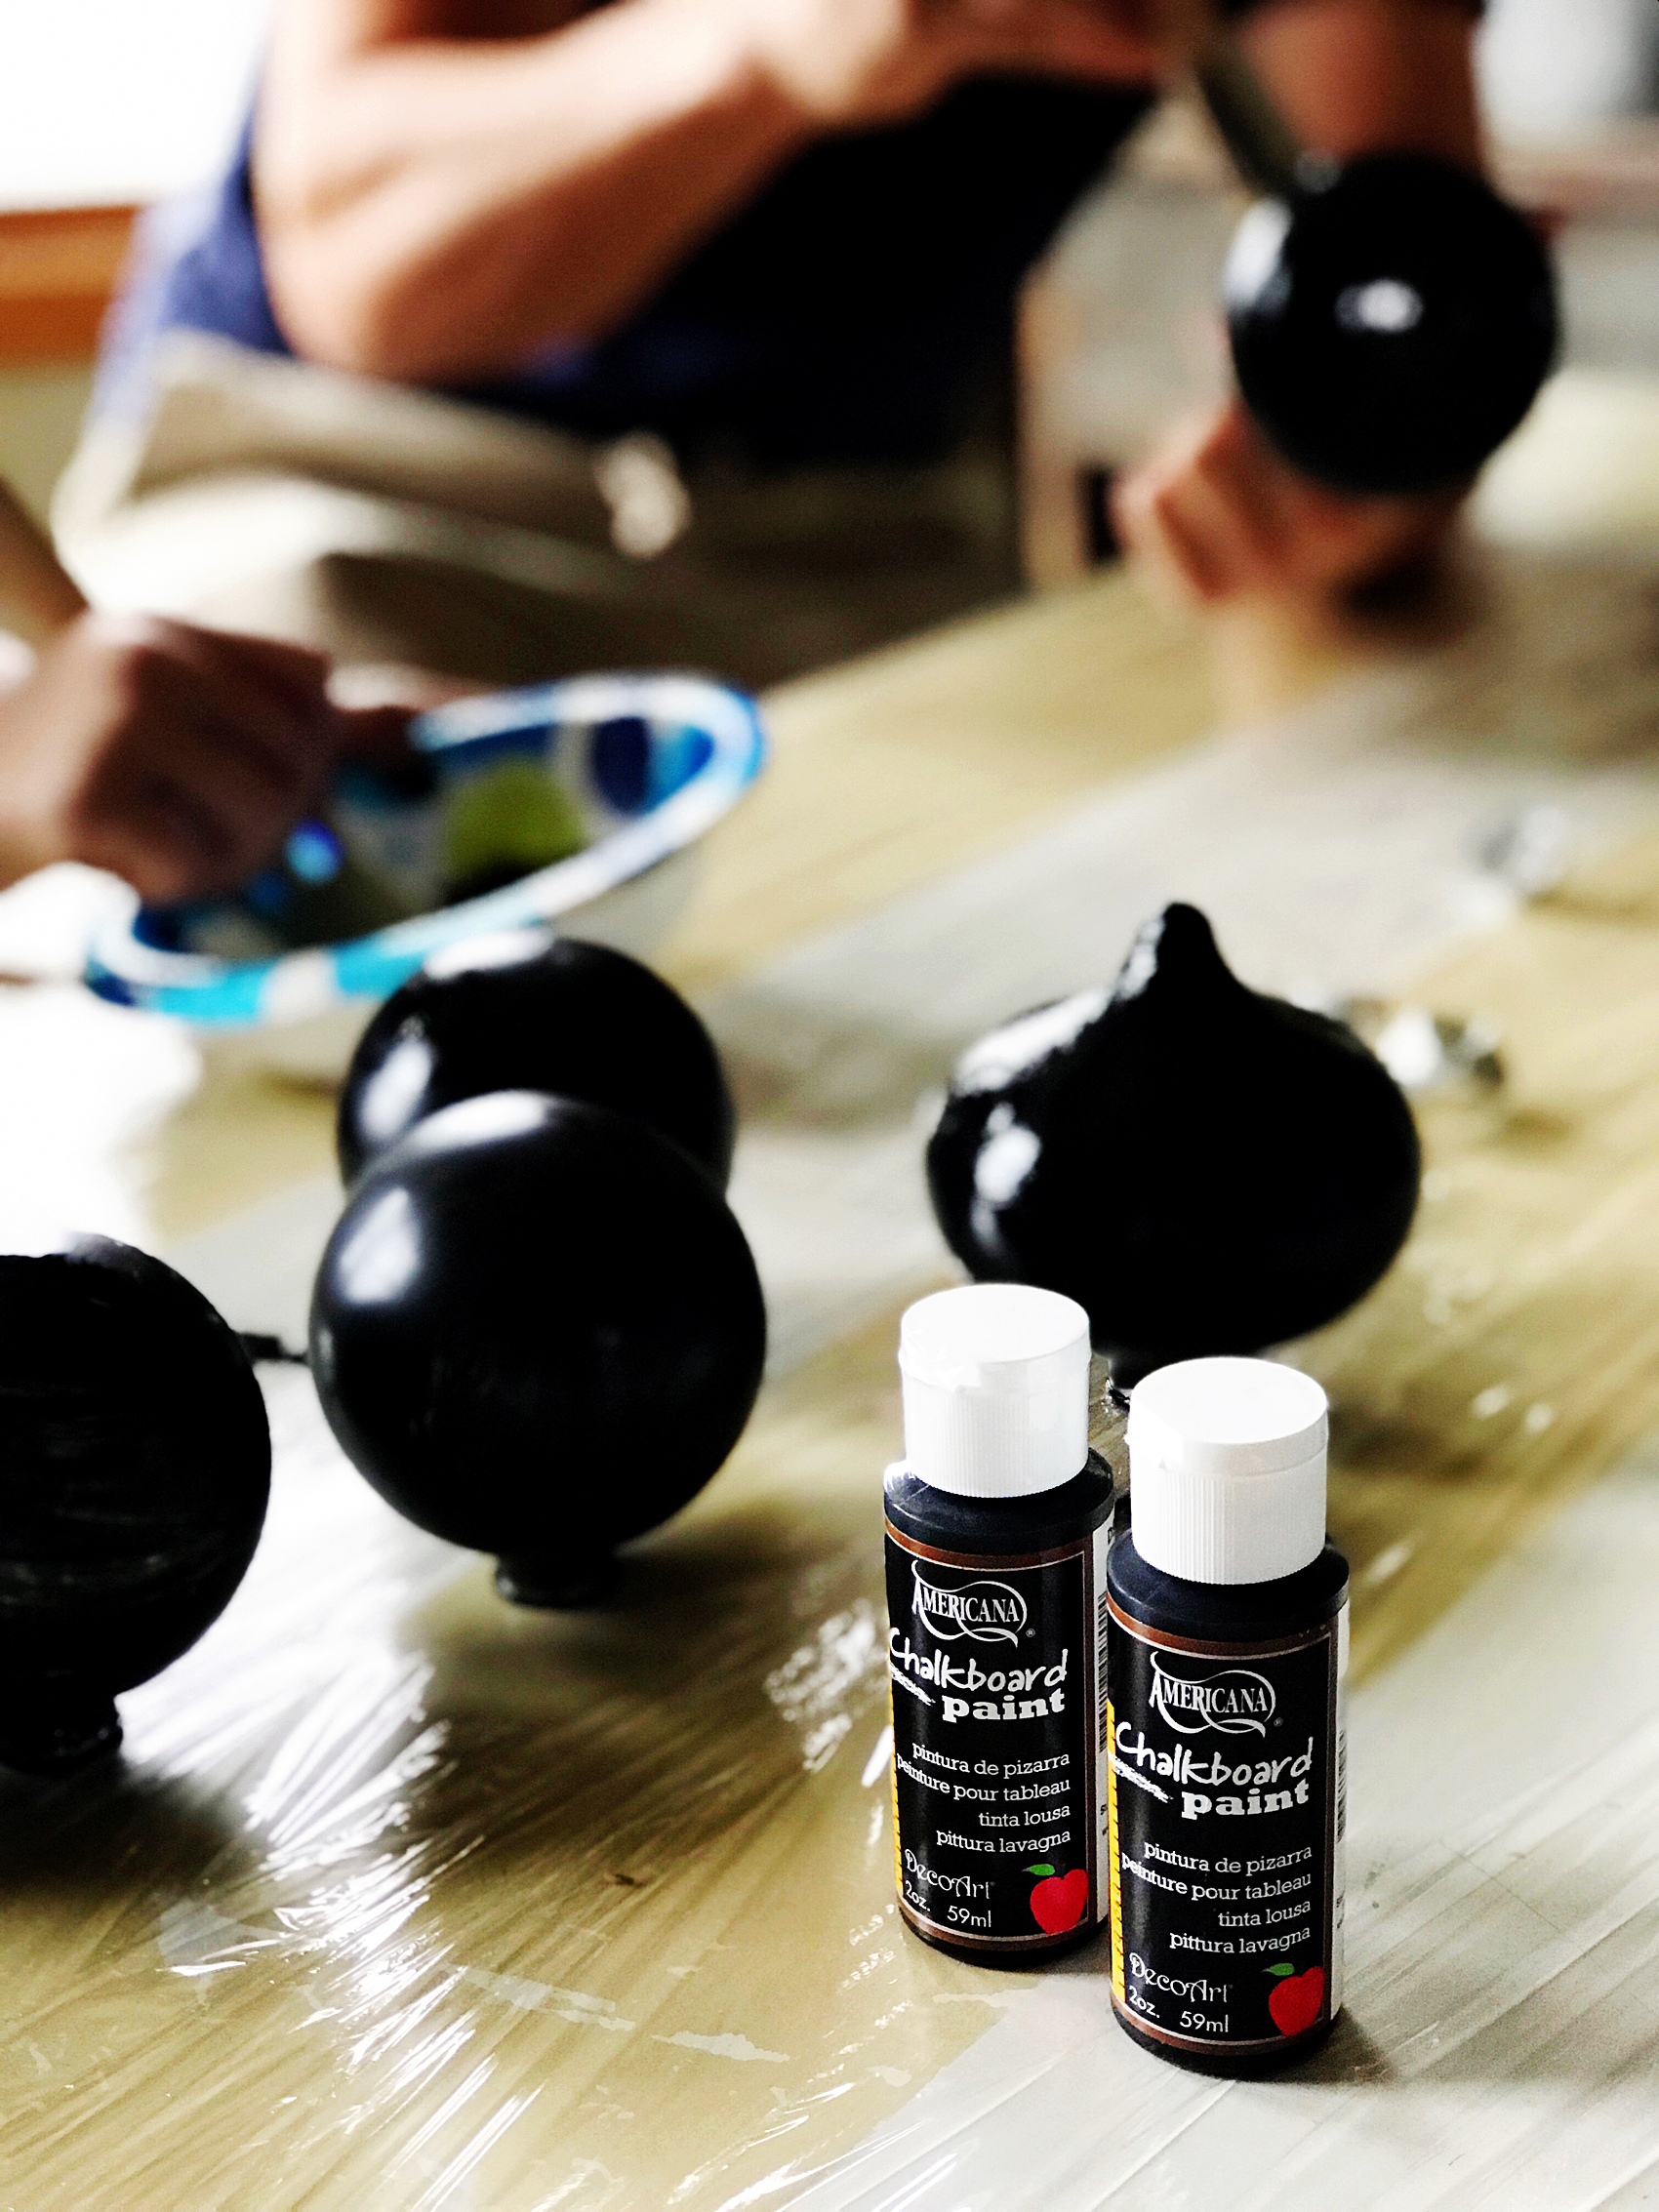
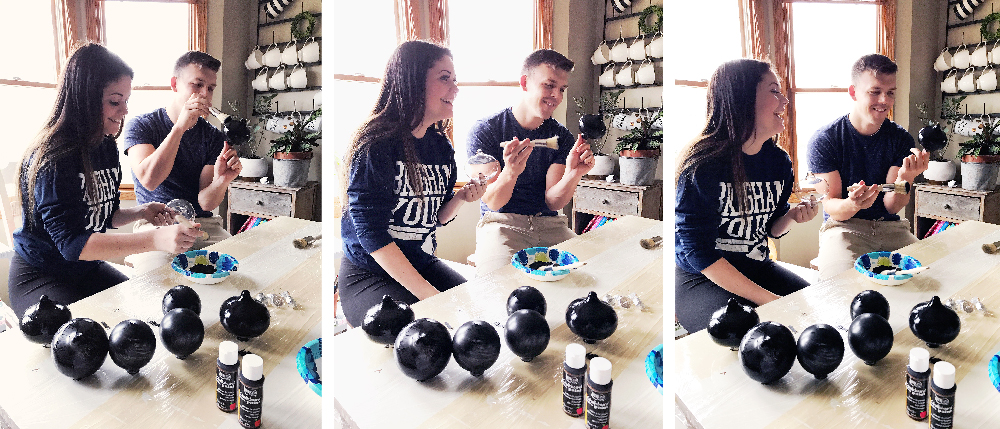
If you’re painting a sign or a door with chalkboard paint. It’s important to paint the surface in two to four coats, allowing a full 24 hours of drying time between each coat of paint. Once that’s done, it’s time to prime your chalkboard surface.

How to Prepare a Chalkboard for Traditional Chalk

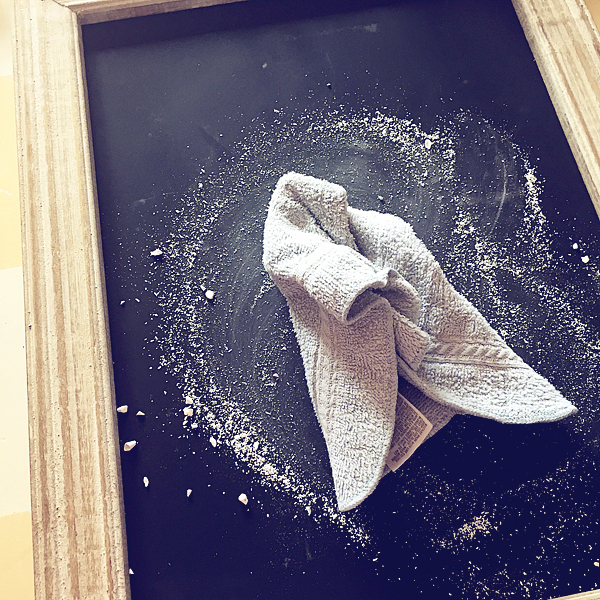
Priming (sometimes known as “seasoning”) your chalkboard for traditional chalk is quick and easy. An adequately primed chalkboard is key to creating chalk art and messages that get noticed. It can be done in minutes, with just a few simple steps:

Step One: Make sure your surface is clean and dry.

Step Two: Using a stick of ordinary white chalk, lightly rub all over your chalkboard using the side (not the end) of the chalk. Cover the surface first going horizontally, thing over it again vertically.

Step Three: Using a soft, dry rag gently buff the chalk all over the chalkboard, This will help the chalk dust fill in any nooks and crannies, giving you a smooth surface for your art.


Step Four: Now erase the chalk. You can use a traditional felt chalk eraser or a barely damp cloth. Be careful not to use a cloth that is too rough so you won’t scratch the chalkboard.


How to Prepare a Chalkboard for Liquid Chalk

Liquid chalk markers are water-based markers with pigments that dry to a chalk finish. They’re available in a wide variety of colors, including neon and metallic styles. They are a little bit different than traditional chalk, however. The biggest difference is that liquid chalk markers should only be used on non-porous surfaces. On porous surfaces, such as slate, the liquid chalk is difficult to erase, even with proper priming.

Priming your chalkboard for liquid chalk markers is just as easy as priming for traditional chalk. In fact, you can prime your surface using the method for traditional chalk and your liquid chalk markers will work just fine. However, if you want to take a few extra steps for optimal results, here’s what you should do:

Step One: Make sure your surface is clean and dry.

Step Two: Using a white liquid chalk marker, doodle all over your chalkboard. You don’t have to cover every bit of surface, just make sure the marker is spread out over most of it.

Step Three: Let your chalk doodles sit there for 20 to 30 seconds. The liquid chalk should be almost, but not completely dry.

Step Four: Using a soft, damp cloth, wipe your chalkboard clean. Be careful not to use a cloth that it too rough so the chalkboard paint doesn’t become scratched.

Tips For Maintaining and Enjoying Your Chalkboard 

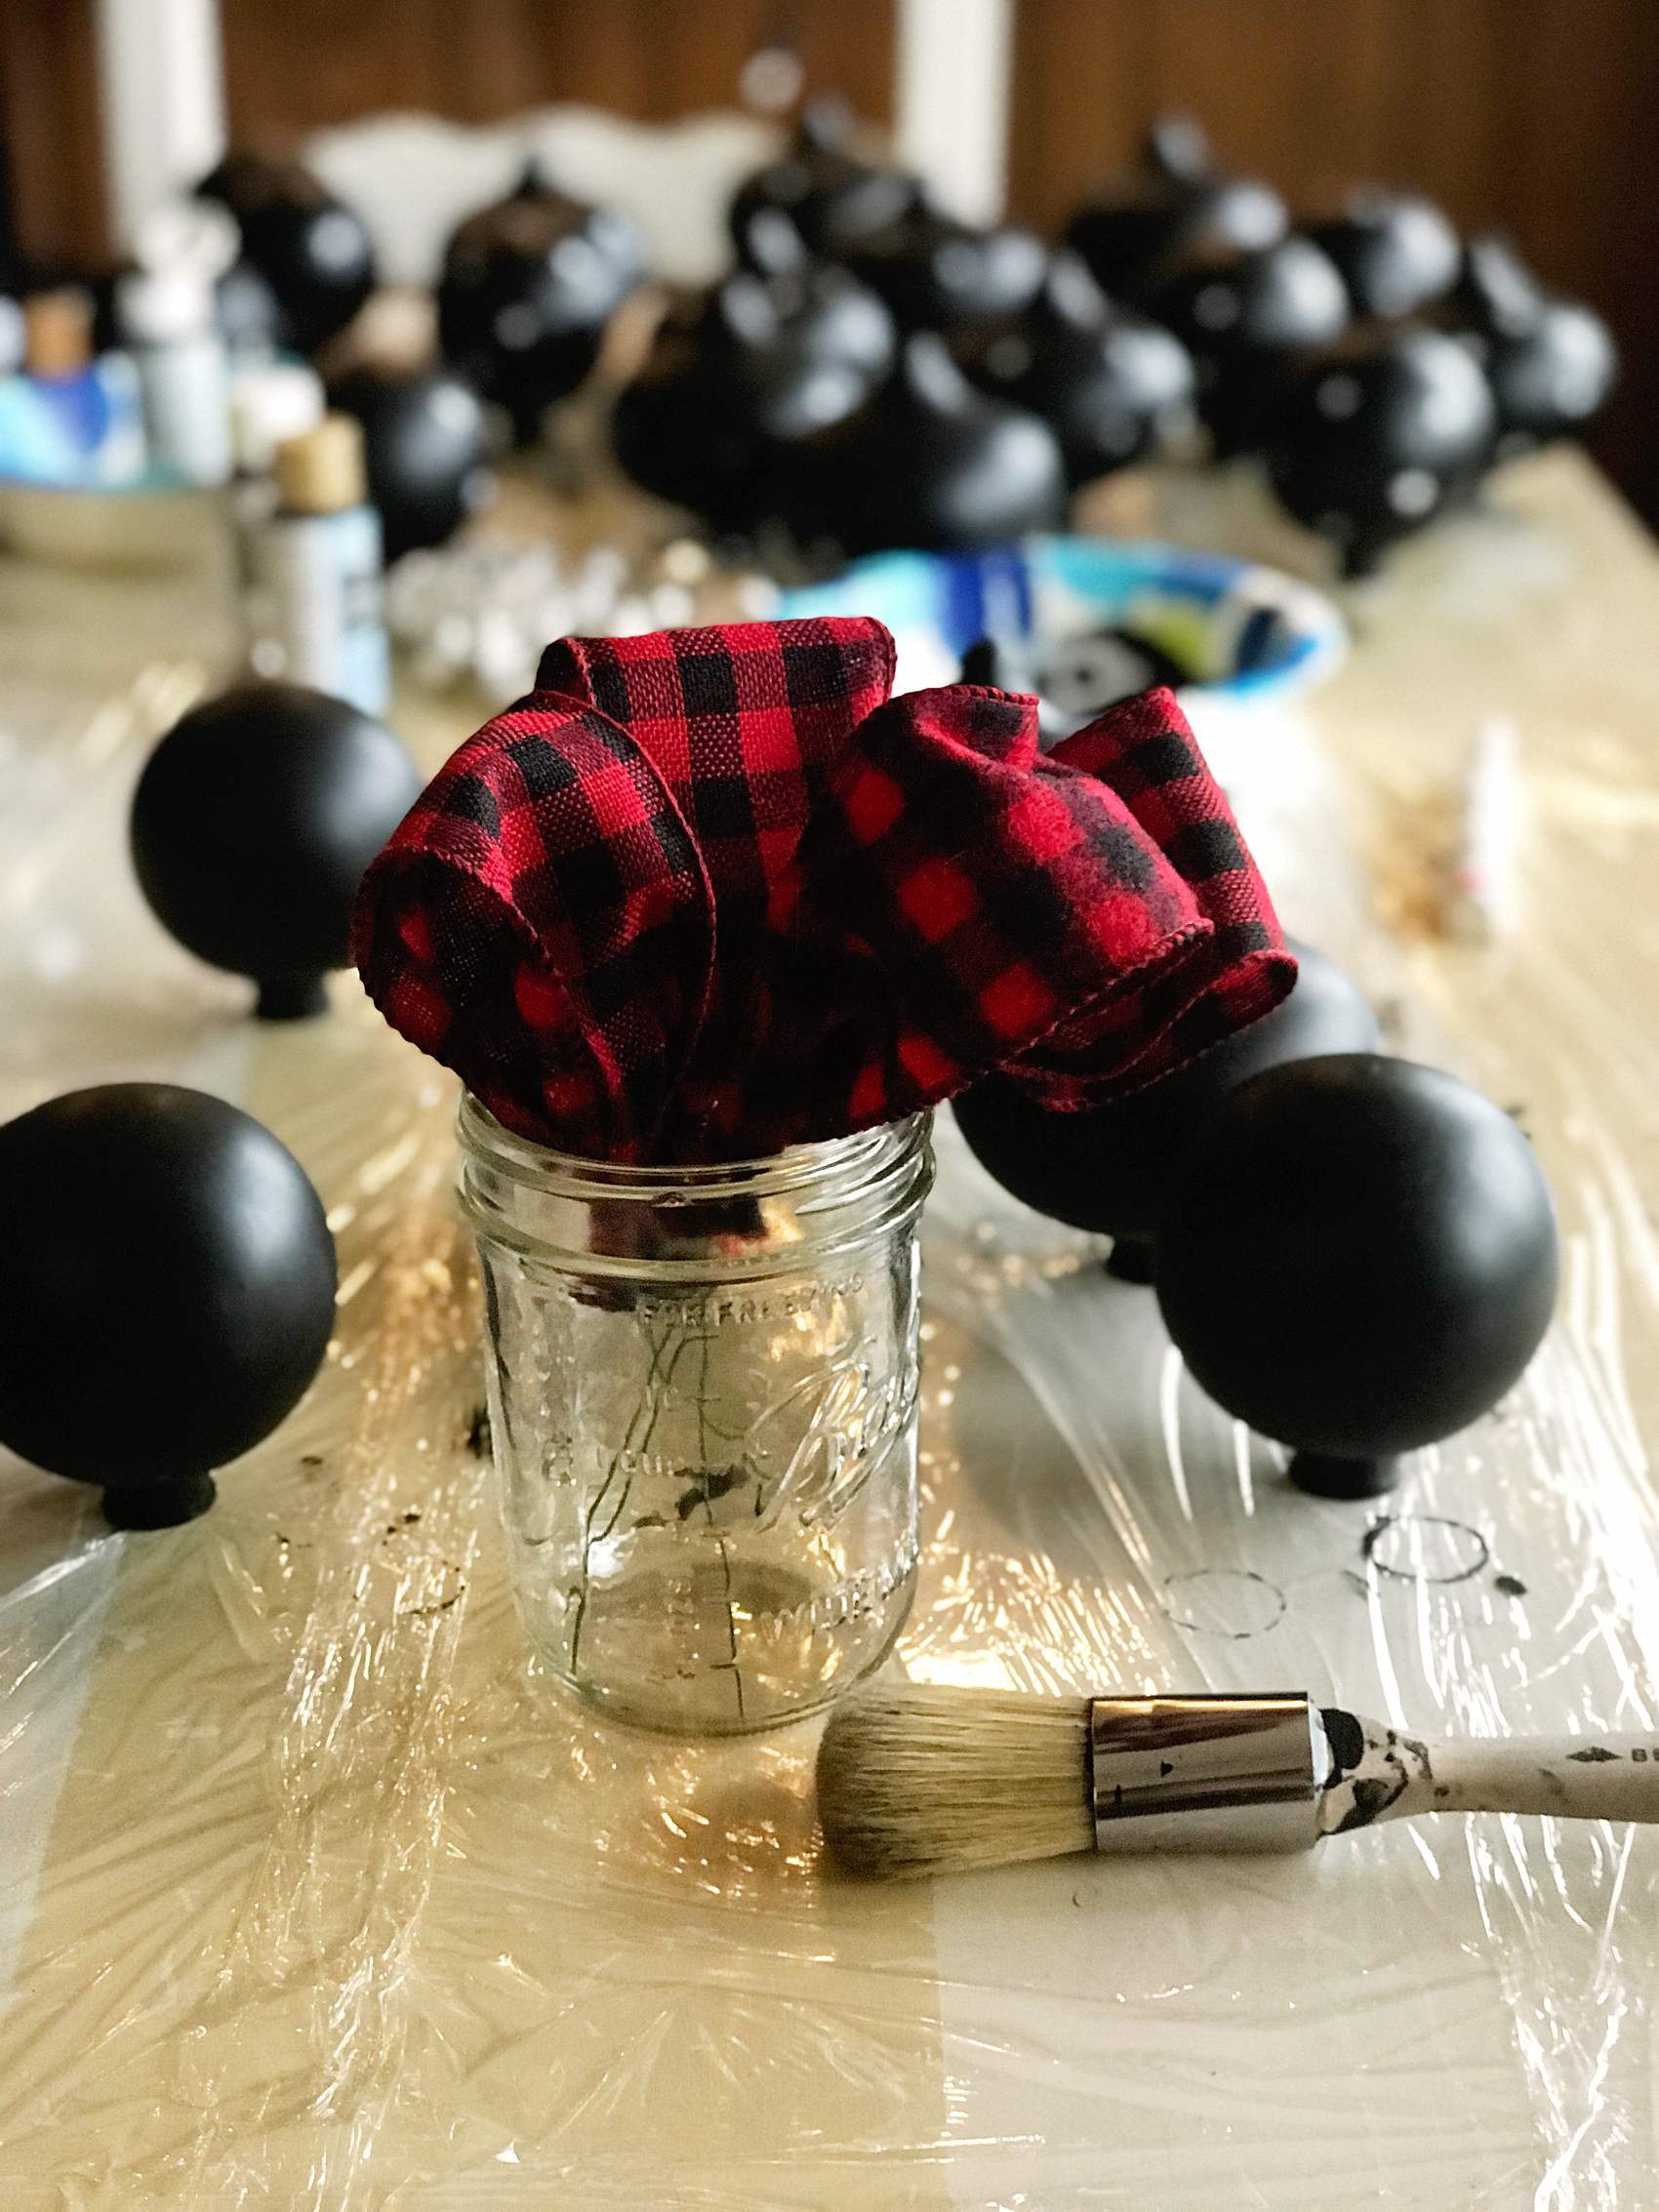
When priming your chalkboard, keep in mind that this process blows minuscule bits of chalk into the air. You might want to wear a mask to cover your nose and mouth while doing this if you’re sensitive to dust. If you’re priming a large chalkboard surface, such as a wall or door, you might also want to have a drop cloth nearby to catch all the chalk dust created by the priming process.

Once you’ve primed your chalkboard surface, you should be able to draw and easily erase it many times. If you start to notice ghosting, just follow the steps to re-prime your chalkboard.

Chalkboard paint can scratch or chip over a long period of time. Adding another coat or two of paint periodically, as well as re-priming, can both help keep it looking new.

If you do have some “ghost images” on your chalkboard, use a wet sponge with a small amount of liquid dish soap to gently wash the image away. Other suggested methods for cleaning include a damp cloth with a tiny bit of white vinegar or a magic eraser cleaner.  Before using any of these to clean a chalkboard painted surface, do a small test spot in a corner. Some brands of chalkboard paint may discolor with certain cleaning chemicals.

Once your chalkboard is primed and ready, it’s time to start creating! Chalk is a fun, versatile medium with so many possibilities. Play around with different techniques to produce eye-catching art. You can use cotton balls or swabs to softly blend different layers of colored chalk together. To get more vibrant coverage from traditional chalk you can dip the end of the chalk stick in a little bit of water. You can cut stencils and templates from card stock to create fun designs. The possibilities are only as limited as your imagination!

Farmhouse Inspired Christmas Tree – Dream Tree Challenge

75 · Nov 1, 2017 · 1 Comment

It’s getting close to my favorite time of year… Christmas!! Every year it’s so fun to participate in the Michaels Dream Tree Challenge and this year has been EXTRA FUN!  We gathered together as a family and crafted our Christmas tree together and it was so fun. From trees to ornaments and holiday décor, Michaels has everything you need to MAKE this holiday your own! You can even shop over 100 Christmas Trees at Michaels.com. Crafting your tree together is a  great way to bring the family together at the beginning of the Holiday season. Here is what we created to make our 2017 tree magical for our home and family.

Farmhouse Inspired Christmas Tree -WhipperBerry-100

The Christmas Tree

This year, I picked the 7.5 Ft. Pre-Lit Jasper Cashmere Artificial Christmas Tree, Clear Lights by Ashland™.  At first it was a little wide for our space. BUT… We placed it on top of an old bucket I had and then bent the lower branches down to give it a slimmer figure. I wish ‘slimming-down’ was that easy for all of us! 😉 That also raised the tree up a bit, which makes it look better in a room with vaulted ceilings.

Regardless of what this photo looks like below (someone was being a bit dramatic…) The Jasper tree is super easy to set-up. It’s literally plug and play. The electricity runs through the poll of the tree so you don’t have to go hunting around for all of the connections. Then all you have to do is fluff the branches.

setting-up-the-tree

Farmhouse Inspired Christmas Ornaments

Part of the fun when decorating for the Holidays is actually making some of your own decor. This year I was inspired by some ornaments that Joanna Gains has created for another store. I LOVE them and thought we could make some of our own with supplies from Michaels.

I grabbed some of the shatter proof ornaments at Michaels along with some of the Americana Chalkboard Paint from DecoArt…

Shatter proof ornaments from @Michaels

  • Plastic Onion Ornaments By Artminds™

  • Clear Plastic Ornaments By Artminds™

  • Americana Chalkboard Paint

Americana Chalkboard Paint for Christmas Ornaments

paining ornaments-100

My daughter Haley is home from college with her boyfriend Kyle and we decided to have a paint party. We covered the table with plastic wrap and went to town with the clear ornaments from Michaels.  We painted them all over with the chalkboard paint. Now, the only reason I use chalkboard paint is because I like the matte look. Then we used a white paint marker from Sharpie and created all of the little swiss crosses on the ornaments.

Create DIY Hearth and Home Black Swiss Cross Christmas Ornaments via WhipperBerry

They turned out super cute and we had so much fun making them together!

Create DIY Hearth and Home Black Swiss Cross Christmas Ornaments via WhipperBerry

Create DIY Hearth and Home Black Swiss Cross Christmas Ornaments via WhipperBerry

I think they may be my new favorite Christmas ornaments for our tree.

Next, we painted some large wood stars from Michaels with Americana Decor Chalky Finish paint from DecoArt.  Then we used my Cricut Maker to add titles of Christmas Carols onto the stars. You can learn how to make those HERE. You can even download the graphics that I designed for the stars!

DIY Christmas Star from WhipperBerry

Farmhouse Christmas Carol Ornaments from WhipperBerry

The next element for my tree is a few types of picks that I found in the Christmas pick section of Michaels.

Love FARMHOUSE decor? Then you are going to LOVE this Farmhouse inspired Christmas Carol Star ornament that you can create for your home.

Quite honestly, picks are some of my favorite ways to add personality to my Christmas trees. They really add to the tree and they aren’t very pricey. I LOVE the fuzzy little stars, the gold antlers, and the cotton stems. They look fabulous on the tree!

Love FARMHOUSE decor? Then you are going to LOVE this Farmhouse inspired Christmas Carol Star ornament that you can create for your home.

Love FARMHOUSE decor? Then you are going to LOVE this Farmhouse inspired Christmas Carol Star ornament that you can create for your home.

The last element is the ribbon picks.  They couldn’t be easier to make. I found some perfect ribbon at Michaels and cut it into 6 inch sections…

Love FARMHOUSE decor? Then you are going to LOVE this Farmhouse inspired Christmas Carol Star ornament that you can create for your home.

Then I folded it in half and wrapped some floral wire around the bottom leaving a 4-5 inch tail to secure it to the tree. Super simple and the bottom doesn’t need to be pretty.

Love FARMHOUSE decor? Then you are going to LOVE this Farmhouse inspired Christmas Carol Star ornament that you can create for your home.

Love FARMHOUSE decor? Then you are going to LOVE this Farmhouse inspired Christmas Carol Star ornament that you can create for your home.

Then you use the wire tail to attach them to the tree. An easy, easy way to fill in those bald spots on the tree or add a pop of color. Again, it’s a very cost friendly way to add color to your tree.

Love FARMHOUSE decor? Then you are going to LOVE this Farmhouse inspired Christmas Carol Star ornament that you can create for your home.

One last thing… I almost forgot! We decided to HANG our star from the ceiling for this tree. I bought a large wood star at Michaels and wrapped it with some wire lights and then hung it from the ceiling. We made sure to place our hook in a stud so that we didn’t have issues with the weight of the star. It’s so simple and tops it with that rustic farmhouse look.

Wow, it’s amazing how some simple elements can come together to create a really stunning tree. All of my kiddos have said this tree is the best we’ve ever had. Make sure to download the Michaels App on your smartphone so you don’t miss any of their amazing holiday deals this season. It really is a great app to have. No more saving receipts! That’s worth it right there.

Don’t forget to tag me in your tree photos… I love to see what you guys are creating!

For more inspiration, visit the Michaels blog and their Pinterest, Facebook and Instagram accounts.

Welcome to Our Patch • Fall Porch Ideas

2 · Sep 15, 2017 · Leave a Comment

Easily dress-up your front porch for Fall with gorgeous white Autumn pumpkins from Michaels and a few DIY projects created with a little help from Cricut that will turn your drab porch into something the neighbors will truly envy! Easily dress-up your front porch for Fall with gorgeous white Autumn pumpkins from Michaels and a few DIY projects created with a little help from Cricut that will turn your drab porch into some the neighbors will truly envy • Created by WhipperBerry

You guys!! I’m so excited to share my new front porch. If you’ve been following along in our home journey, you will know that back in March we purchase a new home here in Lincoln, Nebraska. I’ve been slowing getting the house up to snuff and I’m finally ready to show off our front porch with the fun Autumn decor that I’ve created. I’m calling it, Welcome to Our Patch.

I’ve been working on some fun design elements with my Cricut Maker and playing around with different types of Cricut vinyl. Plus, I found these amazing PUMPKINS from Michaels. I LOVE how Michaels has really stepped up the pumpkin game. From playful pumpkins to spooky sights, Michaels has everything you need to MAKE it fun or beautiful this fall!

Easily dress-up your front porch for Fall with gorgeous white Autumn pumpkins from Michaels and a few DIY projects created with a little help from Cricut that will turn your drab porch into some the neighbors will truly envy • Created by WhipperBerry

Fall Porch Ideas

I tend to stick with the more classic and neutral white pumpkins when it comes to fall decorating. I found these BEAUTIFUL white pumpkins at Michaels in various shapes and sizes. They are all in that heirloom, pumpkin carriage type of pumpkin and they are just so pretty. I also LOVE that they won’t ever go bad and I can keep them year to year. Here are some ideas on how to use them in your decorating.

  • Grab a fabulous basket at Michaels and fill it with the smaller white pumpkins like the photo above.
  • Use pillows as part of your outdoor decor. I created this “Oh, Delicious Fall” pillow using my Cricut Maker and some of the Cricut Iron-On Lite along with the NEW Cricut Easy Press.
  • Invest in some of the large vintage style pumpkins to add to your beautiful “pumpkin patch.”
  • Fill a lantern with some of the smaller white pumpkins.

Easily dress-up your front porch for Fall with gorgeous white Autumn pumpkins from Michaels and a few DIY projects created with a little help from Cricut that will turn your drab porch into some the neighbors will truly envy • Created by WhipperBerry

  • Create some wall art with a black canvas and some of the Cricut Iron-On Lite again. This works well for a front porch, indoor wall art or a mantel piece. I actually attached it to the brick with my FAVORITE Command Strips that I stock-up on at Michaels. I have been amazed at how well they work on the brick. It’s really cool! I see a whole bunch of outdoor wall art in my future.

Easily dress-up your front porch for Fall with gorgeous white Autumn pumpkins from Michaels and a few DIY projects created with a little help from Cricut that will turn your drab porch into some the neighbors will truly envy • Created by WhipperBerry

  • Grab an A-frame chalkboard sign from Michaels and add the “Welcome to Our Patch” design that I created for another great typography element. You know I love my word art!
  • Add a watering can, another pillow in a rustic crate, some plants… Anything you have around that could make this grouping look fall like. And of course… Pumpkins, more pumpkins for sure! It is a patch you know.

Easily dress-up your front porch for Fall with gorgeous white Autumn pumpkins from Michaels and a few DIY projects created with a little help from Cricut that will turn your drab porch into some the neighbors will truly envy • Created by WhipperBerryEasily dress-up your front porch for Fall with gorgeous white Autumn pumpkins from Michaels and a few DIY projects created with a little help from Cricut that will turn your drab porch into some the neighbors will truly envy • Created by WhipperBerry

You can download all of the SVG files for each element HERE

Let’s get busy and start our Fall crafting! Visit Michaels TODAY for all kinds of FABULOUS DEALS! For more inspiration, visit the Michaels Blog, Facebook, Instagram or Pinterest. They for sure have you covered.

Easily dress-up your front porch for Fall with gorgeous white Autumn pumpkins from Michaels and a few DIY projects created with a little help from Cricut that will turn your drab porch into some the neighbors will truly envy • Created by WhipperBerry

Pumpkin Halloween Decorations + The Jack O’ Lope

4 · Sep 1, 2015 · 5 Comments

Crafting-with-pumpkins-from-Michaels-Craft-Stores-by-WhipperBerry-2

Guys I’m so excited… We are heading into my favorite time of year!

AUTUMN!!

And with Autumn comes all kinds of fun decorating… Back-to-School, Fall, Apples, Pumpkins and Halloween to name a few. I am thrilled to be one of this year’s Michaels Makers and this months challenge is PUMPKINS.

00000_SO_0901_MIC_MAKERS_l

I’ve always loved pumpkin Halloween decorations and I decided to take kind of a silly route with my challenge and make my version of the Jack O’ Lope…

Crafting-with-pumpkins-from-Michaels-Craft-Stores-by-WhipperBerry-7

I thought it turned out fun! It was so easy to put together, I just gathered a few supplies at Michaels Craft Stores. Did you know that Michaels is carrying HALF pumpkins?! No more will we need to pull out the heat knife to try and cut our craft pumpkins in half. We can buy them that way now! Well played Michaels, you always know what we need.

I found this great chalk board at Michaels (I couldn’t find it online, but it is in stores) and thought it would be fun to add some antlers to my half pumpkin for a fun wall piece for my Halloween display, to make a Jack O’ Lope of sorts.

First, I seasoned my chalk board to give it that worn in look.

How to season a chalkboard

I crushed a little chalk and then rubbed it all over the board with a cloth or paper towel.

Season your chalkboard

That way it looks more like a used chalk board rather than a black sign.

Then I hot glued some antlers that I had hanging around onto the board…

Glue antlers onto chalkboad

Then, I glued the half pumpkin in place right on top of the antlers.

Crafting-with-pumpkins-from-Michaels-Craft-Stores-by-WhipperBerry-5

It fits perfect!

Next, I set-out to create a fun Halloween display to show-off my Jack O’Lope.

I grabbed some of Heidi Swapp Marquee Bats (sorry, they aren’t online but they are in-store) and spray painted them black with Krylon Chalkboard Spray Paint.

spray-paint-your-Heidi-Swapp-Marquee-Bats

Then I added some paper wall bats that are also available in-store.

Crafting-with-pumpkins-from-Michaels-Craft-Stores-by-WhipperBerry-8

I added a Halloween printable that I created last year, I still LOVE it!

Boo-to-You-Free-Halloween-Printable-from-WhipperBerry

You can download it HERE.

To fill-out the scene, I added some more pumpkins to the drawer of my buffet…

Crafting-with-pumpkins-from-Michaels-Craft-Stores-by-WhipperBerry-4

I wrapped one with a pumpkin sleeve from the Martha Stewart Halloween collection at Michaels. They look really cool and are an easy way to dress-up any pumpkin.

Last but not least and made another set of large dice to use as decor this time. I just love how they fill-in the scene with a little more whimsy. These are super easy to make and are fun to have on hand for all kinds of things. I LOVE my new black set for Halloween!

Crafting-with-pumpkins-from-Michaels-Craft-Stores-by-WhipperBerry-6

All together, I think it makes a pretty fun scene for the season. My kiddos think it ‘s pretty cool anyway.

Crafting-with-pumpkins-from-Michaels-Craft-Stores-by-WhipperBerry-2

How do you like to decorate with pumpkins? Do you like to decorate for fall, or do you jump right into Halloween like we prefer to do?

Michaels is having a great sale on the crafting pumpkins this week, 40% off… Run and grab some quick before they disappear!

Disclaimer // I am a member of the Michaels Maker crew, this is not a paid position but I do receive store credit in order to create projects for the Michaels Makers program.

00000_SO_0901_MIC_MAKERS_s

  • Page 1
  • Page 2
  • Go to Next Page »

Primary Sidebar

Heather from Whipperberry
Hello... my name is Heather and I'm the creator of WhipperBerry a creative lifestyle blog packed full of great recipes and creative ideas for your home and family. I find I am happiest when I'm living a creative life and I love to share what I've been up to along the way... Come explore, my hope is that you'll leave inspired!

Footer

  • Privacy Policy
  • Crafts
  • Food
  • Gifts
  • Holidays
  • Home
  • Mom Life
  • Recipes
  • Travel

Copyright © 2026 · Seasoned Pro