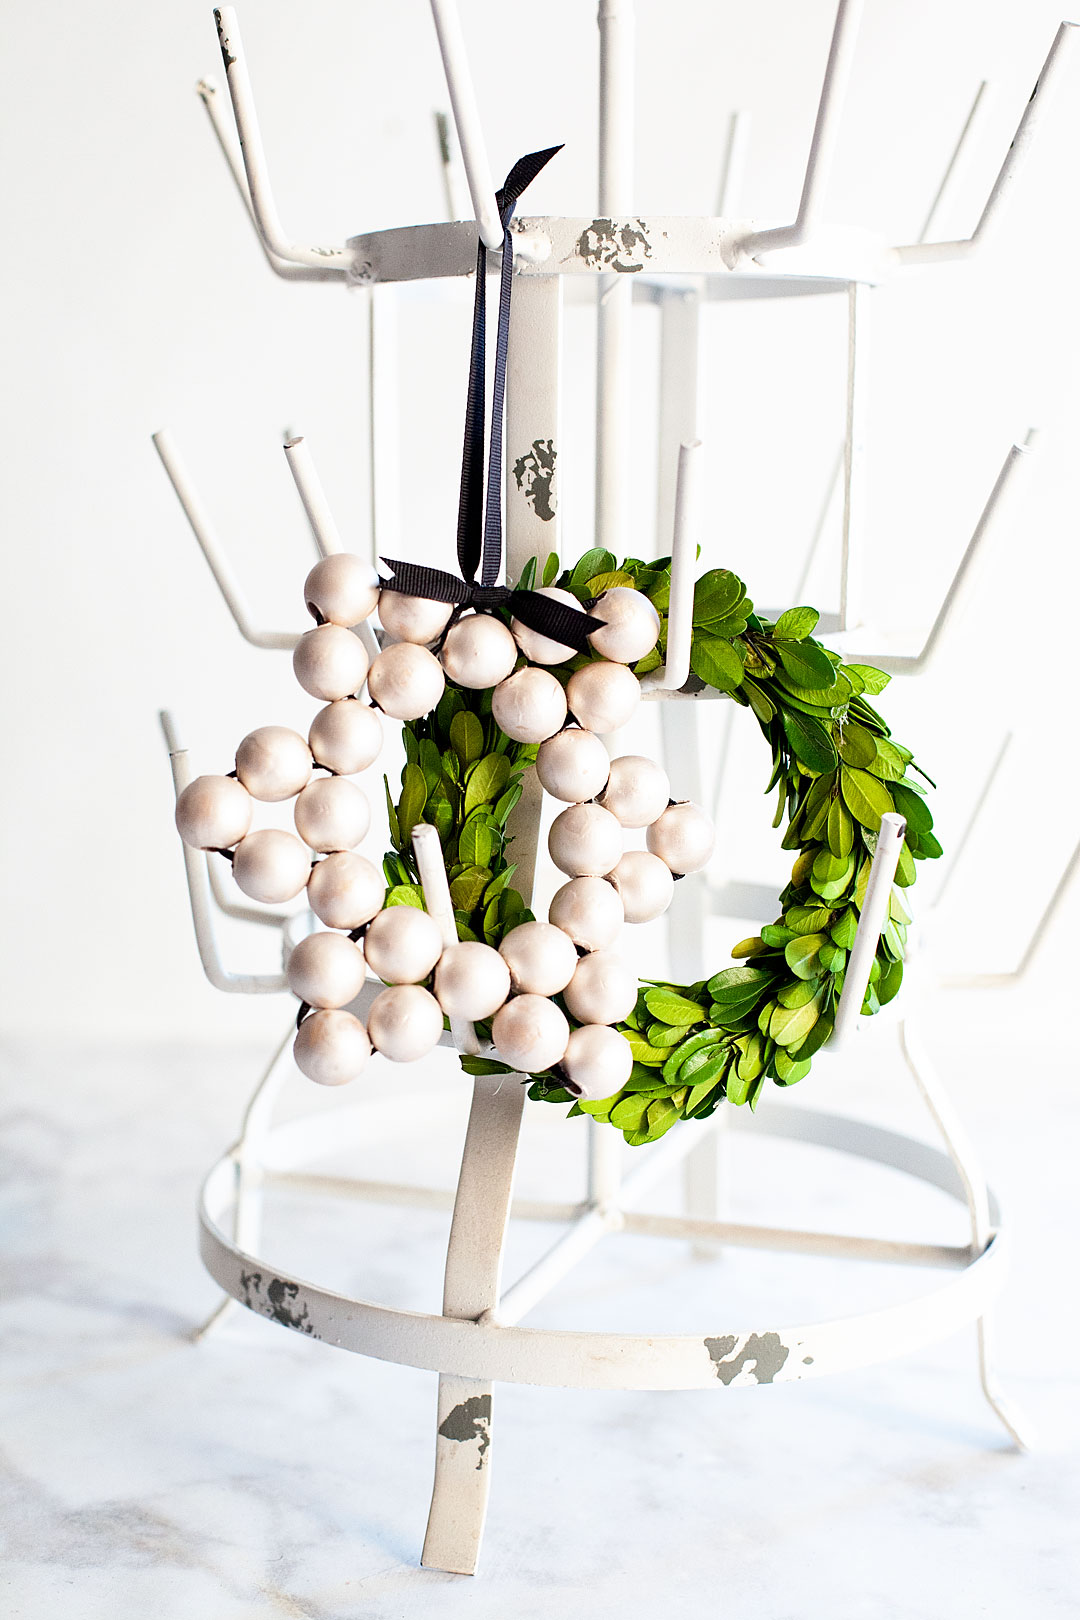
I love wood beads, it’s a classic trend that I can fully embrace and not feel like it’s going to go out of style anytime soon. Plus, you don’t have to worry about them breaking which is an added bonus as well. This year for the Michaels Dream Tree Challenge I made a large wood bead star for the top of my tree and I fell in LOVE with my new star. Then I thought it would be fun to use some DecoArt Americana Decor Matte Metallic paint to pearlized some wood beads to make a smaller wood bead star ornament for my Christmas tree. As promised in my Instagram story, I also made a video for how to make the star. Let me show you how EASY it is!
+ This post sponsored by DecoArt+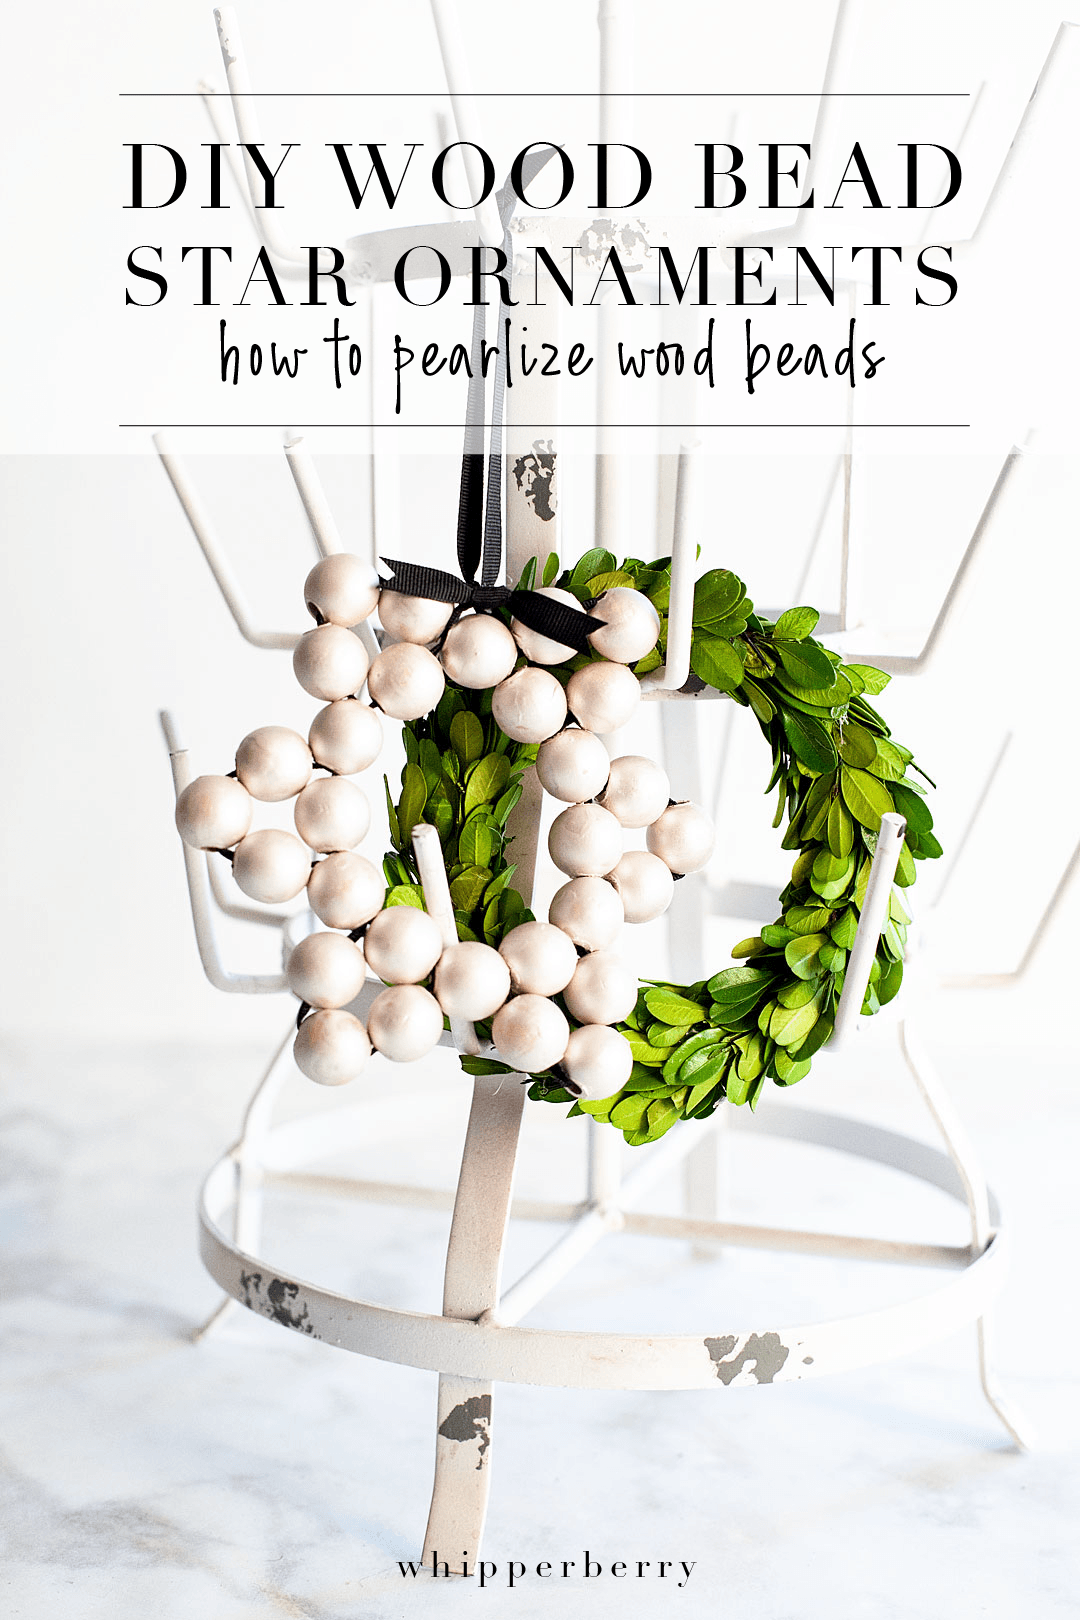
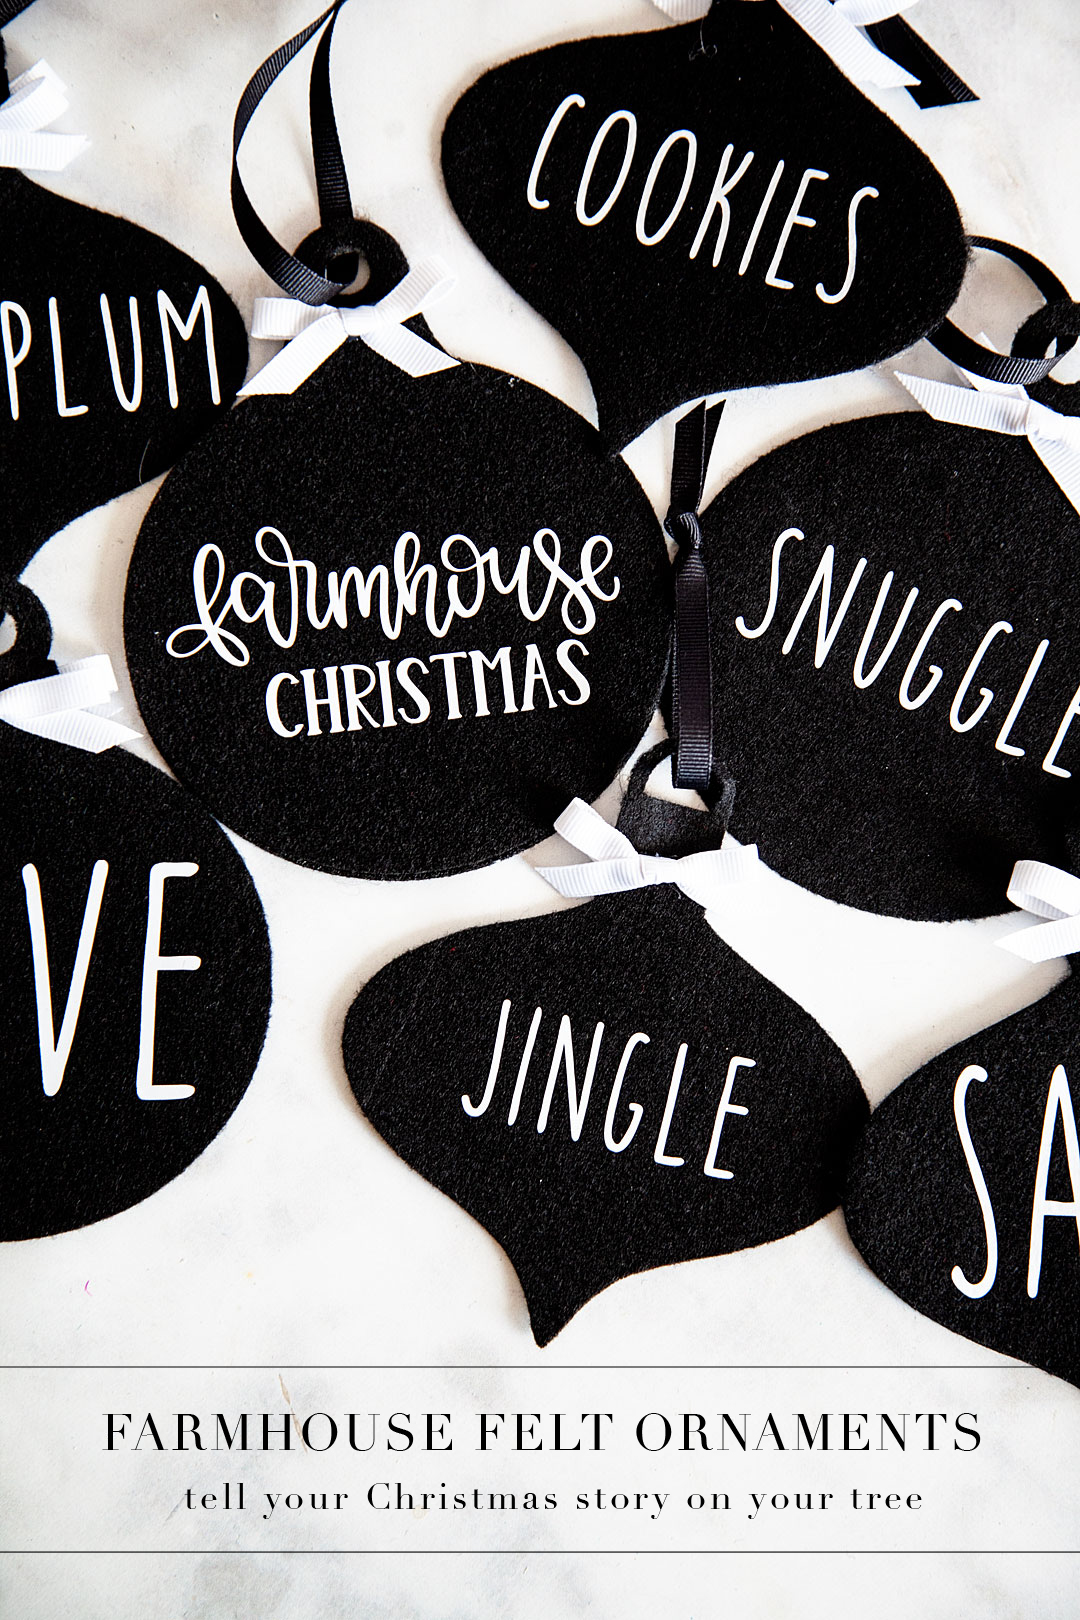
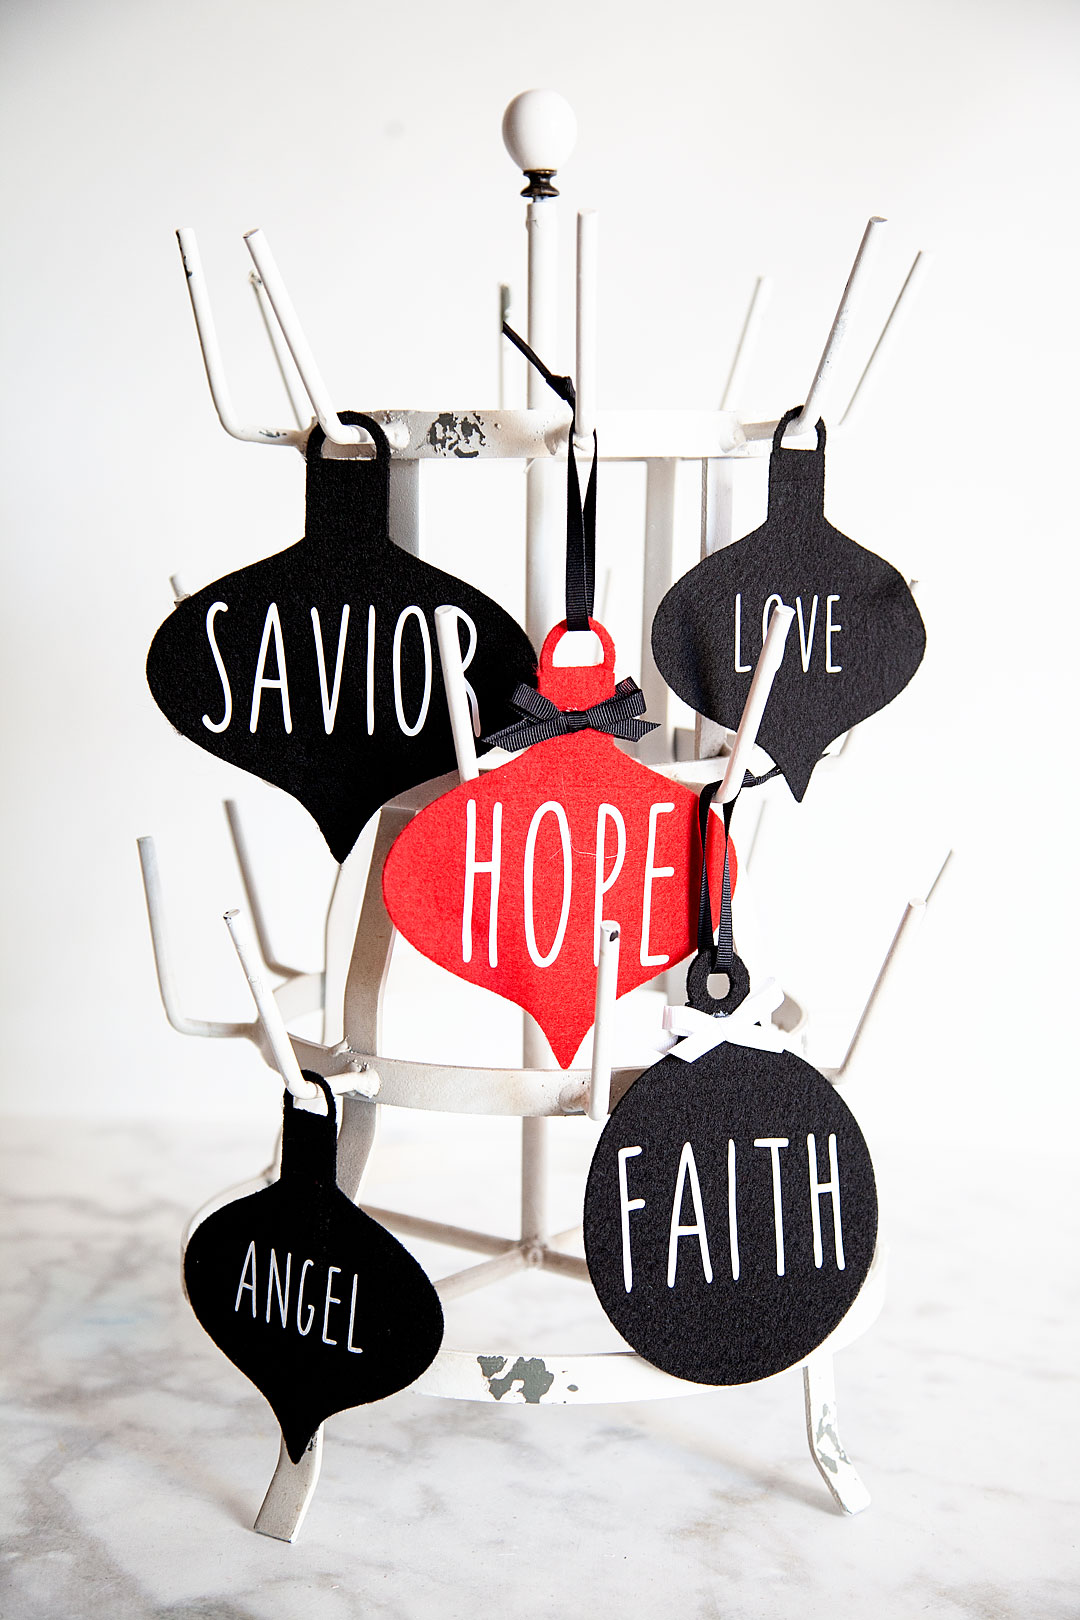
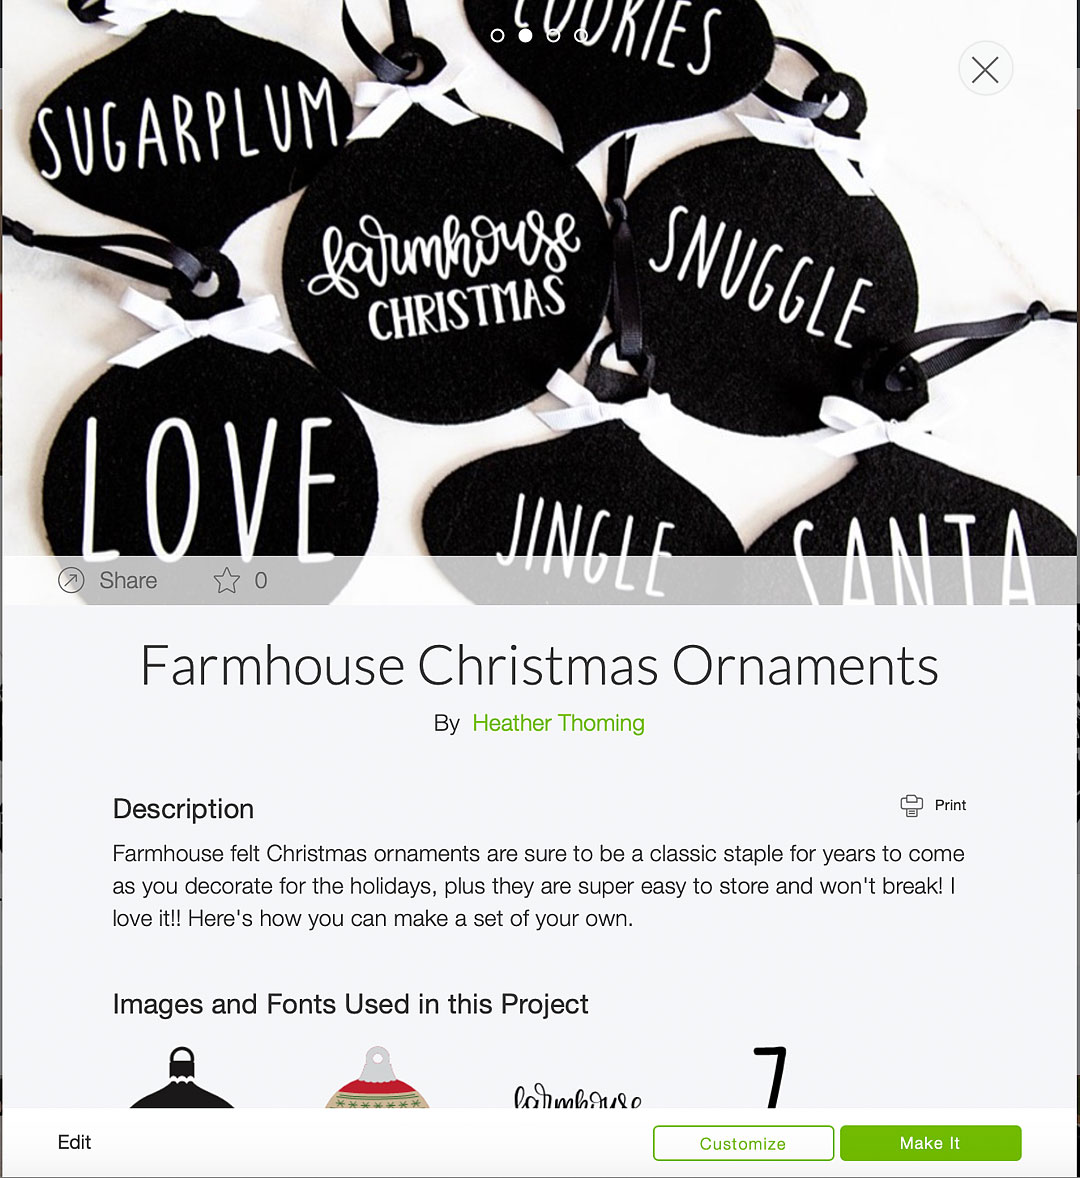
Over the years I’ve fallen more and more in love with making my own Christmas ornaments. It really does add more of a story to your Christmas celebration. If they are ornaments that the whole family can make together, even better. This project can be a bit messy, however, if planned for that’s not a bit deal. It would be great fun for kiddos of all ages to play around with the paint and string some “pearls” during a cozy winter activity together. Here is what you’ll need to make the pearlized wood bead ornament.
Pearlized Wood Bead Ornament Supplies

- raw wood beads
- Americana Decor Matte Metallic paint – Ivory Pearl
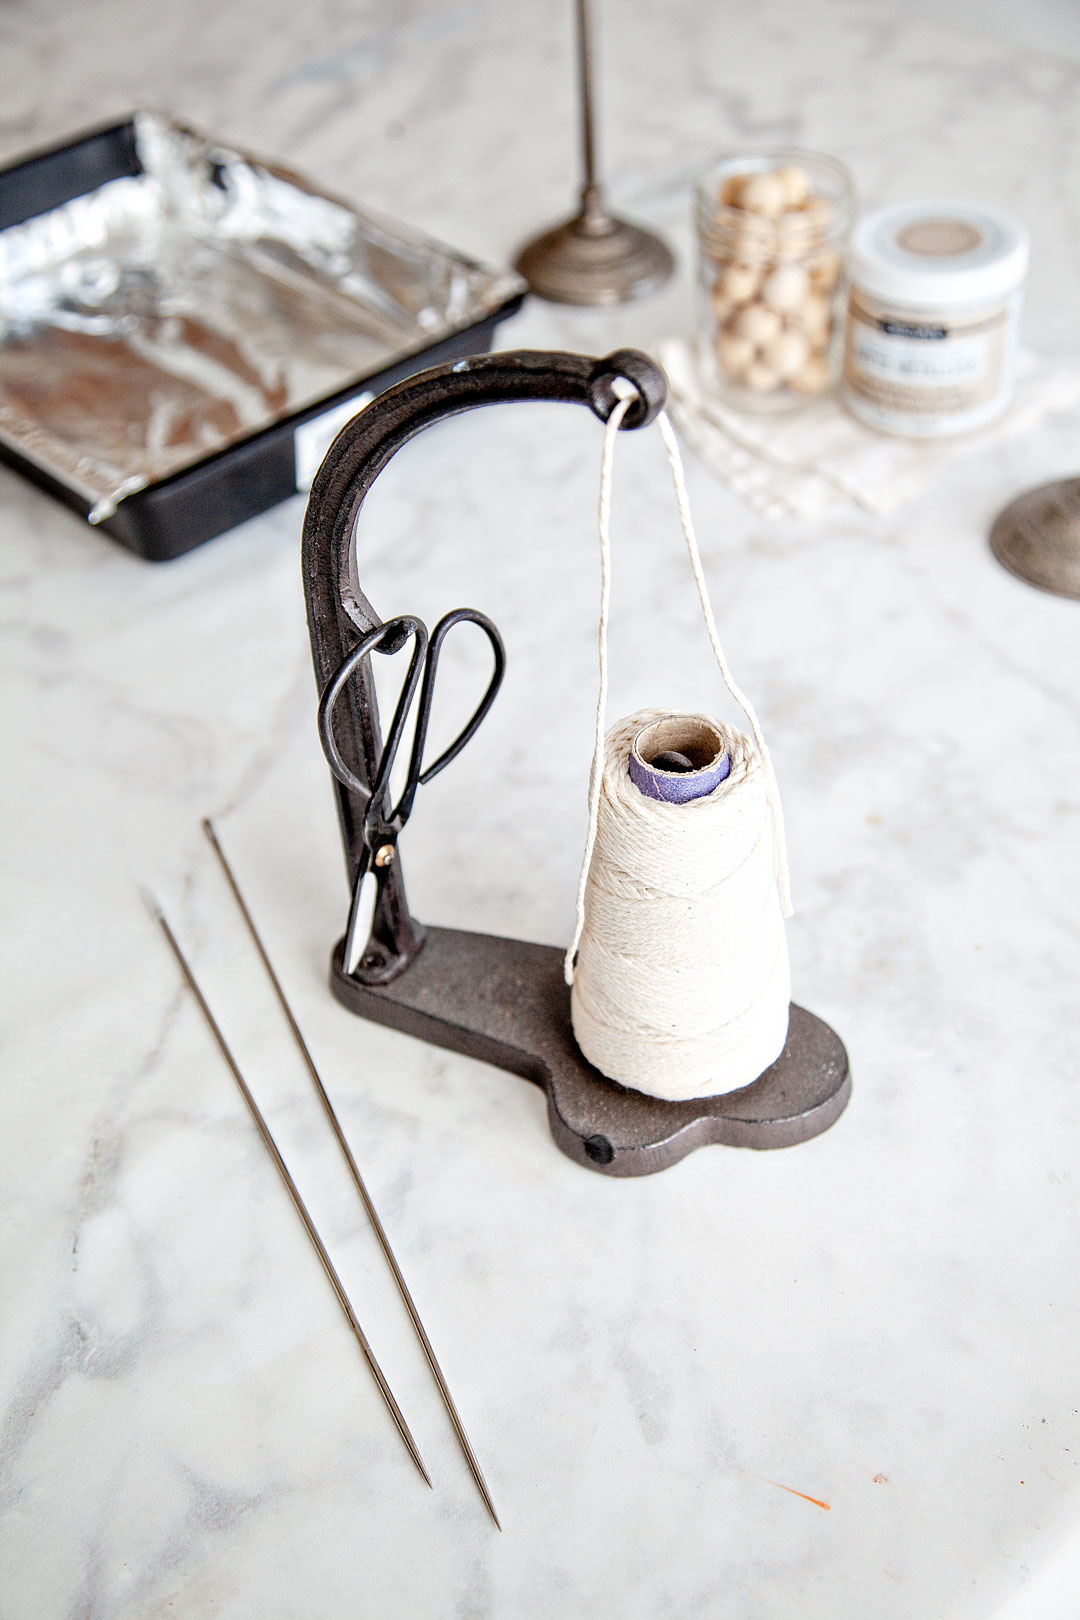
- string
- scissors
- aluminum foil
- ribbon
- large needle
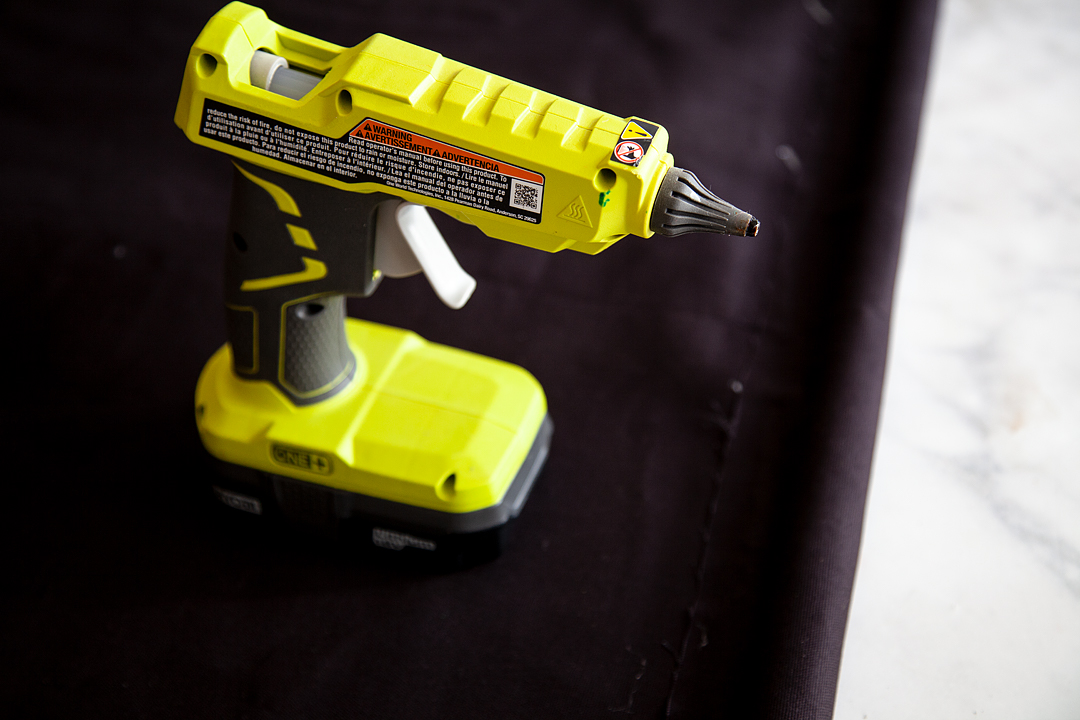
- hot gun
- hot glue stick
Instructions
You guys, this project can be some messy fun if you’d like OR, you can keep it nice and neat. Either way, it’s a fun project to work on with the family. The first thing you’ll need to do is create your “pearls.”
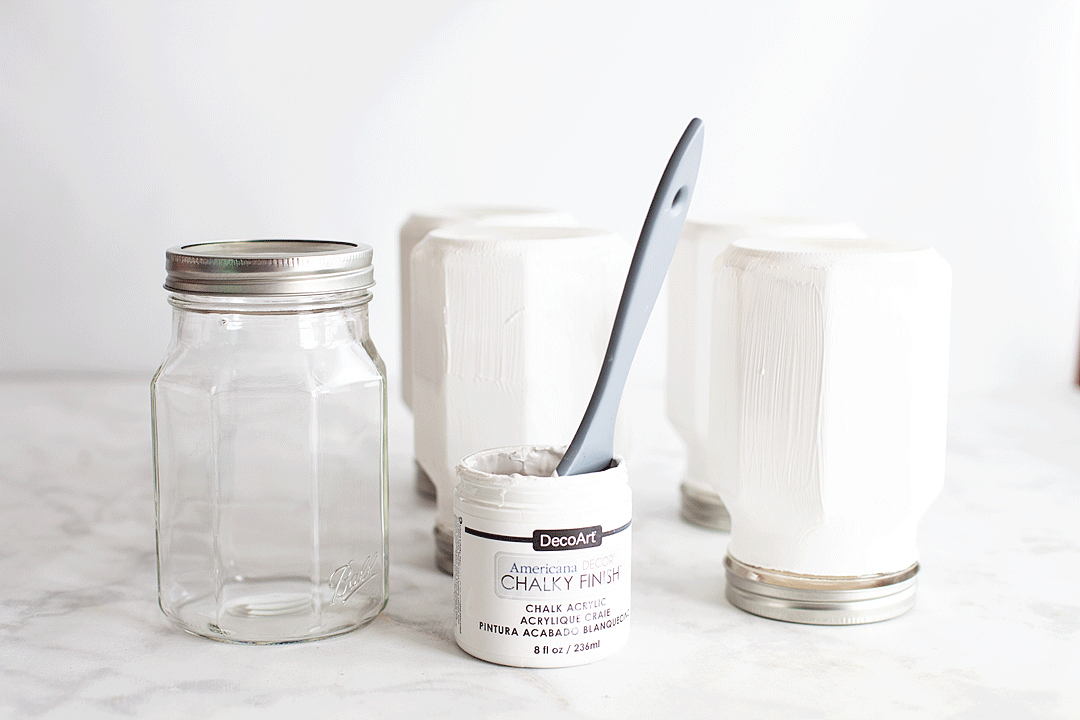
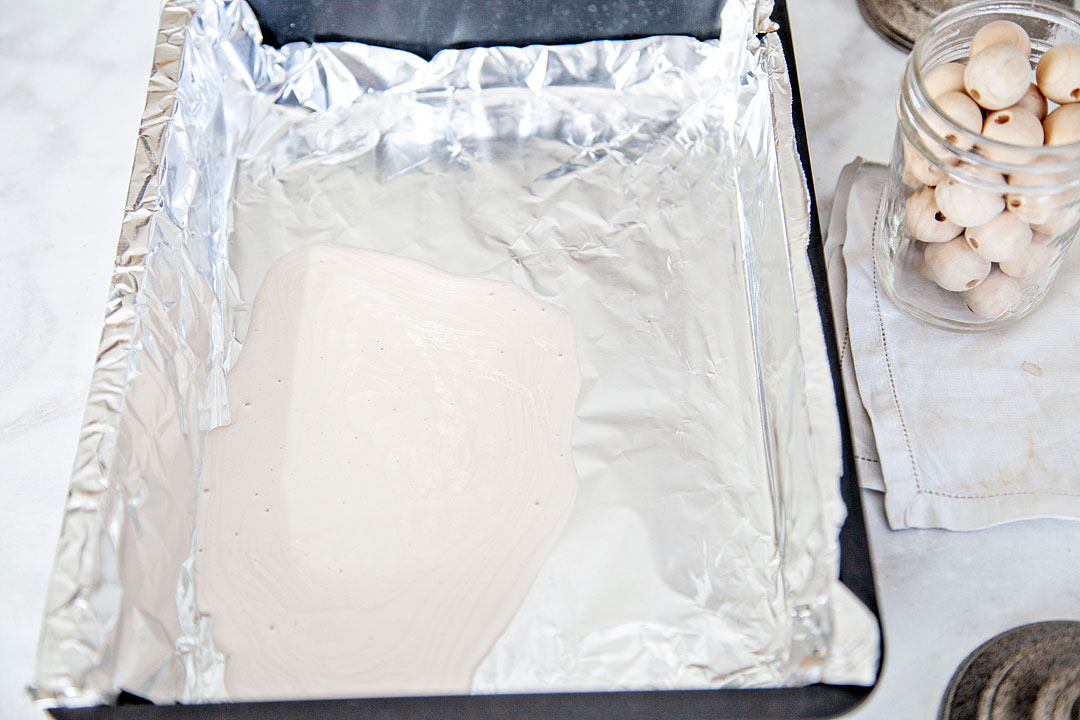
To do that, you’ll need to line a dish with aluminum foil and then pour a small amount of paint into your lined paint tray.
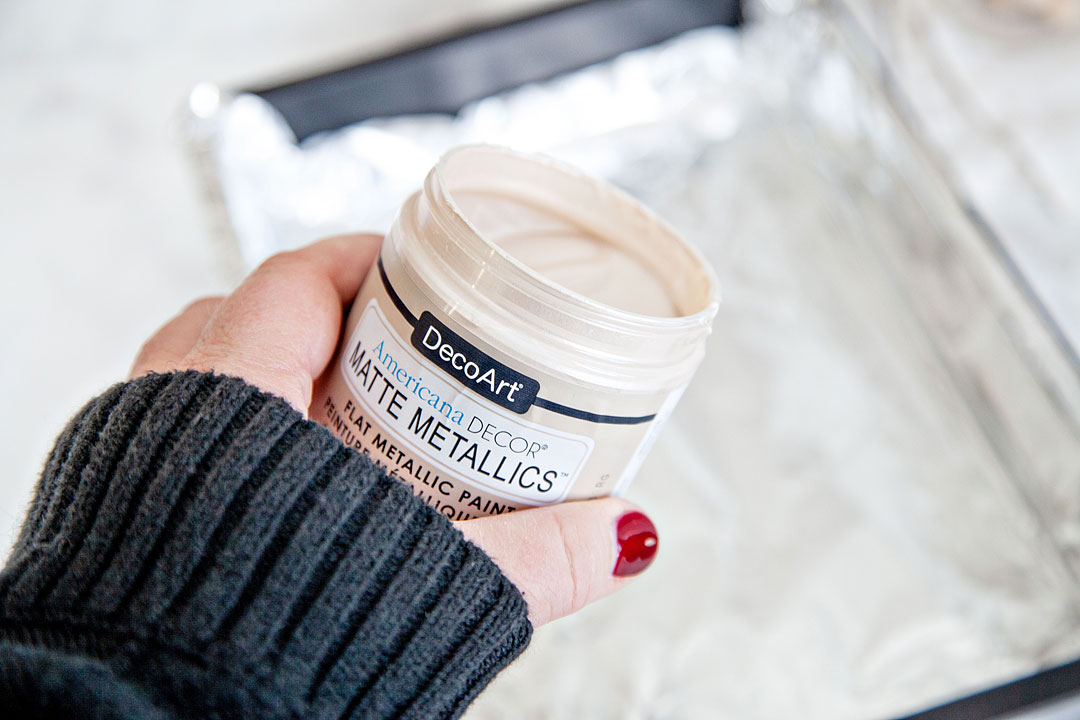
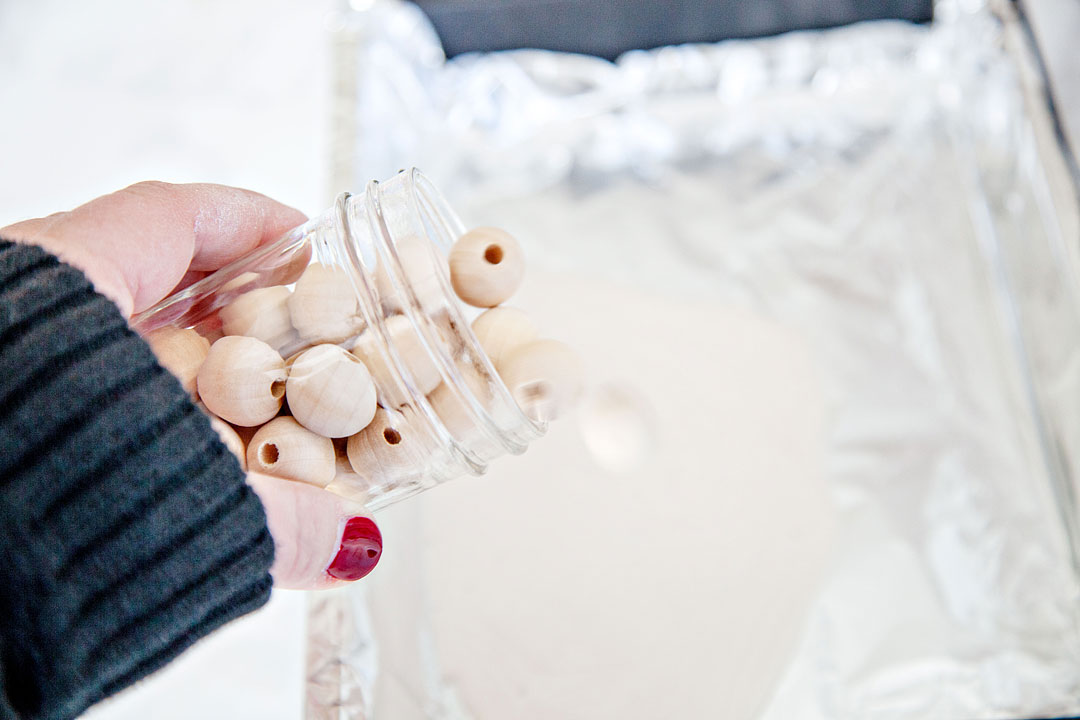
This is the fun part… rather than laboriously painting each and every bead (there are 30.) You will just dump them into the tray of paint.
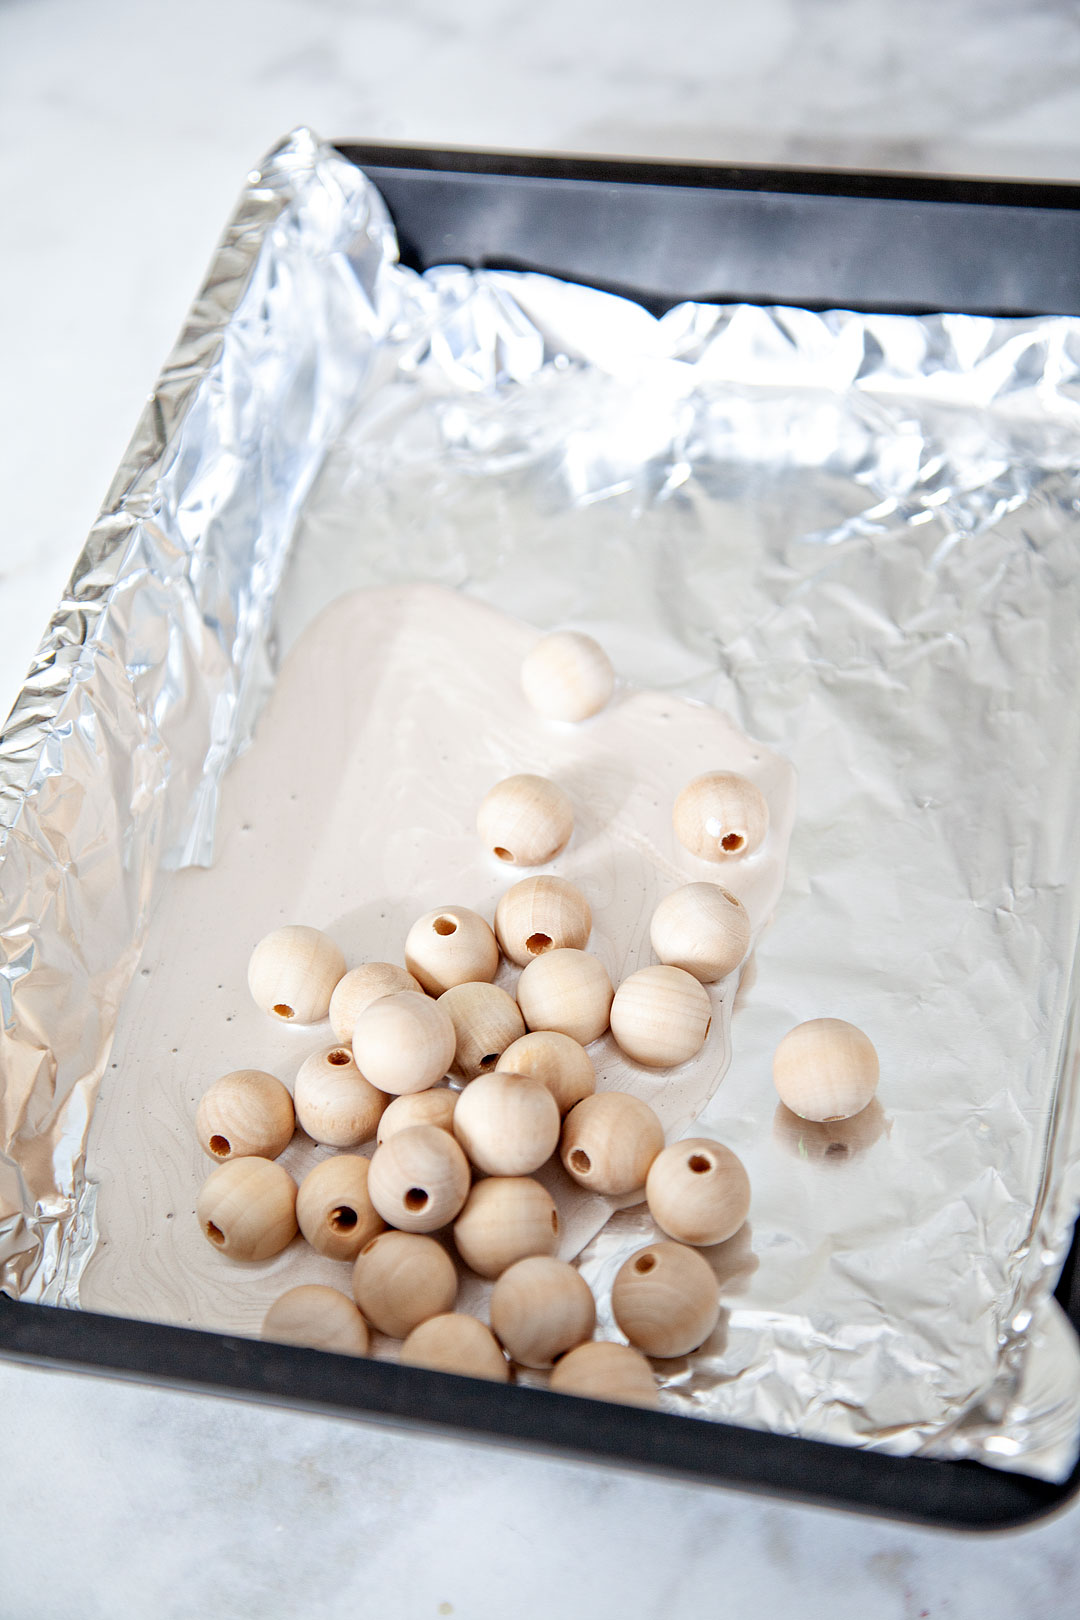
The paint is a little think so you can move them around by moving the tray a bit but, you most likely either need to use your fingers or a tool to spin the beads around in the paint to cover the surface of the bead.
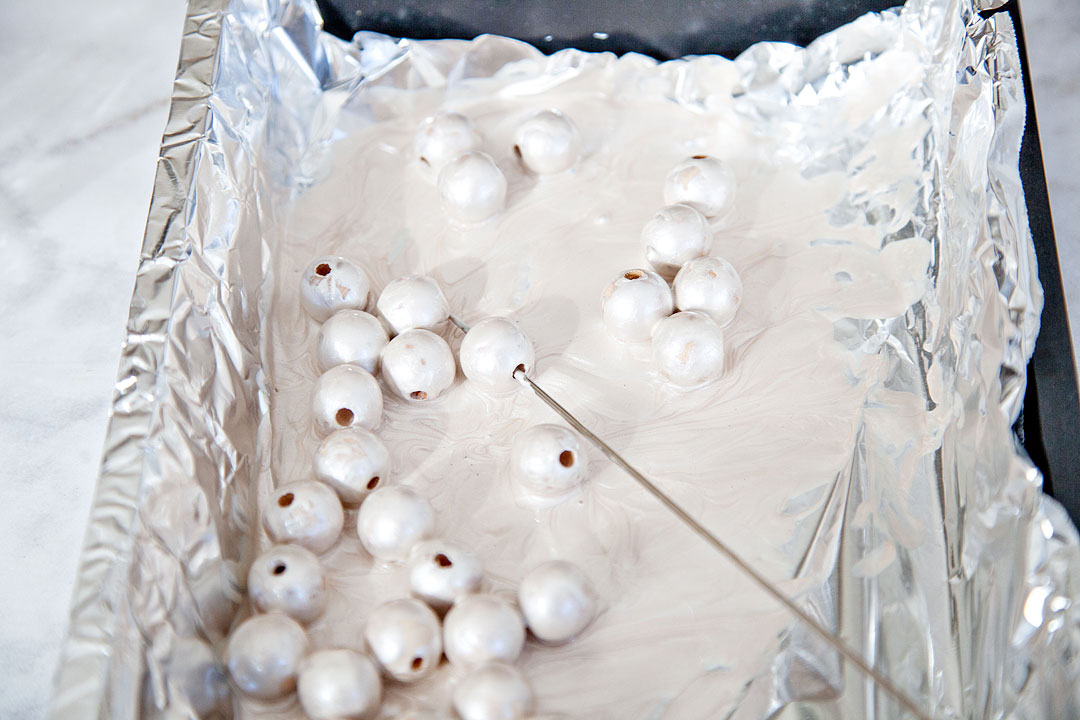
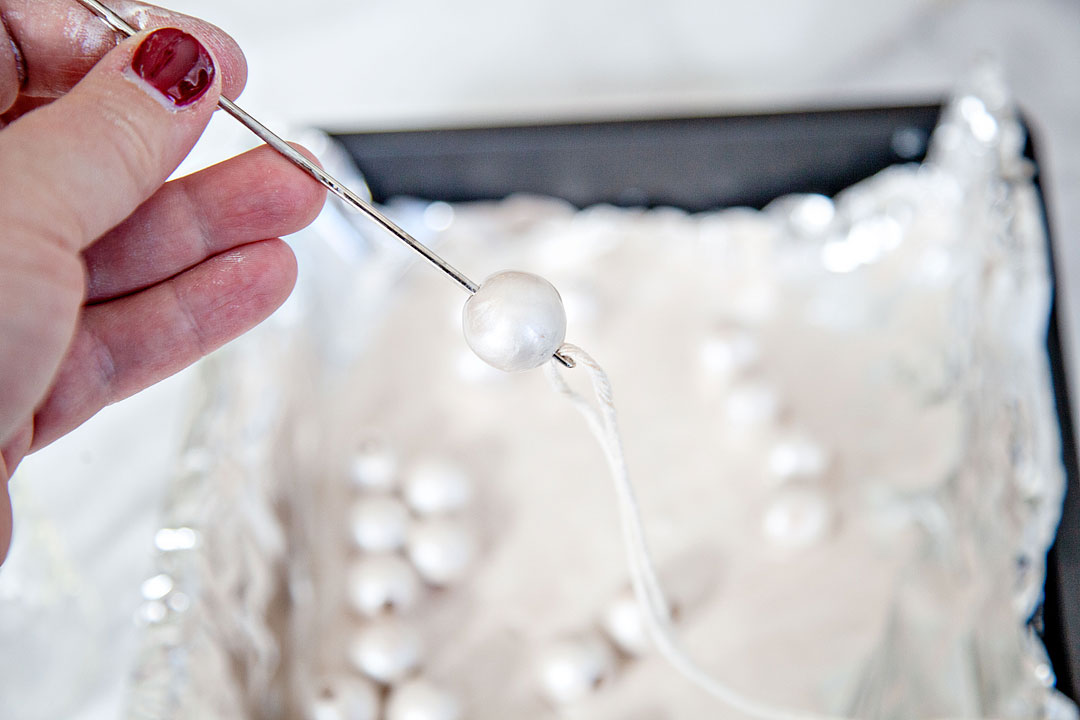
For this project, I’m using an upholstery needle to string the beads so I used that to move the beads around a bit and then resorted to my fingers. 😉
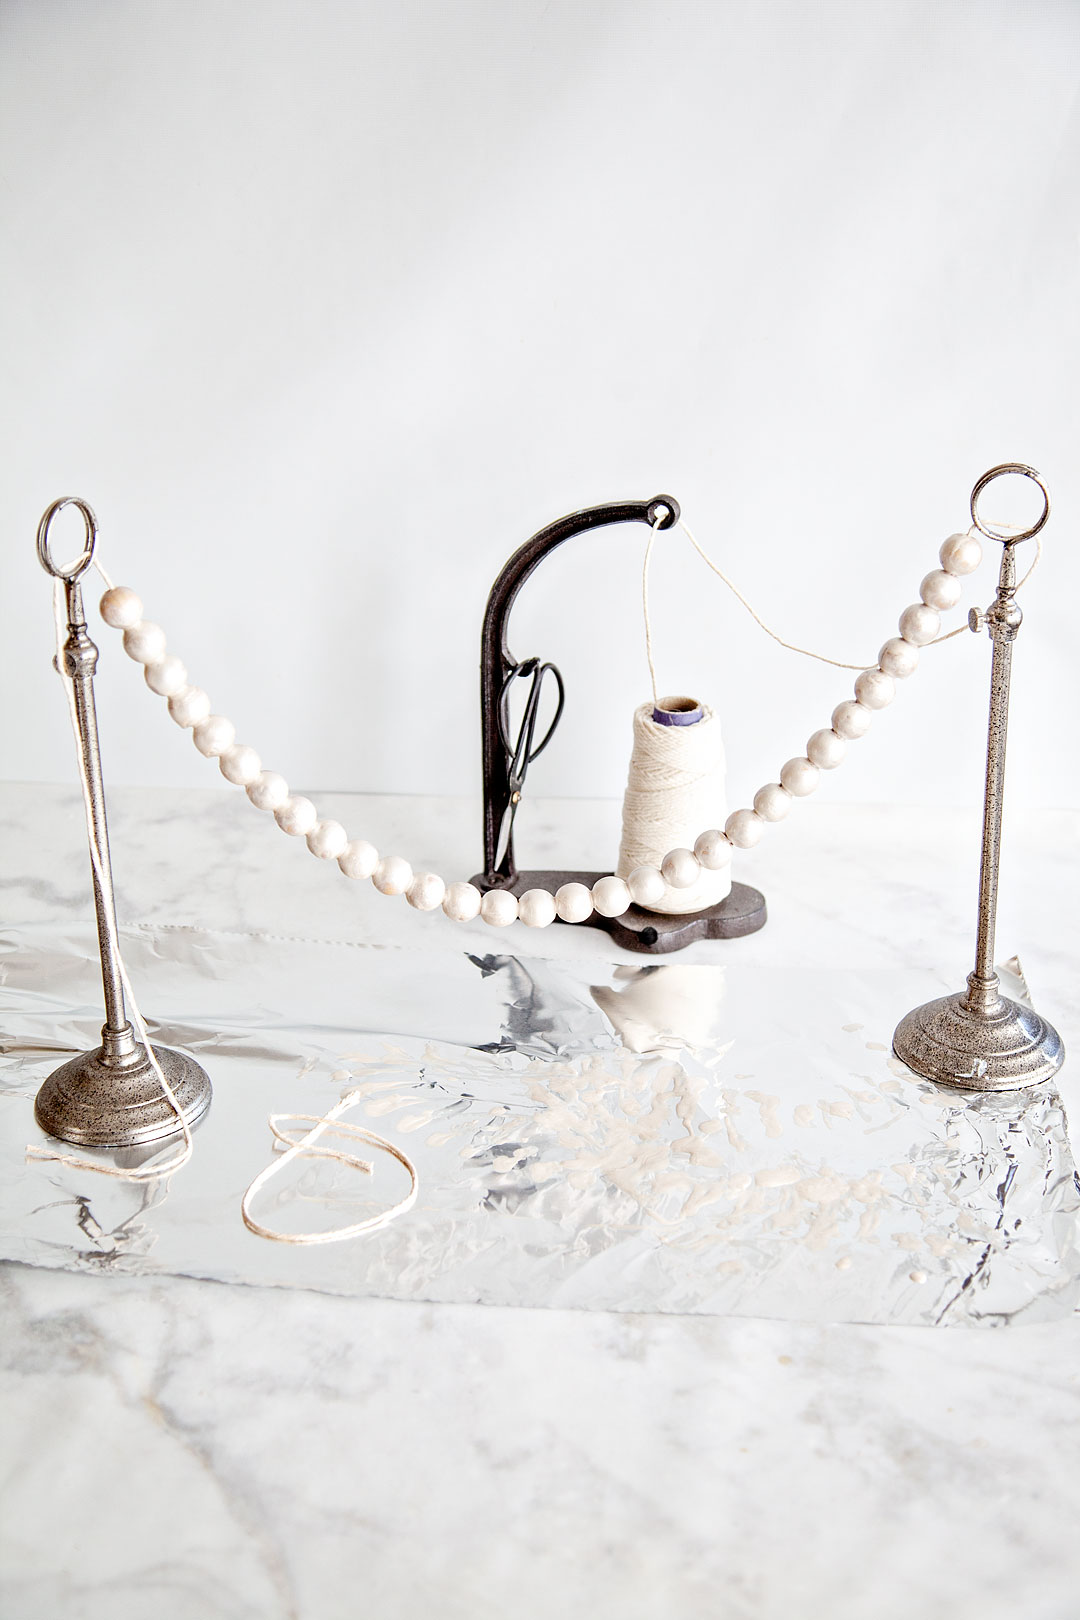
Next, I threaded the string on my needle and strung the beads onto the string so that they could dry without resting on a surface.
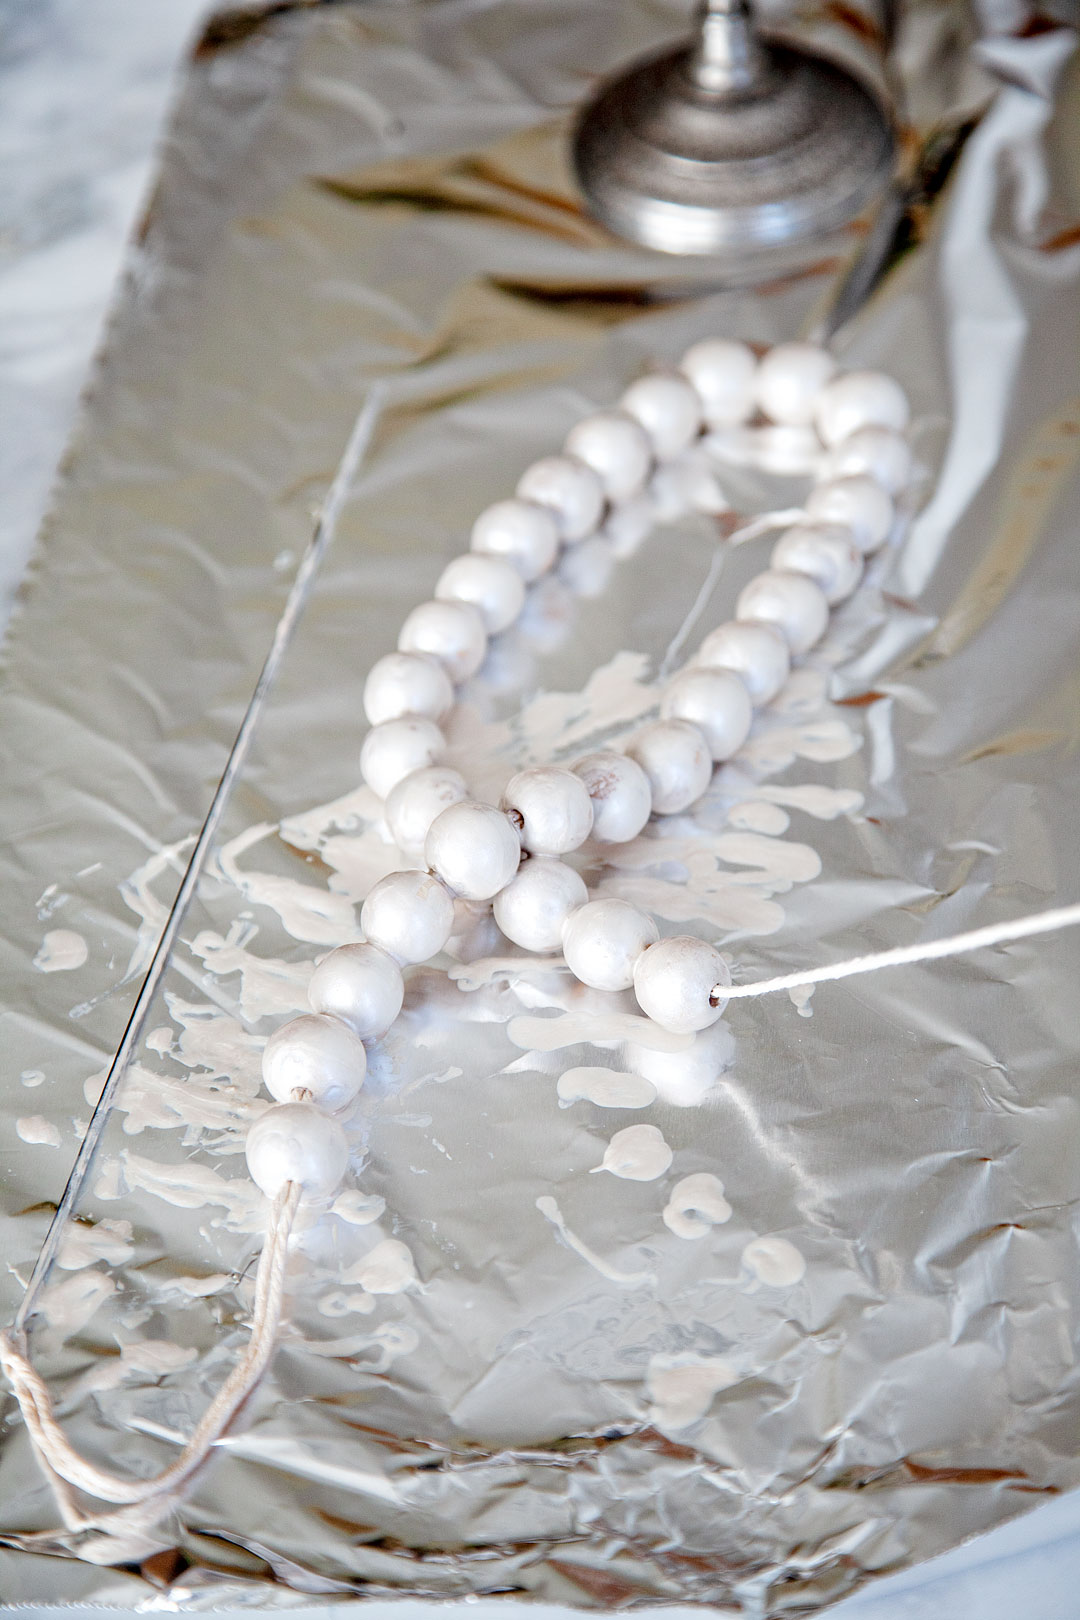
Now, this part can get a little messy, make sure your surface is protected with foil or some other material to cover your surface. Once all of the beads are on the string, you will want to hang it from something you have around the house, even taping it between two soda boxes will work.
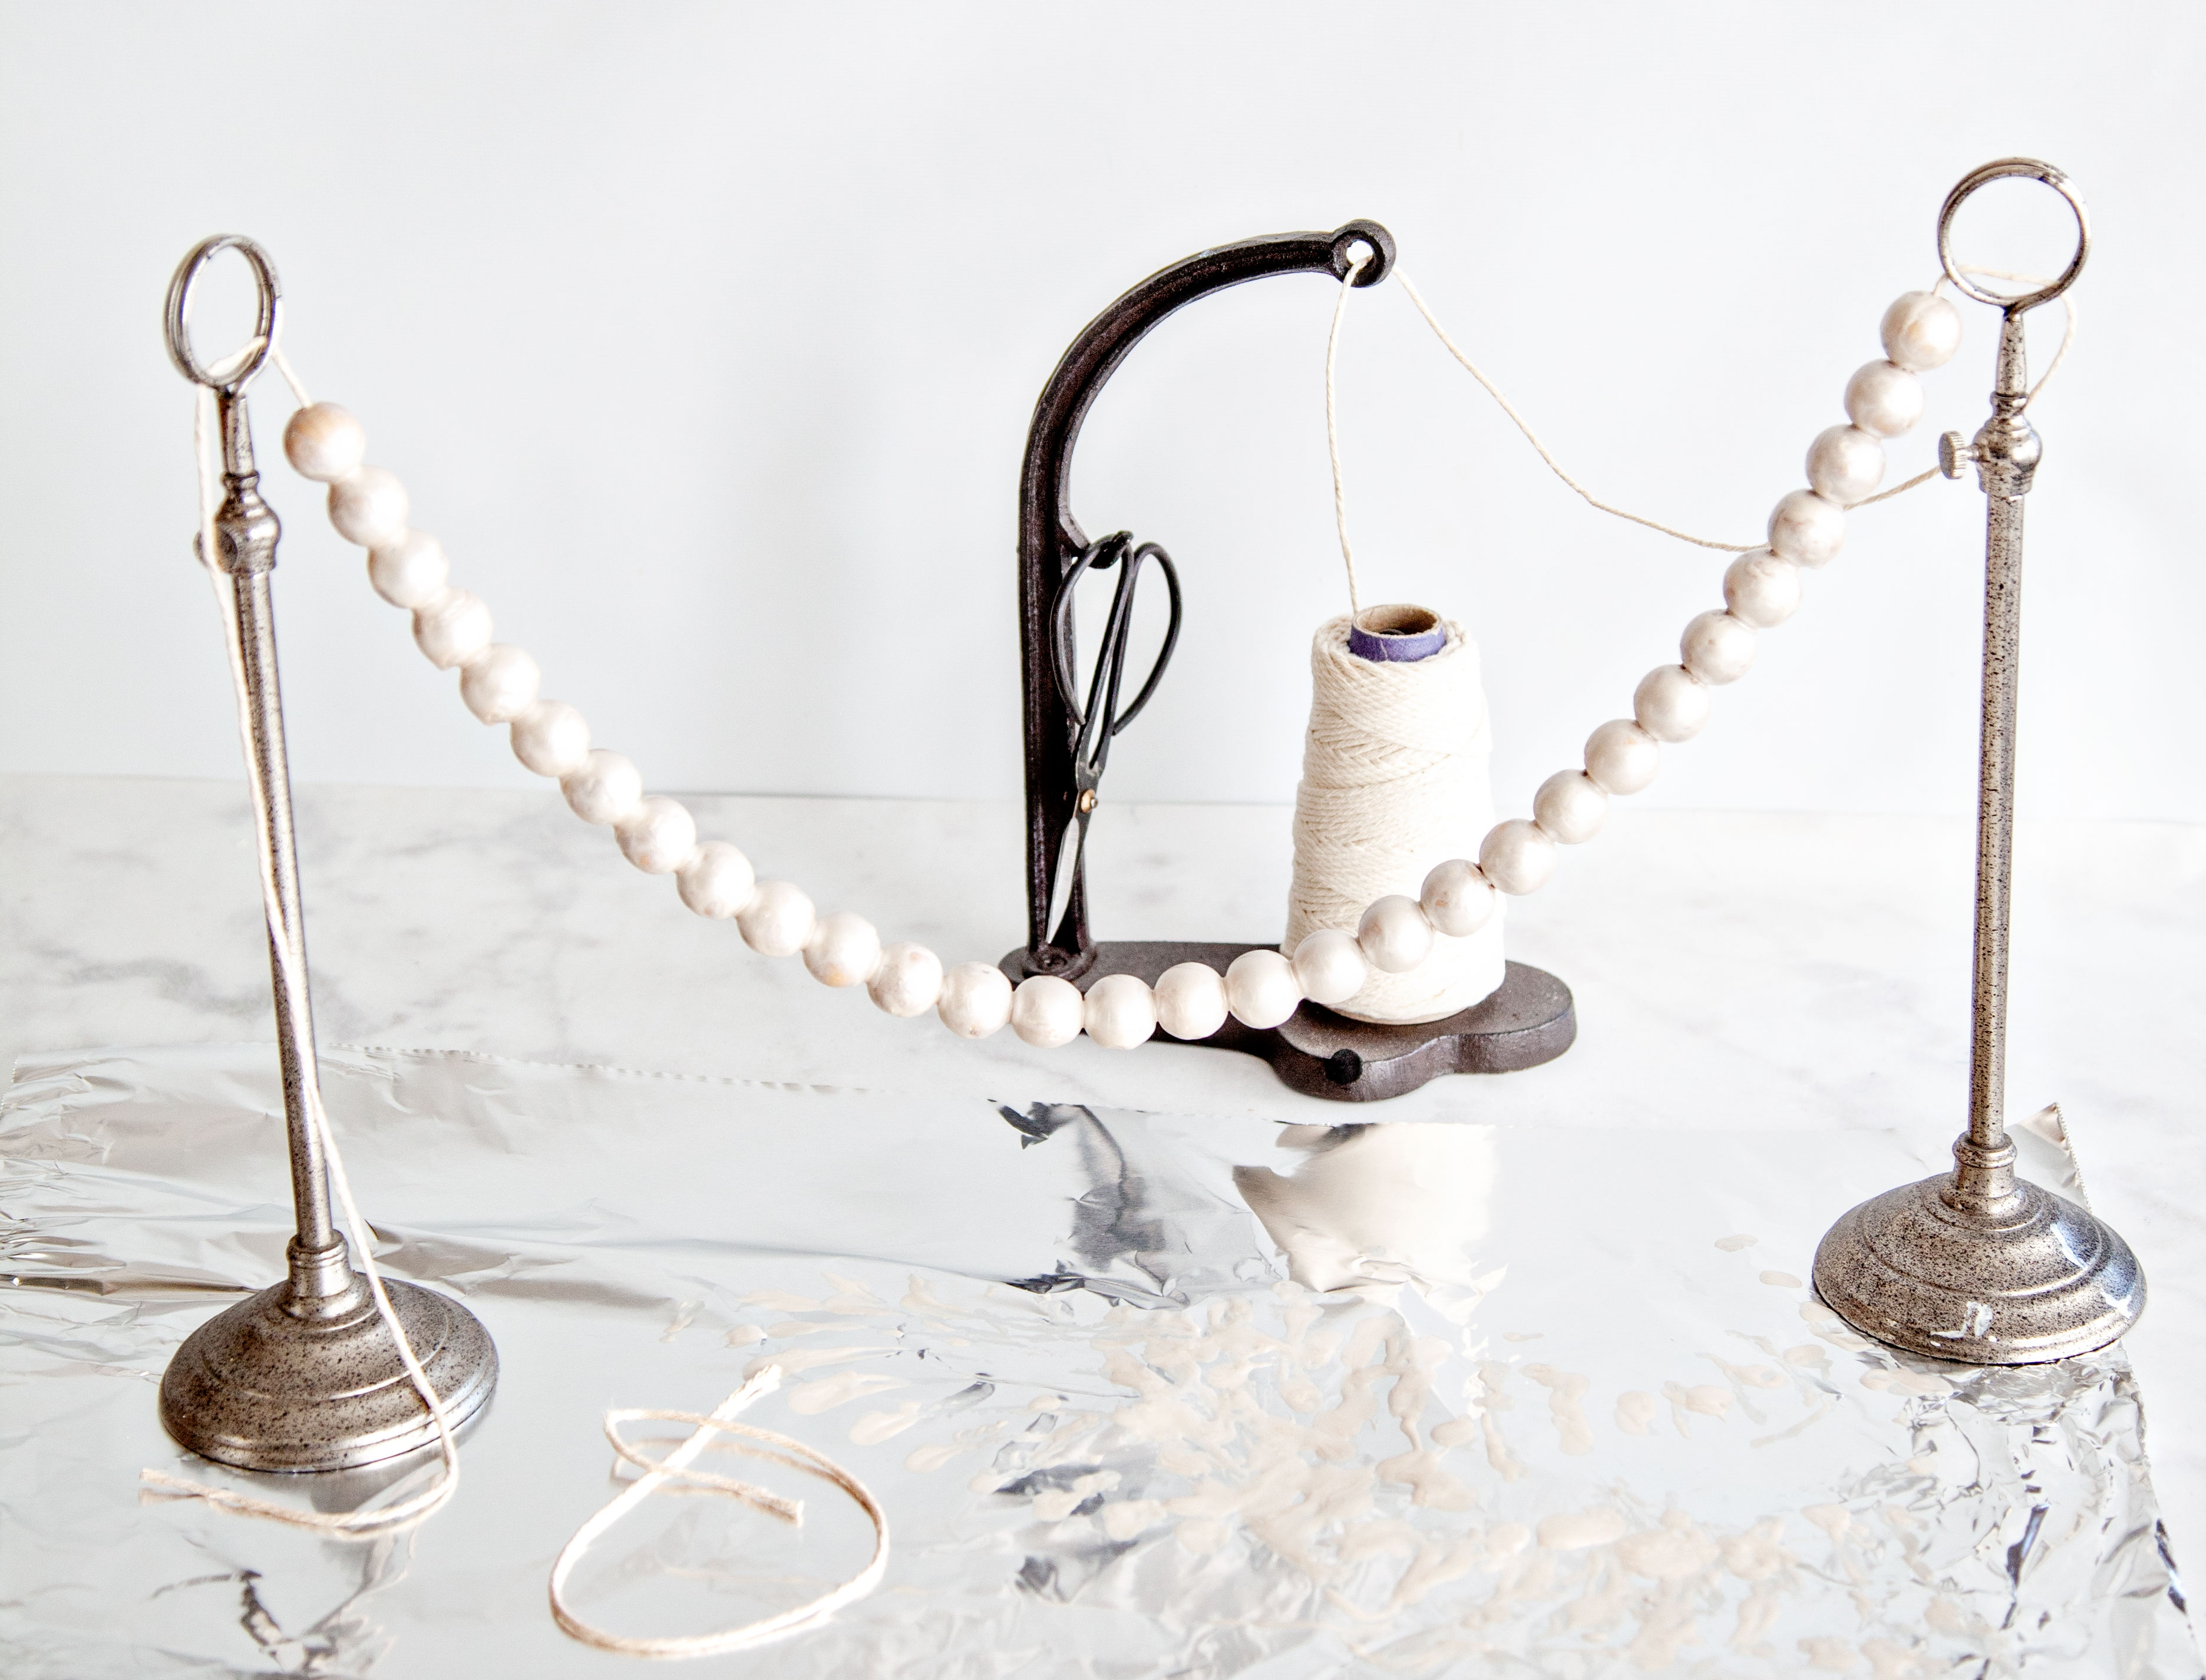
Now, you will need to touch up any bald spots and then let them dry for a couple of hours. Halfway through, when the beads are dry to the touch, pull them apart so that the paint dries between the beads. Once they are dry, you’re ready to make your star. As promised, I created a video to show you how.
How cool is that? So EASY, right? Go grab your supplies and have these ready to go for when you have downtime next week during your Thanksgiving celebration. The family will love it AND, they’ll look fabulous on your tree!!

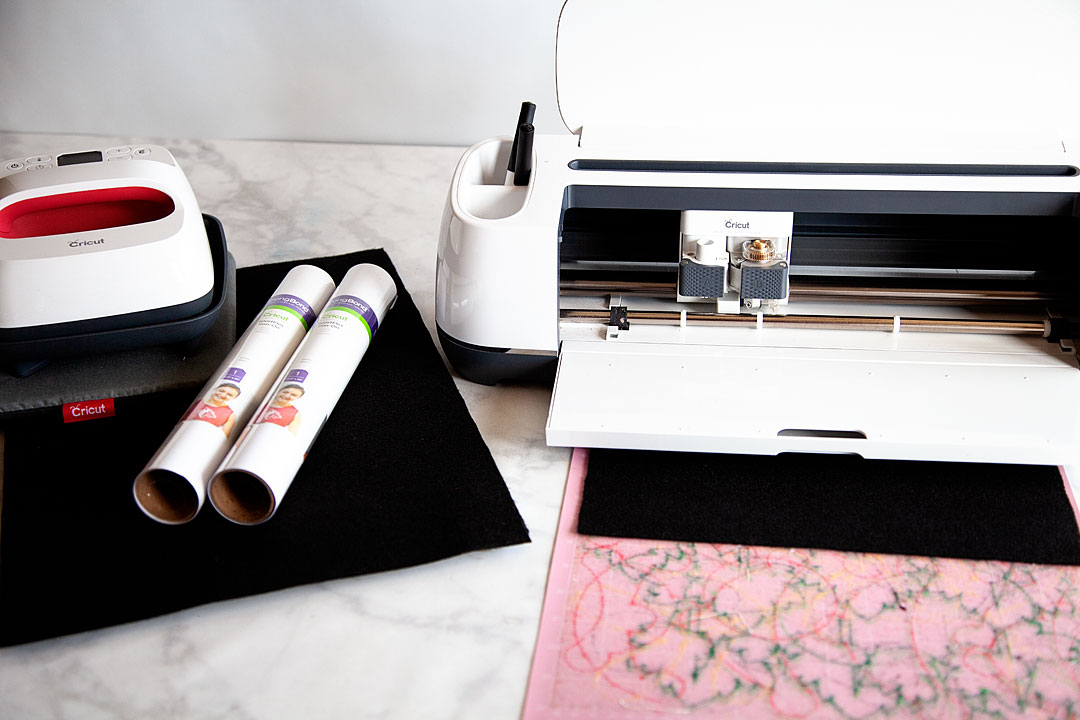

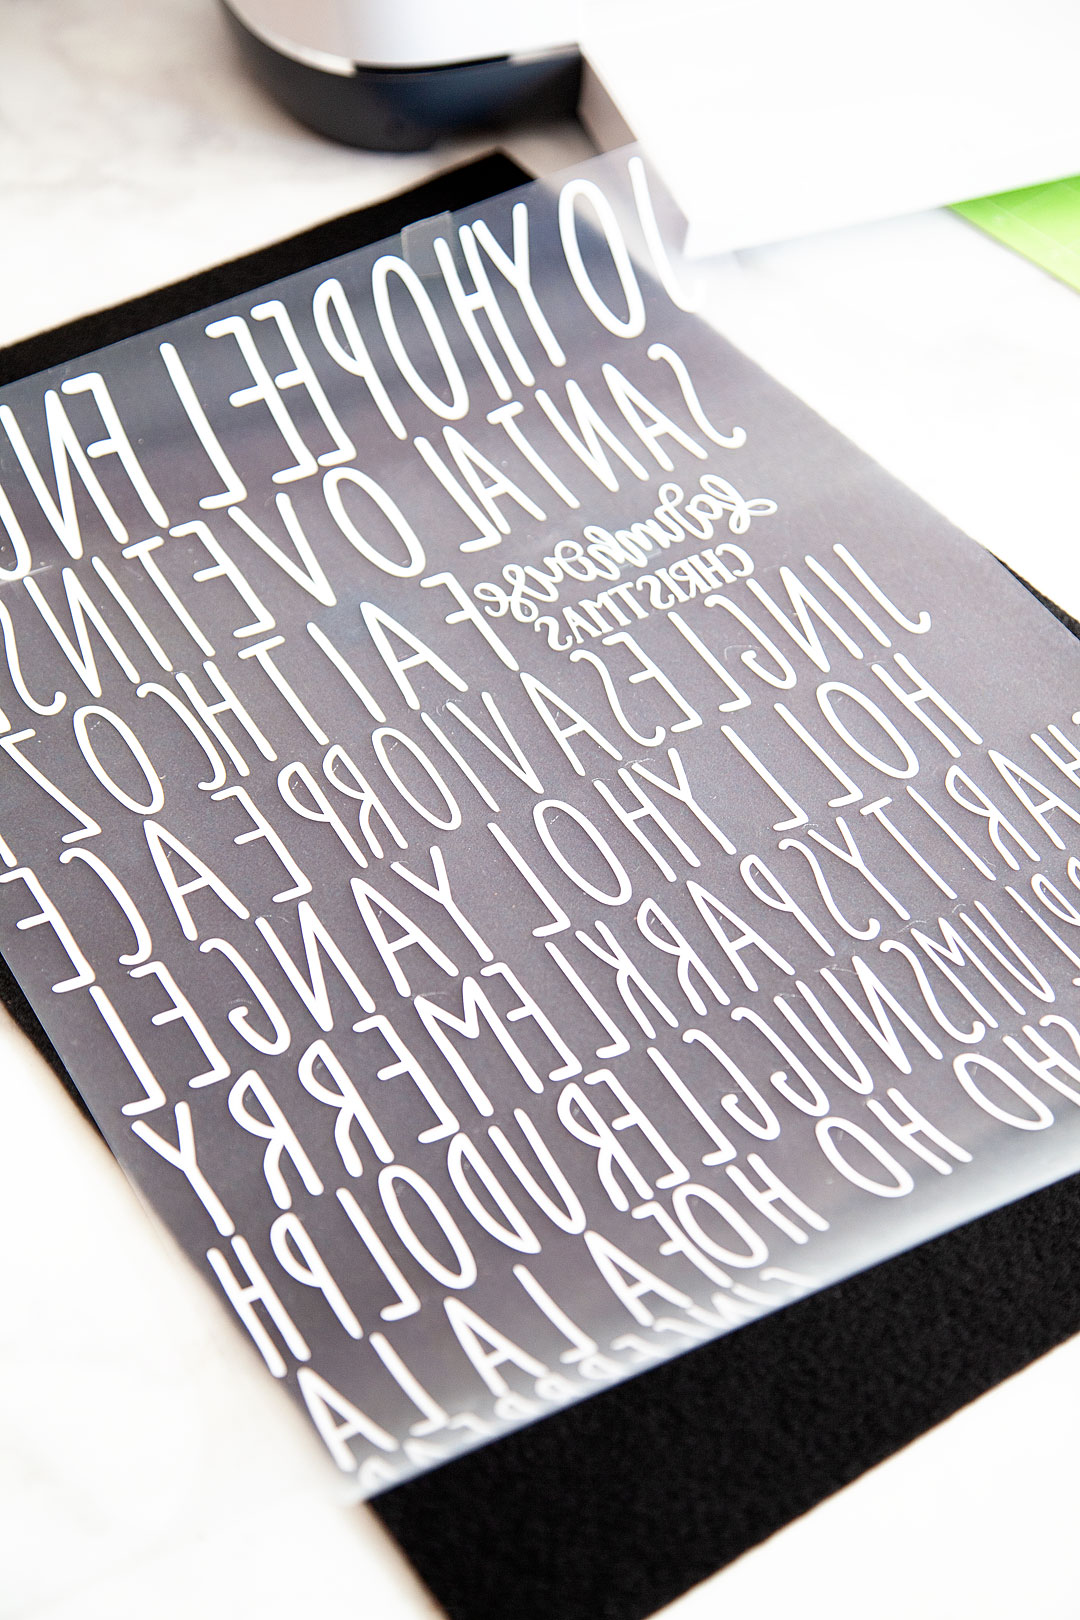
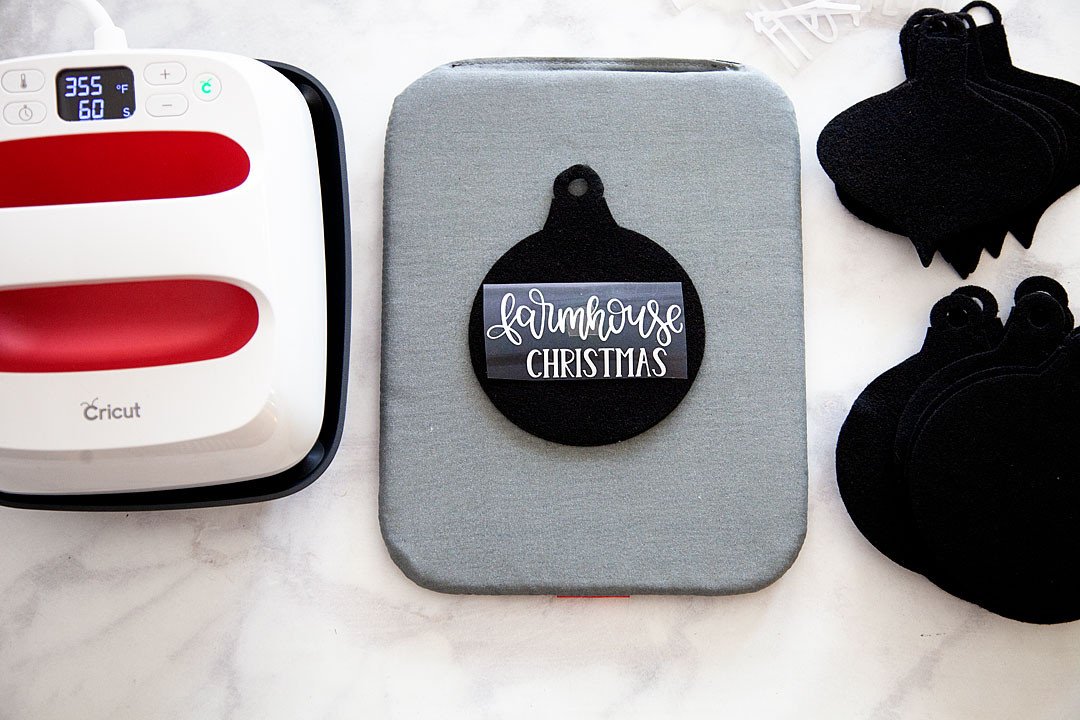
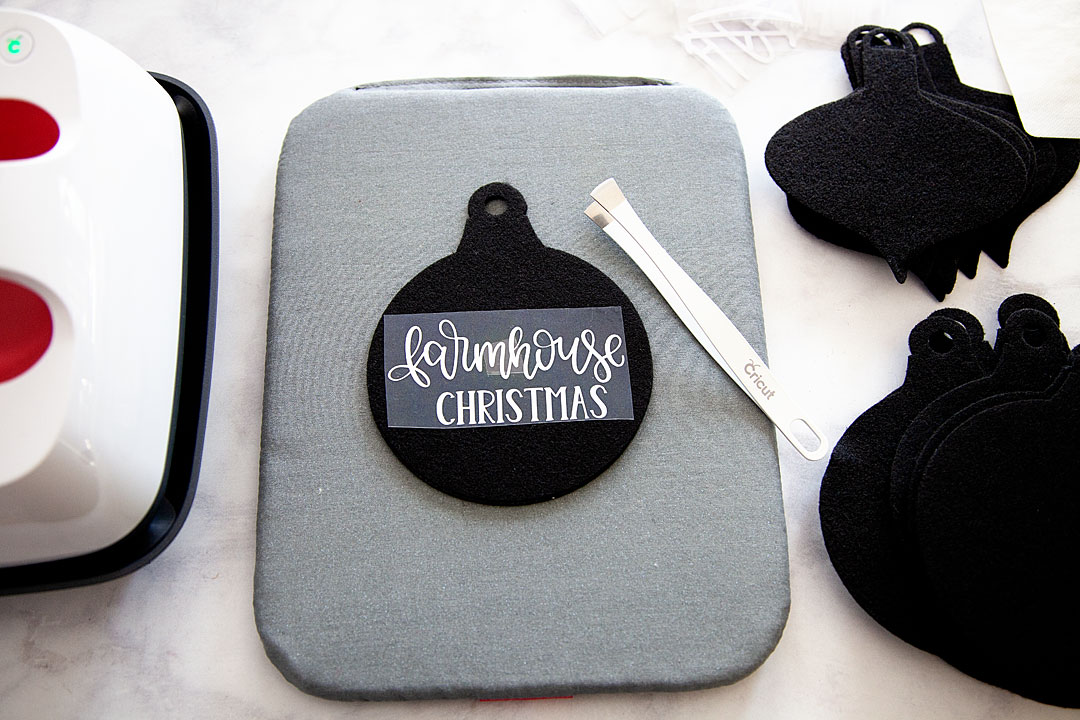
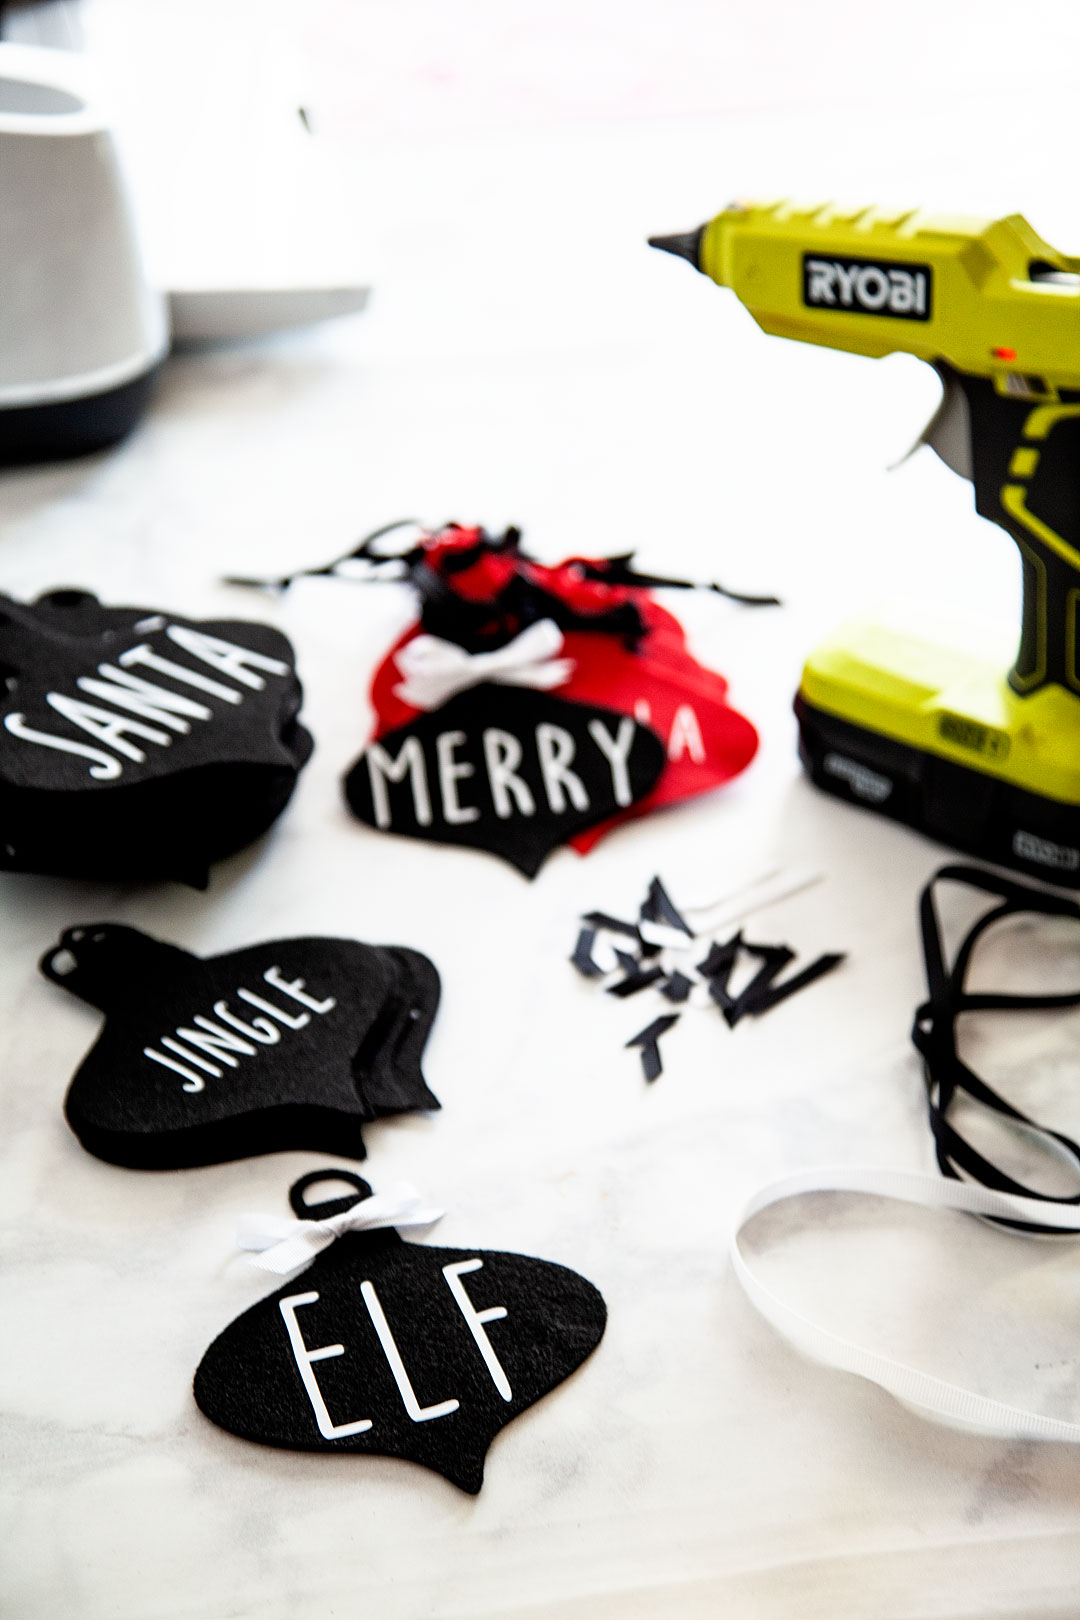
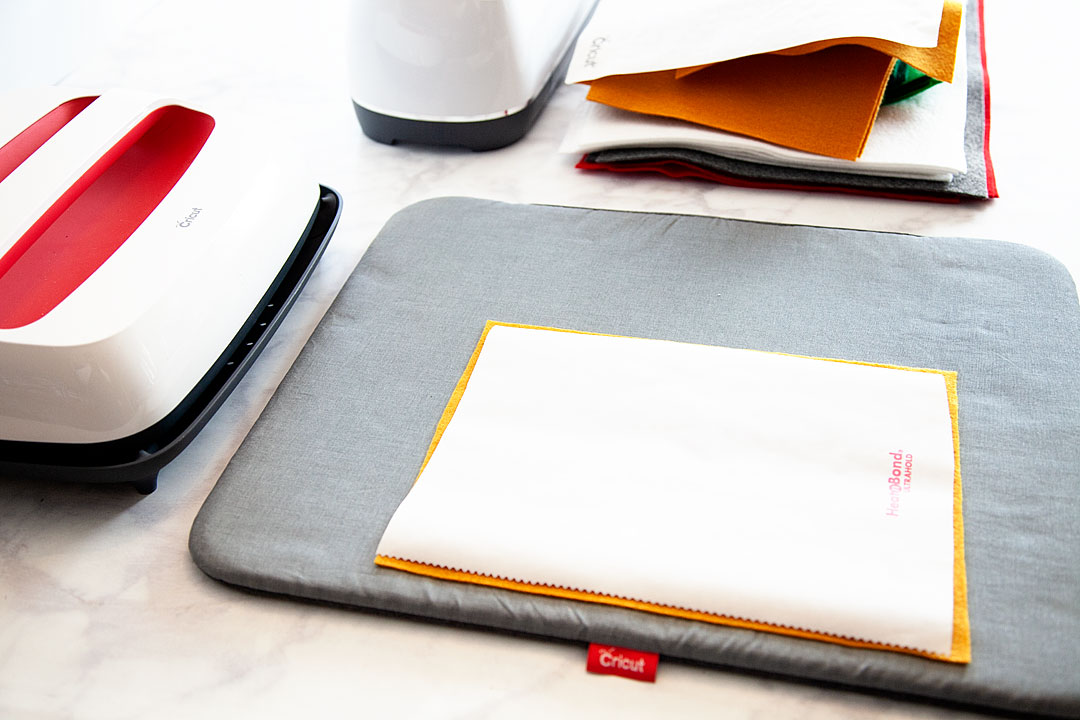
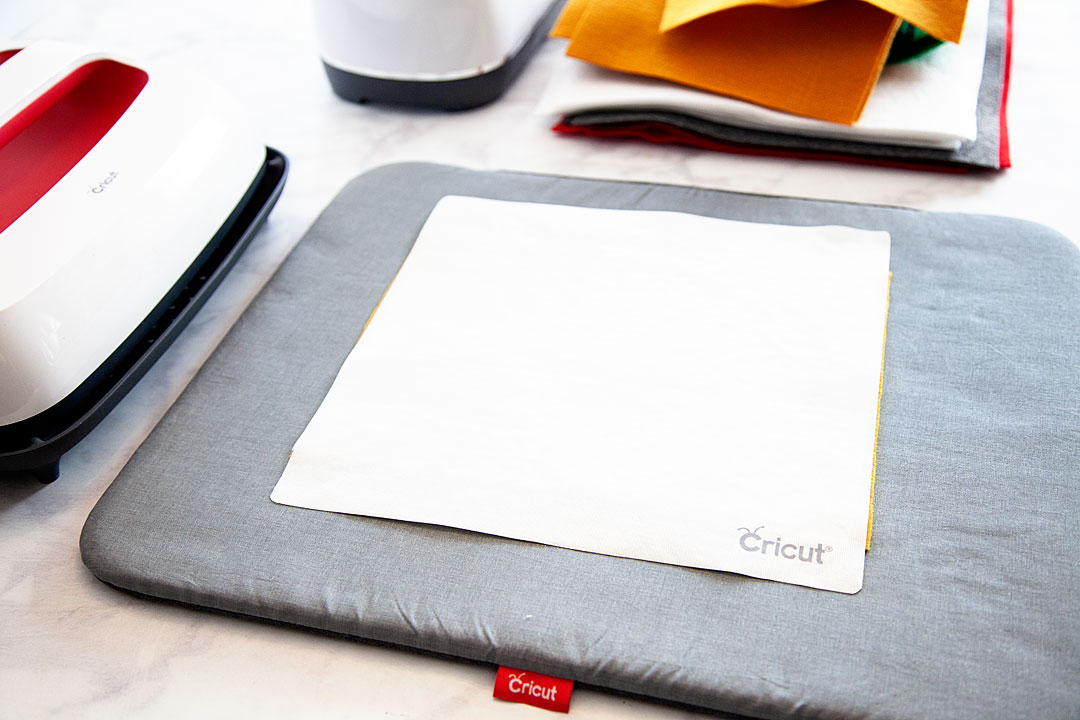

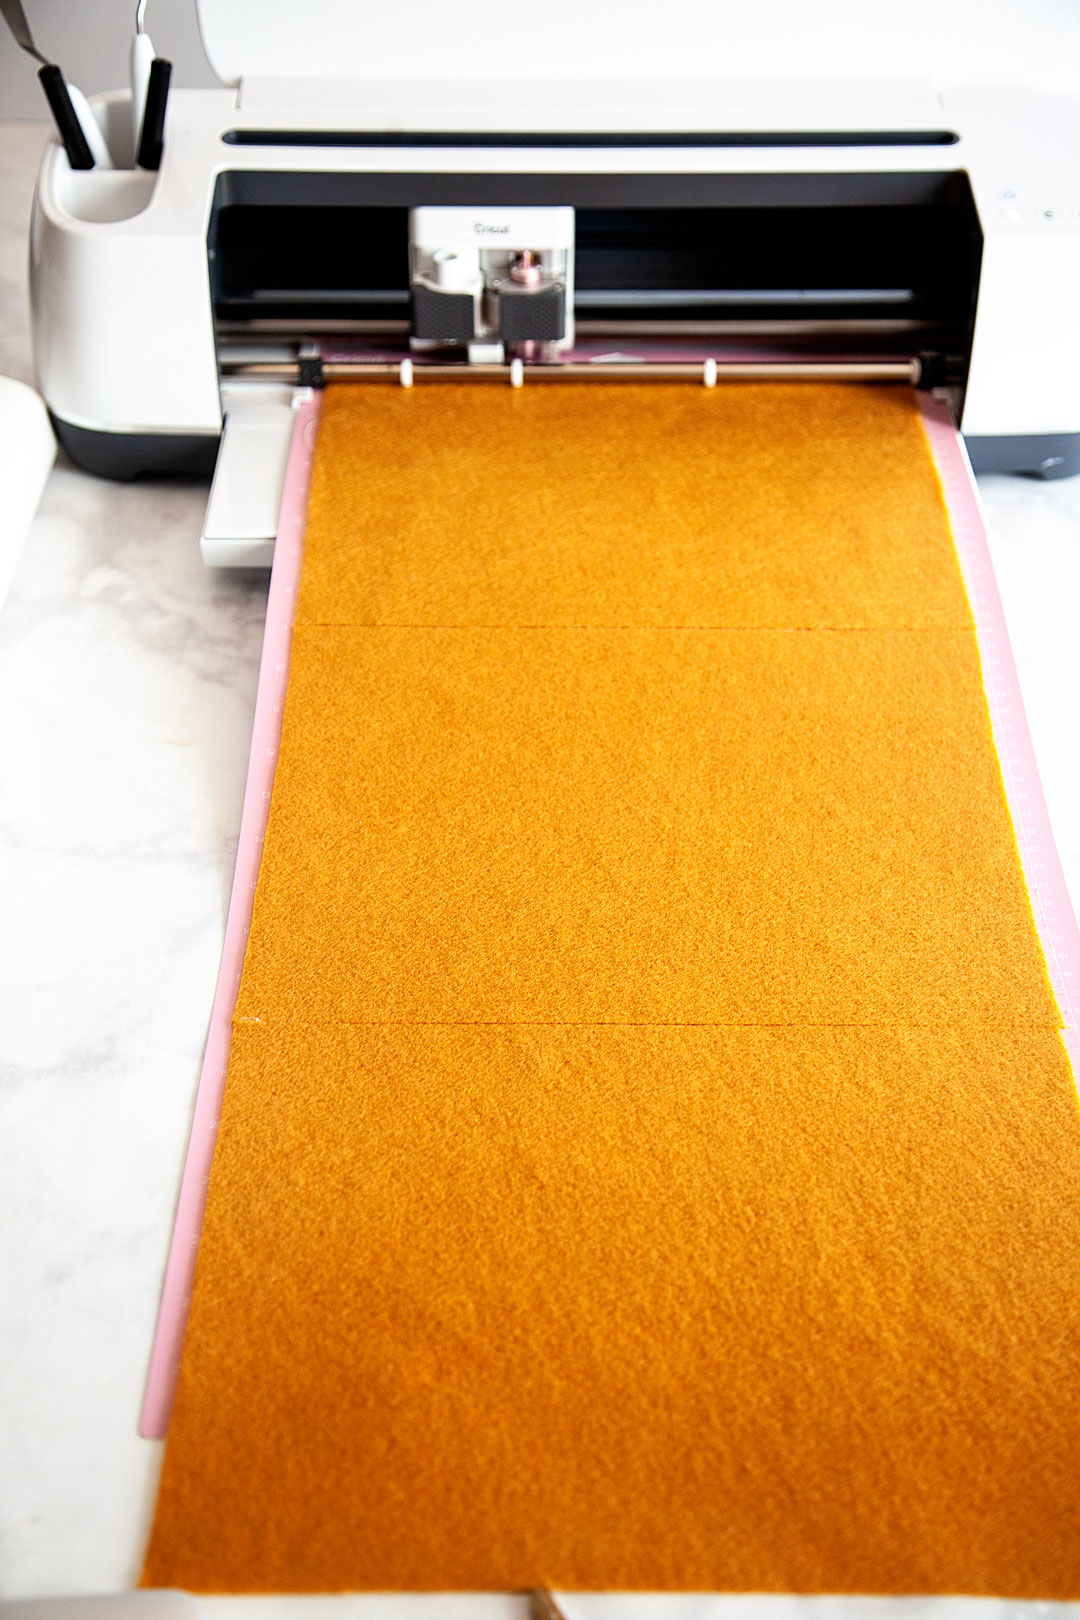
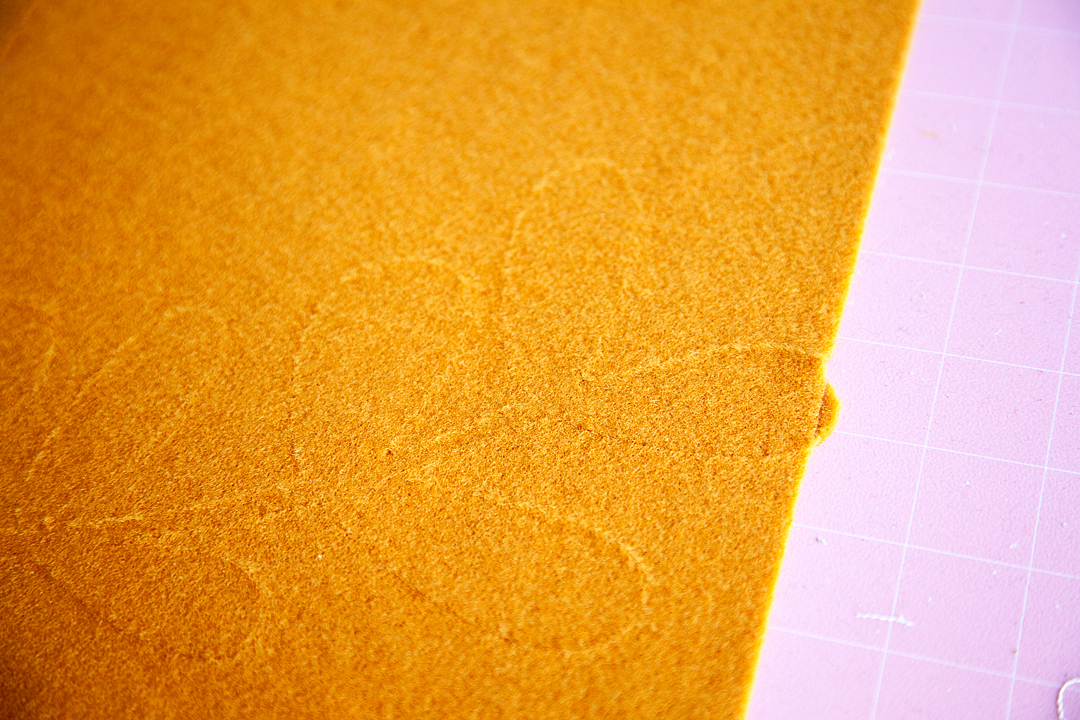
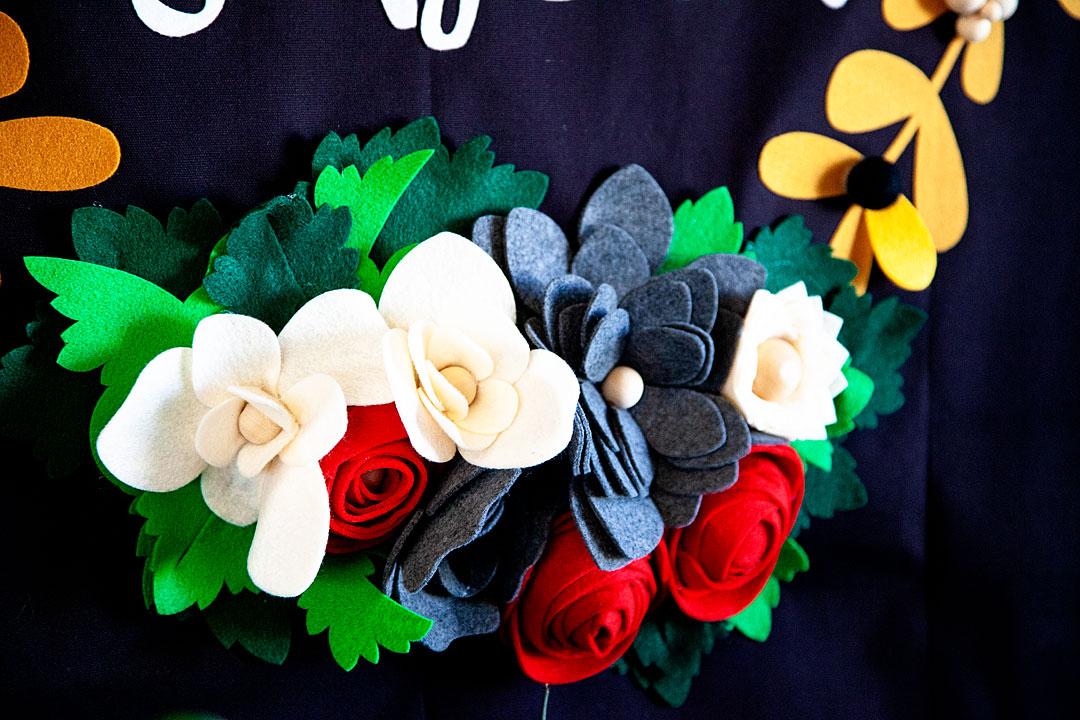
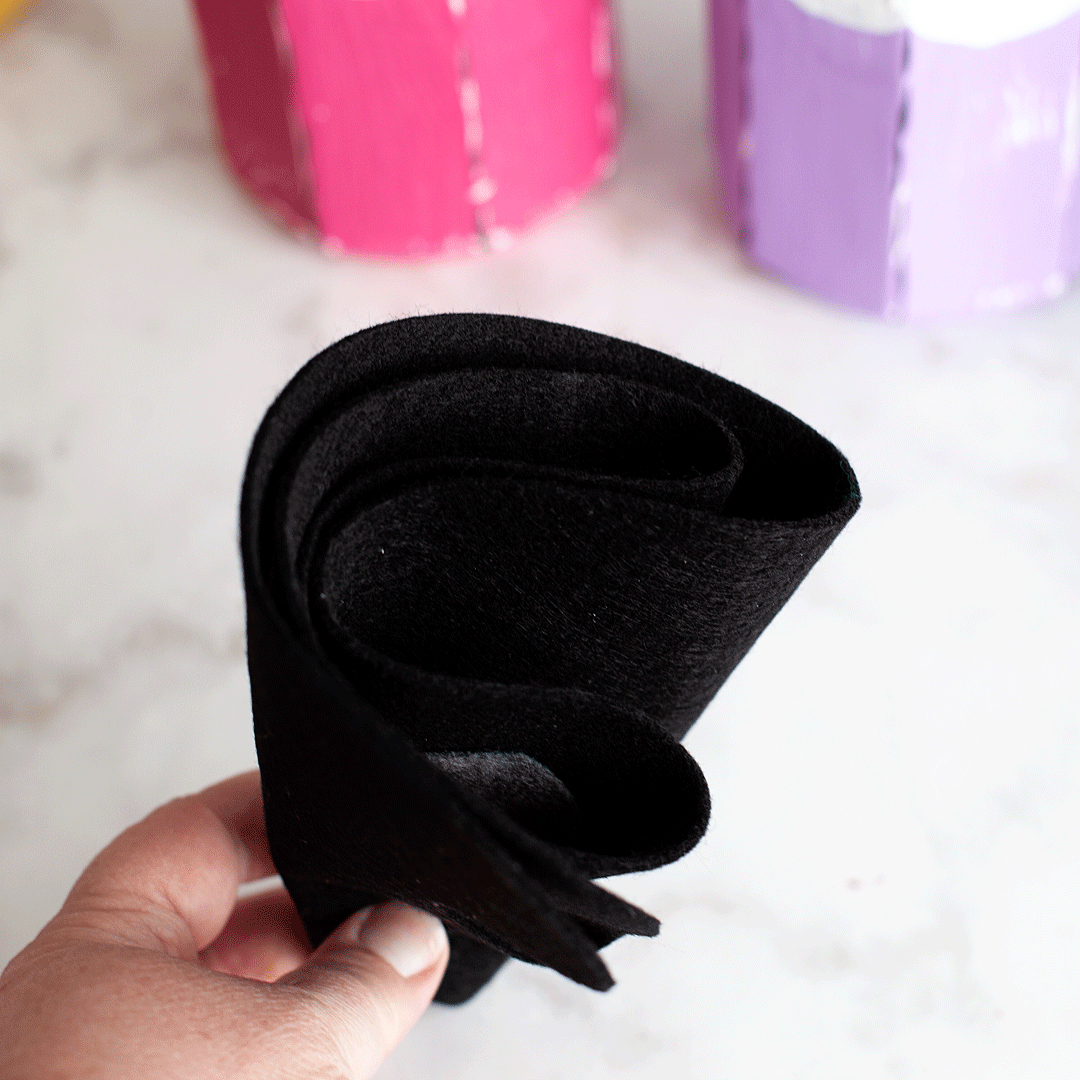
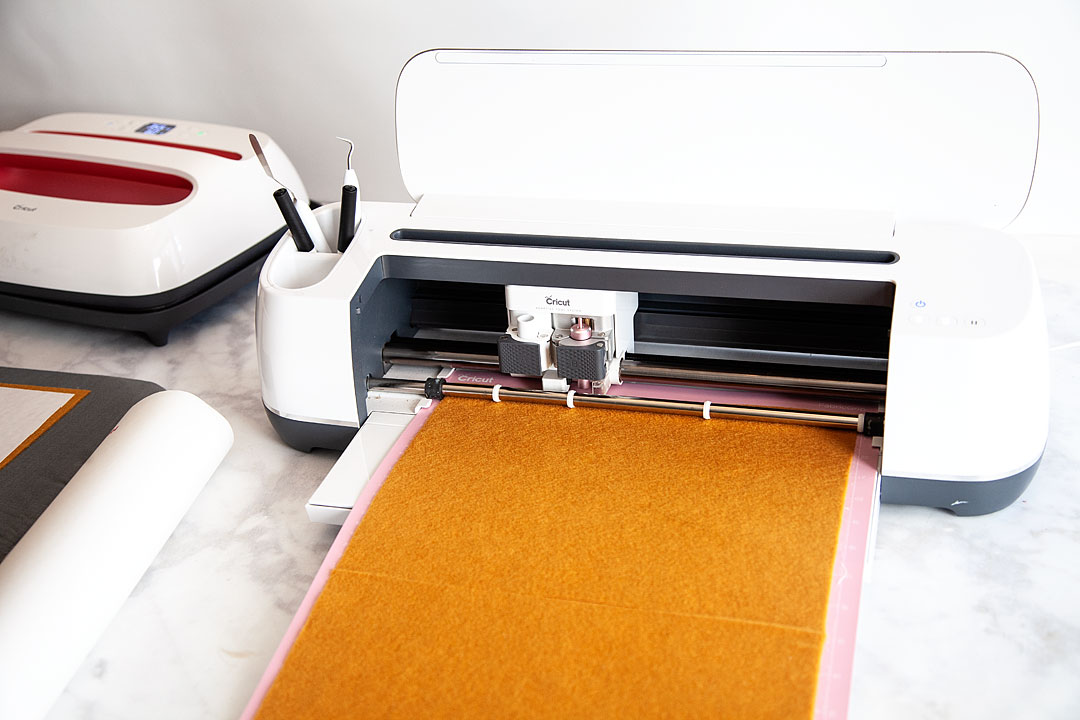 NOW, the felt that I had was smaller than the designs, not to worry though. I placed my felt onto the cutting mat and easily pieced them together while I was pressing them onto the fabric. If you’re careful you won’t even see the seam.