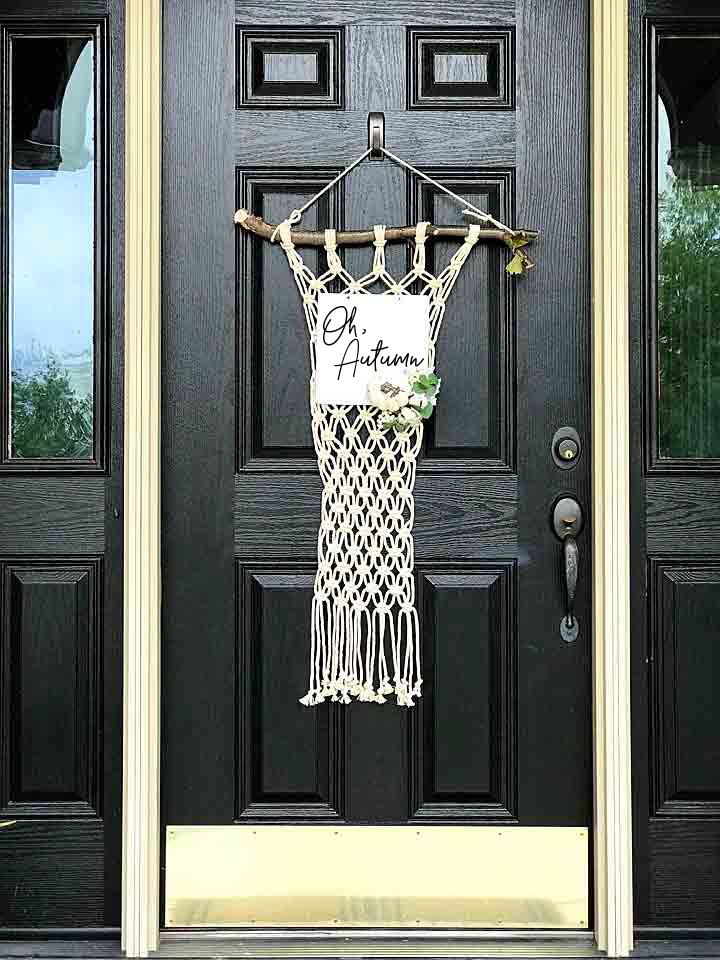
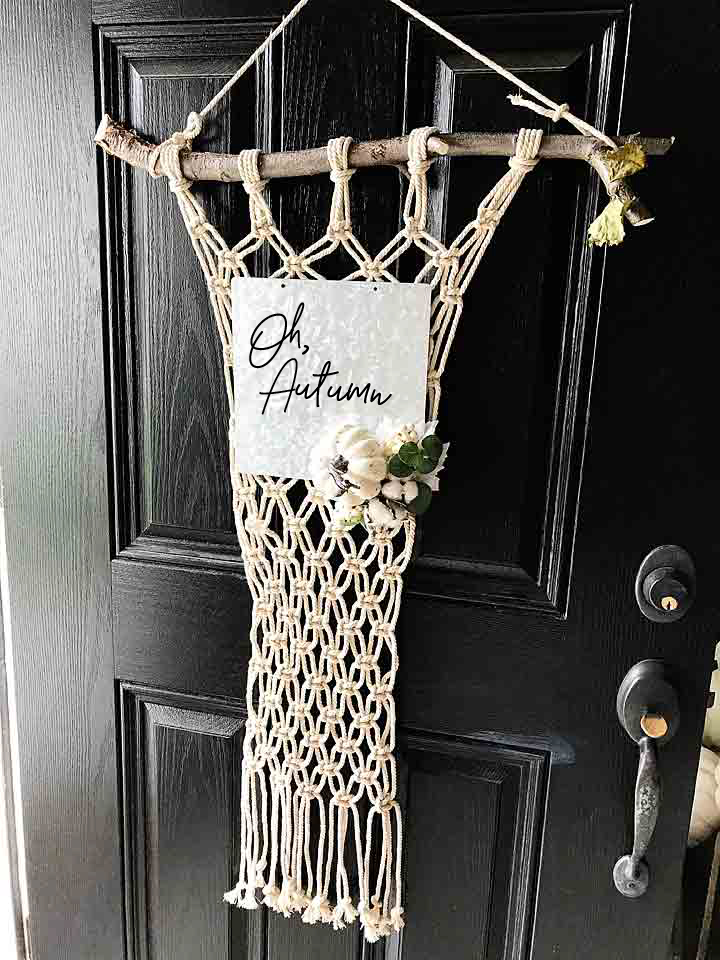
We’ve kind of fallen in love with the macrame trend at our house lately. We made a HUGE macrame celebration arch for my daughter Haley’s wedding a few weeks ago and I then felt inspired to make a macrame Autumn door hanging for my front entry for the impending season change. Oh, Autumn… You truly are my favorite!!
• This post is brought to you by Michaels Craft Stores •
I’m going to date myself here, I’m not old enough to remember the first macrame trend in the 1970’s. However, I do remember the aftermath of that trend. Garage sales full of macrame goods looking desperately for a new home. Needless to say, when the Boho trend started a new a few years ago, I kind of chuckled a bit when macrame returned in fashion. Then my little side chuckles disappeared and I kind of fell in love with the look. Like fell hard… I want to macrame all the things now. My Macrame pinboard has gone nuts with all of the fun macrame projects I would like to tackle.
Macrame Autumn Door Hanging Supplies
Of course, when it came time to stock up on supplies I ran to Michaels my go-to supply store. They have everything you need to make all things macrame, fall decor & blank surfaces for signs. I especially love that you can order online and pick-up easily at the store. I save so much time just placing my order online and then my husband or daughter can run over and grab my supplies when they are out and about. We no longer have frustrating phone calls with my husband trying to find something at Michaels only to have him come home with the wrong item or not enough for what I need. I have the isles memorized but he sure doesn’t! It’s also nice to tack a pick-up to another errand without having to spend too much time walking through the store. Yep, I’m a big fan!

- Cotton Rope
- a branch from your yard or, wood dowel
- square 9×9 galvanized metal sign
- 1-2 Fall floral picks
- scissors
- wire cutters
- hot glue gun and hot glue
- Cricut Premium Vinyl
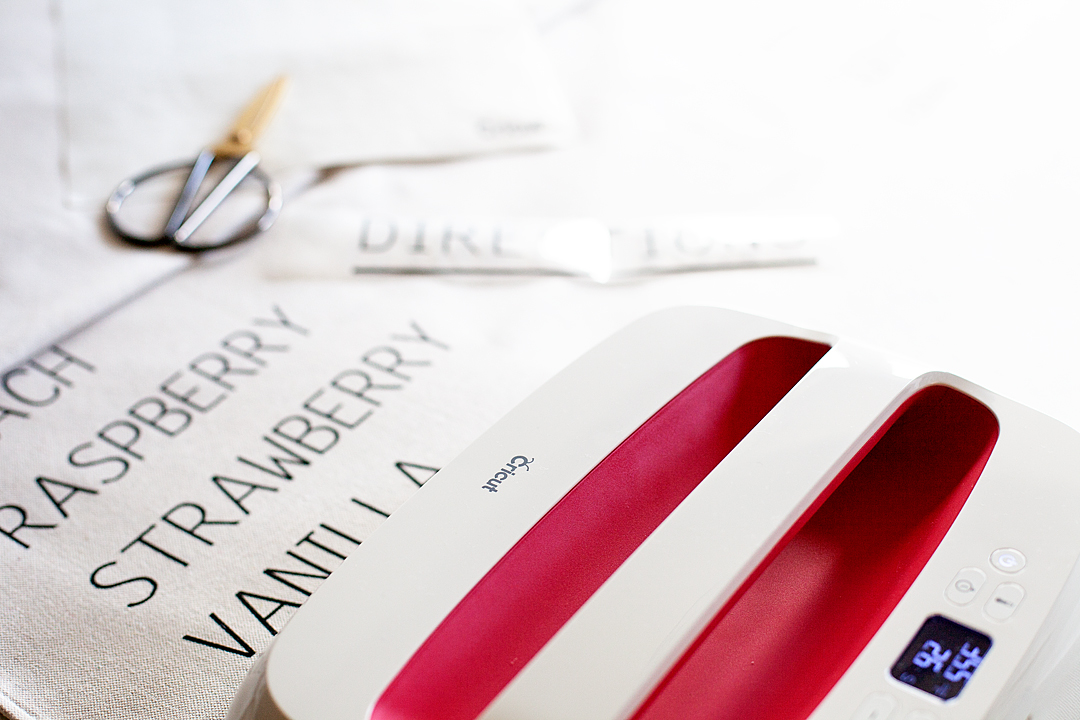
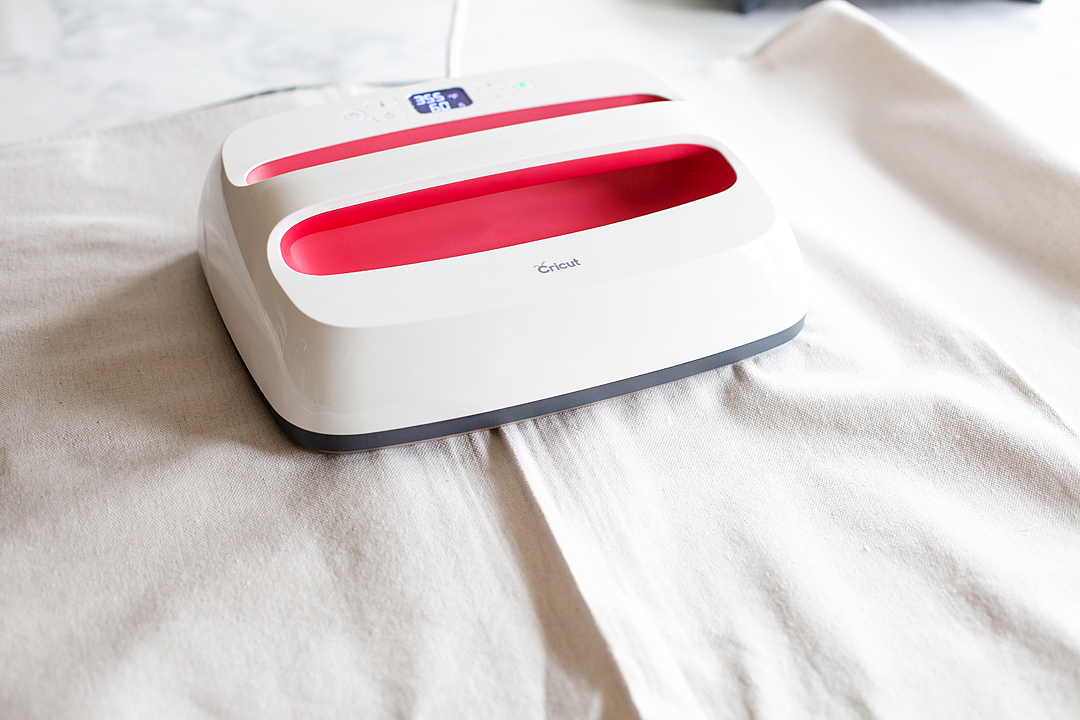
- Cricut cutting machine
Instructions
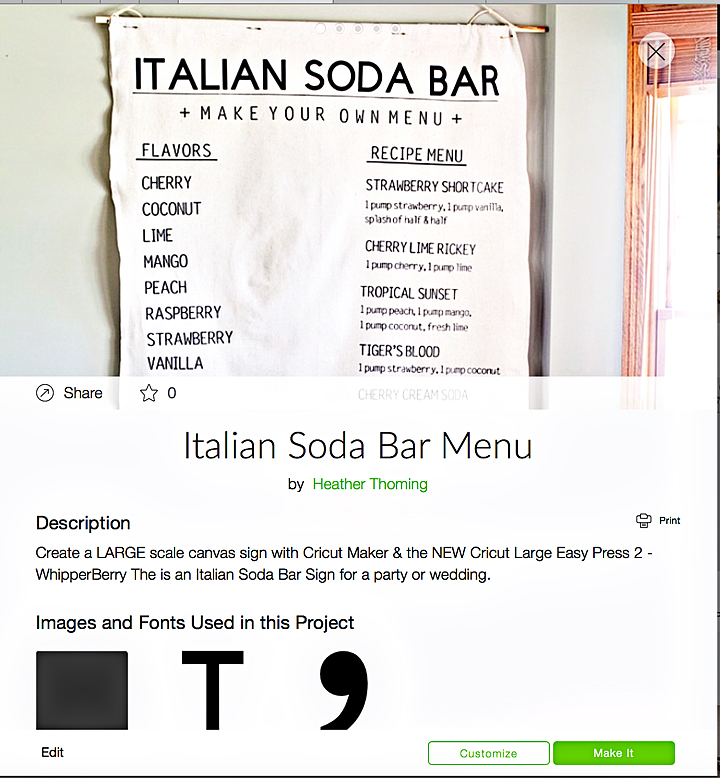
For this project, I’m not going to share a tutorial for the macrame. Now don’t worry, I have you covered. I’m going to send you over to A Beautiful Mess to share the tutorial that I used to learn how to macrame. Seems only fair, right?
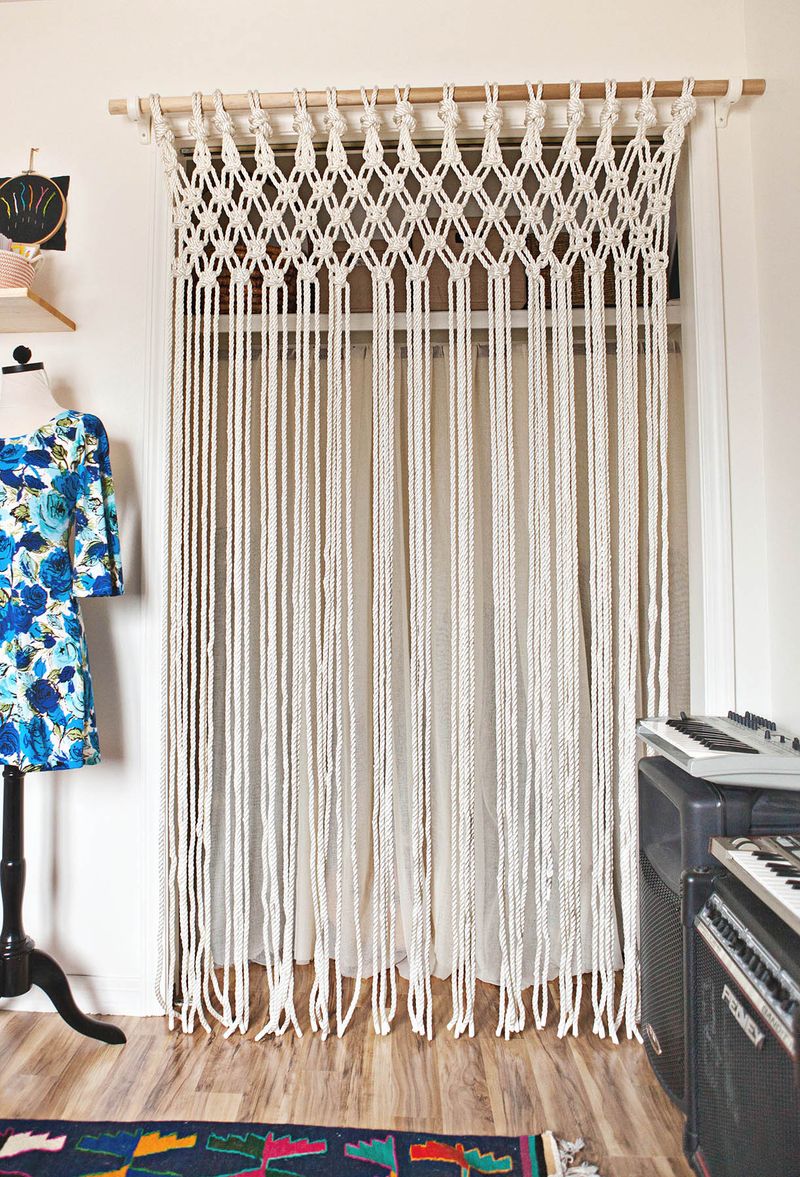
My neighbors were trimming their trees and I found a fun branch that would be perfect for a macrame door hanging and asked if I could snag it. I scaled down the macrame project from the curtain with 15 sections to 5 sections and set to work.
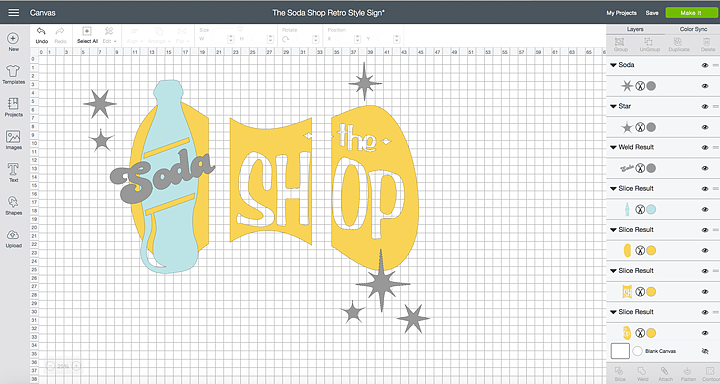
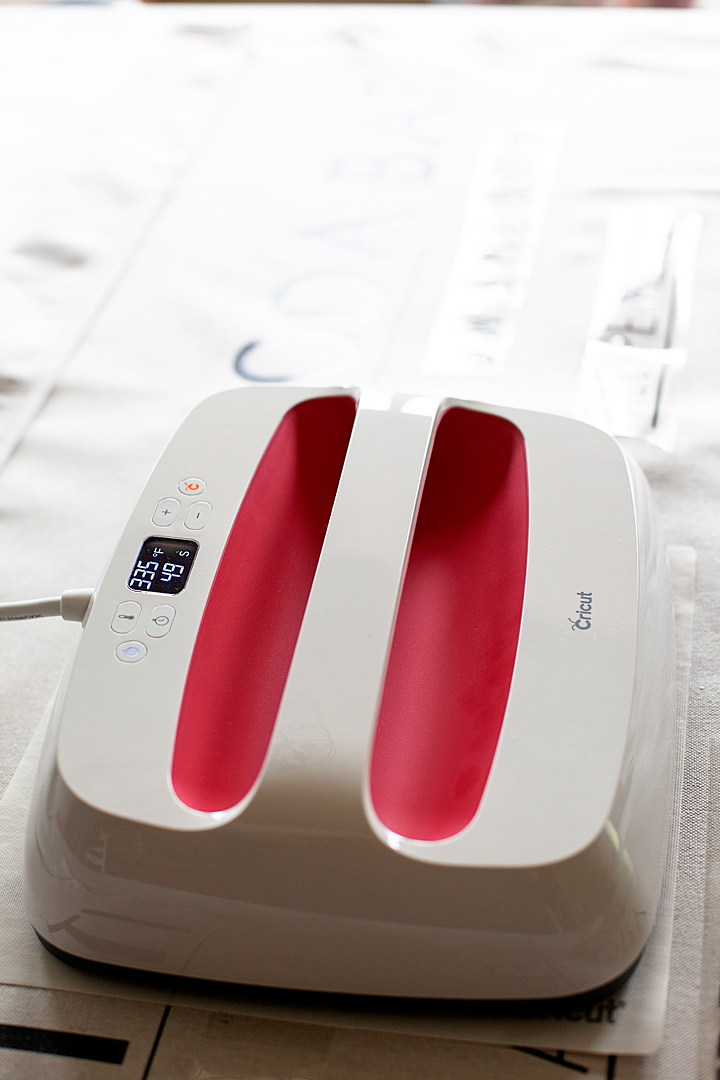
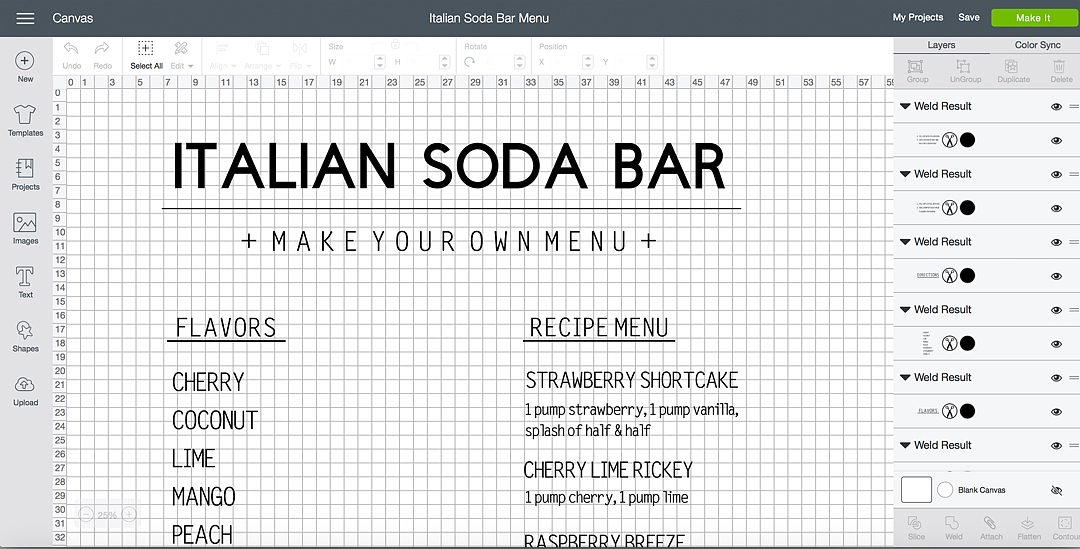
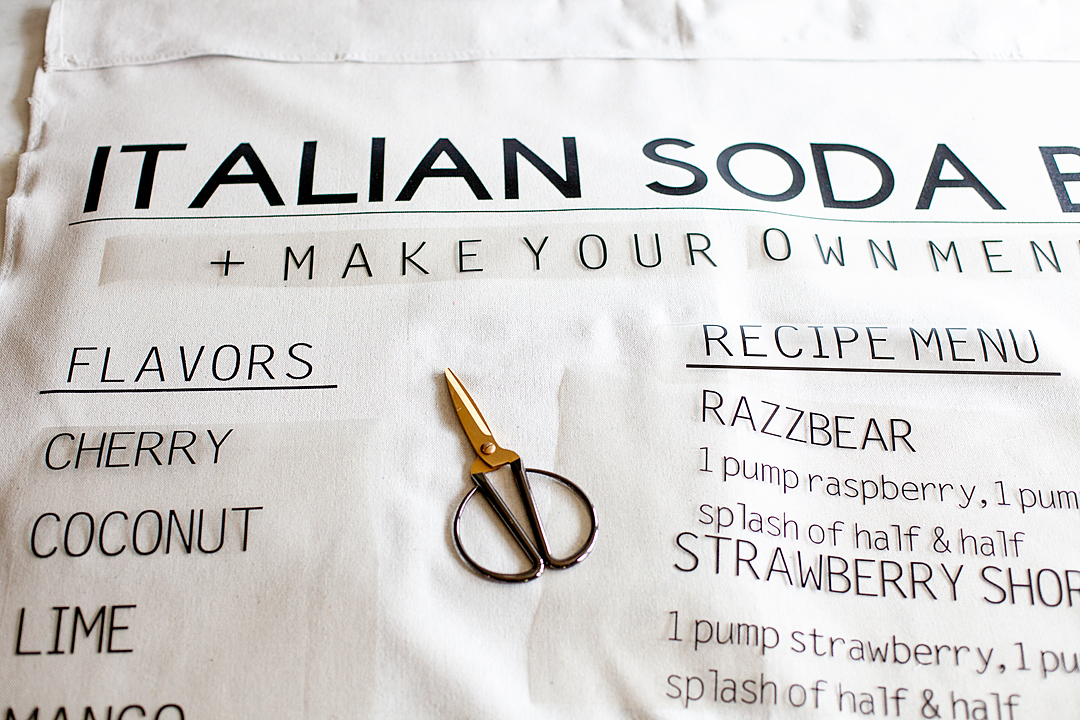
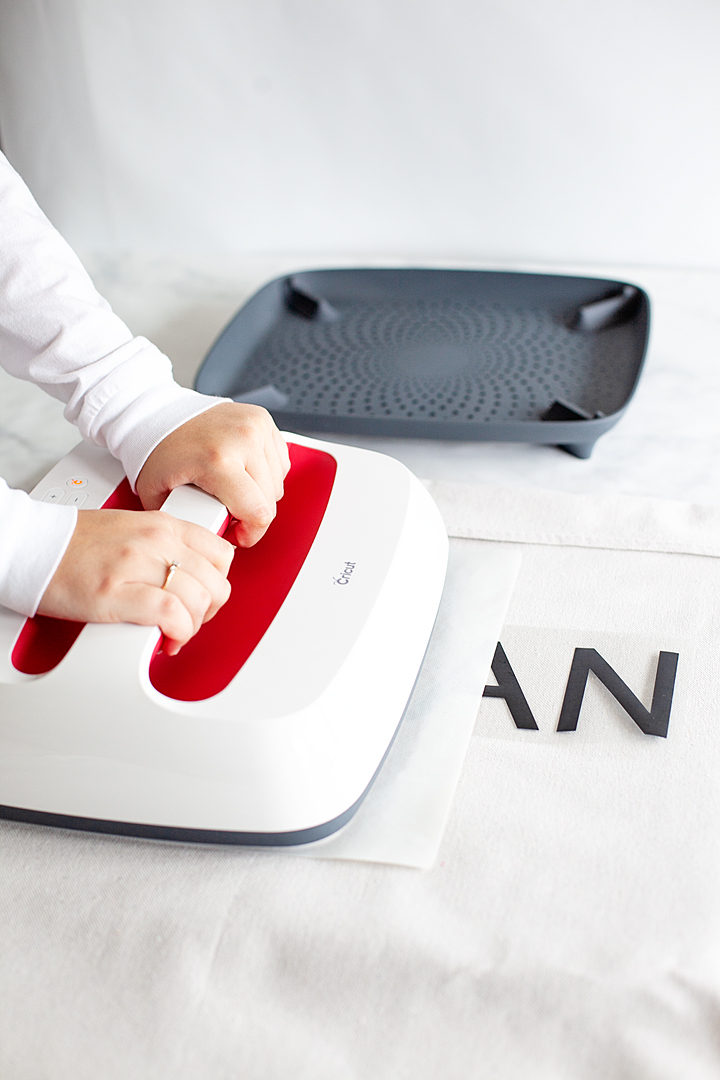
Next, I cut the vinyl for the sign part of the door hanging with my Cricut Maker. You can even use my design if you’d like in Cricut Design Space. I then affixed the vinyl to the galvanized metal sign base.
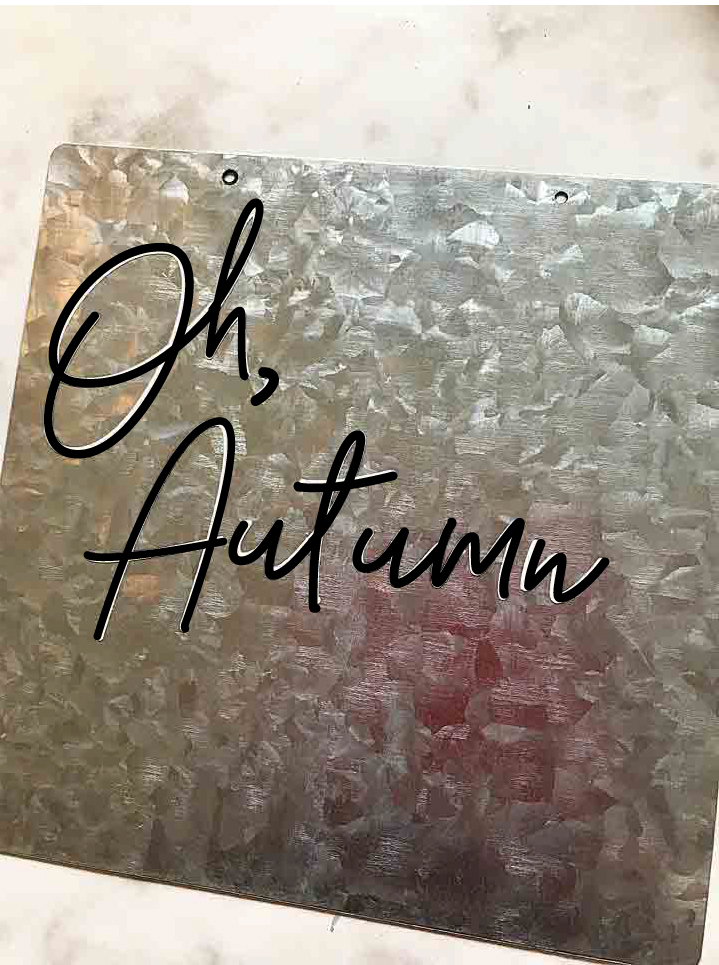
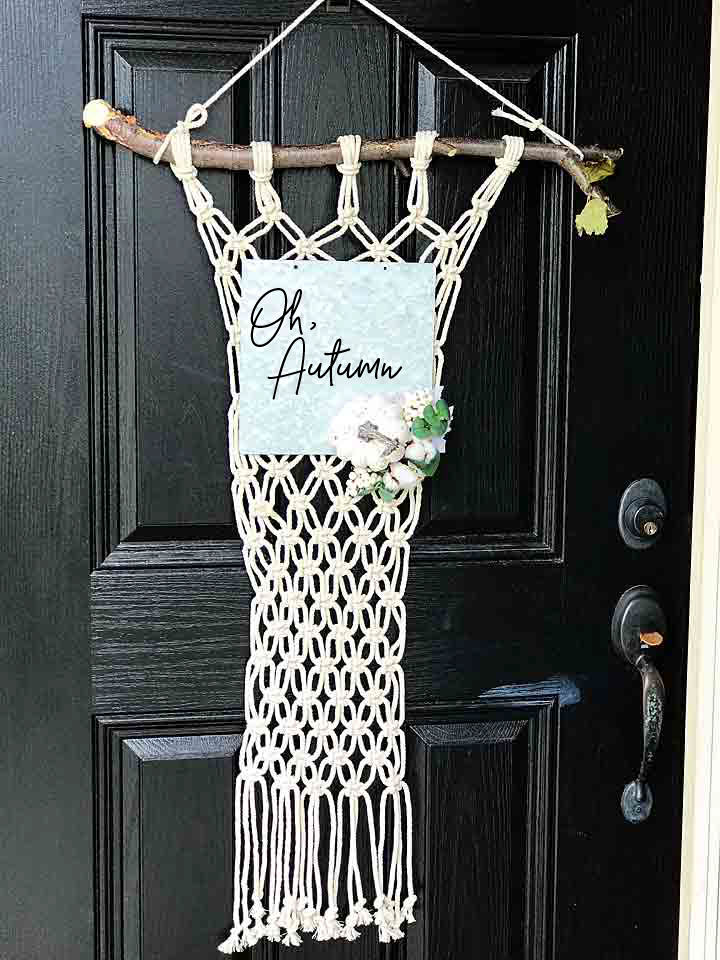
I originally started with white vinyl and it didn’t stand out as I had hoped on the galvanized metal. So, I switched to some black vinyl to go with my door. You may want to try a different color that fits the color of your entryway.
Then I used my wire cutters and cut sections of the Fall floral picks of the pick and hot glued them onto the galvanized metal. Then I hot glued the metal sign onto the macrame and that was it. I had a perfect door hanger to use in Autumn.
For more Fall inspiration, visit Michaels. They have all kinds of fabulous Fall finds!


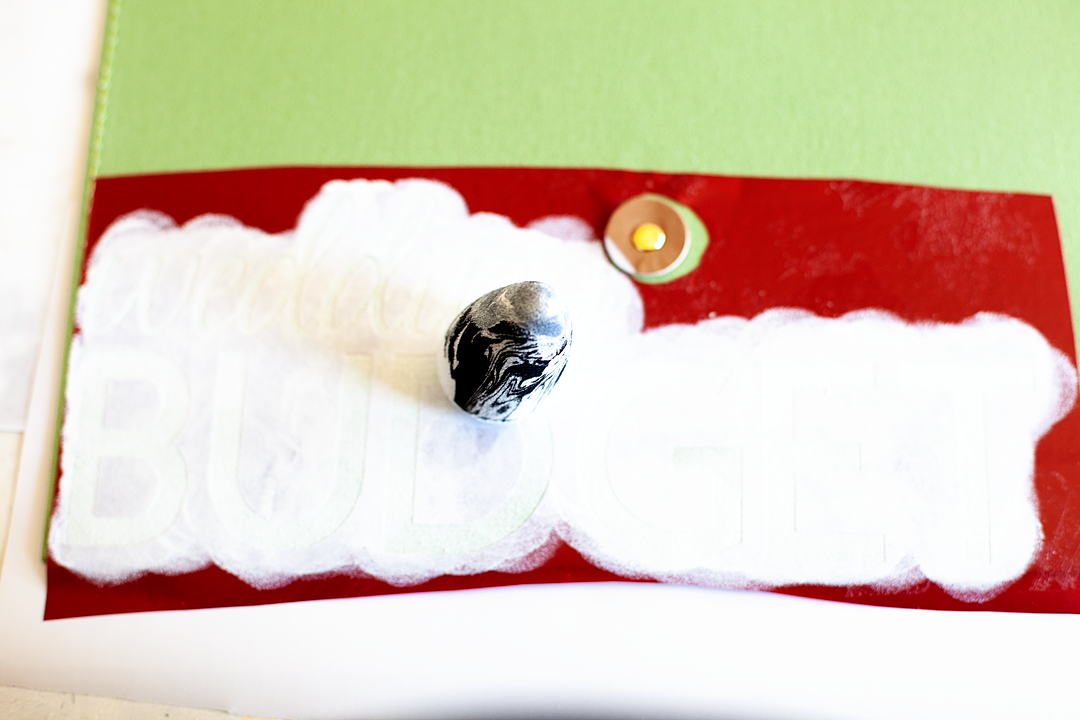
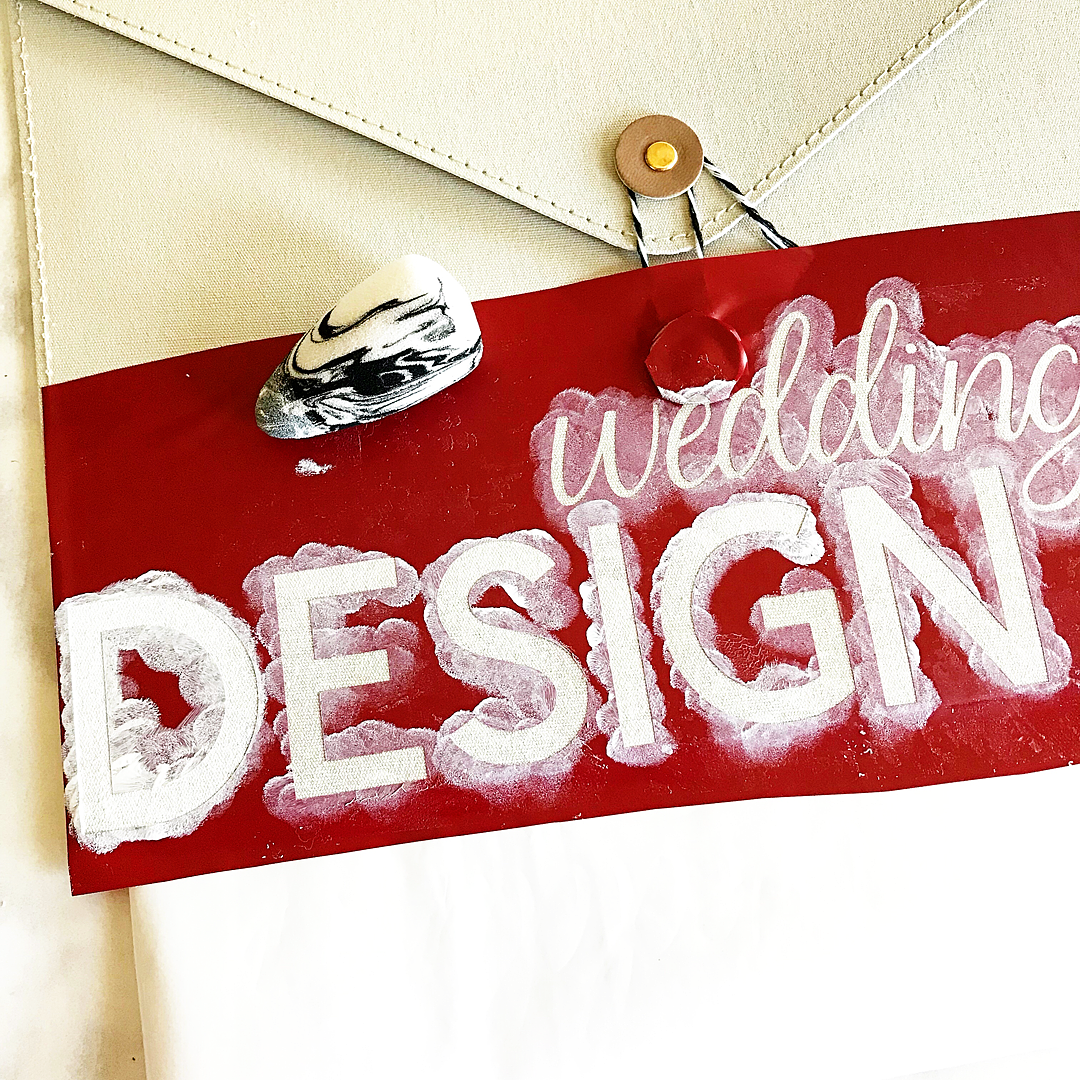 Keep the paint LIGHT to avoid any paint leaking under the stencil. It’s better to have several rounds with light paint than to have an unsightly leak area.