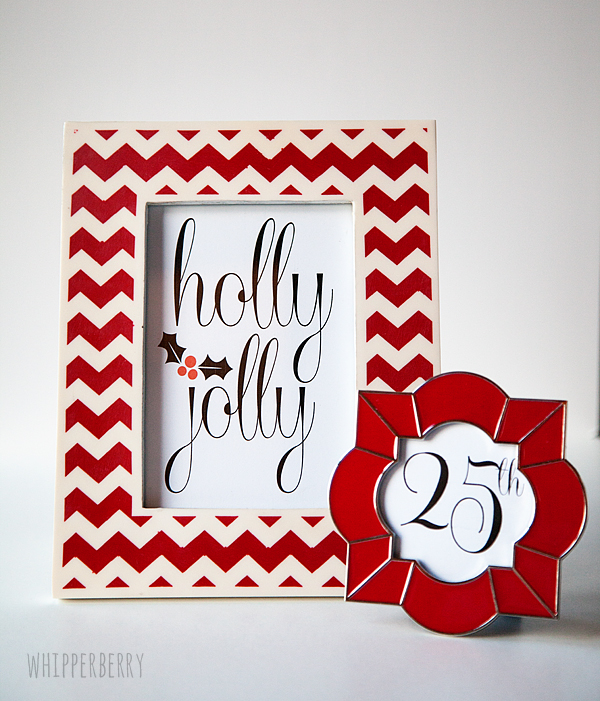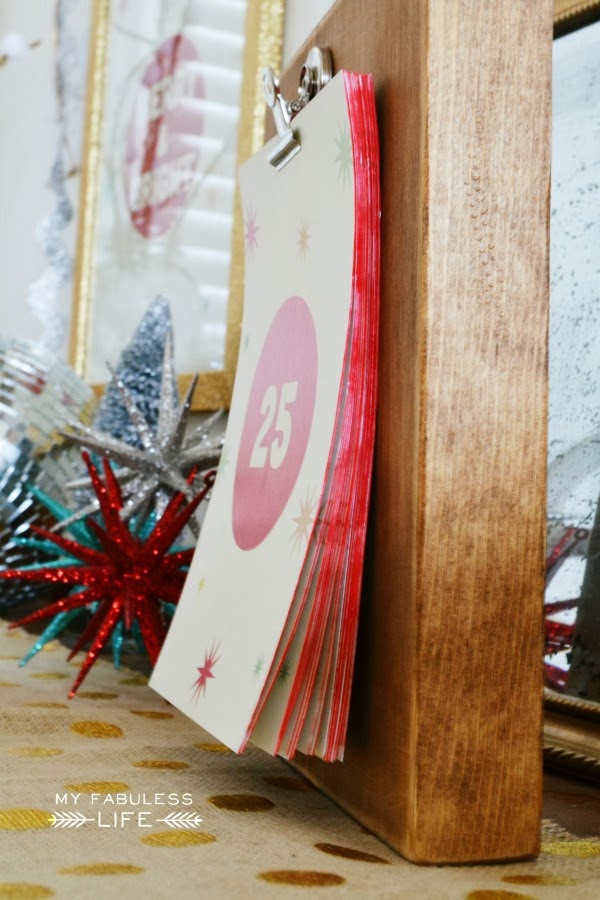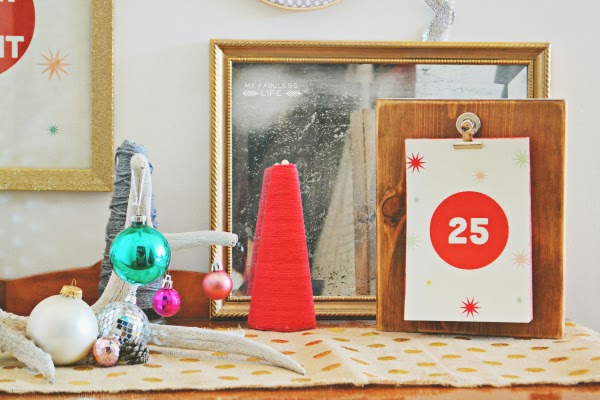
You heard right… In honor of Holiday crafters everywhere, Silhouette has giving me the opportunity to giveaway another Silhouette cutting machine. The Silhouette Portrait!! I've said it before and I'll say it again… The Silhouette cutting machines are my favorite crafting tool. I LOVE how the portrait is just so portable and yet just as powerful as the CAMEO. Here are some of the fun projects that I've created with my Portrait…
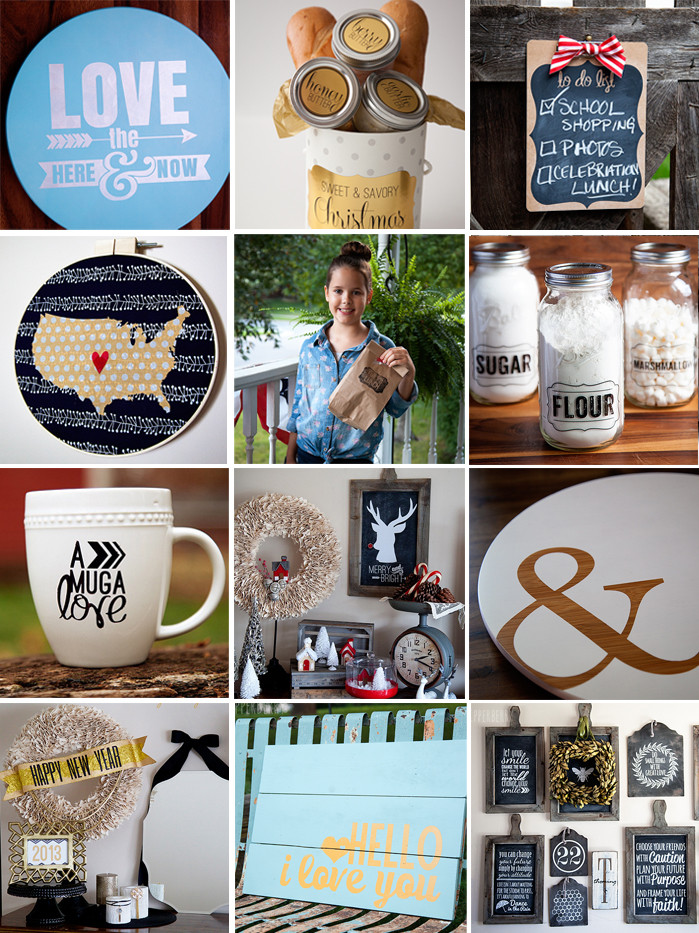
The possibilities are endless!!
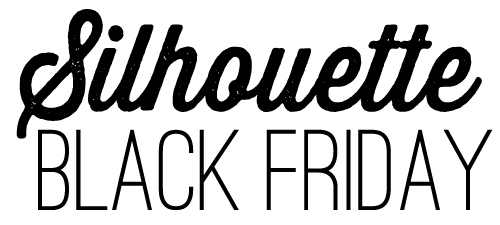
Now, keep in mind… The Silhouette Black Friday Sale is still in full swing with all kinds of goodies. Here is what is available until December 8th…
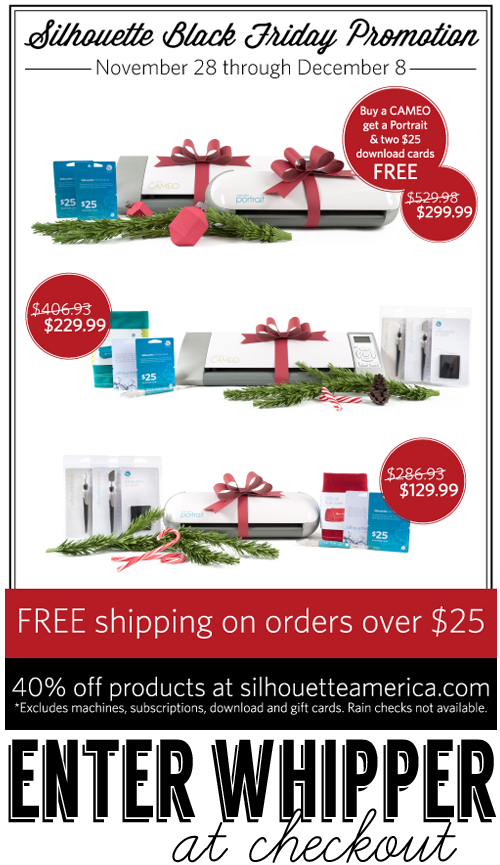
Click HERE to enter the Silhouette Black Friday Sale Site
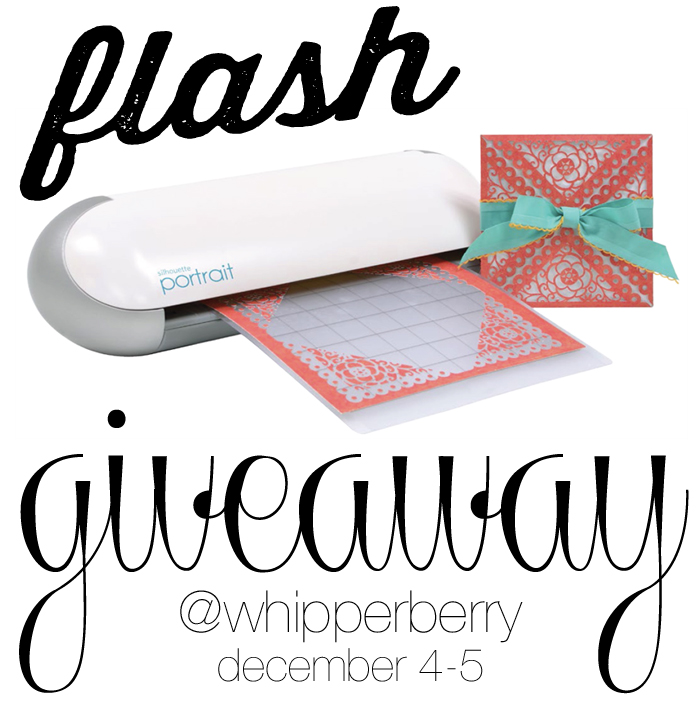
Silhouette Portrait GIVEAWAY
BUT… if you would like to win a Portrait, all you have to do is follow the directions in the Rafflecopter box below.
This giveaway is open to anyone with a shipping address within the United States. It will run December 4-5 with the winner announced on Friday the 6th.