// Valentines Day Printables FREE from WhipperBerry to help dress-up your home for the special day! //
I love dressing up for the holidays, but I don't like to go over the top. Valentine's Day is one of those holidays that sometimes can get a little too pink and frilly for me. Some years I'm totally into it, other's I'm not. It just depends on the year.
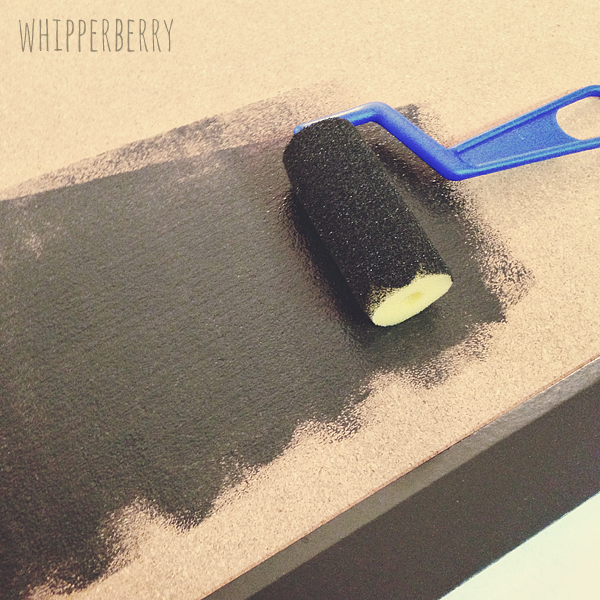
This year I'm into it, but I was wanting some decor that had some class, maybe a little edge to it… Not so sappy sweet. I decided that creating some printable art work was the ticket and with a few other added elements could create a fun Valentine's Day display…

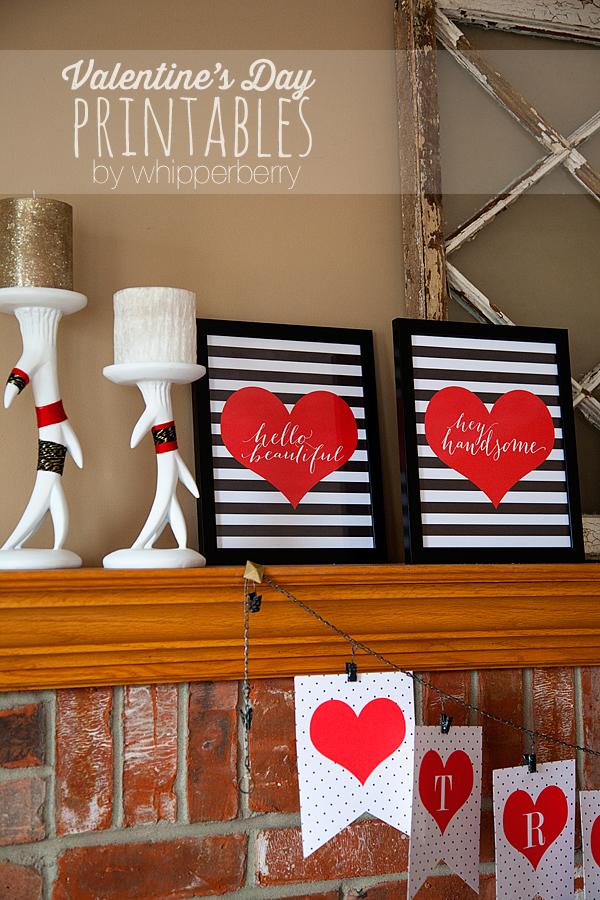
I'm LOVING the black & white trend these days, especially the black & white stripes. I thought it could be a stylish backdrop to some fun love notes to display. I printed them and put them in some $3.99 frames from Target (they don't seem to have them online, but… I promise they are in the store) and then went to work creating a display to fit the mood.
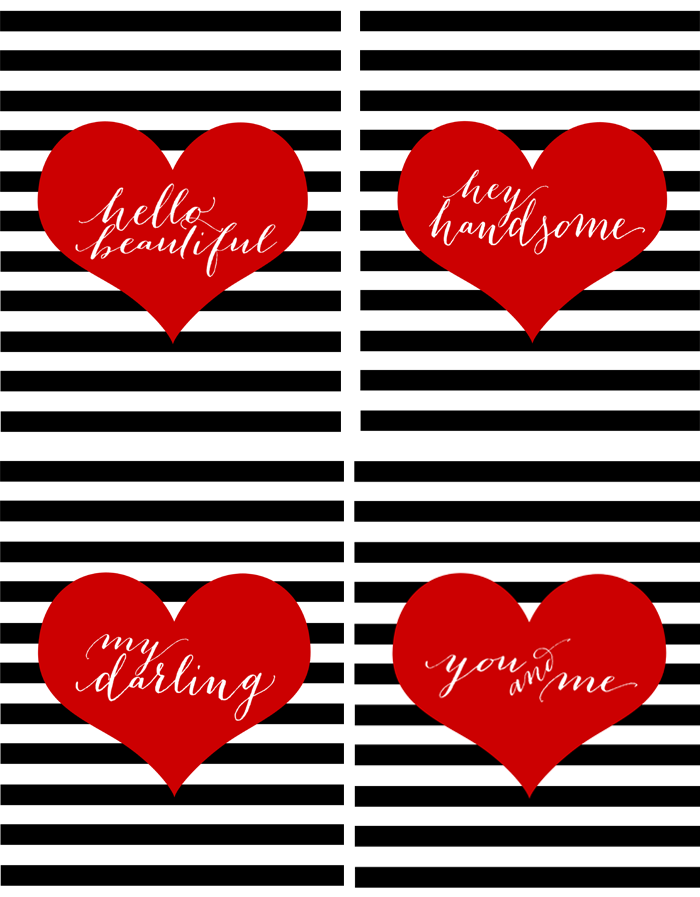
Click HERE to download the image files!
I wrapped a wire floral wreath in yarn and dressed it up with some fun decorative tacks that I found at Hobby Lobby. PERFECT!! I added a smaller heart print in a decorative Nate Berkus frame from Target and it looked wonderful!
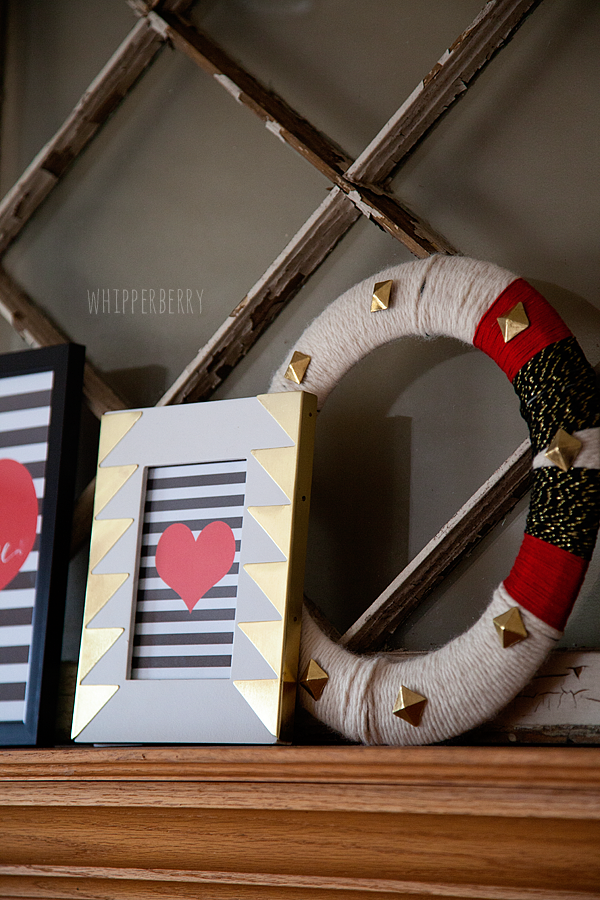
Click HERE to download the 4×6 Heart Print!
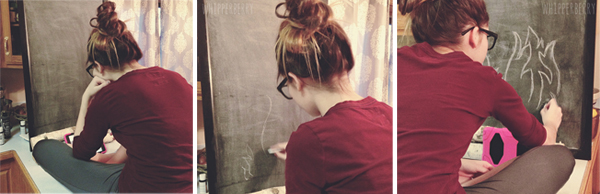
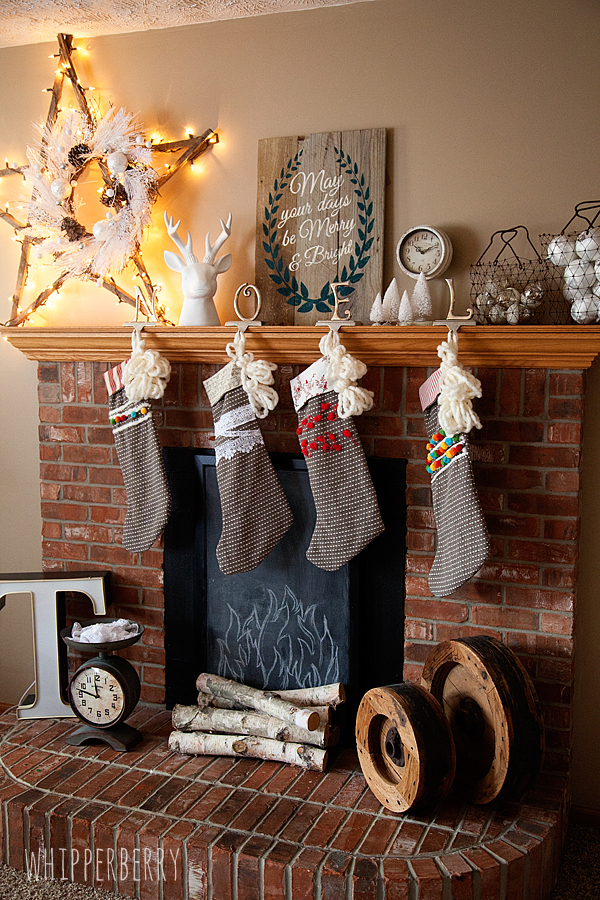
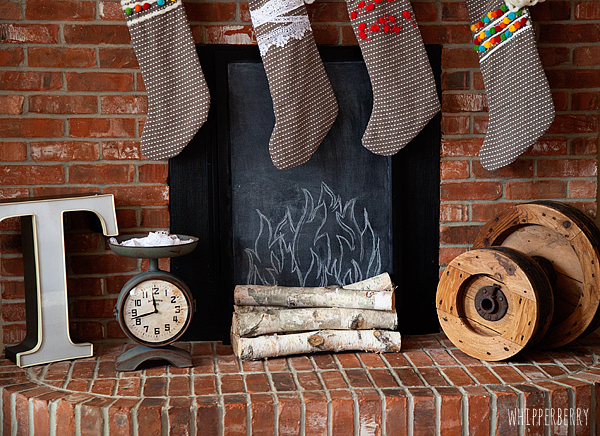
I took my favorite deer silhouette and antler candle sticks and wrapped them with yarn as well.
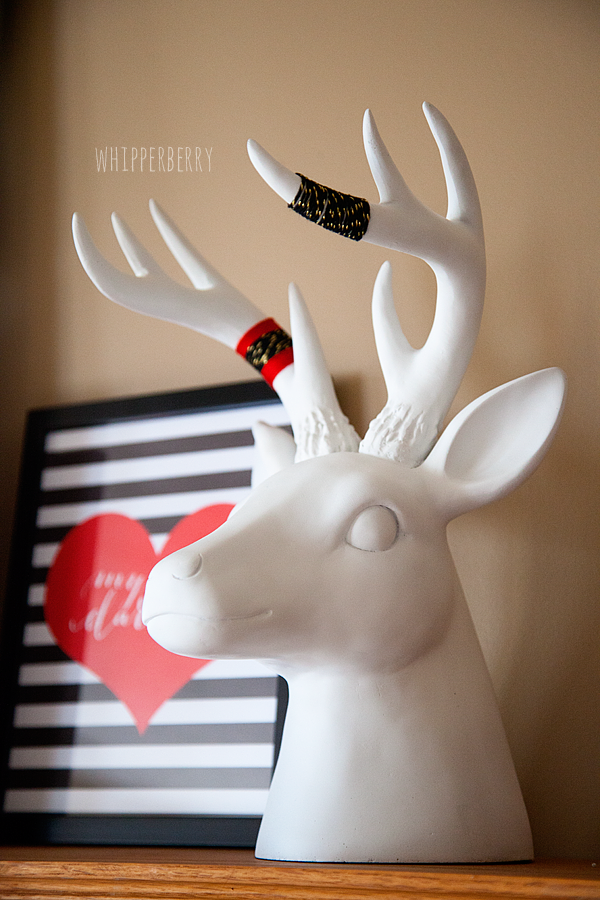
That added a little spunk and tied the whole display together. Then I printed a fun TRUE LOVE black & white printable banner to dress-up the mantle…
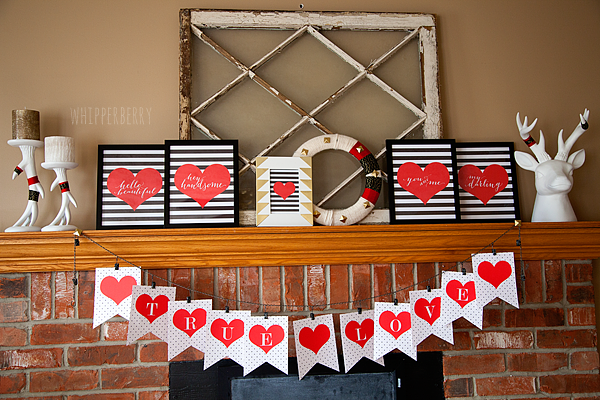
It turned out so cute! I just love the simple, understated polka dots with the bold stripes!
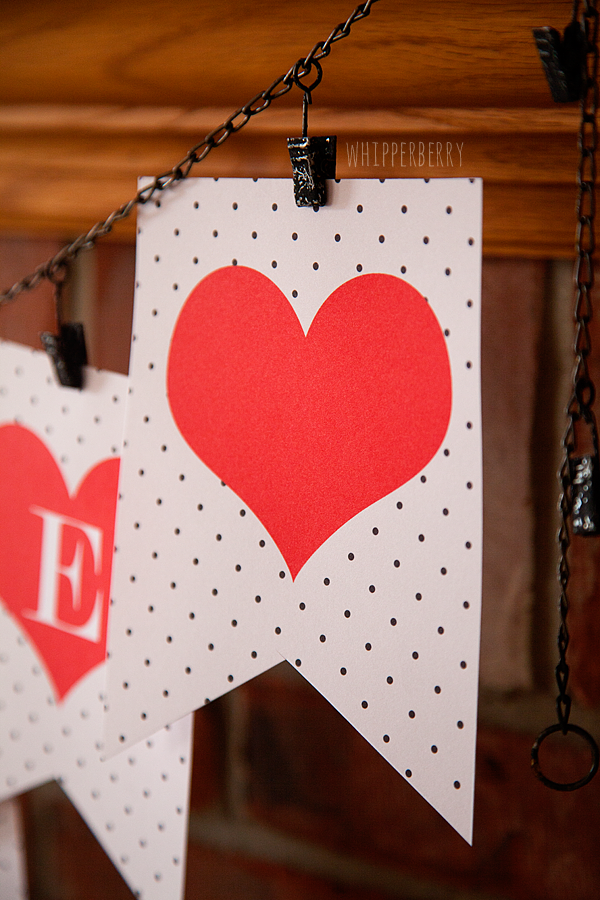
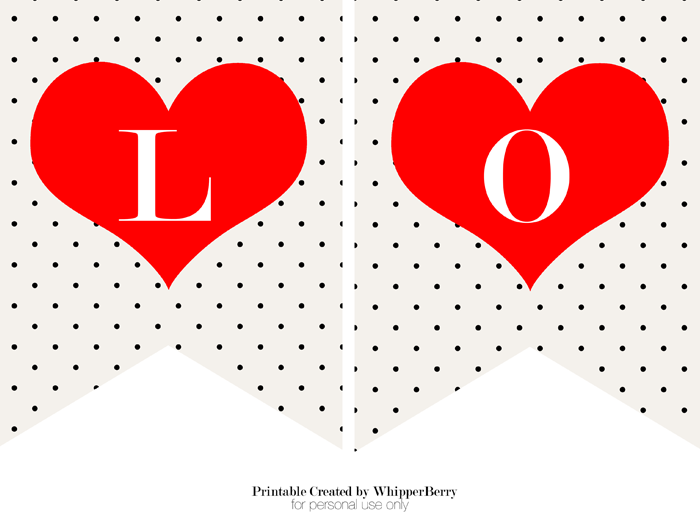
Click HERE to download the TRUE LOVE Banner!
I also have a black & white stripe alphabet that I created for Skip to My Lou earlier this month. It's super cute and it has the entire alphabet so you can create any saying you want!!

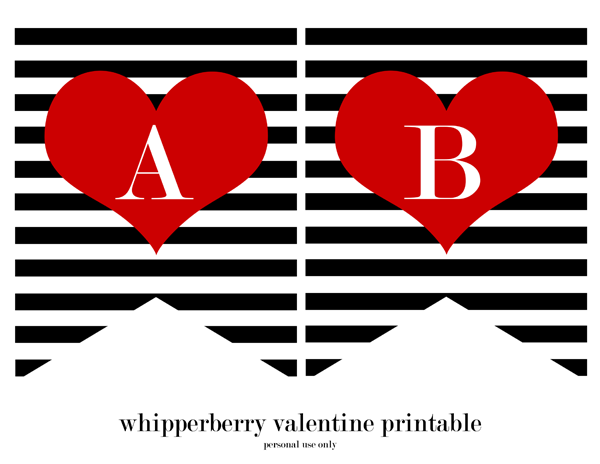
Click HERE to download the Black & White Stripe Alphabet Banner!
All kinds of fun printable goodies! What do you have in the works for Valentine's Day? Need even more ideas? Here are some Valentine post from the archives…
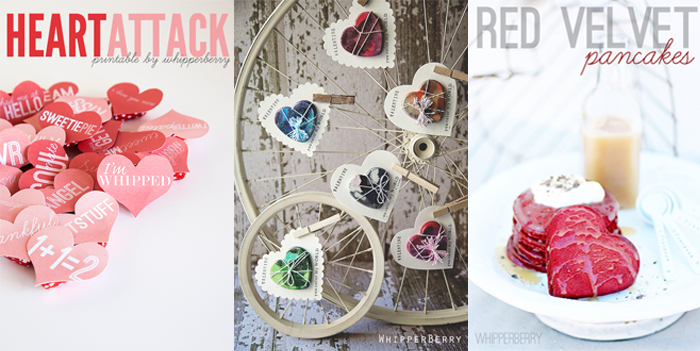
Heart Attack Printables // Heart Crayon Valentines // Red Velvet Pancakes with Buttermilk Syrup