// Easter Buddies with Free Printable //

I have decided that when it comes to candy and all around cuteness… Easter is my favorite holiday. I mean really, Cadbury Mini Eggs, Jelly Beans, Reese’s Peanut Butter Eggs, Cadbury Creme Eggs, black jelly beans, the list could go on and on. Not to mention all of the cute basket of Easter goodies that they have available at the stores these days.
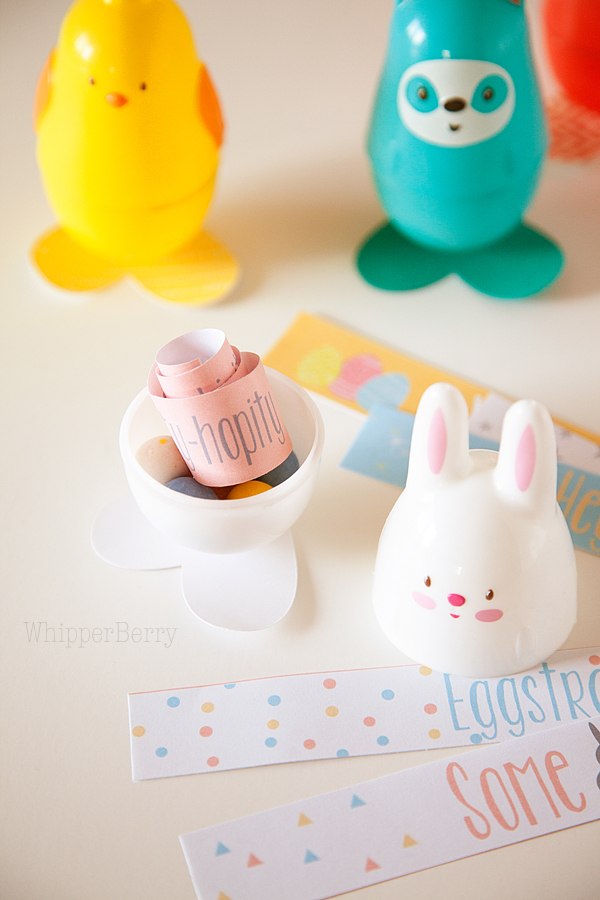
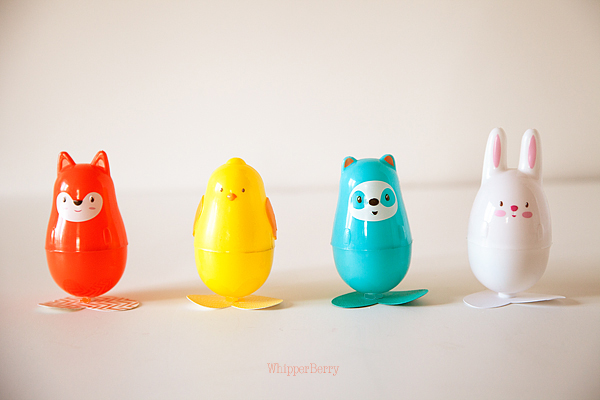
I’m a sucker for fun plastic eggs and I found this CUTE set of animal Easter eggs at Target and thought it would be perfect little goodie for my kiddos. I could add a fun curled up message along with the candy inside, add some feet to the bottom of the plastic eggs and they turn them into something extra special…
This project is super quick and with my free printable, you can make them up in a snap! Here’s what you will need…
Supply List
- Animal Easter Eggs
- card stock paper
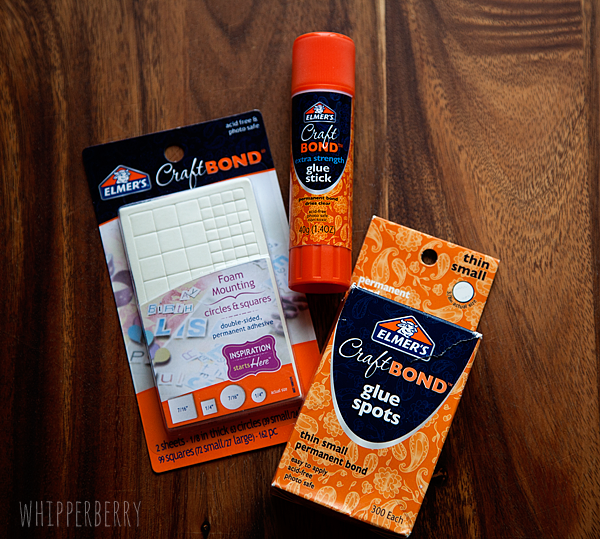
- Elmer’s Craft Bond Foam Mounting Shapes
- scissors
- printer paper
- pencil
- candy
Instructions
First, you will need to print the free printable sayings on just your basic printer paper…
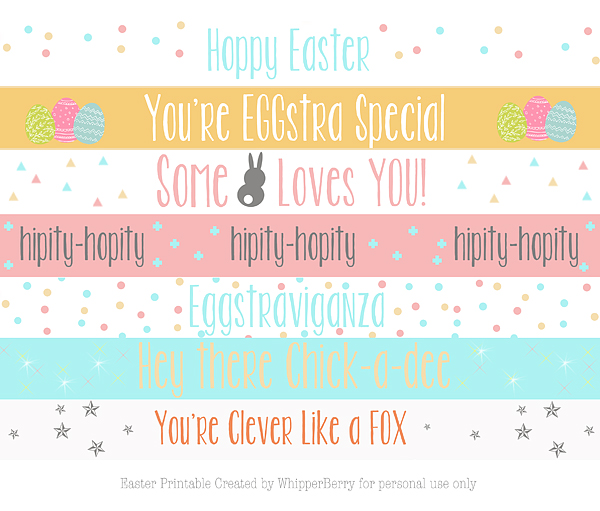
You can download the printable HERE.
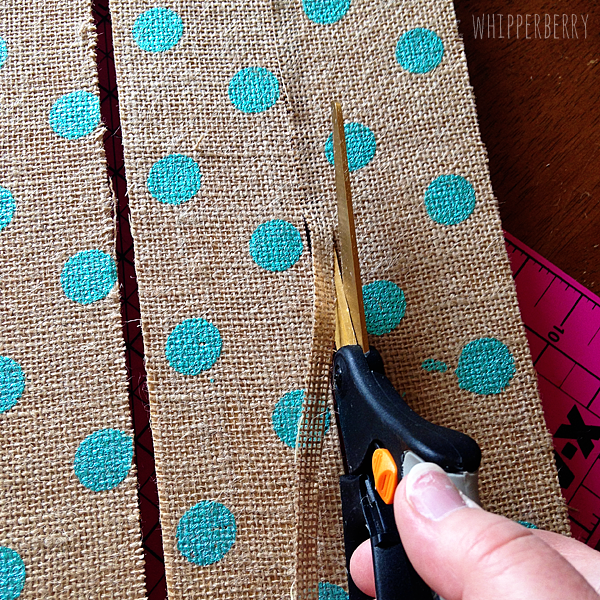
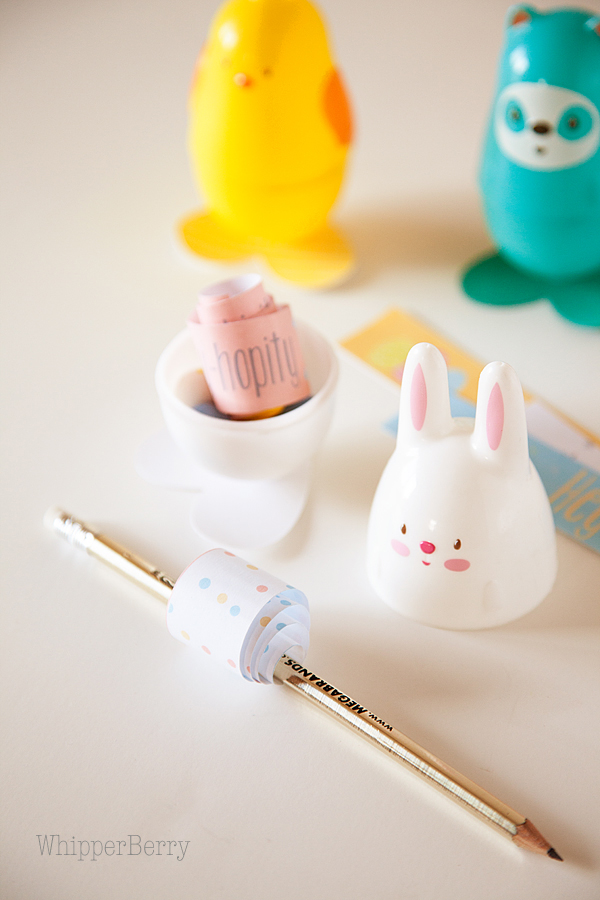
Once you have that printed, you will need to use scissors or a paper cutter to cut out the strips and then curl them around a pencil…
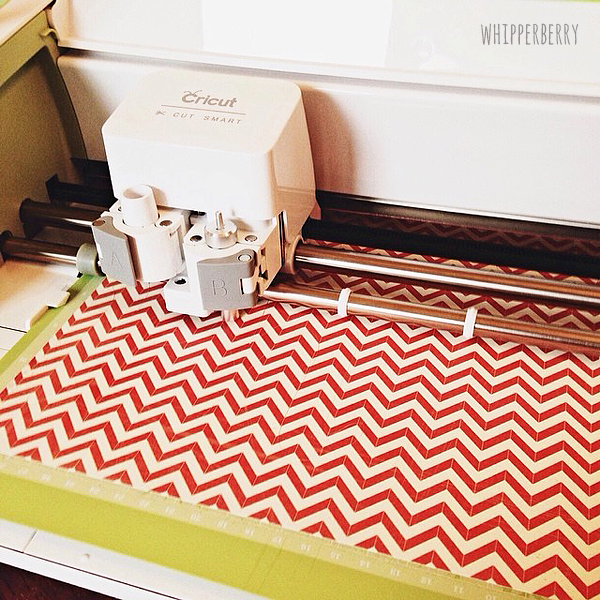
Next cut out some small 1- 1 1/2 inch hearts to use as the feet for your little animal eggs…
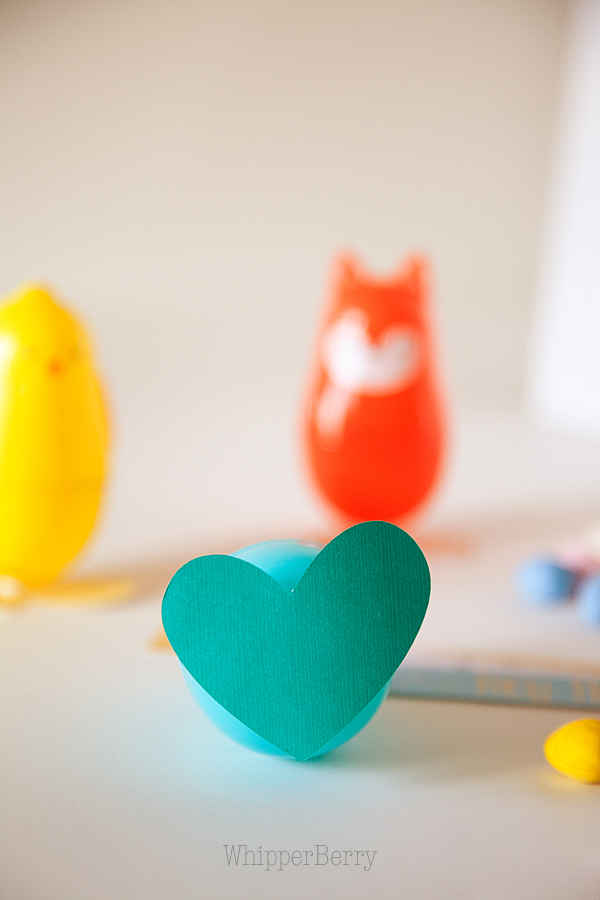
I used my Cricut Explore, but you could easily use any cutting machine or free hand it as well. Then you will use your Elmer’s Craft Bond foam circles to affix the feet to the egg. These little foam adhesives are PERFECT for this project.
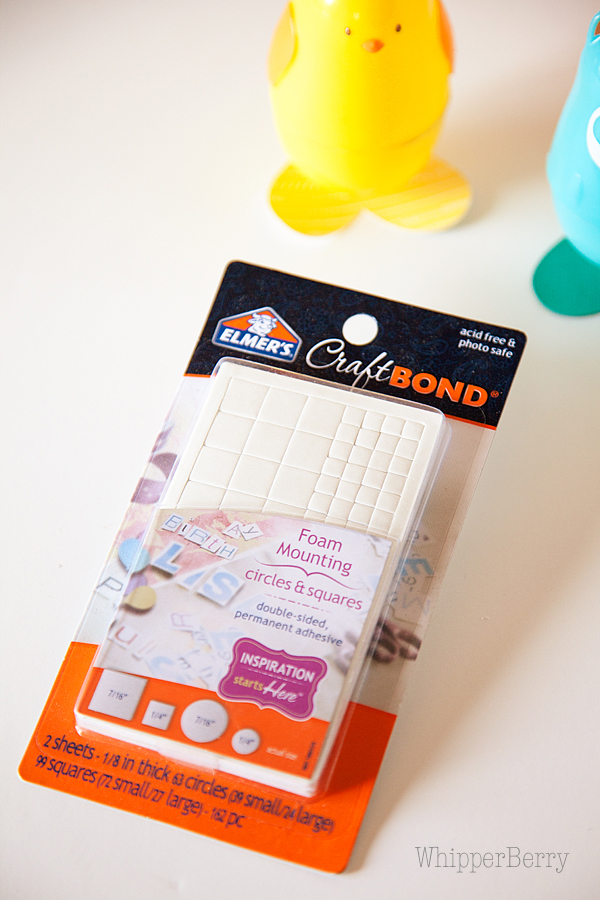
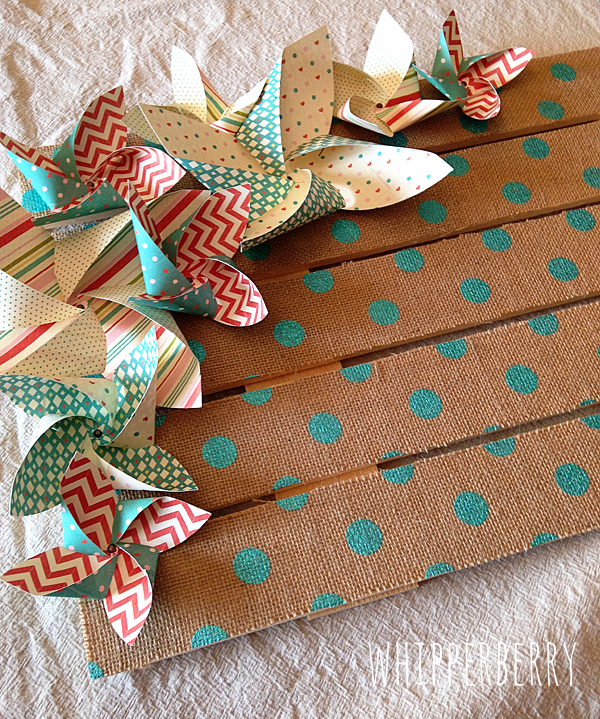
They have just the right amount of hold to keep those little buddies standing strait without hardly any fuss. And just like that, you’re a rock star!
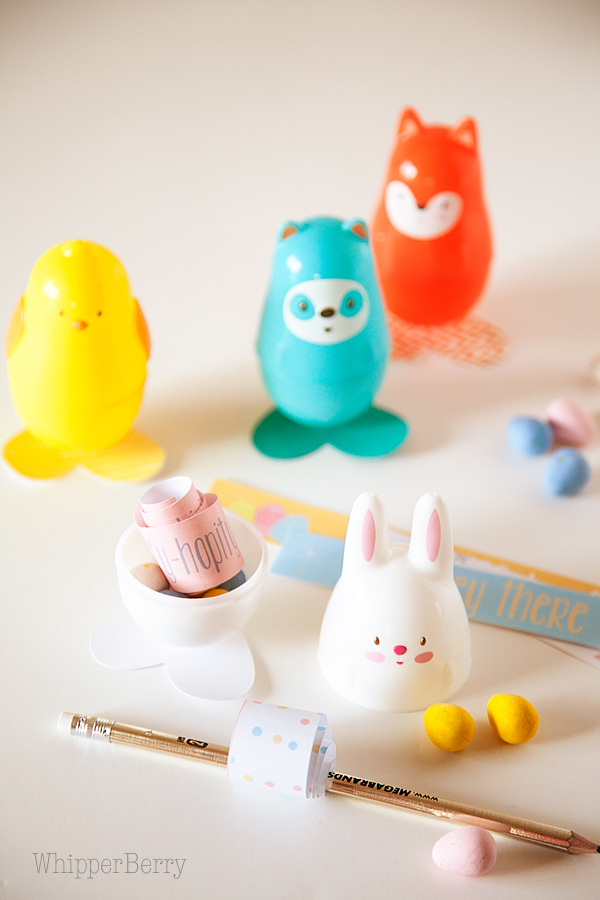
Add some Cadbury Mini Eggs and you’re really ROCKIN’! There you have it, this simple yet super fun Easter Buddy project…
Easter Pinterest Party
Now that I’ve shared my fun Easter creation, some of my favorite creative friends and I are pleased to invite YOU to wow us with yours!
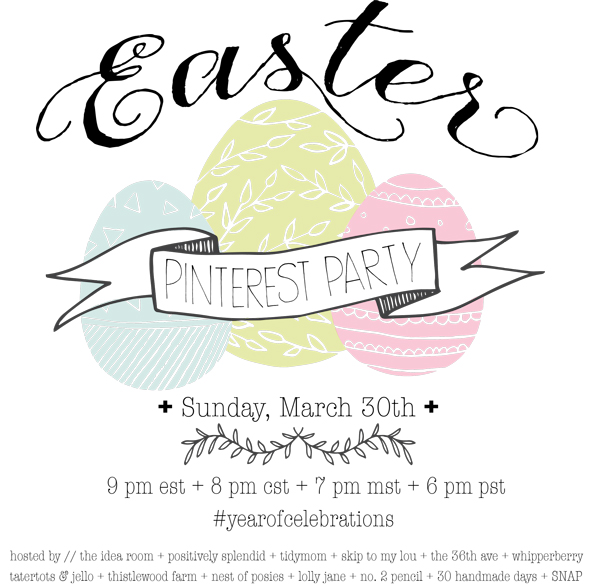
The Easter-themed Year of Celebrations Pinterest party will be held this Sunday, March 30, and y’all are all cordially invited to join in!
Hosted by…
- Amy from The Idea Room // Follow Amy on Pinterest
- Amy from Positively Splendid That’s me!
 // Follow me on Pinterest
 - Cheryl from TidyMom // Follow Cheryl on Pinterest
- Cindy from Skip to My Lou // Follow Cindy on Pinterest
- Desiree from The 36th Avenue // Follow Desiree on Pinterest
- Heather from Whipperberry // Follow Heather on Pinterest
- Jen from Tatertots and Jello // Follow Jen on Pinterest
- Kari Ann from Thistlewood Farms // Follow Kari Ann on Pinterest
- Kellie from Nest of Posies // Follow Kellie on Pinterest
- Kristi and Kelli from Lolly Jane // Follow Lolly Jane on Pinterest
- Melissa from No. 2 Pencil // Follow Melissa on Pinterest
- Mique from 30 Handmade Days // Follow Mique on Pinterest
- Tauni from SNAP! // Follow Tauni on Pinterest
The monthly Year of Celebrations Pinterest Party is the place to find THE most comprehensive, inspiring Pinterest board on the block. Each and every month, we’ll be focusing on a different holiday or celebration, and this month is all about Easter!
Here are all of the details for how YOU can participate:
-
What: A Pinterest Party to celebrate all things Easter!
-
When: THIS Sunday, March 30 at 9 p.m. EST/ 8 p.m. Central/ 7 p.m. MST/ 6 p.m. PST
How you can participate:
- Round up YOUR favorite Easter projects and recipes. Anything goes: crafts, decor, sweet treats, and more!
-
Follow the Year of Celebrations Pinterest board.
- When the party kicks off, tweet YOUR favorite Valentine’s Day project and/or link using the hashtag #yearofcelebrations. Helpful hint: We highly recommend putting the hashtag at the beginning of your tweet to ensure it doesn’t get cut off.
- On Sunday, March 30, tune in at the appointed time and watch as we build a board full of amazing ideas – including yours!
- Be sure to follow along during the party to repin and comment on the board’s posts using the hashtag #yearofcelebrations.
We are so excited to PIN and SHARE all of your amazing projects!
See y’all there! 🙂
ONE LAST THING… I have an amazing $500 Instagram giveaway going on right now. Click HERE to check out all the info and enter to win…