Hello Whipperberry Readers! Its Lisa and Pam from Over the Big Moon again! This month we have a Vintage Halloween Witch sign, some of our free Halloween printables just for you!


This print can easily be framed. But I wanted it for my front door. In order to do that I needed to make it weather/waterproof. I also adjusted the sign wording a little help it fit in with our Harry Potter themed Halloween decor.

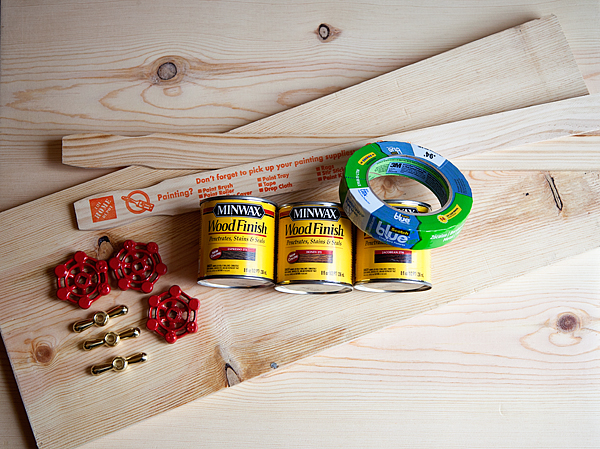
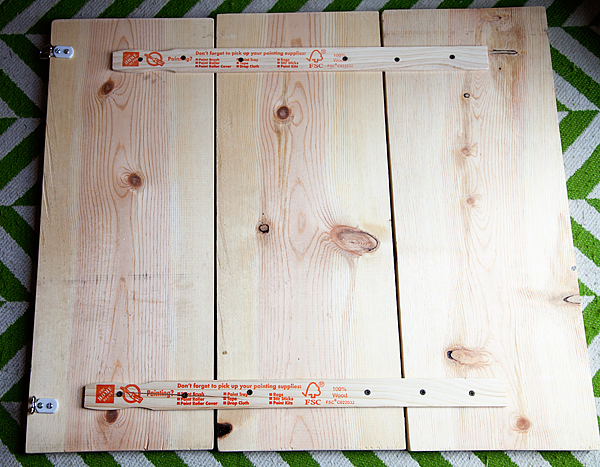
First I bought a piece of wood that was slightly larger than my print.

I stained my wood with Minwax Dark Walnut stain. I also got out my Mod Podge in matte and an old brush.

I also printed my print and trimmed the white edges off. It is best to take an ink pad and rub it along the edges. It really ensures the whole thing looks old and aged.

Spread an even layer of Mod Podge over your wood. It can be bigger than the print, it dries clear so it wont matter.

Lay the print down and press it flat. I wanted let it dry over night to make sure it didn’t bubble up. When the excess on the top was dry enough I placed a piece of foil over it, just for added protection. Then placed some heavy flat objects on the top.

In the morning I added a thin layer of Mod Podge over the top.

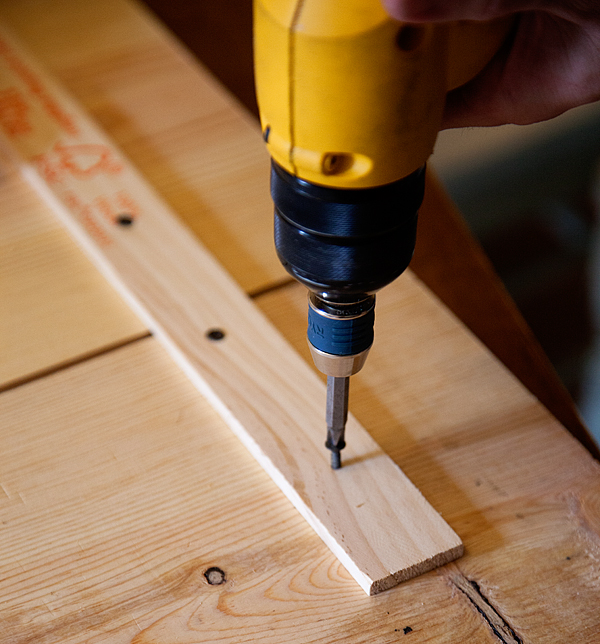
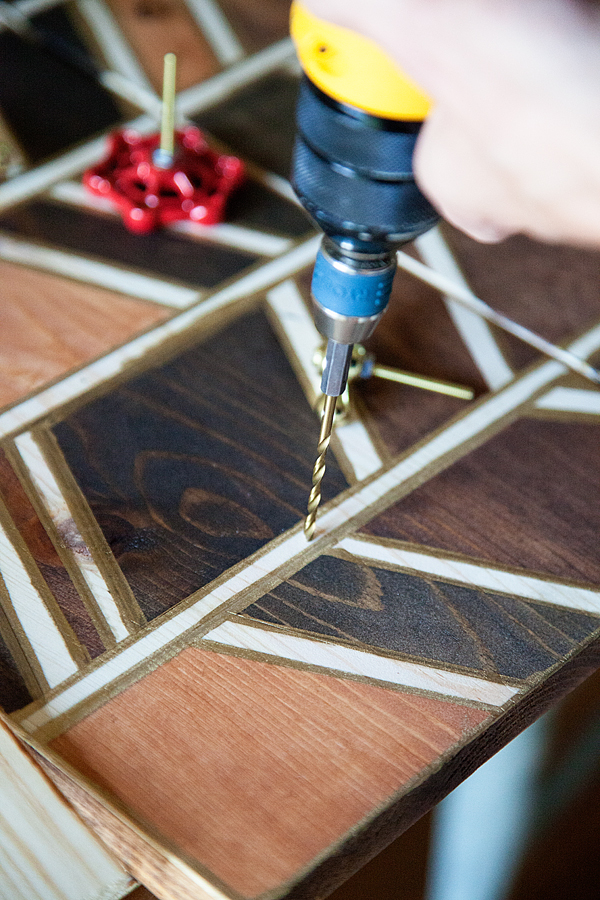
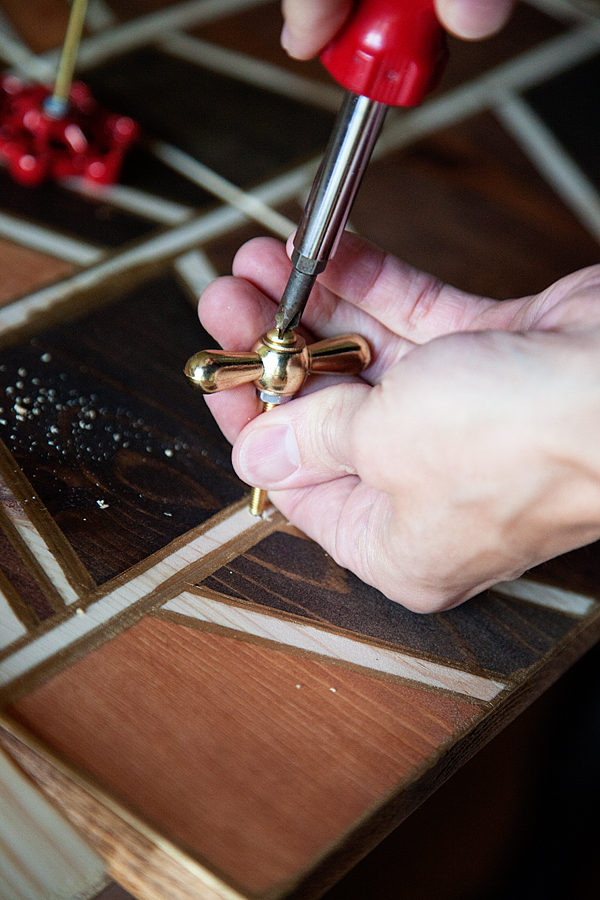
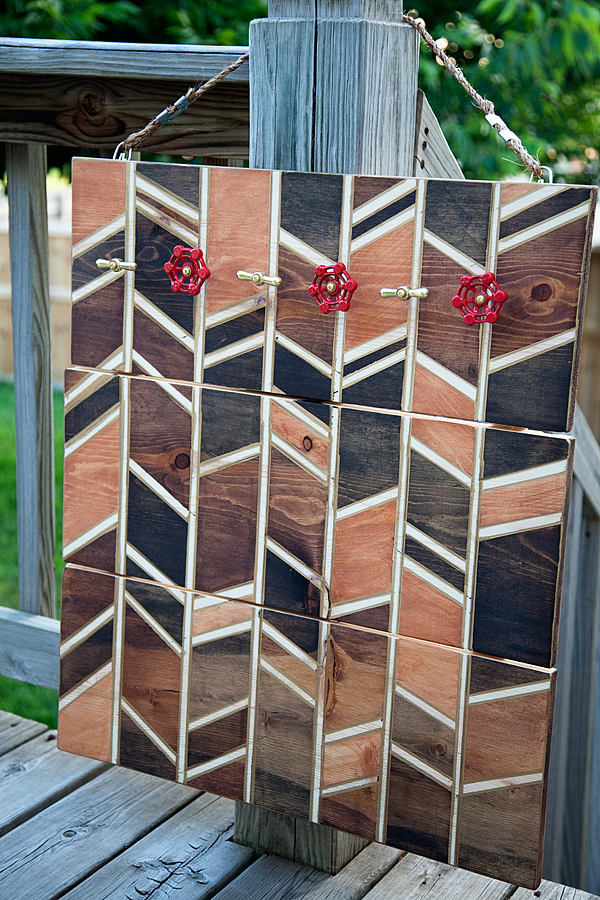
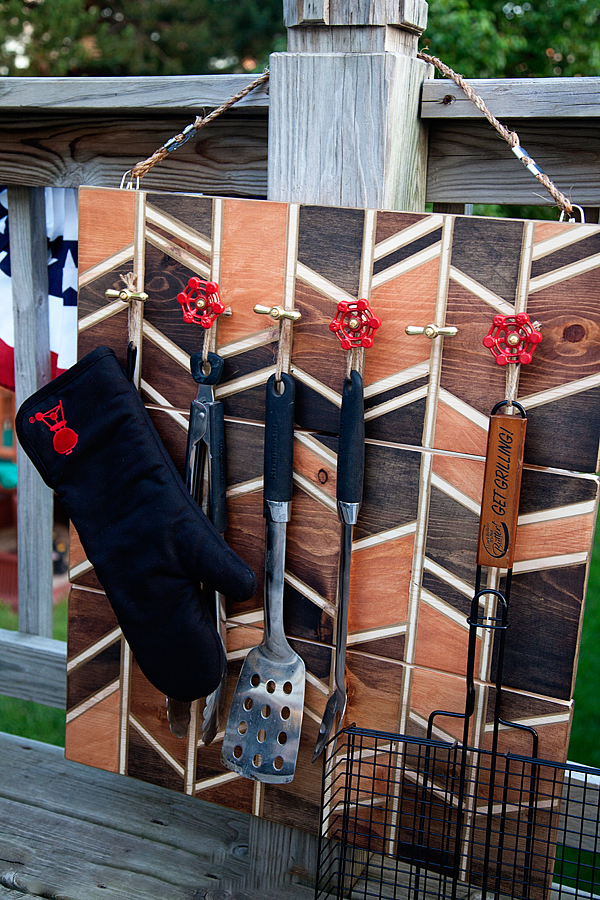
After it was dry, I did a second coat. After the 2nd coat dried completely I sprayed it with Shellac to give it extra protection. After the Shellac dried it was as simple as drilling some holes and stringing burlap through it. It really boosts the front door appeal and turns a boring wreath into a statement!

You can download both the Salem Witch version or the Weasley Wizard Wheezes version just by clicking on the word links.
Be sure to stop by and visit us this month to check out some of our other fun and spooky Halloween projects!
 Thanks for having us Heather!