Guys… The new Silhouette Curio is HERE!!
I have a special discount just for you guys at the end of this post!!
Back in May, I had the chance to travel to Hawaii for the Silhouette Summit where they announced a TON of new products.

Linda from Craftaholics Anonymous and I with the CEO of Silhouette
All kinds of new consumable products, new software and software functions and TWO new members of the Silhouette family of crafting machines. The Curio and the Mint.
The Mint is a super fun little machine where you can create your own custom stamps and that will debut later this year.
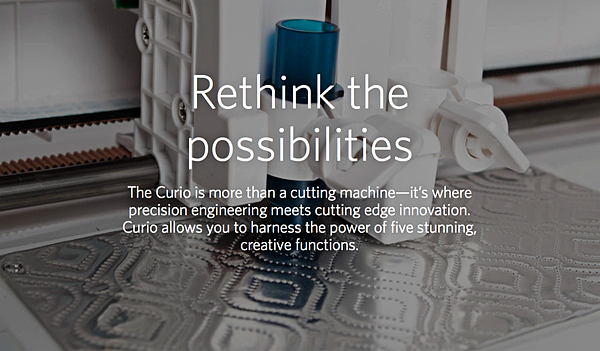
Today, the Curio has launched. What’s special about the Curio you ask? Will this replace the CAMEO and Portrait?
The answer is no, it’s not meant to replace either machine. It is a new companion for your CAMEO or Portrait. It has all kinds of new features that the other machines do not have. For example…

Stippling – Not familiar with Stippling? It’s SUPER cool!! You create with little dots. Create stippled ink projects with Silhouette felt tip pens or even stipple foils and metals.
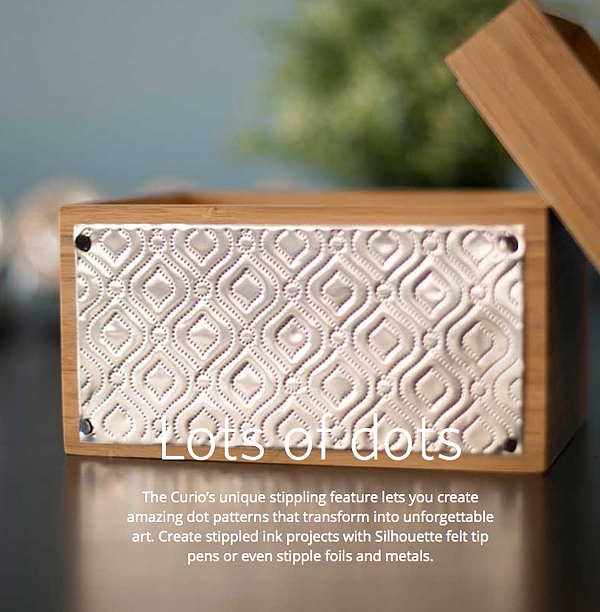
How fun is that? The world of creating with metal has just opened even wider!
Next on the list of new features…
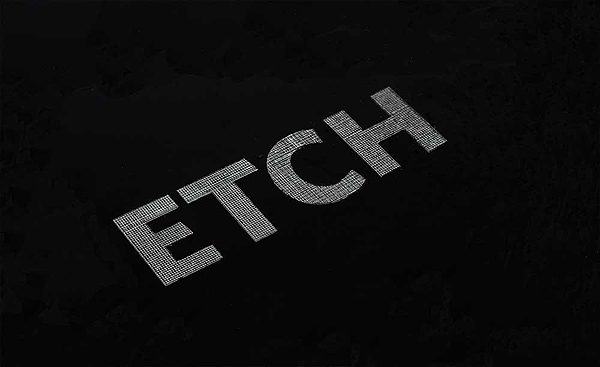
You can etch on metal now as well. Create beautifully etched metal with the Curio’s etching tool to customize jewelry, charms, home décor, mixed media art, and more.
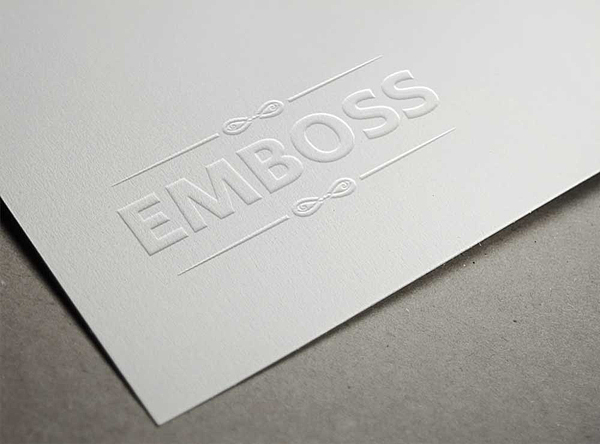
The Curio can Emboss with a new embossing tool!
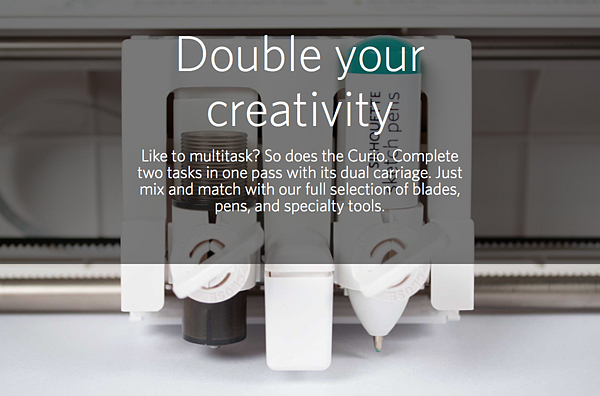
The Curio has a dual carriage for double the fun!
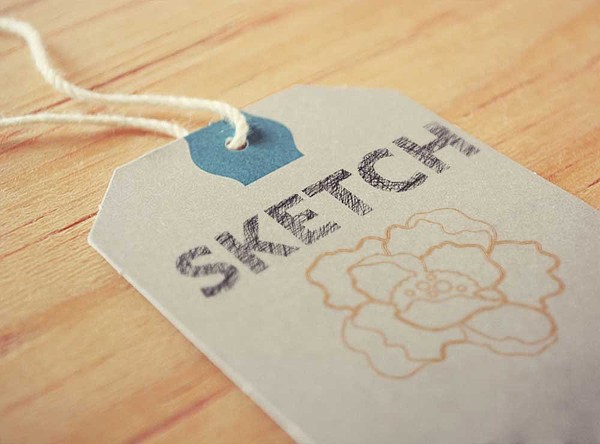
You can still Sketch, you can do with TWO Silhouette felt tipped pens now.
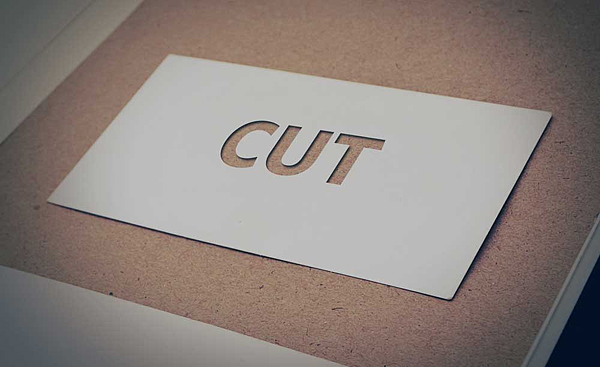
With the Curio you can still Cut, but you can cut even deeper!
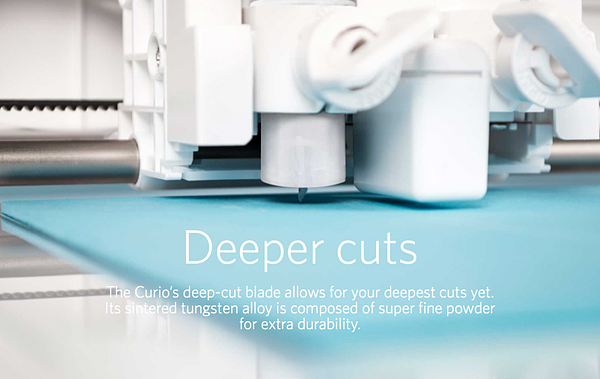
The Curio has an improved blade and more clearance which means more options. The Curio’s 5mm clearance allows you to etch, sketch, or cut on new project palettes. Think wood, foil, leather, foam, and even metal.
I can go on and on… You’ll have to go over to Silhouette and check it out for yourself.
I will be working on all kinds of projects here on WhipperBerry with the new Curio and would love for you to join me.
The price for a Curio is $249.99
The folks at Silhouette are giving you guys $15 off a new Curio if you use the code WHIPPER at checkout.
Click the link HERE to get the $15 discount
I can’t wait to start creating with the Curio, what about you? Head on over to their site to check out all of the new products and software options. The Silhouette brand of machines are truly my favorite crafting tool. I use them more than any other tool that I have in my creative tool box!
Disclaimer – I am a member of the Silhouette Makers Affiliate Program.