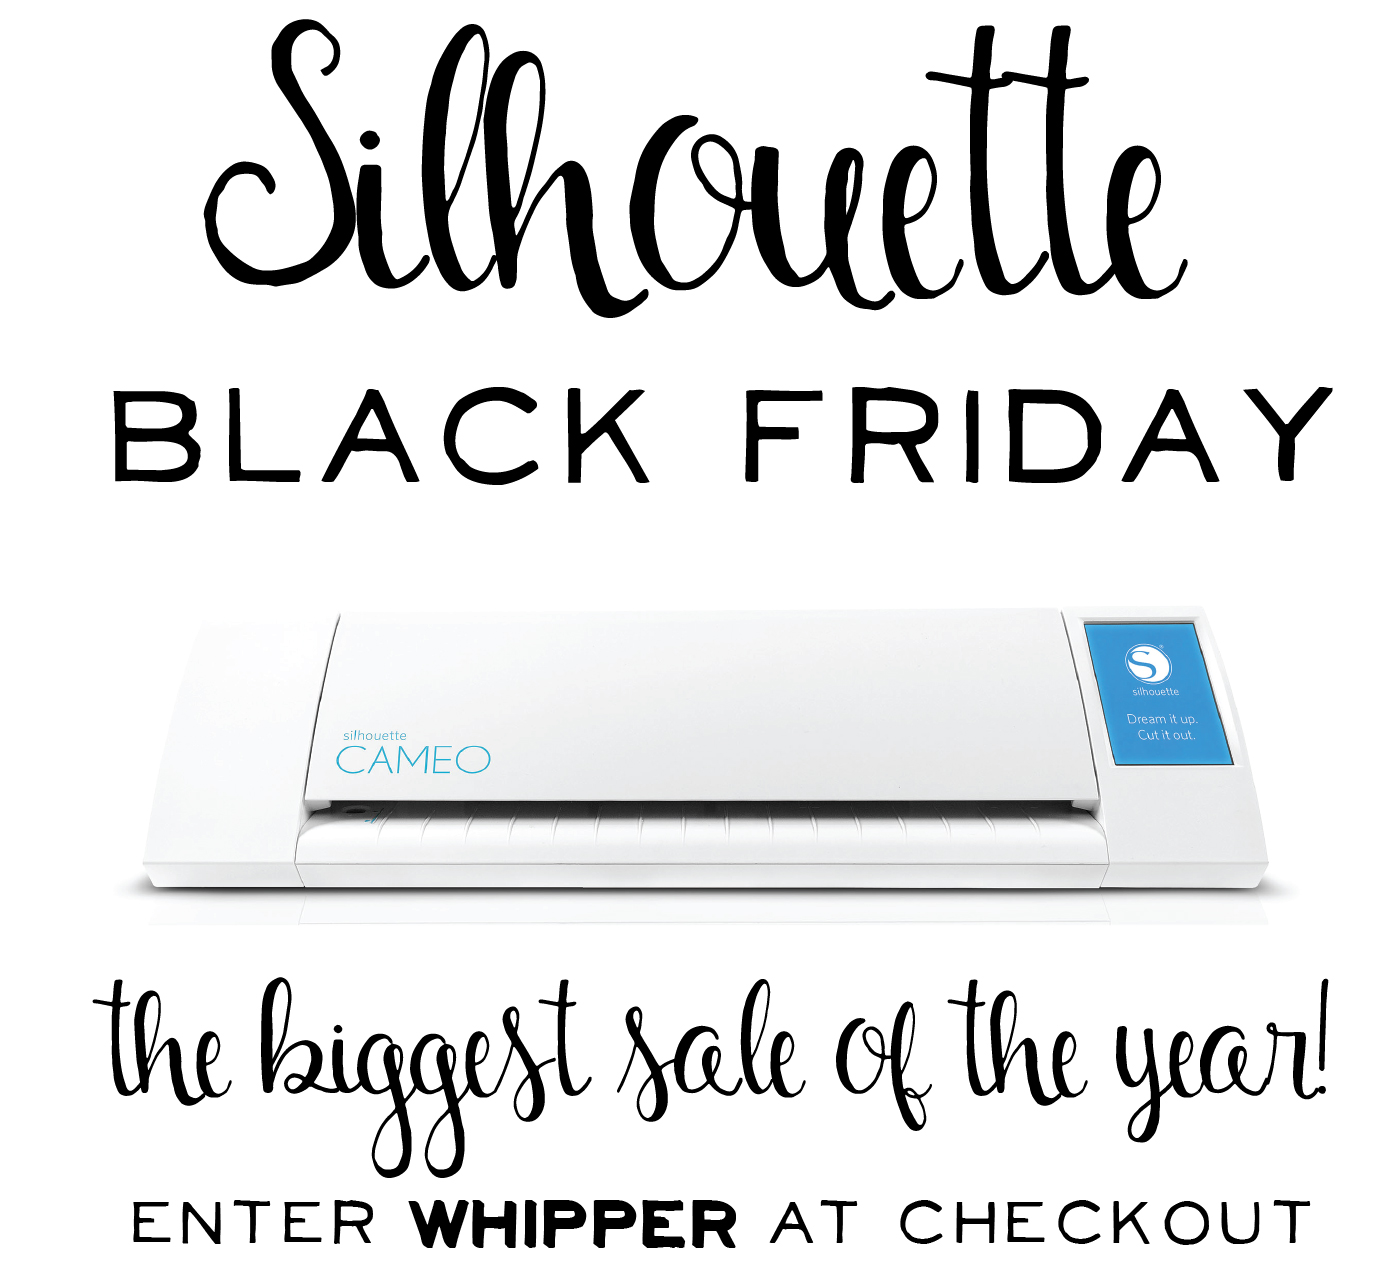
It’s the best time of the creative year!! It’s the Silhouette Black Friday Event!
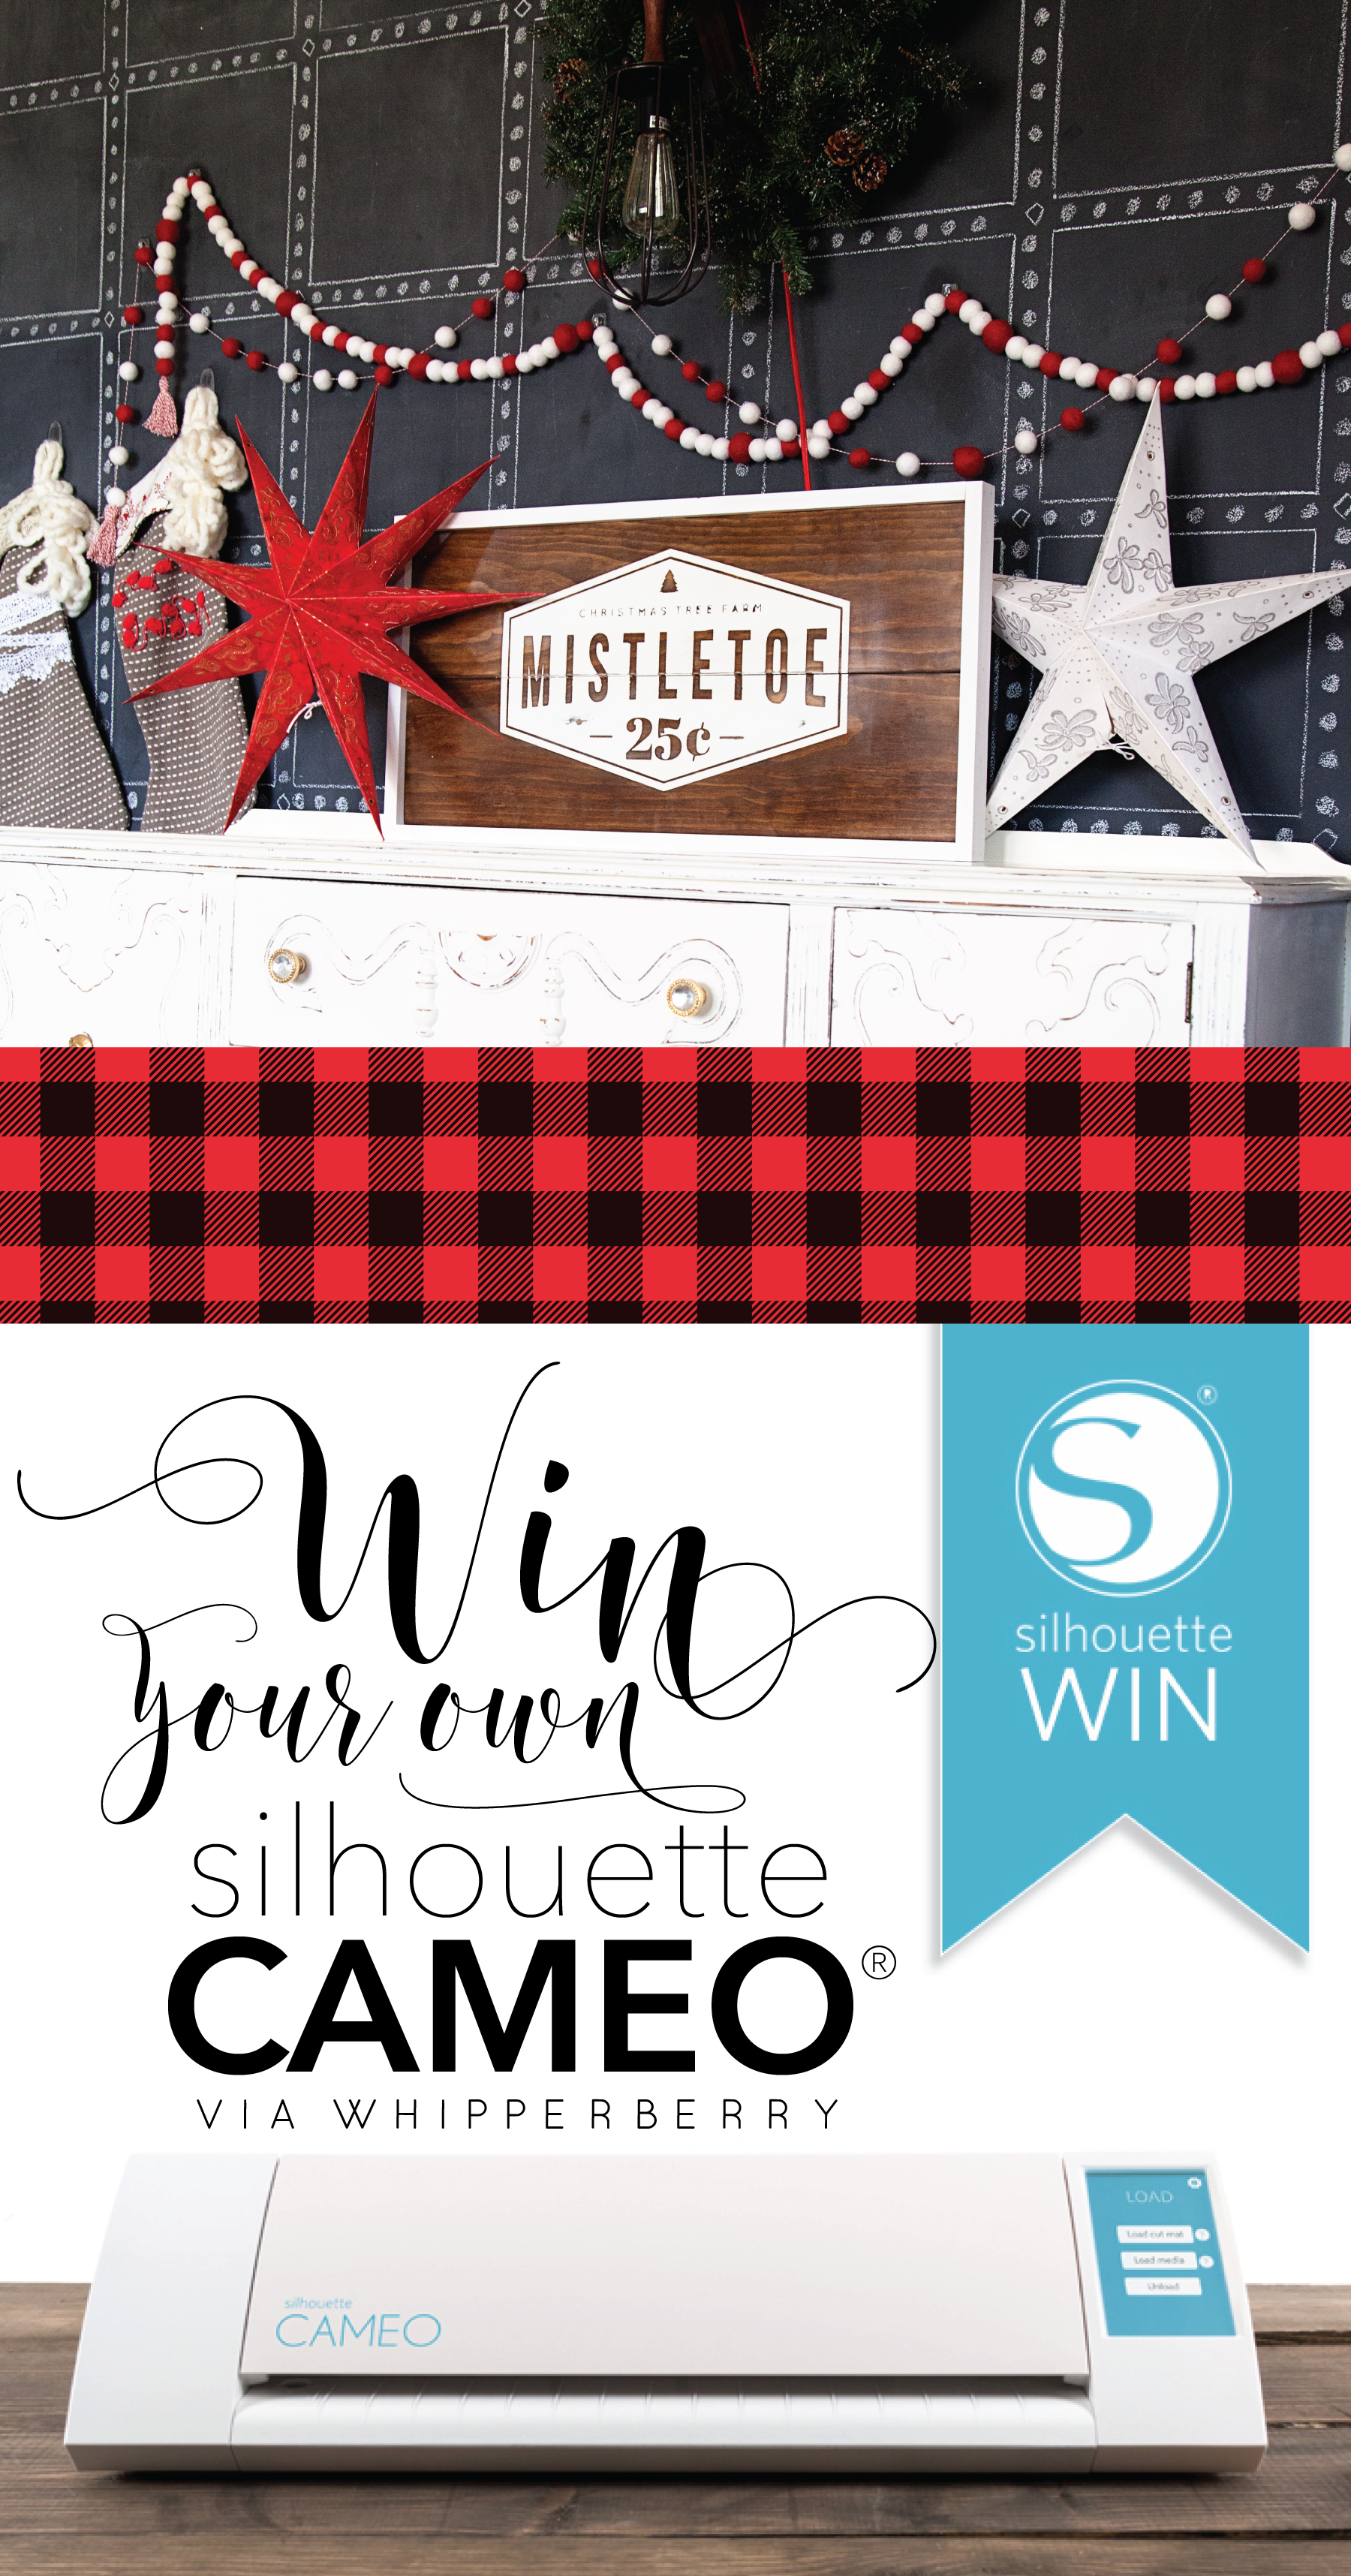
If you entered this weeks CAMEO Giveaway, you learned once again how much I LOVE my CAMEO.
There are so many options out on the market for this type of creating and hands-down… I pick Silhouette. I’ve drawn the line in the sand and made my choice. I use my CAMEO all of the time. It is the first thing I pull out when I sit down to create a project. Now with a whole family of creative machines the folks at Silhouette have you covered!
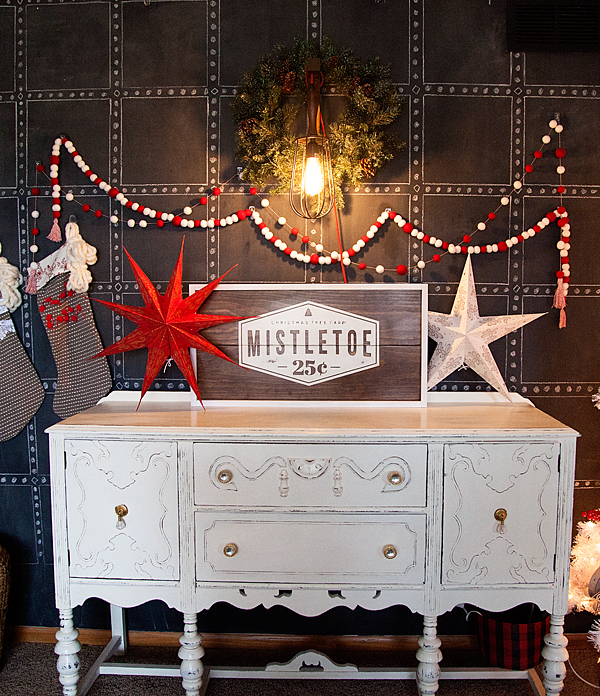
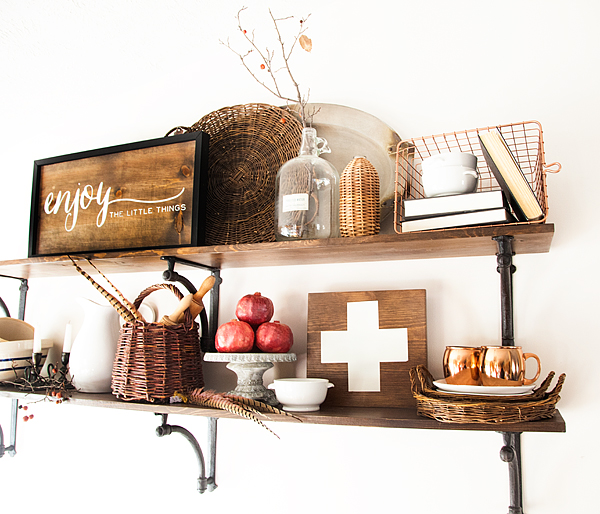
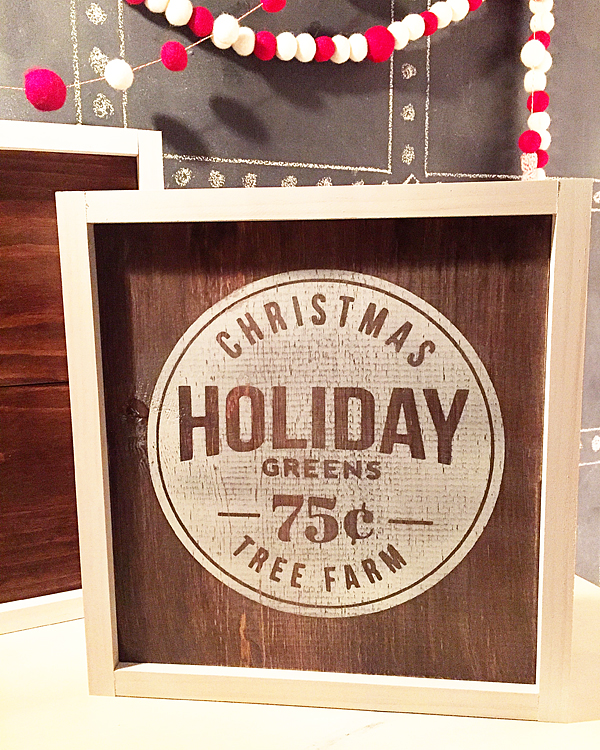
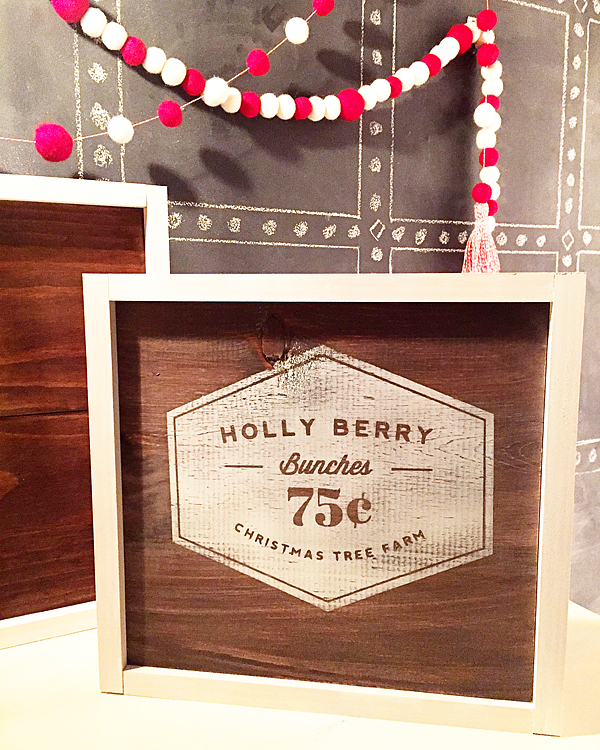
Here are a few signs that I’ve been making for the Holidays this year that I’ve used my CAMEO to create…
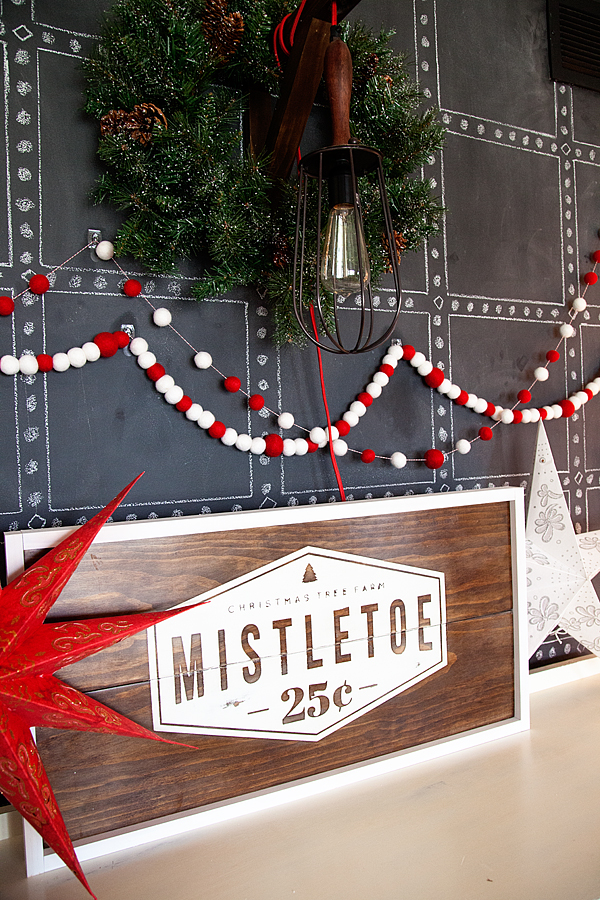
I’ll be sharing how to make this fun BB Frösch Mistletoe sign on Tatertots and Jello next week.
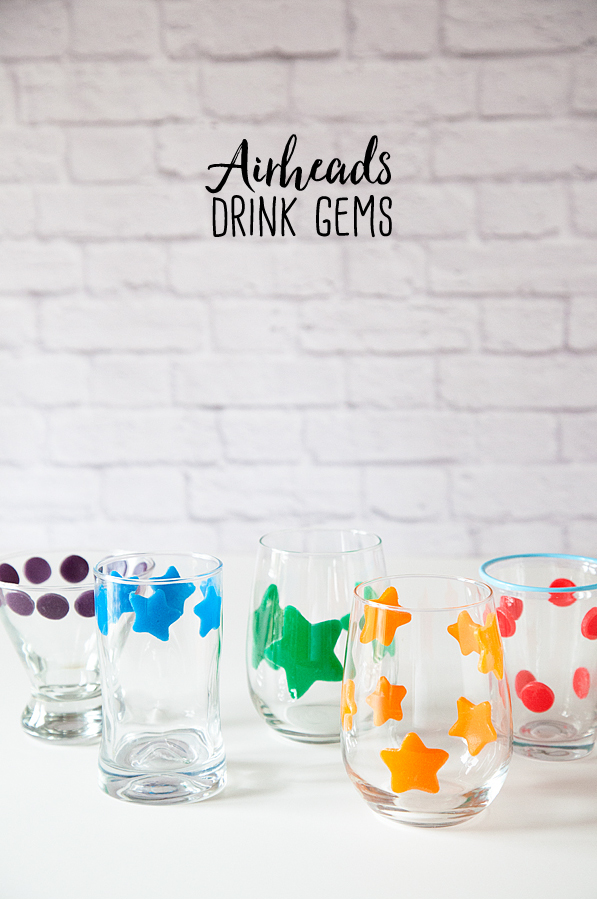
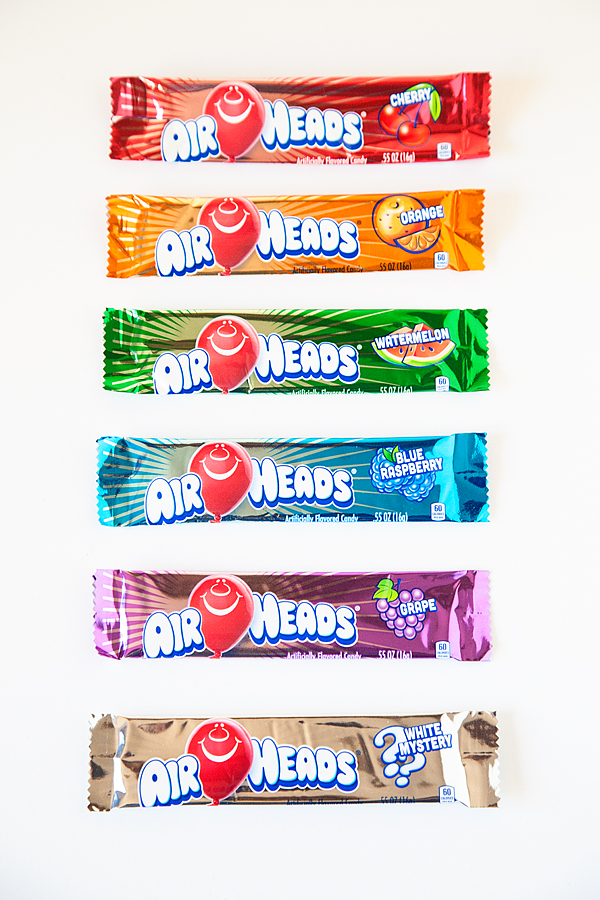
I’ll even be sharing my Silhouette Studio files for the design, so I’ve got you covered! Here are a few more that I had a ball creating with my CAMEO…
No other cutting machine has the kind of software to allow you to create your own designs like the Silhouette Studio. It is by far the best software out there!
Here are the deals for this year’s event…
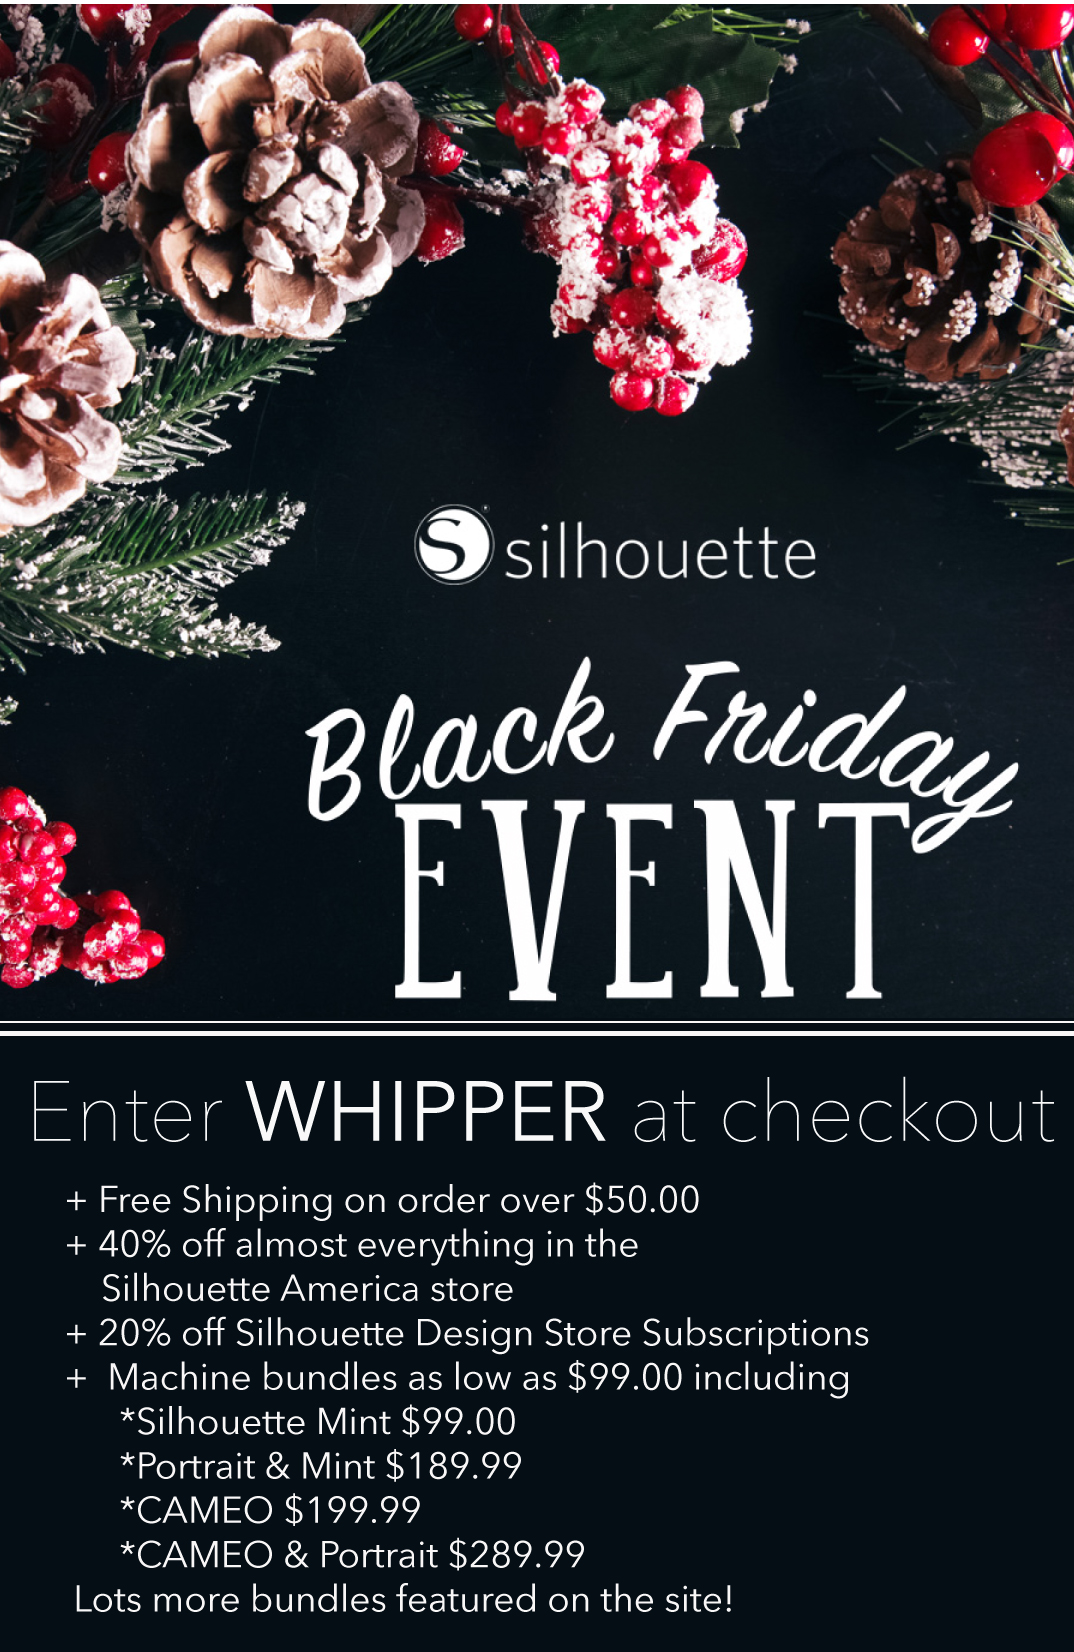
Click HERE to go to the Silhouette Black Friday Event
Remember to enter WHIPPER at checkout to receive all of those amazing deals.
To get the 20% off the Silhouette Design Store Subscriptions, you’ll need to enter BLACK
The free shipping on orders over $50 is for the continuous United States only.
Disclaimer – This is not a sponsored post. I am however a member of the Silhouette Maker program which has an affiliate program as well.