+ This Enjoy the Ride Marquee Sign for Mother’s Day post was brought to you by Michaels +
Hey, hey… It’s time for this month’s Michaels Makers Challenge!
This months challenge is all about Mother’s Day.
How fun is that?!
It’s crazy to think that I have been a Mom for 18 years now… gulp! Now that my girls are a little older it’s so fun to work on projects together.
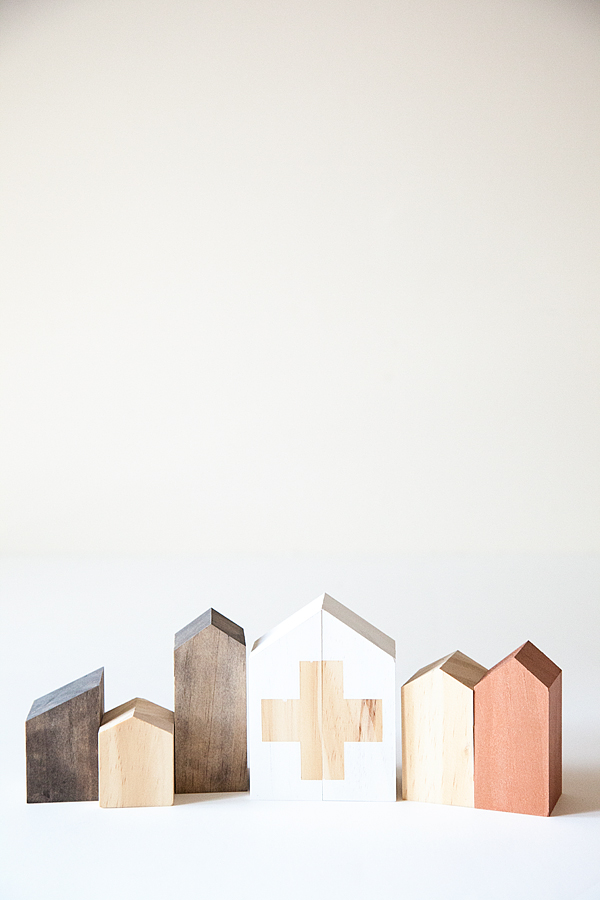
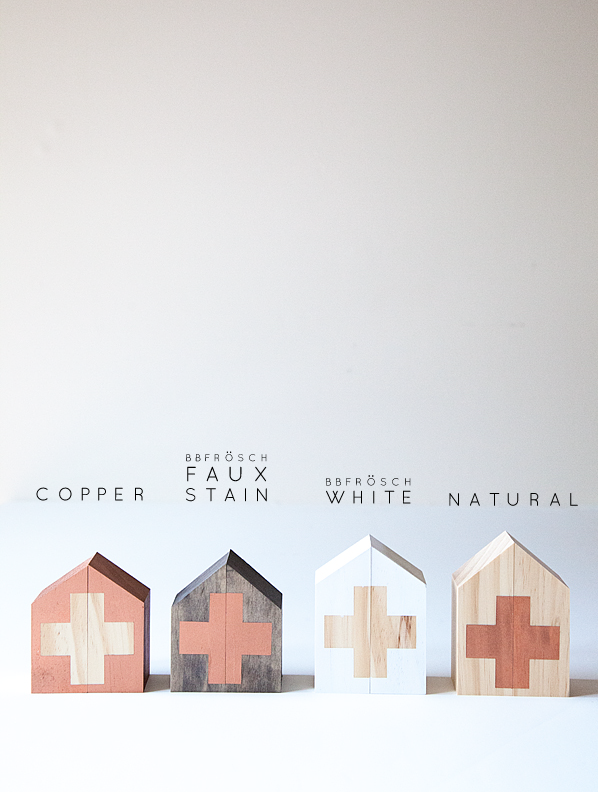
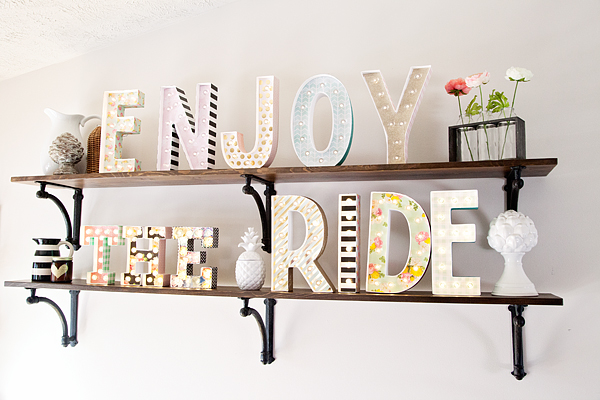
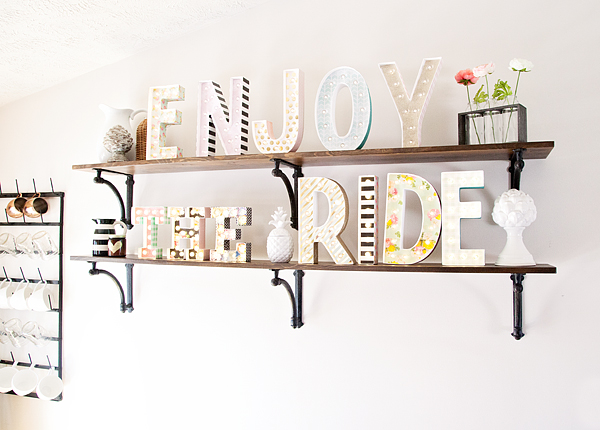
I have been wanting to create some type of sign to remind our whole family to stop, take a step back and ENJOY THE RIDE.
Sometime our lives get so crazy, especially now that the kiddos are getting older and have crazy schedules themselves, we forget to find joy in the moment. The girls and I decided we wanted to create a marquee sign to put on our shelves in our kitchen to give us that simple reminder everyday.
If you know me, you know I have a love of marquee letters. I started out making my own, you can find that post HERE. Then my fabulous friend Heidi Swapp…

Took the marquee world by storm with her Marquee Love Letters.
I created this fun kitchen sign with her original Marquee Love…

Now Heidi has introduced a larger 12 inch Marquee Letters that exclusive at Michaels and I’ve fallen in love again!
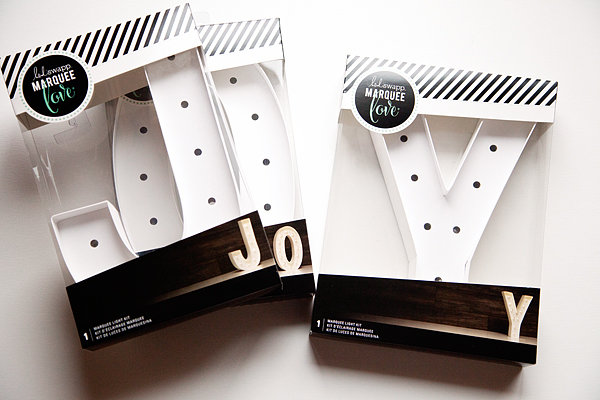
My girls and I decided they would be perfect for our Enjoy the Ride sign and set to work together to dress-up the letters.
We used Heidi Swapp Marquee Love Washi Tape…
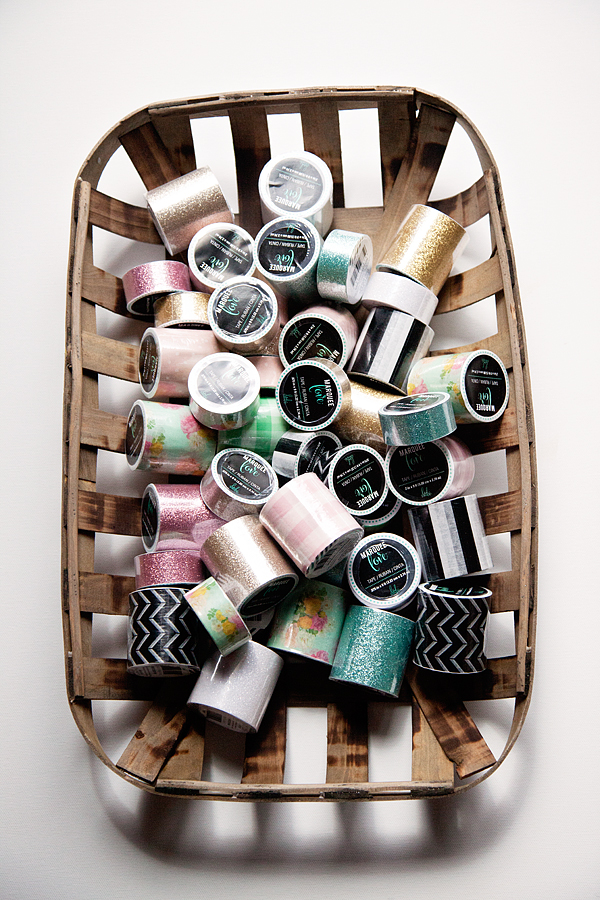
And the coordinating paper to dress up the letters.
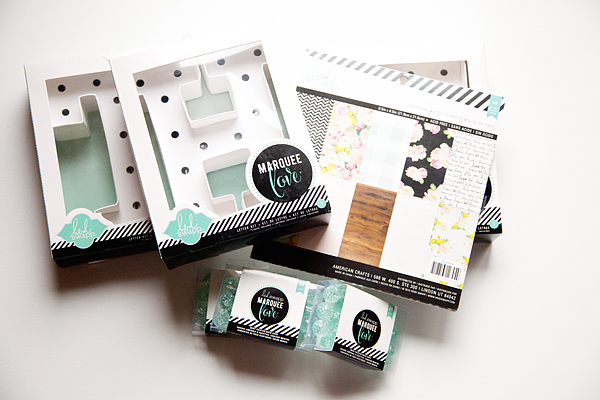
It was so fun to work together with the girls to create this new masterpiece. With Heidi’s washi tape & paper, it’s super easy to add a little flair to the letters. Talk about an aaaamazing Mother’s Day gift!
A handmade gift from your kiddos is always fantastic no matter how simple it is. It really starts to get fun when you can work together with your kiddos to create a project together. We LOVED it!
Looking for more Mother’s Day inspiration? You can visit Michaels for project ideas or their blog The Glue String for all kinds of goodies PLUS, you can check out the 49 other Michaels Makers for their fun takes on this months challenge!