Do you love the stained look, but can’t stand the idea of staining?
It’s smelly, sticky, messy… Not to mention all of the chemicals that you are introducing into your home. I have a fabulous alternative for you!
Faux Stain with BB Frösch Chalk Paint Powder®…
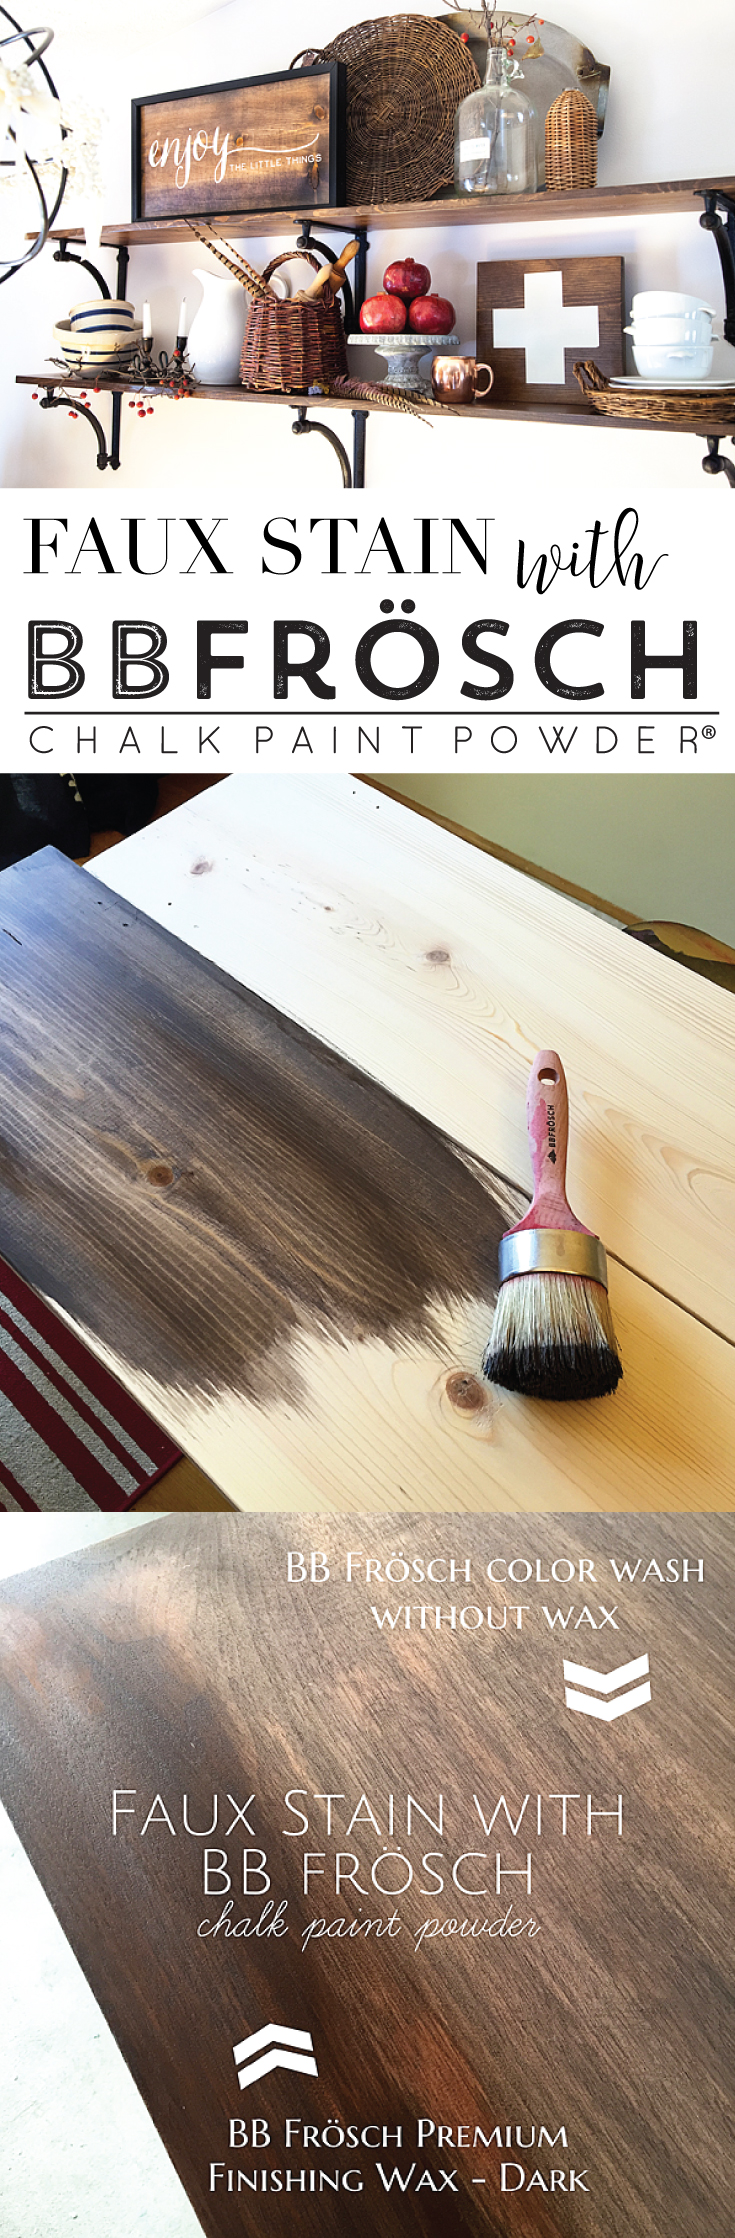
Doesn’t it look fantastic?! BB Frösch is an ALL-NATURAL paint additive that you can add to any flat latex paint and turn it into chalk paint. Mixed with a low-VOC or no-VOC paint you don’t have to worry about any of those harmful chemicals from other stains or paints. With the addition of BB Frösch, you are giving your paint the fabulous adhesion properties and manipulatable properties that everyone loves about chalk paint.
Which Kind of Chalk Paints Should You Use to Make it Look Like Stain?
As you can tell I love BB Frosch. There are a lot of different brands and types that you can use for chalk paint though. I wrote a post about the best chalk paints you can read. The down and dirty of it is that BB Frosch Powder is number one in my heart, and then you have the rest. The difference is that you mix the powder with any paint that you want to use instead of buying actual chalk paint.
PSA- DON’T EVER USE THOSE DIY CHALK PAINT RECIPES! They are harmful to your health and won’t work for this technique. Plaster of Paris and Unsanded Grout have caustic chemicals in them. You don’t want to introduce those into your home or your body for sure.
Now onto the fun stuff…
I’ve been traveling the country teaching BB Frösch Workshops and one of the techniques that we teach is a color wash technique. This is a technique you would use if you wanted to still see the wood grain when painting a piece. Even though I am the co-founder of a chalk paint company, I still am a lover of the natural wood look. I hate to cover up all of that character, BUT… Sometimes a piece still needs new life with a little TLC, OR maybe you have some raw wood that you would love to add some nice rich color to. For example like my shelves…
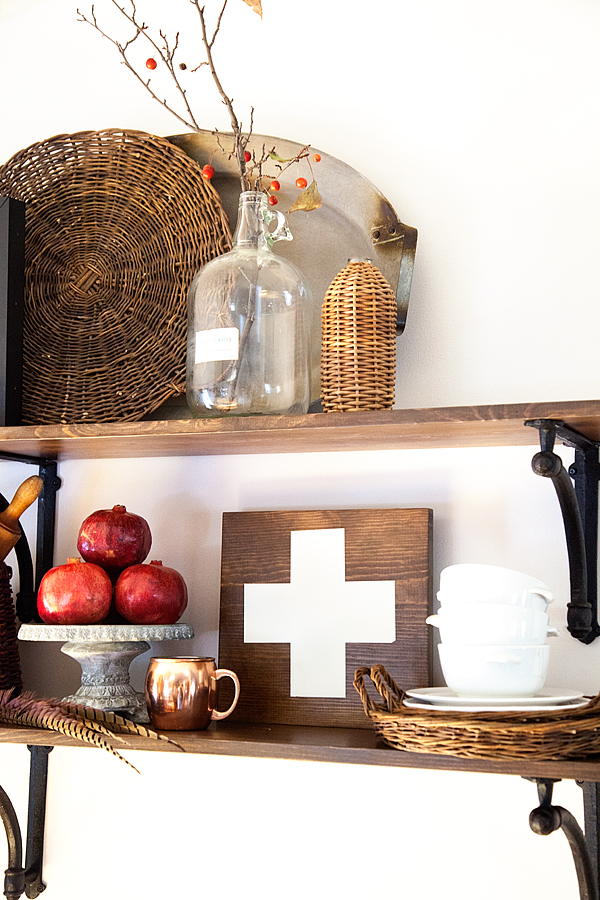
I LOVE the look of a nice rich stain, but I hate to stain! That’s when I thought… Why not use that color wash technique that I teach all the time and make it LOOK like it was stained? That is what I set out to do.
How to Faux Stain with BB Frösch Chalk Paint
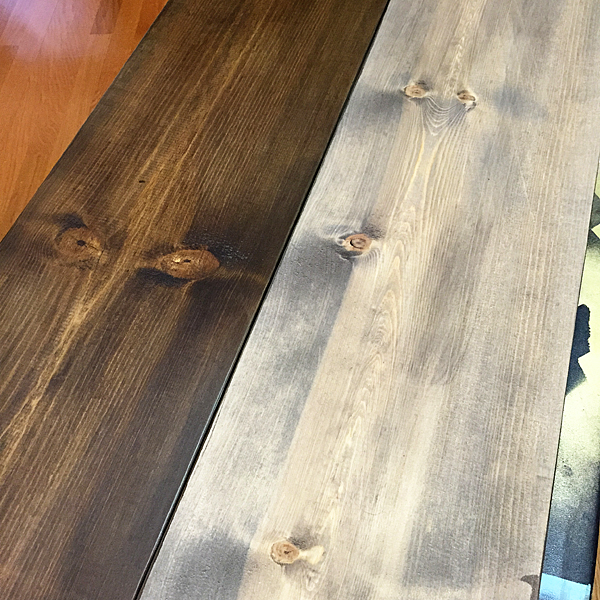
I found a beautiful brown paint color from Benjamin Moore called Mink and I LOVE it!! When you are faux staining with this color it’s super fun because it pulls a little gray when painting (faux staining) your project. It’s a beautiful weathered wood look but, when I finish it with our Dark BB Frösch Premium Finishing Wax it gives it that nice rich stained look that everyone loves. If I want to keep the weathered wood look, I would just finish it with the clear wax.
But I’m getting ahead of myself.
First, you need to mix your paint with BB Frösch Chalk Paint Powder. Here is a quick video on how to do that…
Mixing BB Frösch Chalk Paint Powder from BB Frösch on Vimeo.
Once your paint is mixed, you’re ready to go.
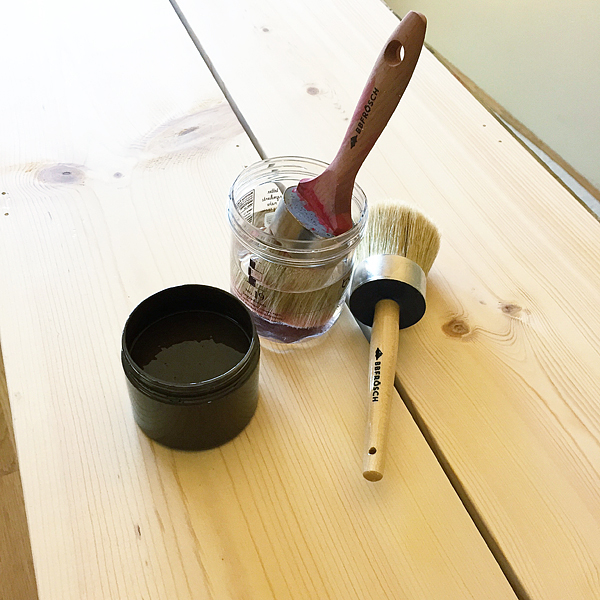
You’ll need your trusty BB Frösch paint brush and wax brush for this project and a jar of water along with your mixed BB Frösch Chalk Paint.
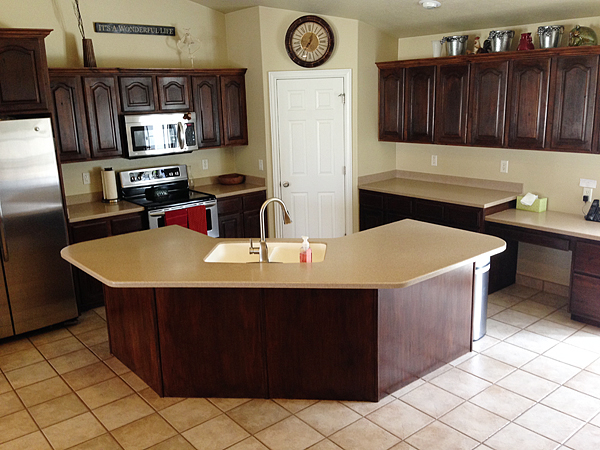
This technique works amazingly well on raw wood, but it can also be used on a finished piece with a little extra care. We have a customer that faux stained her entire kitchen without any sanding or striping before she set to work. Here’s a look at her before and after…
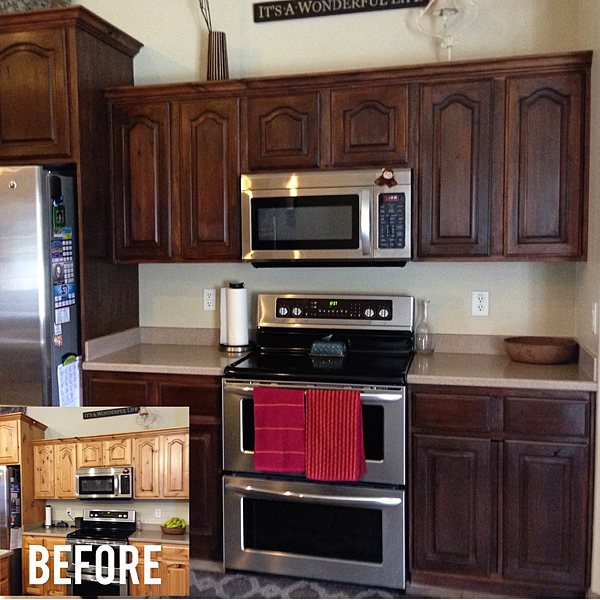
YEA, it’s that aaaamazing!! Not to mention the fact that this took DAYS rather than weeks or heaven forbid months to finish. Couple that with the fact that this took less then a gallon of paint and your golden!
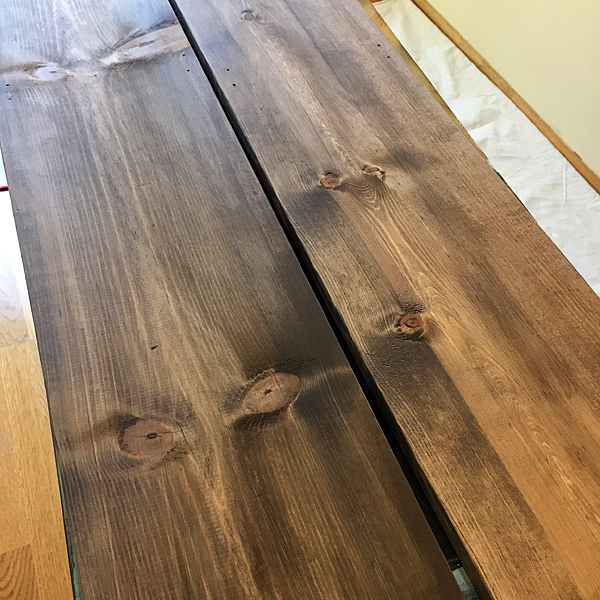
For this tutorial, I am using raw wood that I purchased at Home Depot. All you need to do is make sure your brush is pretty wet, dip it in your paint and then swirl it around on your paint lid, mixing the water and paint a bit.
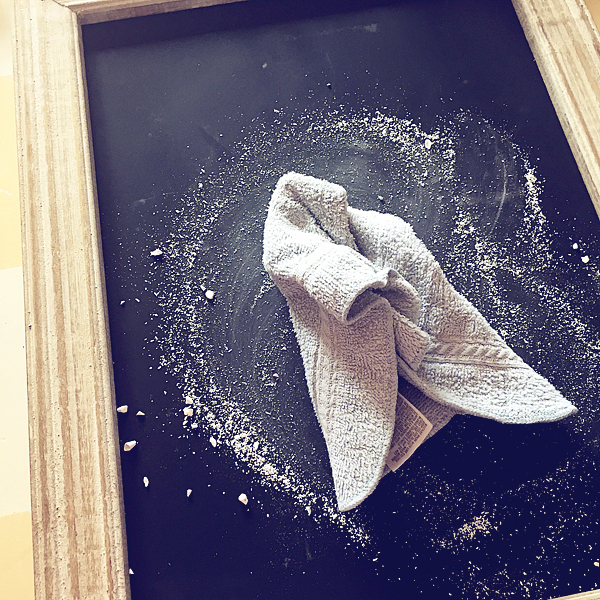
Then, going with the grain, brush the watered-down paint onto your wood. Follow that with a lint-free cloth and lightly wipe the surface of your wood exposing the grain of the wood. THAT’S IT!!
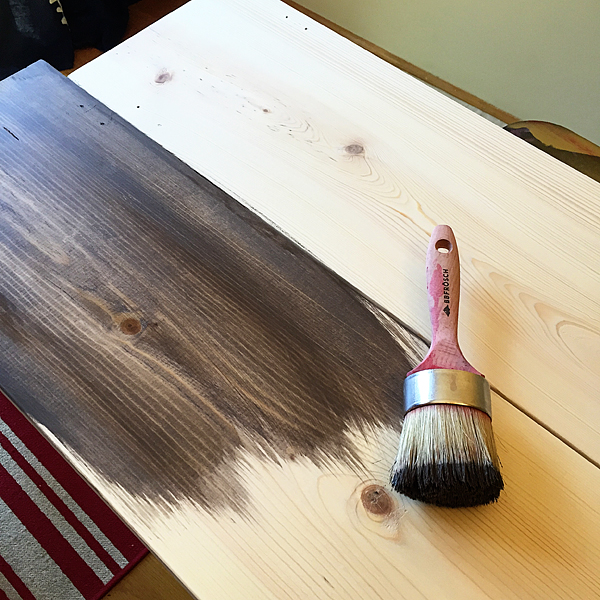
Continue that process until you’ve finished your entire piece. It will literally take just minutes to dry and then you’re ready for the wax.
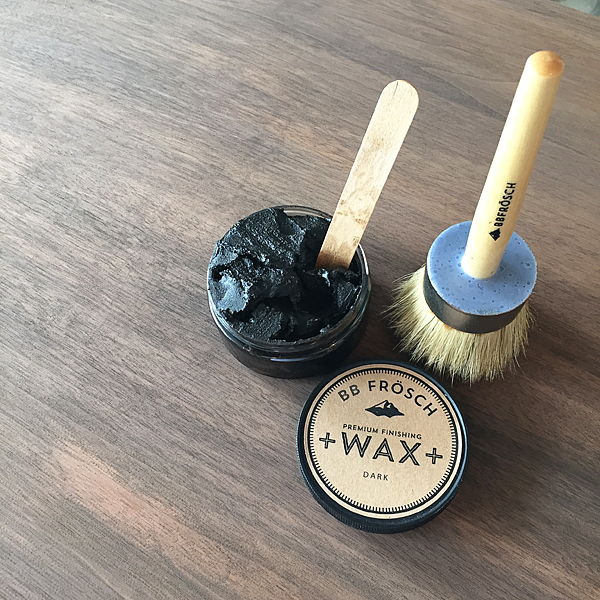
This is another simple step. Take your wax brush and butter a little bit of wax onto your brush, just like you butter your toast. Then, with the grain brush on the wax in a small section about the size of a 12×12 piece of paper. Then using a lint-free cloth, wipe off any excess wax and then rub the area until smooth. Move on to your next section and repeat the process until your piece is finished. Go back with a lint-free cloth and then buff to your desired sheen.
These shelves took only 30 minutes, start to finish… READY TO HANG in 30 minutes!!
You can’t do that with stain!!
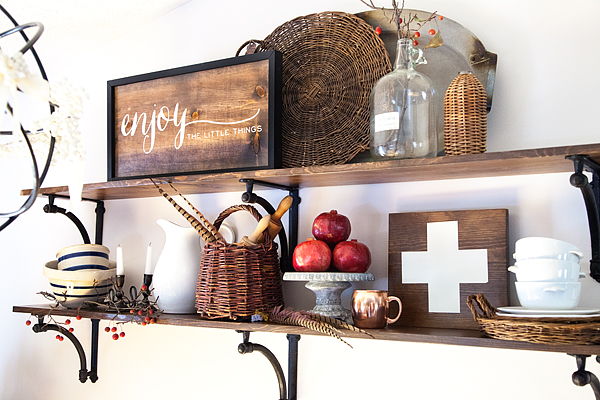
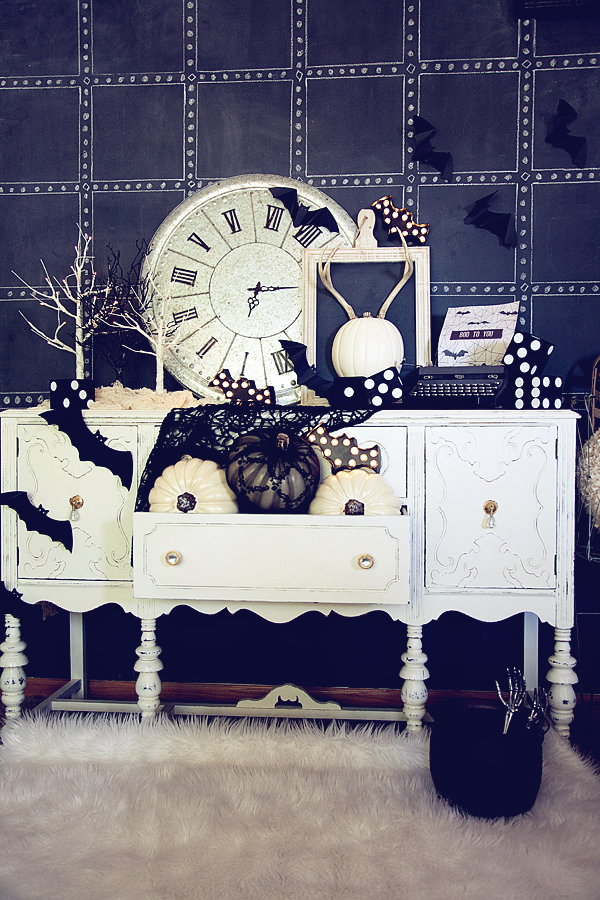
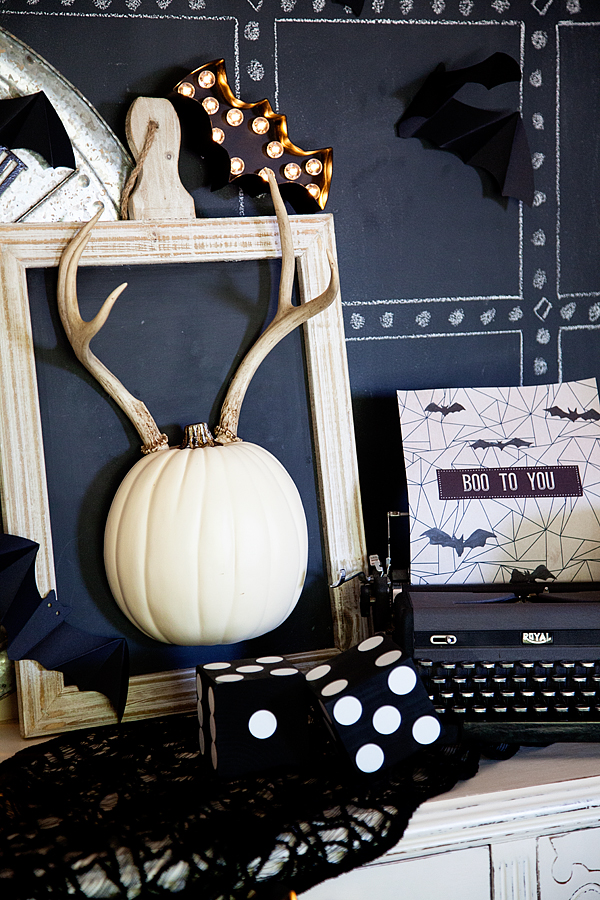
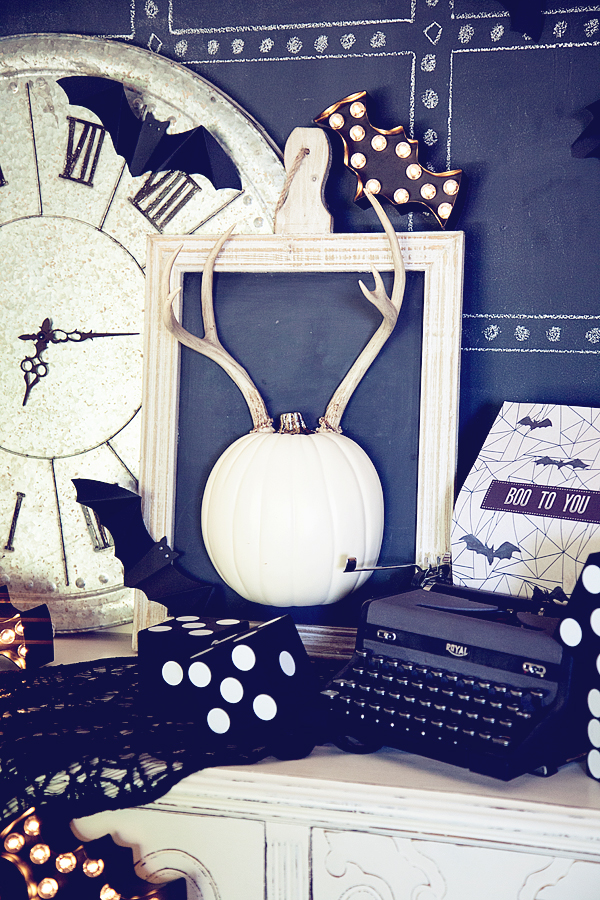
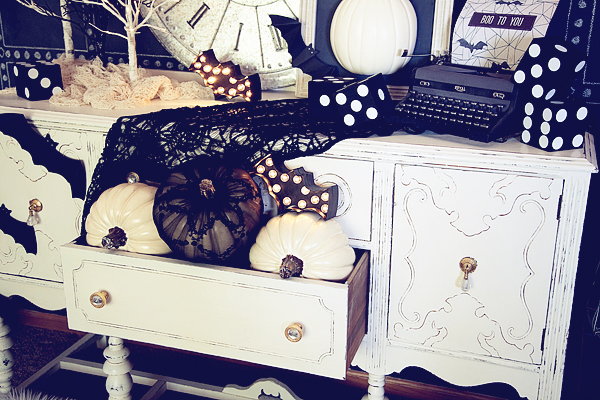
Funny thing… Both of those signs that I made for my Fall display are also Faux Stained with BB Frösch as well, using the same technique just on a smaller scale. See, you can craft with BB Frösch Faux Stain and transform your kitchen at the same time. It’s BRILLIANT if I do say so myself!
This technique is catching fire… Here are a few more projects that use the same technique.
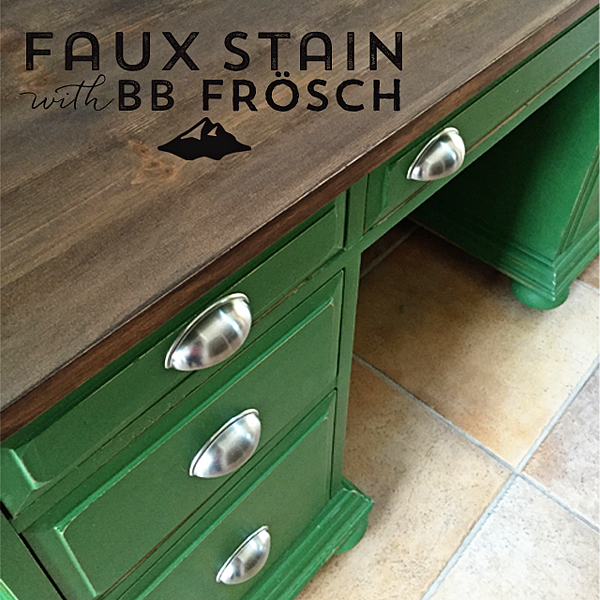
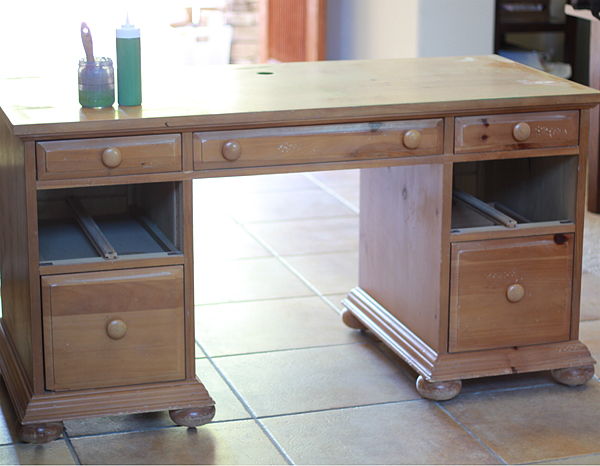
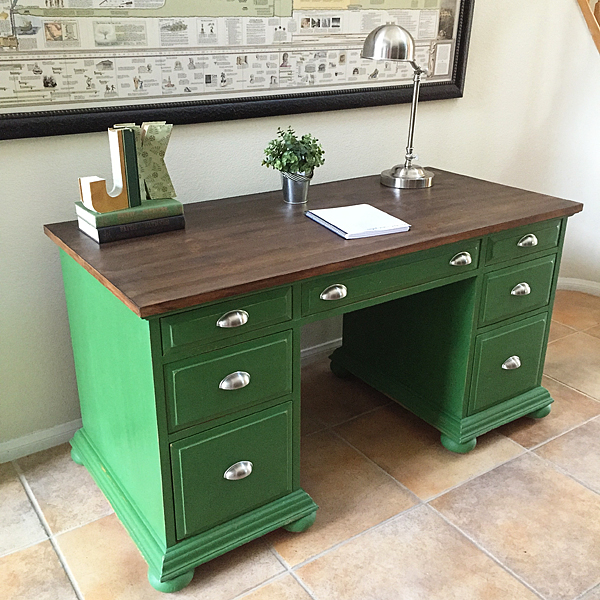
This beautiful desk was transformed by Kacey Stout one of our BB Frösch Masters in Las Vegas. She painted the base of the desk with Behr Paint “Hummingbird” and then Faux Stained the top with Benjamin Moore “Mink combined with BB Frösch Dark Premium Finishing Wax. She transformed it from this…
To THIS…
I also transformed an old desk with the same idea…
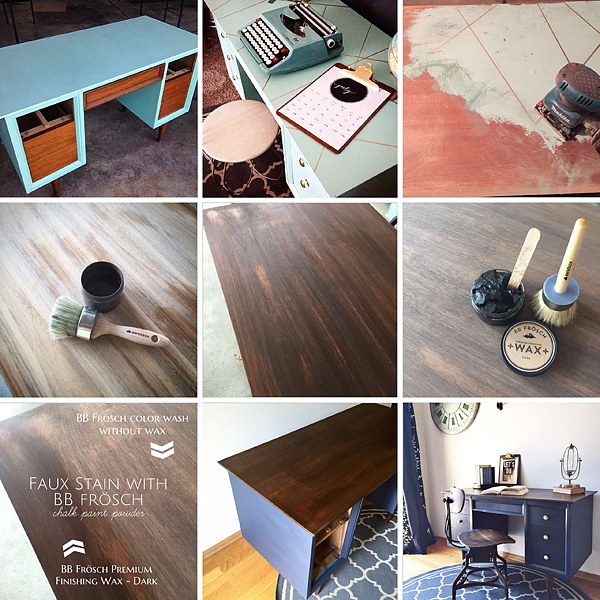
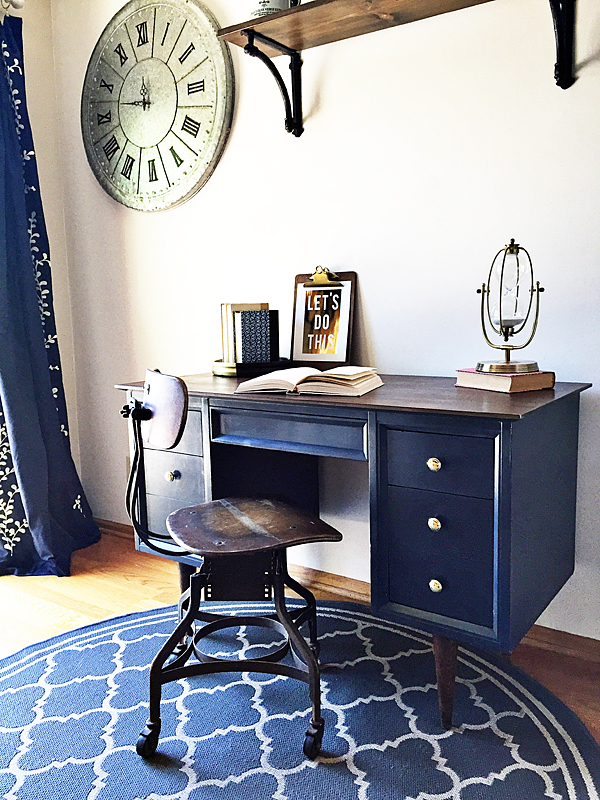
I bought that desk at a garage sale for $10… After I gave it a good once over with BB Frösch, I sold it for a couple hundred. Not to shabby!
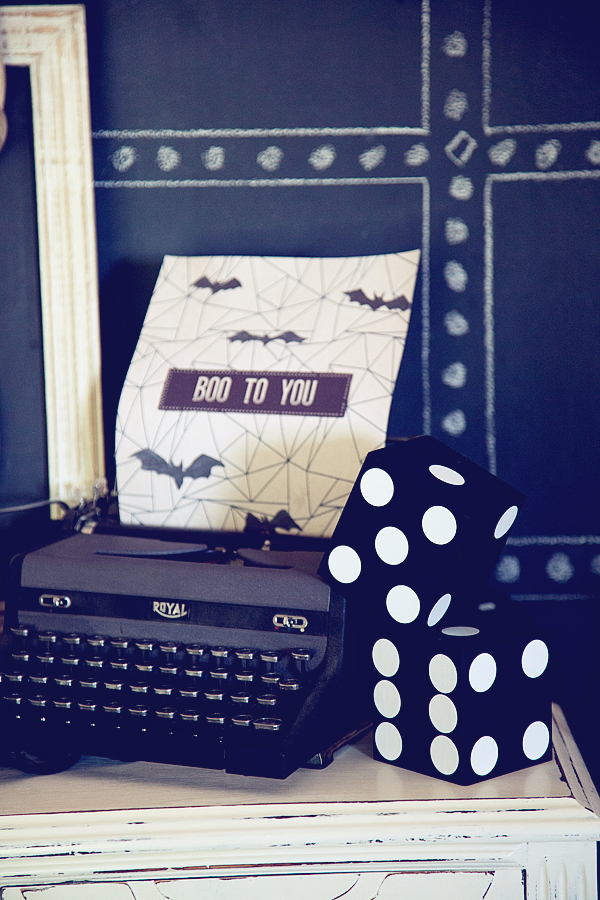
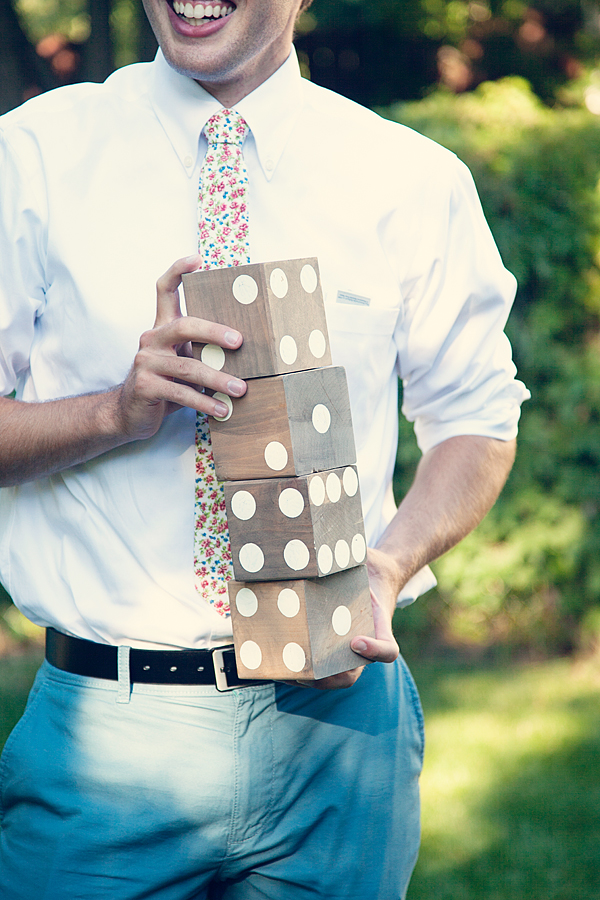
Needless to say, this is by far one of my favorite techniques. I’ve even used it to make a large set of dice for Yard Yahtzee… This set I kept that weathered wood look and just used a clear wax to finish the look.
Here is another set of shelves that we made for an appearance on Studio 5 in Salt Lake.

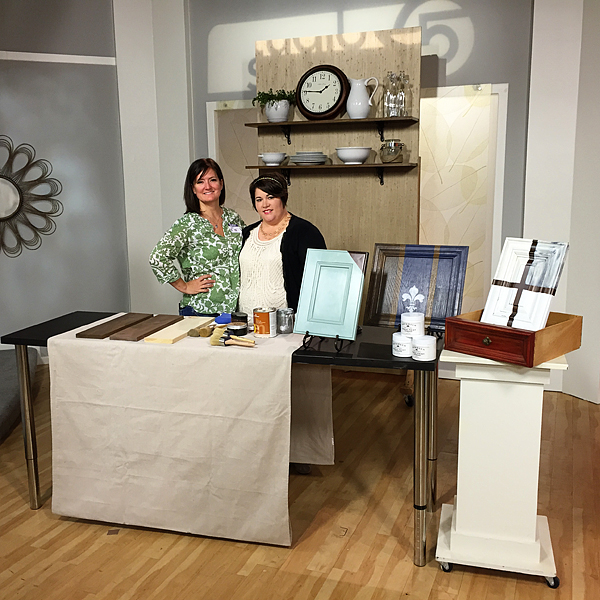
Here’s Kristin and I on set, AND… Here’s a link to the segment.
If I haven’t convinced you yet to try this… I don’t know what will!
Go grab yourself some BB Frösch and get to work. You’re going to LOVE it!!