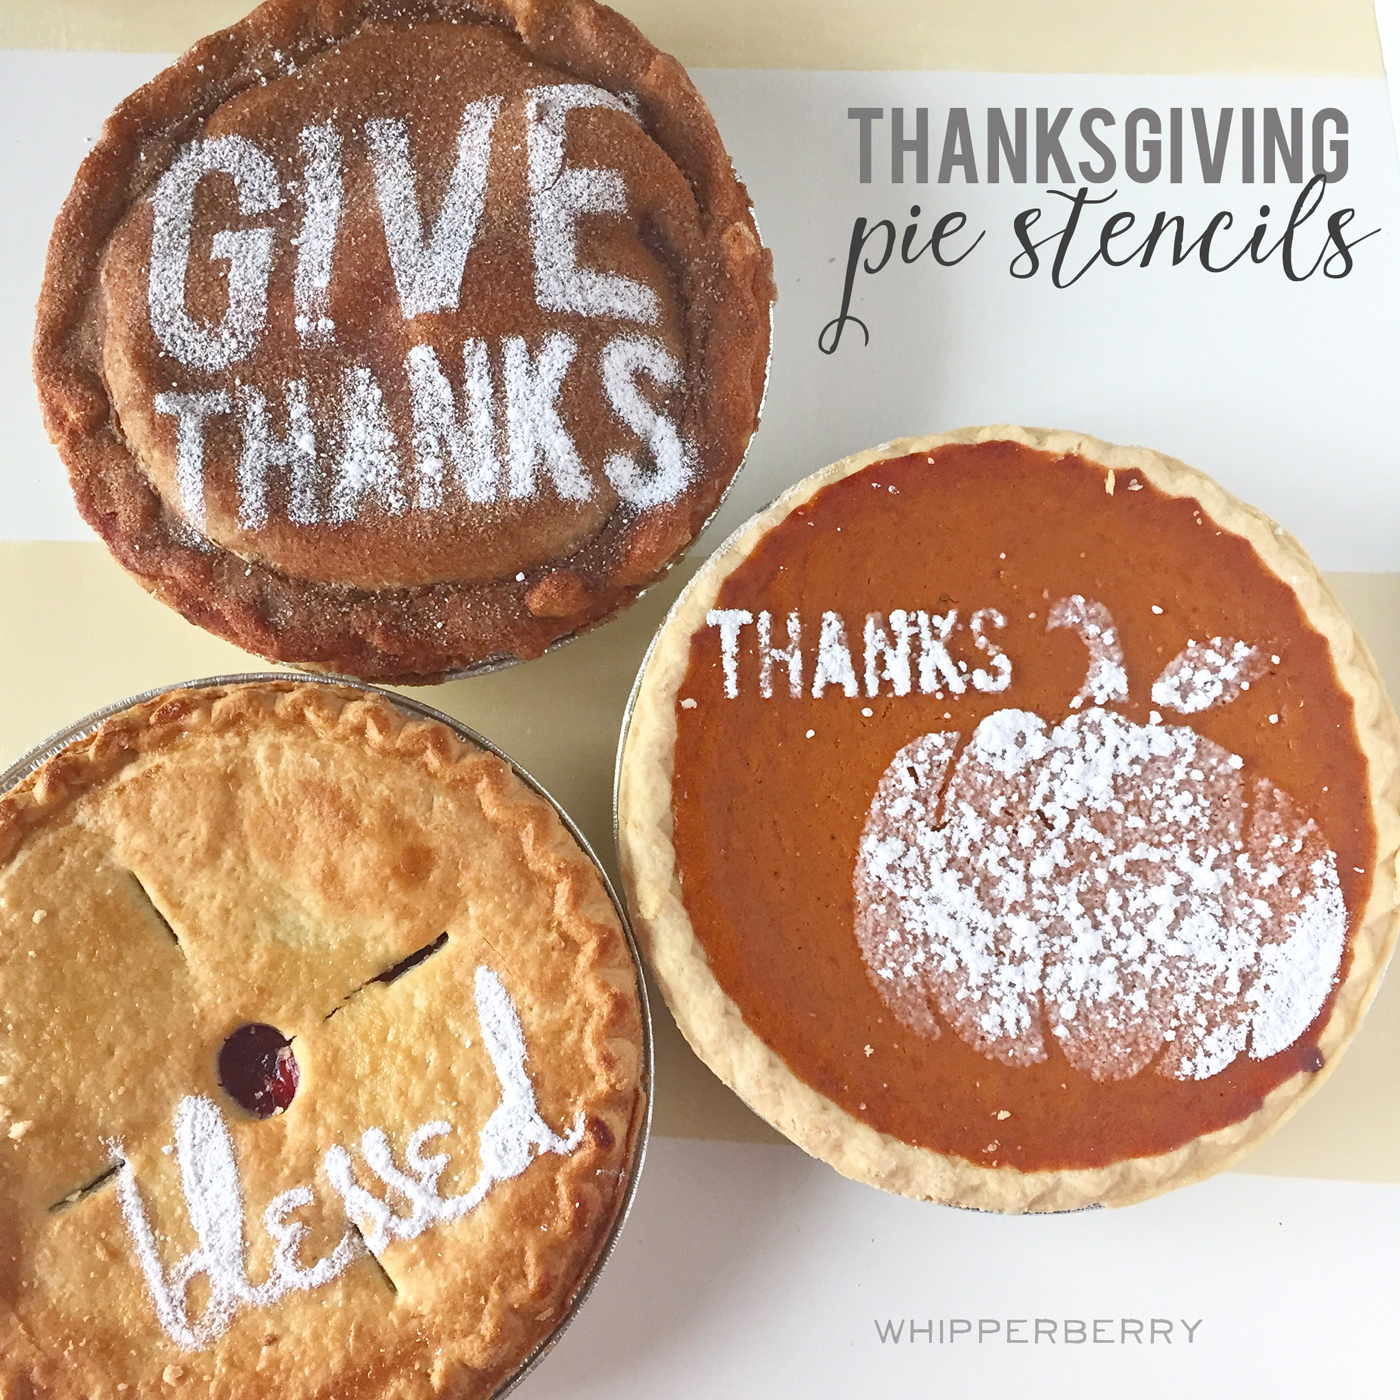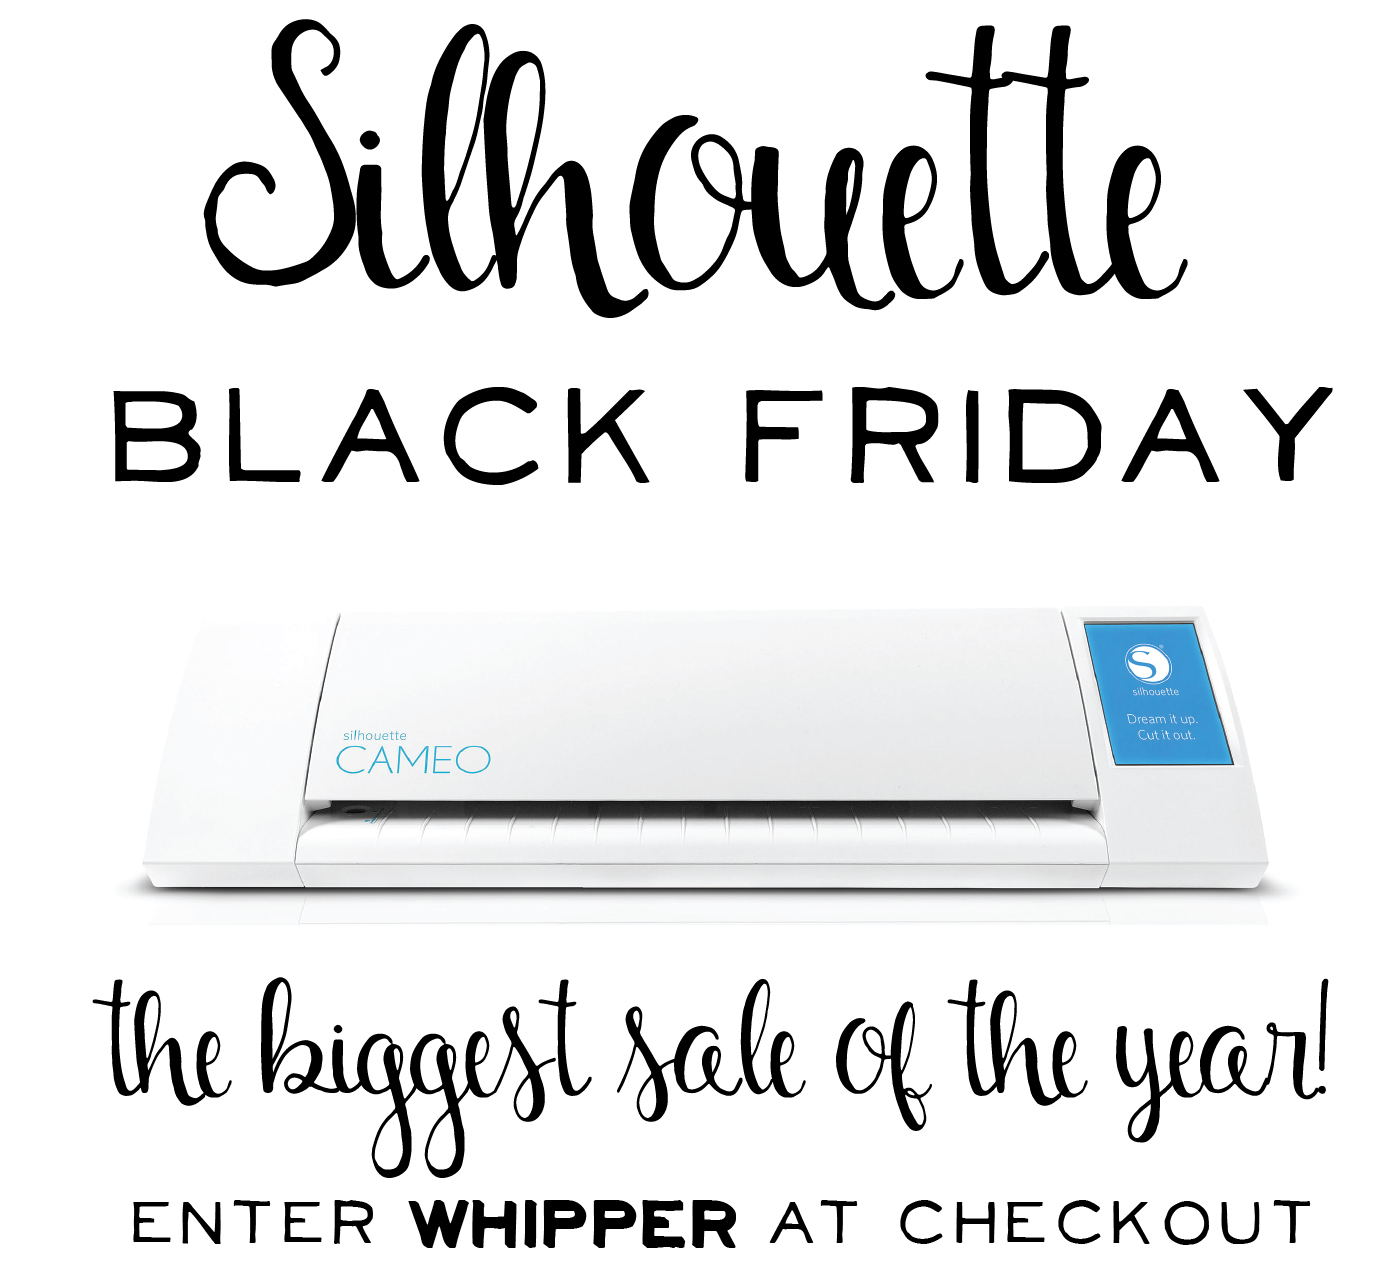
It’s the BEST day of the year… First it’s Thanksgiving AND It’s the start of the best Silhouette BLACK FRIDAY Sale!
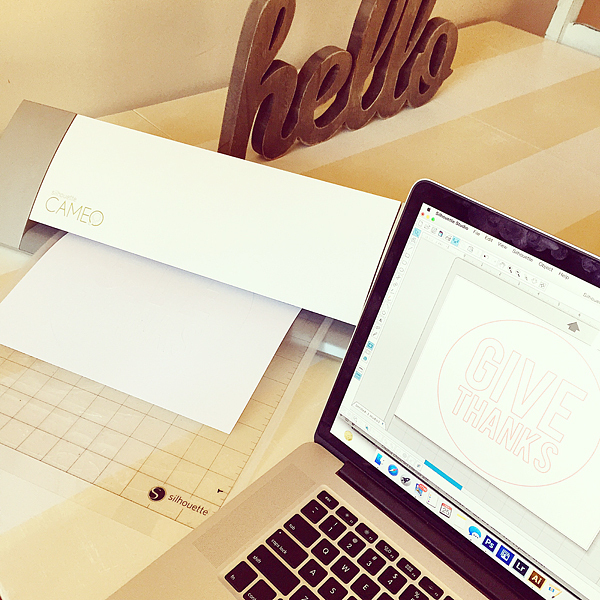
While you’re waiting for the turkey to roast… you can cash in on all of the great sales on Silhouette CAMEO (NEW and improved!) Silhouette Portrait and all of the consumable goodies like Premium Vinyl, Adhesive Cardstock, Printable Sticker Paper and so on….
Here are all the details!

CAMEO machine, Designer Edition software upgrade, Dust Cover, 4 Tools and $25 Download card to the Silhouette Design Store for $269.99
Click HERE to grab this deal

Click HERE to cash in on this deal

Click HERE to snatch this fantastic deal

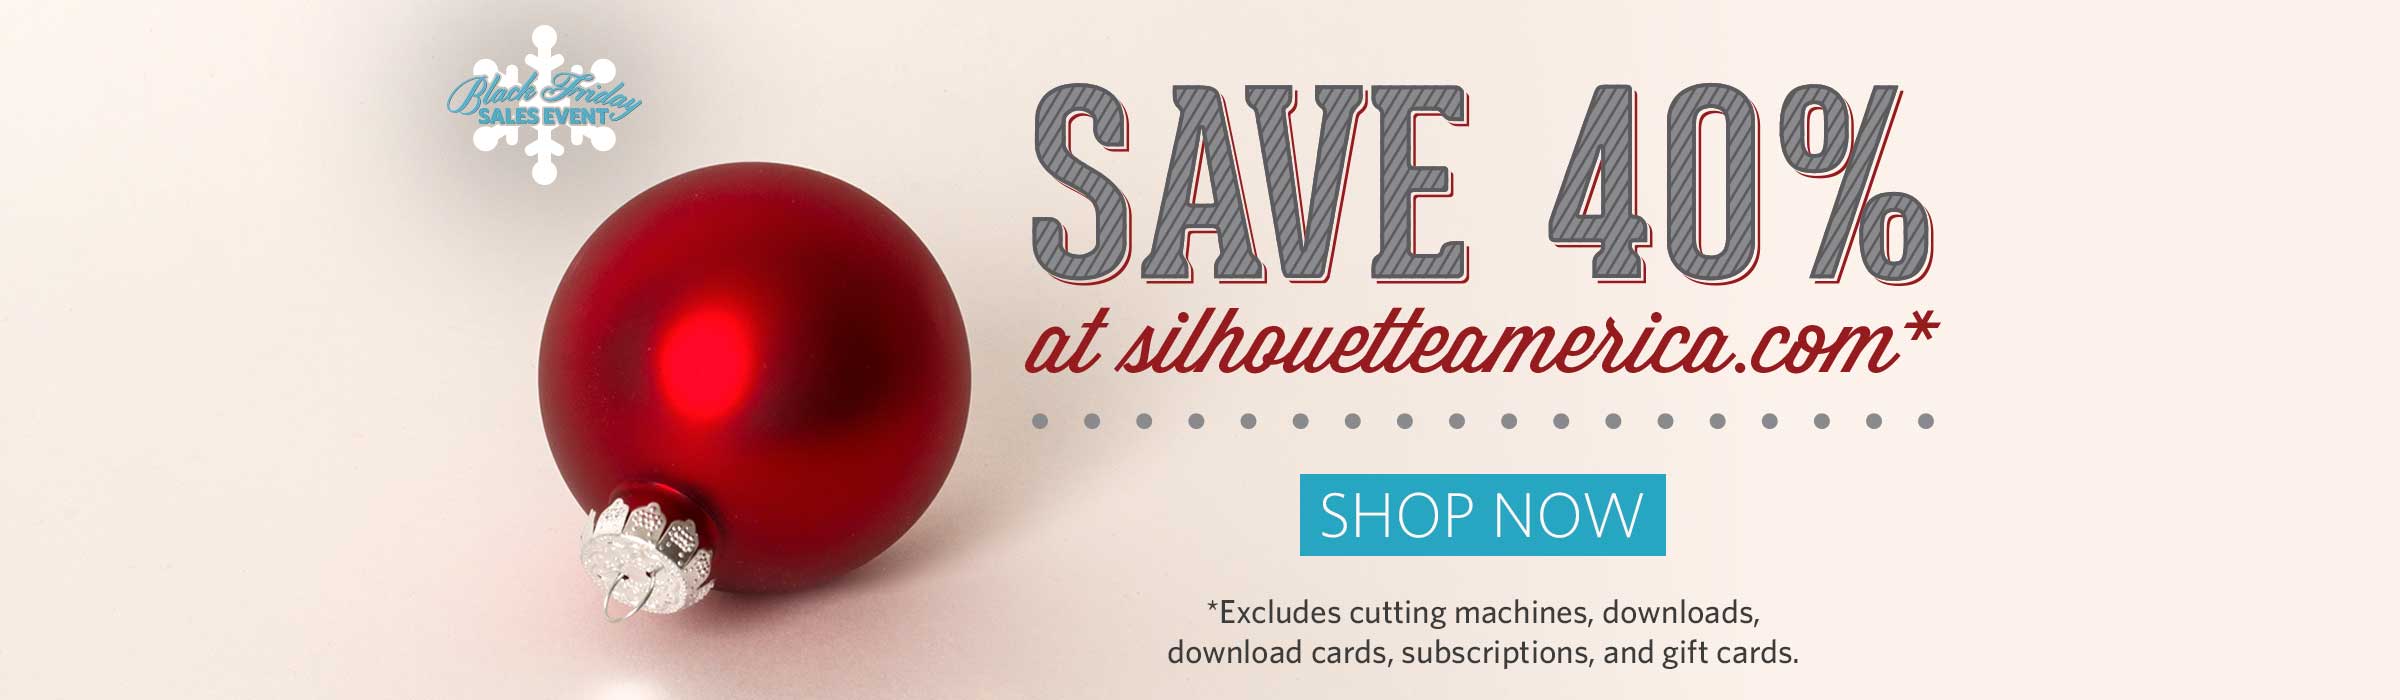
40% off at SilhouetteAmerica.com (*excluding machines, downloads, download cards, subscriptions and gift cards)
PLUS Free Shipping on orders over $25 for the lower 48 states