Silhouette Portrait GIVEAWAY, Discount Code and Glitter Art with Double Sided Adhesive // That's a mouth full!! So much stuff going on this week. It's started yesterday, with our Ultimate Valentine's Day Getaway Giveaway and now I have a rare Saturday post with the ever popular Silhouette GIVEAWAY!!
But, before we get to the giveaway… I'm and super excited to show off one of the new products that Silhouette announced at CHA last month. Their Double Sided Adhesive and the new Silhouette Glitter, perfect for creating stunning glitter art…
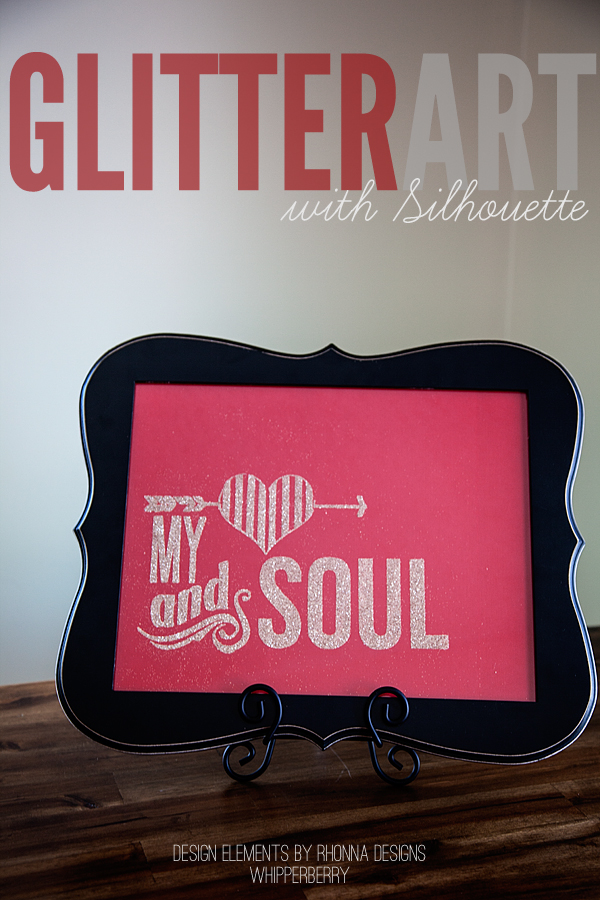
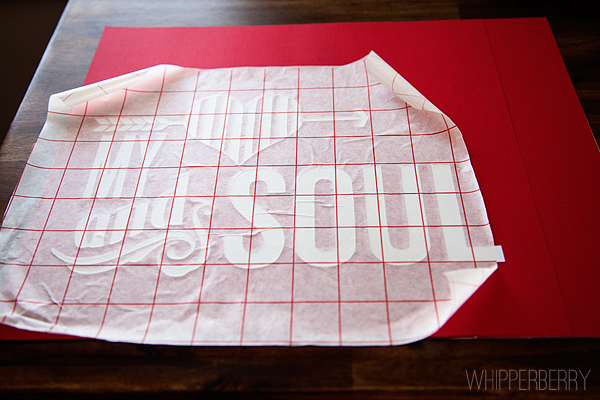
I created this wall art for Valentine's Day by cutting out an image from Rhonna Designs Insta Kiss kit in the new Double Sided Adhesive using the Silhouette Designer Edition software. The double sided adhesive is perfect for all kinds of applications that involve glitter or flocking and certainly makes the whole process of working with glitter sooooooo much easier! I cut the image and weeded out the excess material…
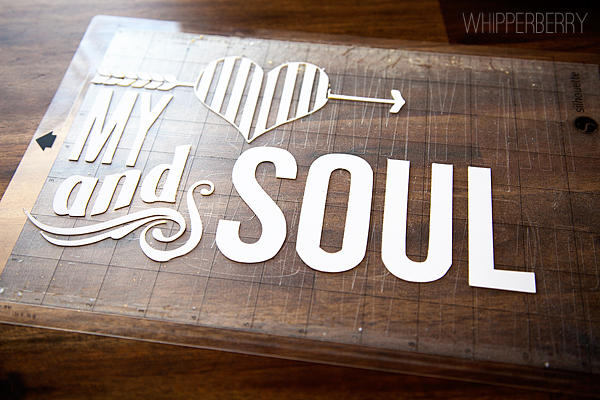
Then I decided to use transfer tape to make sure the image stayed in tact. When cutting a more simple design, you really don't need to use the transfer tape.
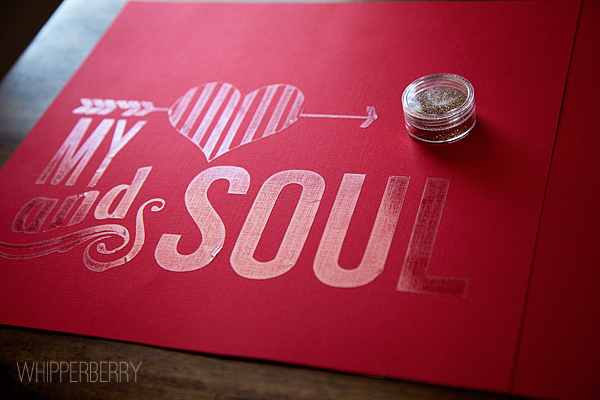
Next, I removed the transfer tape and the white layer of the adhesive and got ready for the fun part, the glitter…
Now who doesn't love GLITTER? Well, maybe my husband. He hates it!! But you know, the Double Sided Adhesive actually makes it really easy to work with…
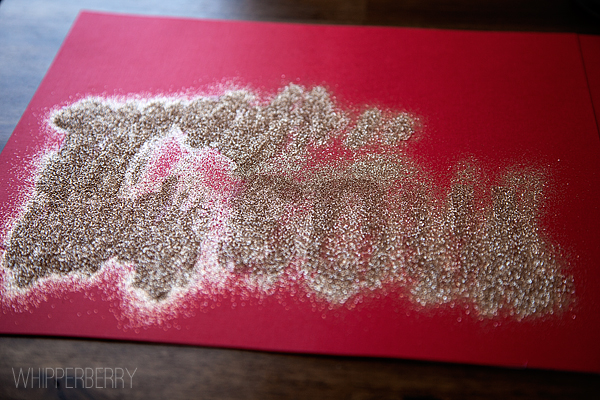
All you need to do is pour the glitter onto to the adhesive…
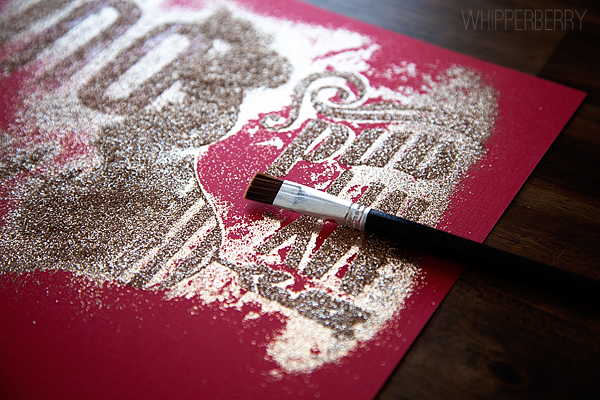
Brush it away with the brush that is included in the Double Sided Adhesive starter kit and voila you're done!! No messy glue, and your image is perfect and crisp.
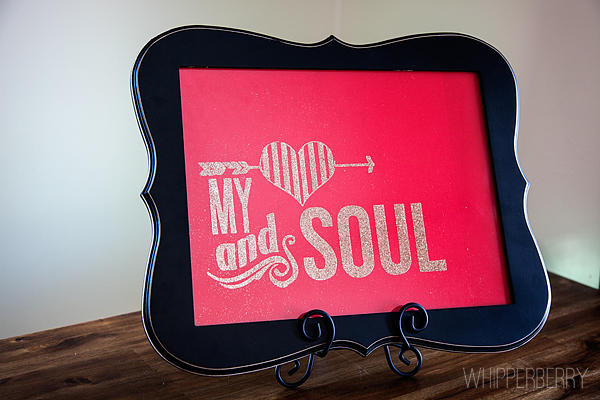
I framed my "Heart and Soul" in a trendy frame from Hobby Lobby and I LOVE it!! Want to give it a go? You know you want to! Silhouette has a great deal for you whether you have a Portrait, CAMEO already or if you don't… Silhouette has a special deal for that as well.
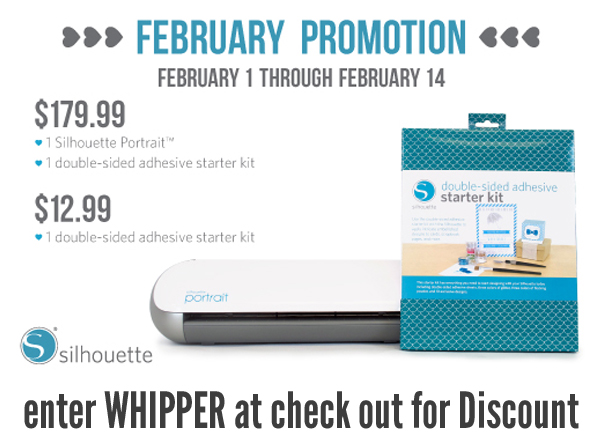
Click here to access the February Silhouette Special!
If you're feeling lucky… You can enter to win a Portrait!!