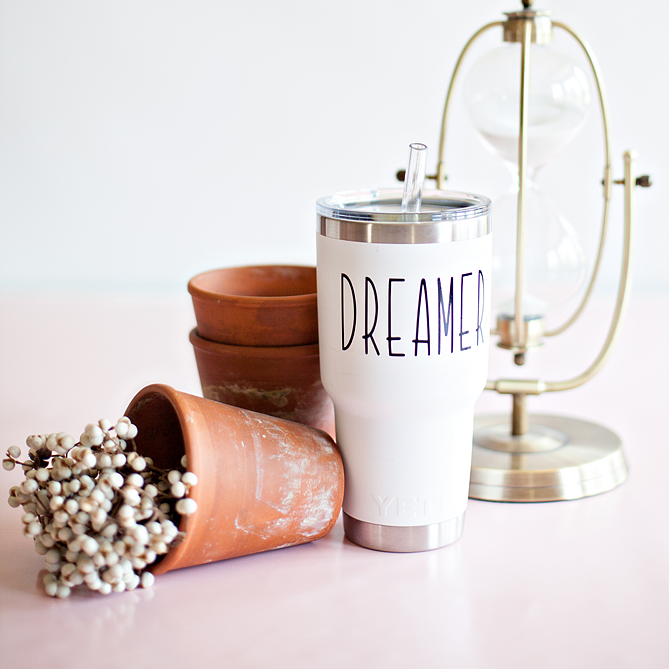
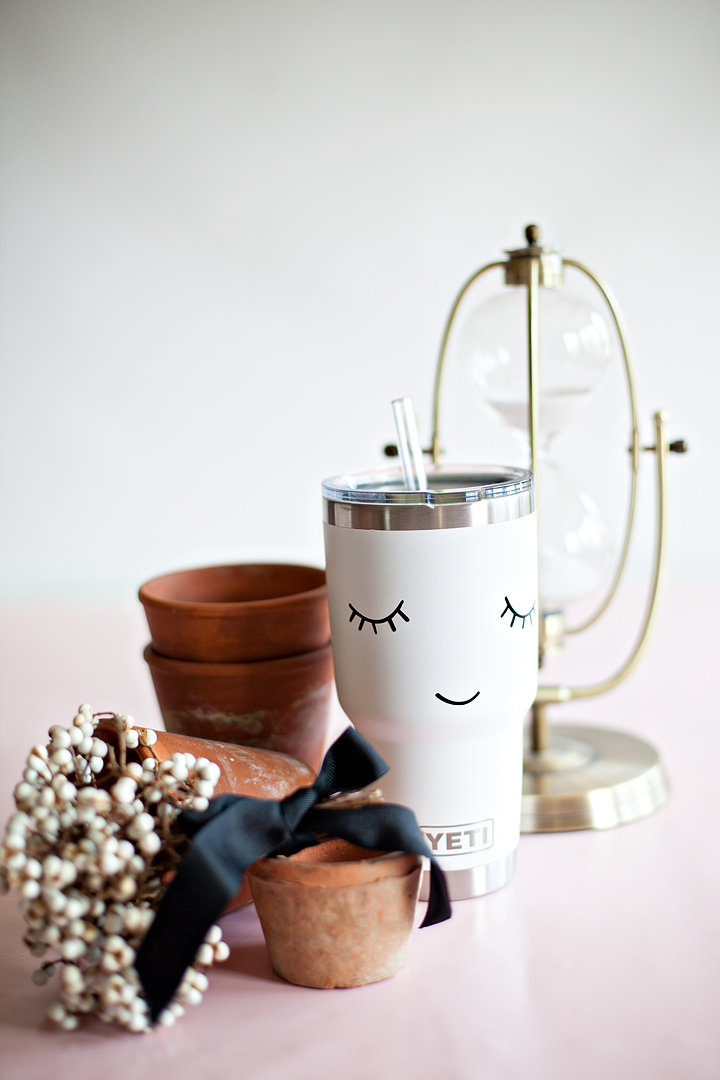
I’ve become a little obsessed with my Yeti cup to help me do just that. I’m also a HUGE believer in making everything look as fabulous as possible. Yeti has these WHITE Yeti 30 oz. Tumblers and I ran out and grabbed a few. I knew that it would look amazing when I dressed it up with a stylish design cut out of Cricut Premium Outdoor vinyl. I took off to Michaels to grab some of my favorite vinyl and set to work. Let me show you how to personalize your Yeti.
Here are Some Ways to Personalize Your Yeti Tumbler
This is so fun! Obviously, you can do this with any type of cup, I’m just a huge Yeti fan. I’m also a huge Cricut Fan so if you don’t have one, grab a friend who does and offer to make her a cup as well!
Supplies Needed for This Cricut Yeti Cup Design
- Your favorite cup
- Dreamer • Farmhouse Yeti Design
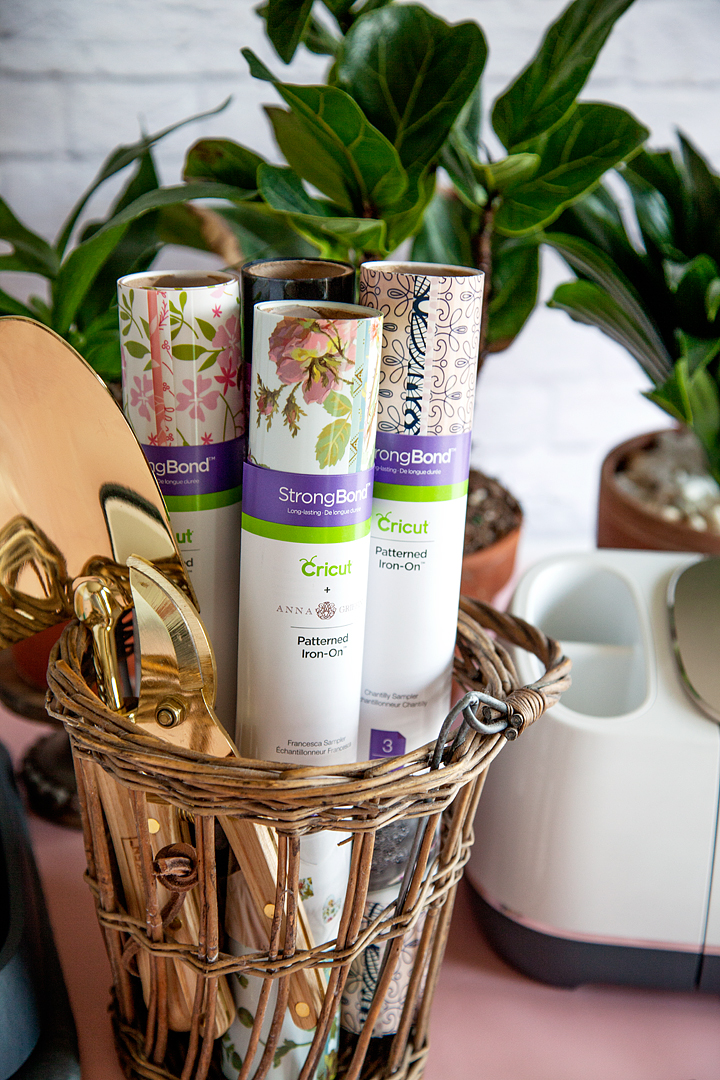
- Cricut Premium Outdoor vinyl
- Cricut Transfer Paper
- Cricut Explore 3
Instructions to Get Cricut Vinyl on Your Yeti
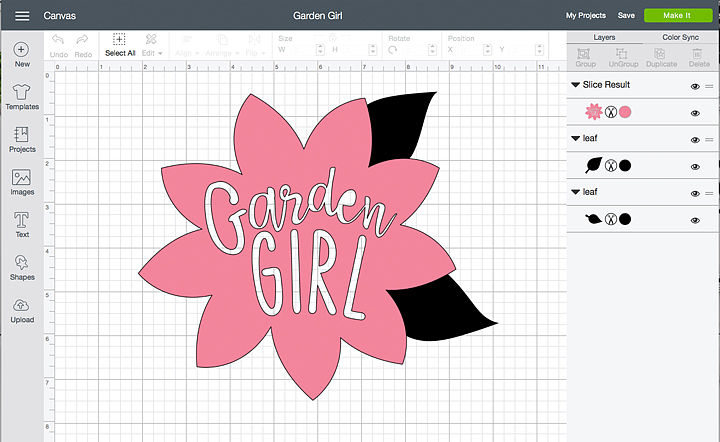
First, you’ll need to open Cricut Design Space with the link provided above to access my design. If you are working with the same type of tumbler all you need to do is click the MAKE IT button on the bottom right of the screen and follow the steps on your machine.
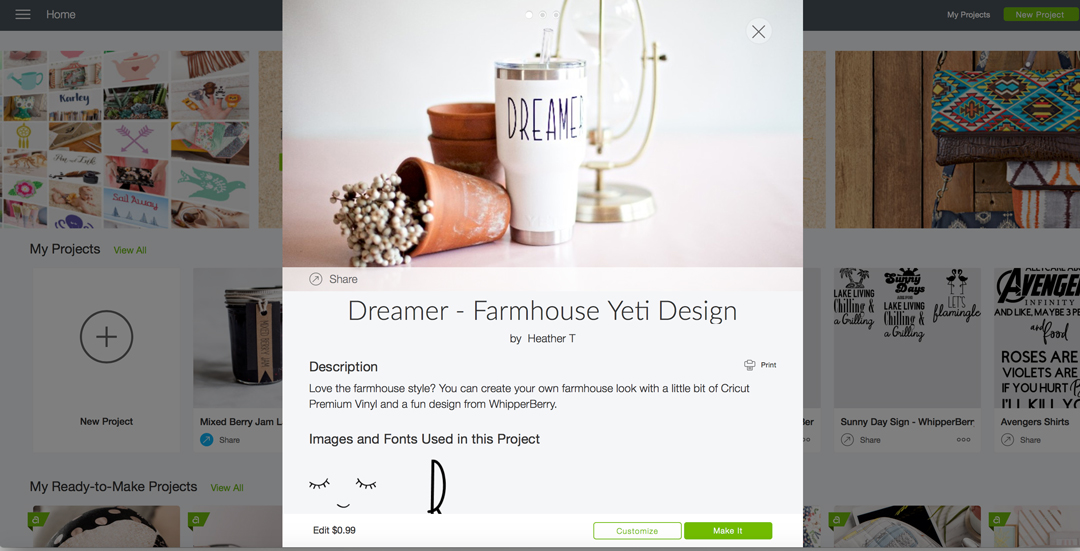
If you are using a different size cup, you’ll need to measure your cup and decide what size to make your vinyl and then resize it in Design Space. Click on the CUSTOMIZE button also in the bottom right. Size the design to fit your cup and then follow the directions in Design Space to cut the design. Keep in mind… Either way, You’ll have to pay 99¢ to have access to the cute face in Cricut Design Space.
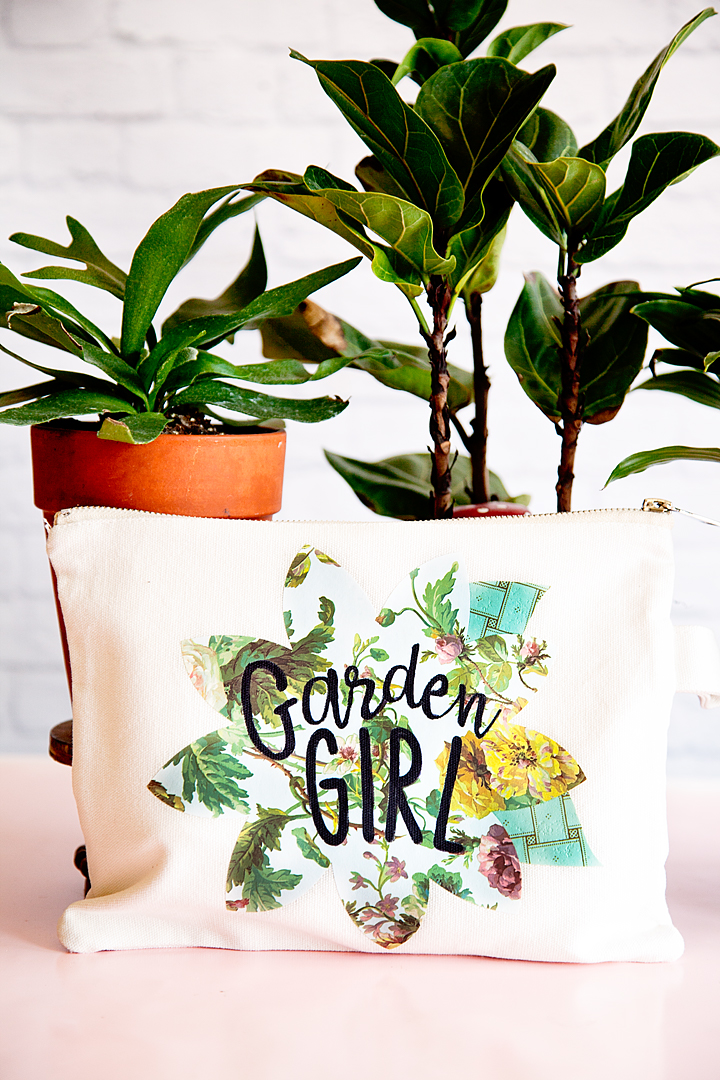
Next, you’ll need to apply your vinyl on your tumbler by following these HOW TO APPLY VINYL instructions that I posted not too long ago. Once you apply your vinyl, you’re all set to look FABULOUS this summer carrying around your white Yeti that has been customized just for you!
Other Yeti Cup Designs for Ladies
Using a Circut Maker is the best way to personalize your Yeti tumbler. There are so many different designs that you can make. You definitely don’t have to make the farmhouse design but I wanted to show you how it works and well, I liked this design!
Please browse around the website here at WhipperBerry for other Cricut ideas.
Good luck personalizing your yeti cup!