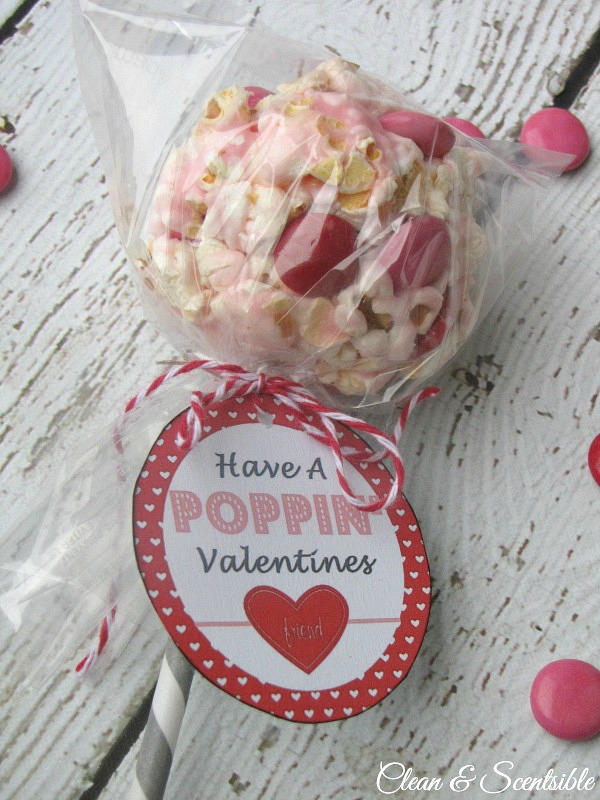
// You Make My Heart POP Free Printable for Valentine’s Day // 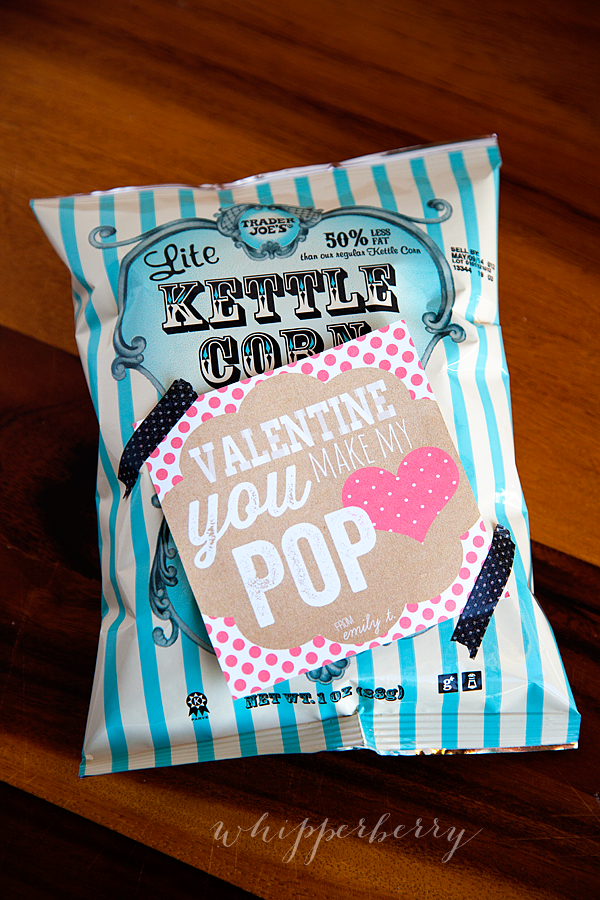
Ok… Here’s a little quickie for you procrastinators (LIKE MYSELF) for your kiddos for Valentine’s Day. I whipped this up this morning and shared it on Instagram and had a few people ask for the printable, so here it is…

Click HERE to Download the free Printable
It looks great on the Trader Joe’s Kettle Corn bags but it should look good on any bag of popcorn. Good luck! I’m off to put together 35 popcorn valentines!