There is nothing cozy about spotting a mouse in the kitchen or finding ants lined up across the counter.
The truth is, most pests are not forcing their way into your home. They slip through tiny cracks, gaps, and openings that are easy to miss. Once they settle in, getting rid of them can turn into a frustrating and expensive problem.
The good news is that a few simple home habits can make a big difference. With some preventative care around your house, you can create a cleaner, more comfortable space that naturally helps keep pests outside where they belong. No harsh chemicals. No complicated routines. Just practical steps that fit into everyday home life.
What you’ll discover:
- Why Critters Sneak Into Your Home
- Pest Control & Home Sealing Services
- 6x Cozy Habits That Keep Critters Outside
- Outdoor Tips That Make A Big Difference
Why Critters Sneak Into Your Home
Critters are looking for 3x simple things:
- Food
- Water
- Shelter
All three abound in your cozy home. Come colder weather your home resembles a 5-star hotel for mice, roaches, ants and spiders.
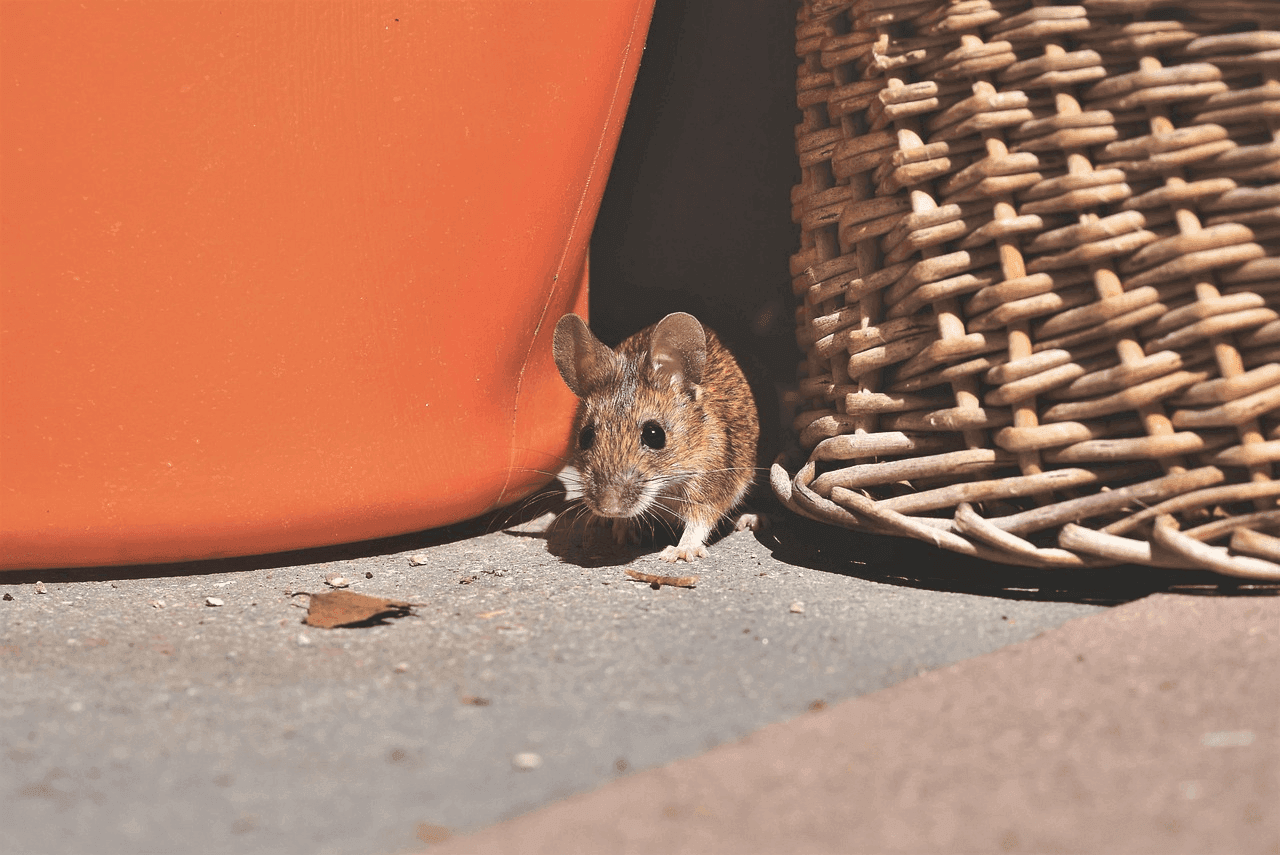
The issue? Most homes have small gaps and cracks pests crawl through. Mice can squeeze through a hole the size of a dime. Roaches can fit in spaces through cracks as small as a penny.
Recent data from the U.S. Census Bureau found that roughly 14 million American homes experienced roaches in the past 12 months. Close to 14.8 million homes experienced mice or rats as well.
That’s a lot of unwanted house guests.
Pest Control & Home Sealing Services
Most homeowners think pest control means sprays, traps and chemicals. Here’s the thing…
That only deals with critters that already made it inside.
The easiest solution is to contact a professional pest prevention team that specializes in preventative measures. A quality pest control team takes a holistic approach — they don’t just spray your house for ants today and call it a day. They recognize the root issue of why you have ants invading your home in the first place. They pinpoint what pests are living around your property, treat the problem areas, and create a long-term strategy to eliminate unwanted pests for good.
That’s the difference between reactive pest control and real prevention.
Then there’s home sealing services.
Weatherization is the second level of defense. It seals up access points before any pests can discover them. Proper professionals will look for:
- Gaps around windows and doors
- Cracks in your foundation
- Vents and chimneys
- Pipe and wire entry holes
- Roofline gaps and soffits
When done correctly, home sealing services create an invisible barrier around your house. Animals cannot enter because they have no place to enter.
6x Cozy Habits That Keep Critters Outside
Now to the cozy habits that actually work…
Stick to even a few and you’ll see a huge drop in pest problems.
Seal Up Tiny Entry Points
Take a flashlight and crawl around your house and examine all areas where pipes, wires, or vents penetrate the walls.
You’re looking for any gap bigger than a quarter inch.
Found one? Here’s what to do:
- Small cracks: use caulk
- Bigger gaps: pack in steel wool tight, then caulk over the top
- Vent openings: install hardware cloth or mesh screens
- Door bottoms: add a door sweep
Mice despise steel wool. They cannot chew it. Caulk it so they can’t pull it loose. Very simple and inexpensive solution.
(Mice are seriously stubborn.)
Focus closely on where your AC line enters, beneath the kitchen sink, behind the dryer vent, and at the garage door seals. These are the three typical places homeowners overlook.
Keep Your Kitchen Critter-Free
The kitchen is critter heaven.
Cookies on the counter. Meals in the cupboard. Water in the basin. For a mouse, your kitchen is paradise.
A few cozy habits make a huge difference:
- Wipe down counters every night
- Sweep the floor before bed
- Store flour, sugar and cereal in sealed containers
- Take out the trash daily (especially food scraps)
- Fix dripping taps and leaky pipes
The last one is enormous. Insects require hydration just like nutrition. A leaky faucet beneath your sink can be a roach’s invitation.
Oh, and don’t leave pet food out overnight. Pet bowls attract mice, ants and roaches like nothing else.
Watch The Vents And Chimneys
Vents and chimneys are some of the most overlooked entry points.
Bats, birds, squirrels and raccoons enjoy them. Why would wildlife want to be in your house? They’re warm, dark and quiet. It’s an ideal spot to nest a family.
What you should do:
- Install a chimney cap with mesh
- Cover dryer vents with vent guards
- Add mesh to attic and crawl space vents
- Check vents twice a year for damage
Studies conducted by the Census Bureau revealed houses with walls that slope, lean, or buckle away from the home were 5.6x more likely to have rodents. Minor structural damages can lead to major pest problems.
Tidy Up The Yard
Most pest problems originate outdoors. The more pest savvy you are with your yard, the less insects will find their way inside.
The outdoor habits that work best:
- Trim bushes back 18+ inches away from the house — bushes act as a bridge for critters
- Move firewood 20+ feet away — firewood stacks are pest hotels
- Keep gutters clean — clogged gutters attract bugs
- Cover trash bins tightly — loose lids invite raccoons and rats
- Drain standing water — even tiny puddles attract mosquitoes
Standing water is more important than most think. Mosquitoes can breed from small amounts within days.
Don’t Forget The Garage And Basement
The garage and basement are often the entry path before critters make it inside.
Things to focus on:
- Keep the garage door closed when not in use
- Seal gaps under the garage door
- Avoid storing cardboard boxes (roaches love cardboard)
- Use plastic storage bins with tight lids
- Check around basement windows and seal them tight
Cardboard is a magnet for roaches, silverfish and spiders. Plastic bins fix that.
Fix Moisture Problems Fast
Moisture is the silent invitation to every pest.
Roaches require it. Termites require it. Ants require it. Even spiders haunt where bugs congregate… and bugs crave moisture.
A quick checklist:
- Fix leaky pipes the day you spot them
- Run a dehumidifier in damp basements
- Make sure your dryer vents outside
- Slope soil away from your foundation
Take care of moisture. The pests follow it out.
Bringing It All Together
Keeping pests out of your home does not have to feel overwhelming. Often, the biggest difference comes from the small habits you build into your daily routine.
To quickly recap:
- Seal the gaps and tiny entry points
- Keep the kitchen clean and water-free
- Tidy up the yard and store firewood away
- Watch the vents, chimneys and roofline
- Sort out moisture before it gets bad
- Don’t forget the garage and basement
A cozy home should feel clean, welcoming, and comfortable year-round. By staying ahead of small maintenance issues and creating simple routines, you can help protect your space from unwanted pests before they ever make their way inside.
And if the problem becomes too difficult to handle alone, a professional home sealing service can help you protect the comfort and safety of your home for the long term.
Your home should feel cozy for you — not for the critters.