Elegant decor does not need to feel formal, expensive or difficult to live with. In many homes, the most refined rooms are also the simplest ones. They have a clear point of view. The furniture fits the space. The colors work together. The decor feels intentional instead of crowded.
The key is restraint. A room can be warm, personal and stylish without being filled from wall to wall. When every piece has a purpose, the whole space feels calmer and more polished. These elegant decor ideas can help you create a home that looks finished without feeling overdone.
Start With a Clear Design Direction
Before buying new decor, decide how you want the room to feel. Calm and organic. Classic and tailored. Modern and minimal. Warm and traditional. A clear direction helps you avoid random purchases that do not work together.
This step matters because elegant rooms usually have a sense of order. That does not mean every piece must match. It means the colors, shapes and materials should relate to one another. A room with soft neutral walls, warm wood furniture and a sculptural fixture like the Lennox Branching Chandelier can feel refined because the main elements support the same design mood.
Start with two to four main colors. Warm whites, soft taupe, muted green, charcoal, navy and natural wood tones all work well in elegant interiors. Brushed brass, black metal or polished nickel can be used as accent finishes. Once your palette is set, it becomes easier to choose art, pillows, rugs and accessories.
Use Fewer Pieces With More Intention
One of the easiest ways to make a room feel more elegant is to remove a few things. Too many accessories can make even beautiful furniture feel lost. Editing gives each piece room to stand out.
Look at shelves, side tables, consoles and coffee tables. If every surface is full, the room may feel busy. Keep the items that add beauty, comfort or function. Store or donate the rest.
Negative space is part of good decorating. An empty section of a shelf or a clear stretch of wall is not wasted space. It gives the eye a place to rest. This is what makes a room feel composed instead of overstyled.
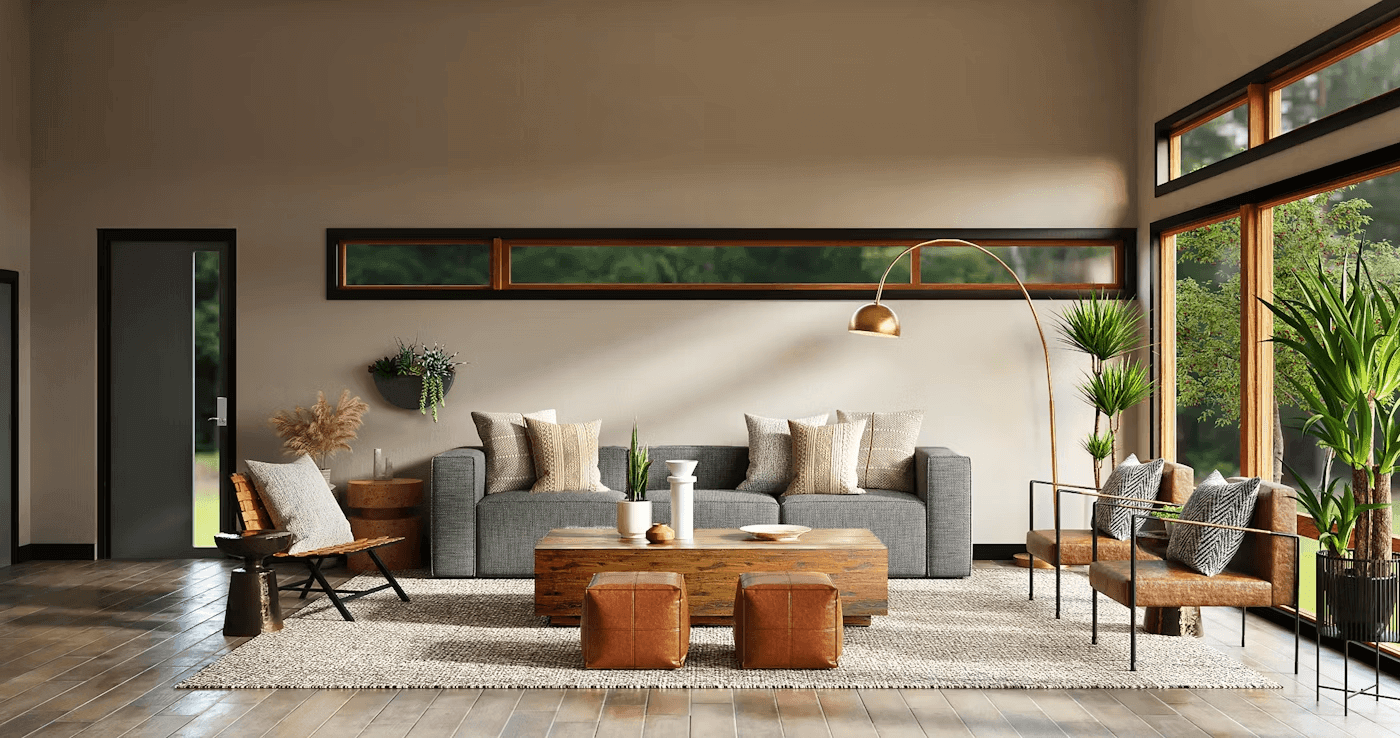
Invest in Timeless Foundation Pieces
Decor is easier to get right when the foundation of the room is strong. Furniture, rugs, window treatments and lighting carry more weight than small accessories. If these pieces look balanced, the room will already feel more refined.
Choose furniture with clean lines and good proportions. A simple sofa, a sturdy dining table or a well-shaped accent chair can last through many style changes. Avoid pieces that feel too trendy unless you truly love them.
A rug can also make a major difference. It anchors the room and connects the furniture. In a living room, the front legs of the sofa and chairs should usually sit on the rug. In a dining room, the rug should be large enough for chairs to move back without catching the edge.
Window treatments finish a room. Curtains hung close to the ceiling can make windows look taller. Roman shades can add softness without extra fabric. The goal is not drama. The goal is polish.
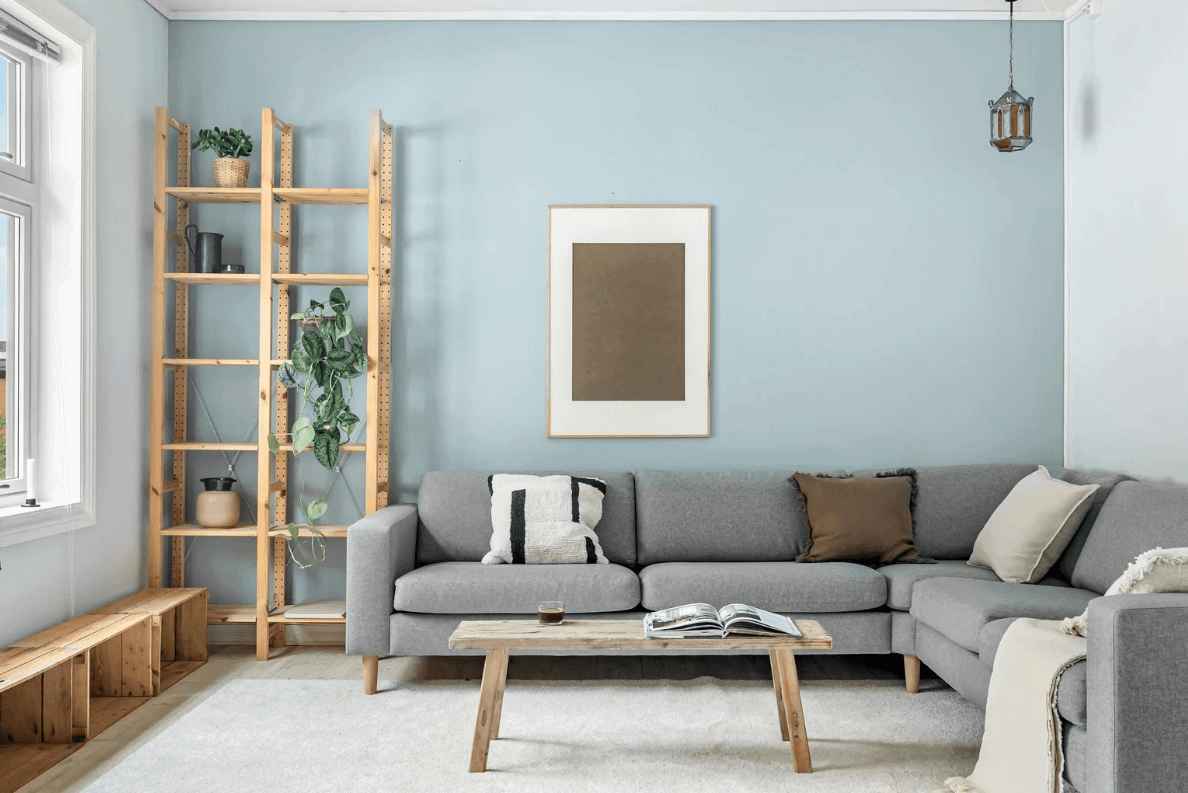
Layer Texture for Depth and Warmth
A simple room can still feel rich when it has texture. Texture keeps neutral spaces from looking flat. It also adds warmth without creating clutter.
Mix soft and structured materials. Linen curtains with a wood table. A wool rug with a leather chair. A ceramic vase beside a glass lamp. These quiet contrasts make the room more interesting.
Natural materials are especially useful in elegant decor. Wood, stone, cotton, wool, marble, clay and rattan all age well. They also bring an easy, grounded quality to a space. A room with natural texture often feels more comfortable than one filled with shiny or overly perfect finishes.
Choose Lighting That Feels Soft and Considered
Lighting affects how every room looks and feels. A space with only one bright ceiling light can feel harsh, even if the decor is beautiful. Elegant rooms usually use layers of light.
Use a mix of ambient, task and accent lighting. Ambient light comes from ceiling fixtures or recessed lighting. Task light comes from desk lamps, reading lamps or kitchen pendants. Accent light comes from sconces, picture lights or small lamps placed for mood.
Warm bulbs can make a room feel more inviting. Lamps placed at different heights help create depth. A well-chosen light fixture can also act like decor. It adds shape and style without needing extra accessories.
Decorate With Art in a Balanced Way
Art gives a room personality. It can also make a space feel more complete. The mistake many people make is choosing art that is too small for the wall.
Large walls need larger pieces or a group of frames that work together. Above a sofa, the art should usually take up a good portion of the wall space rather than floating in the middle. In smaller areas, one strong piece can be better than several tiny ones.
Gallery walls can look elegant when they are planned carefully. Use consistent spacing, related colors or similar frames. The pieces do not have to match exactly, but they should feel connected.
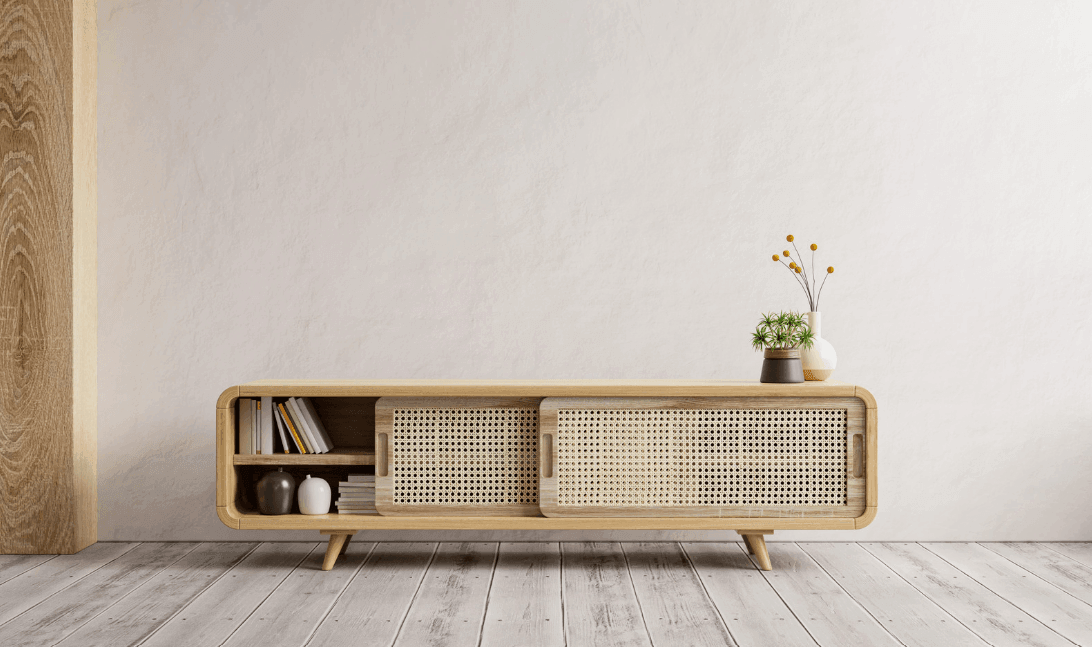
Style Shelves and Tables Without Clutter
Shelves and tables should look curated, not crowded. Use a mix of books, bowls, vases, trays, lamps and sculptural objects. Vary the height and shape so the arrangement feels natural.
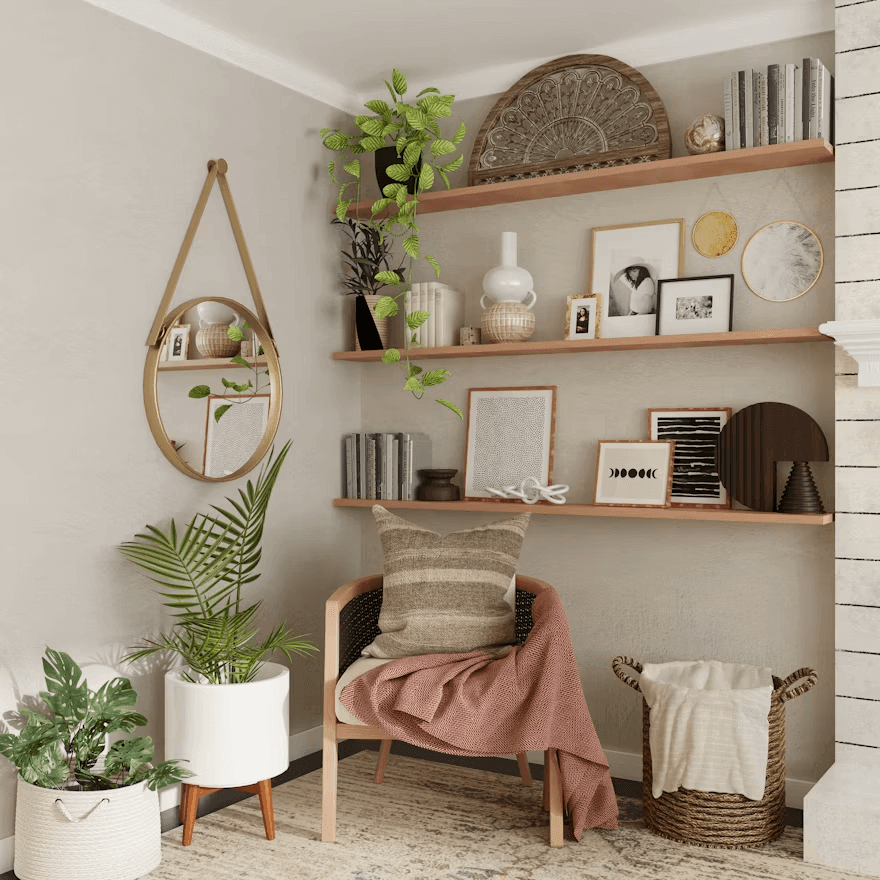
Small groupings usually work best. Try two or three items together, such as a stack of books, a small vase and a bowl. On a coffee table, a tray can help contain smaller pieces and make the surface look organized.
Do not feel the need to fill every shelf. A few well-placed objects often look more elegant than a full display.
Add Greenery and Florals With Restraint
Plants and flowers bring life to a room. They soften hard lines and add color in a natural way. Still, restraint matters.
One statement arrangement can be enough. A vase of branches on an entry table, a simple orchid on a console or fresh greenery on a dining table can add interest without taking over the space.
Tall plants can also help fill empty corners. An olive tree, fiddle leaf fig or simple potted plant adds height and movement. Choose planters that match the room’s style so the look stays cohesive.
Use Mirrors to Add Light and Space
Mirrors can make rooms feel brighter and larger when used thoughtfully. Place them across from windows, near lamps or along open sightlines to reflect light.
The frame should match the mood of the room. A slim metal frame feels modern. A wood frame feels warm. An antique finish can add character. Avoid using too many mirrors in one space, as that can feel distracting.
Keep Personal Items Edited and Meaningful
Elegant decor should not feel cold. Personal objects make a home feel lived in. The key is to display them with care.
Choose a few meaningful items instead of showing everything at once. Family photos look cleaner in matching frames. Travel pieces can be grouped on one shelf. An heirloom can become a quiet focal point when it has enough space around it.
This approach keeps the room personal without making it feel cluttered.
Pay Attention to Proportion and Scale
Scale is one of the most important parts of elegant decorating. Tiny decor on a large console can look weak. A small rug in a large living room can make the furniture feel disconnected.
Use fewer, larger pieces when styling big surfaces. A wide bowl, a tall vase or a pair of lamps can feel more balanced than many small accessories. Make sure furniture fits the room and leaves enough space to move comfortably.
Final Thoughts
Elegant decor is not about perfection. It is about balance, comfort and intention. A room feels refined when the colors work together, the lighting feels soft and the decor has room to breathe.
Before adding more, edit what you already have. Choose pieces that support the room. Keep surfaces calm. Use texture, art, greenery and lighting to build interest.
The best elegant interiors are beautiful but still easy to live in. They feel thoughtful without feeling staged. That is what keeps them from ever looking overdone.