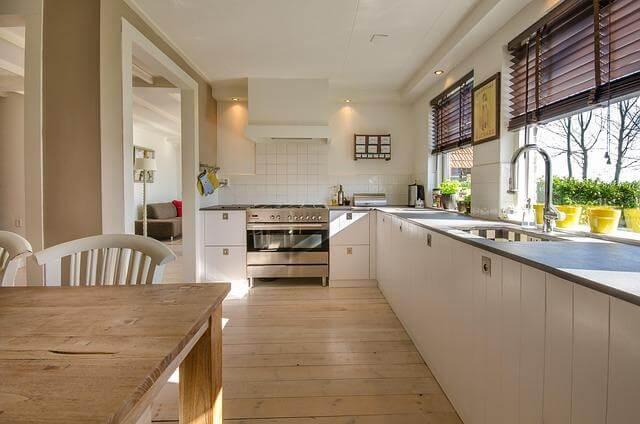
Design must function in the kitchen because it serves as a space for daily activities. The visualization presents an ideal appearance, but the actual value becomes evident through practical use. Choosing a style requires working with professionals who will execute the design concept without compromising its standards.
The Role of a Cabinet Company in Modern Kitchen Design
A modern cabinet company is much more than a furniture manufacturer. It is a partner that accompanies the entire process of creating a kitchen: from the first idea to the final installation. That is why many homeowners turn to Hayden Island Cabinets when looking for a comprehensive approach to the project.
The process begins with planning. Specialists analyze the space, consider the client’s habits, and offer solutions that balance convenience and aesthetics. An important stage is cooperation with contractors and designers project partners responsible for construction and interior design. This collaboration helps avoid technical errors such as measurement errors or material selection mistakes and ensures a well-integrated result.
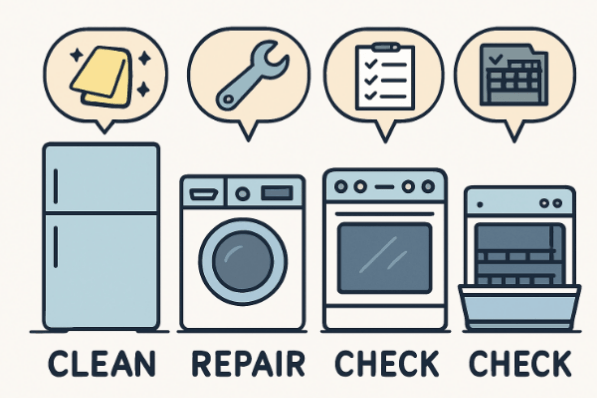
Professional installation is another critical point. Even the best cabinets will not be functional if they are installed incorrectly. That is why the team’s experience plays a key role in the final result.
Why Custom Cabinetry Matters for Homeowners
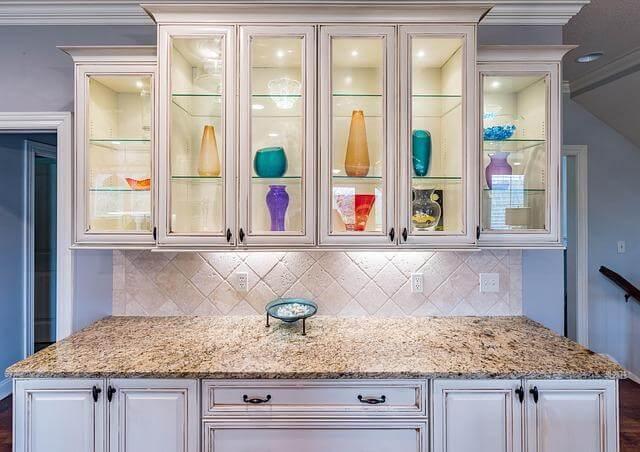
Standard solutions may be convenient, but they rarely account for the specific characteristics of the space. The custom cabinetry company is the best solution for customers looking to maximize their kitchen space. The individual approach enables you to design cabinets that fit your space perfectly. This is especially important in small or non-standard kitchens.
The client obtains complete control over their selection of materials and finishing products. This means that the kitchen can not only be functional but also fully reflect personal style.
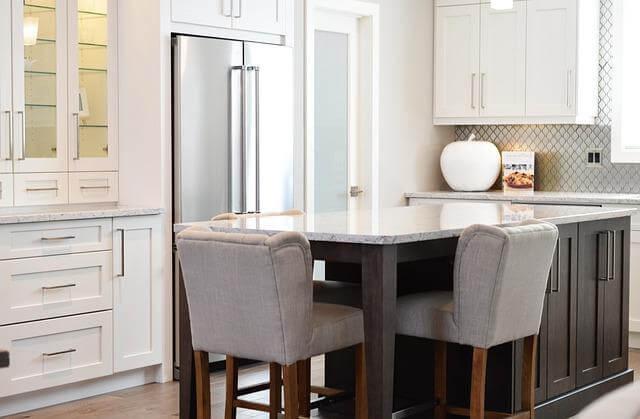
The main advantage is the efficient use of space. Thanks to the thoughtful design, the kitchen becomes convenient, logical, and pleasant to use every day.
Hayden Island Cabinets as a Reliable Cabinet Company
Among the many companies on the market, Hayden Island Cabinets stands out for its comprehensive approach to work. They do not just make furniture – they create solutions that take into account both aesthetics and practicality.
The company offers a full range of services: from design development to installation. This approach allows every step of the process, resulting in outcomes that meet our client’s standards. The process requires people to focus on every single element. The kitchen’s design includes elements that establish the period during which it will maintain its original form and its operational capabilities. A visit to the cabinetry showroom allows you to see these elements in person and evaluate their execution quality.
The approach is highly customer-focused. The team creates custom solutions for each project through their flexible approach, enabling them to work without predefined methods.
Choosing a Cabinet Company You Can Trust
Choosing a cabinet company is a decision that affects the entire project. First of all, you should pay attention to the portfolio. Real examples of work show style, quality, and approach to detail.
Customer reviews show how the company works in practice. A strong long-term reputation is one of the most reliable indicators.
Communication is no less important. A reliable company explains processes, answers questions, and provides transparency throughout.
Here’s what you should pay attention to when choosing:
- experience and examples of completed projects;
- clear communication;
- quality of materials and hardware;
- the ability to view products in a showroom;
- clear timelines and budget planning.
The right choice of partner helps you avoid unnecessary risks and create a kitchen that is not only beautiful but also comfortable for everyday life.