• Skip to primary navigation
  • Skip to main content
  • Skip to primary sidebar
  • Skip to footer

Whipperberry

WhipperBerry • Your Home For Creative Inspiration

  • Home
  • Recipes
    • Starters
    • Easy Weeknight Dinners
    • Main Dish
    • Salads
    • Side Dish
    • Soups & Stews
    • Desserts
    • Breakfast
    • Miscellaneous
  • Tutorials
    • Creative Crafts
    • DIY Decor
    • Fabric Crafts
    • Food How-To
    • Jewlery
    • Paint Projects
    • Paper Art
    • Party Styling
    • Photography and Graphic Design
    • Silhouette
  • Holidays
    • Easter
    • Mother’s Day
    • Father’s Day
    • 4th of July
    • Halloween
    • Thanksgiving
    • Christmas
    • Valentine’s Day
  • Gift Ideas
    • Gifts For Everyone
    • Gifts for Dad
    • Mother’s day
    • For The Girls
    • For The Kids
    • Teacher Gift Ideas
    • Christmas
  • Printables
    • Holiday
    • Gift Idea
    • LDS Primary
  • Travel
  • About
    • Terms
  • Contact
  • Nav Social Menu

    • Facebook
    • Instagram
    • Pinterest
    • RSS
    • Twitter

Parties

How to Host a Wine Tasting Party at Home (Step-by-Step Guide)

0 · Jul 4, 2026 · Leave a Comment

A wine tasting at home sounds fancier than it is. You do not need a sommelier or a cellar full of rare bottles, only a handful of wines worth comparing, a few friends, and a plan for the evening. Done well, a tasting turns an ordinary get-together into something guests remember, and it costs less than a night out.

The difference is in the planning. Get the wine, the order, the glasses, and the food right, and the evening mostly runs itself.

How Much Wine to Pour

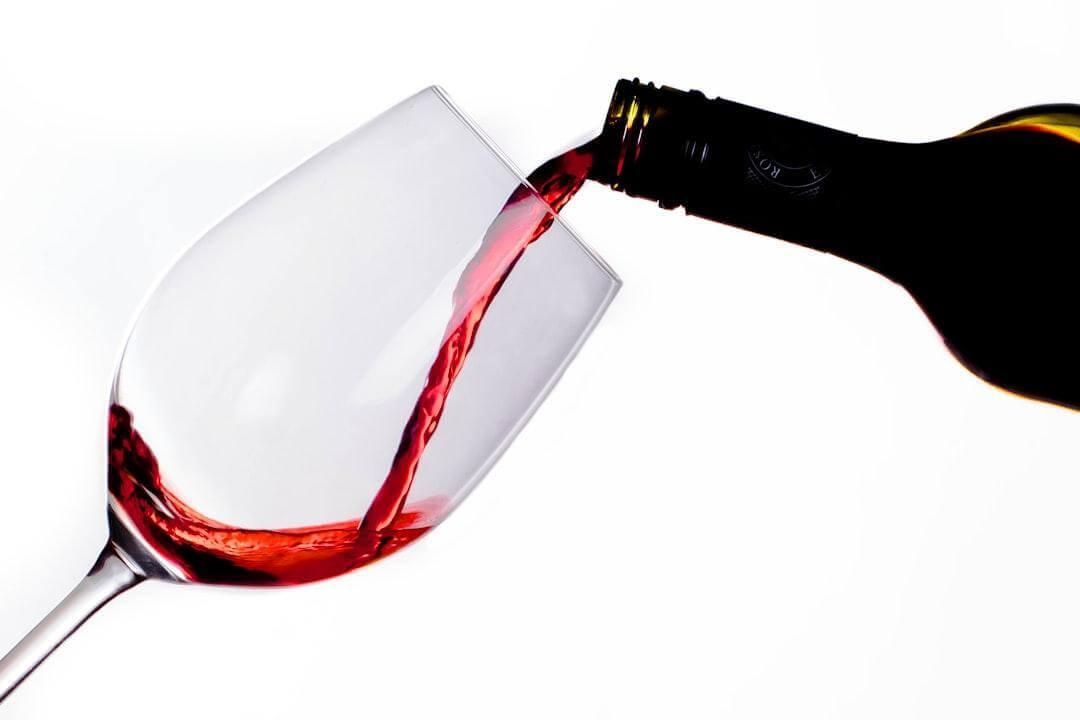
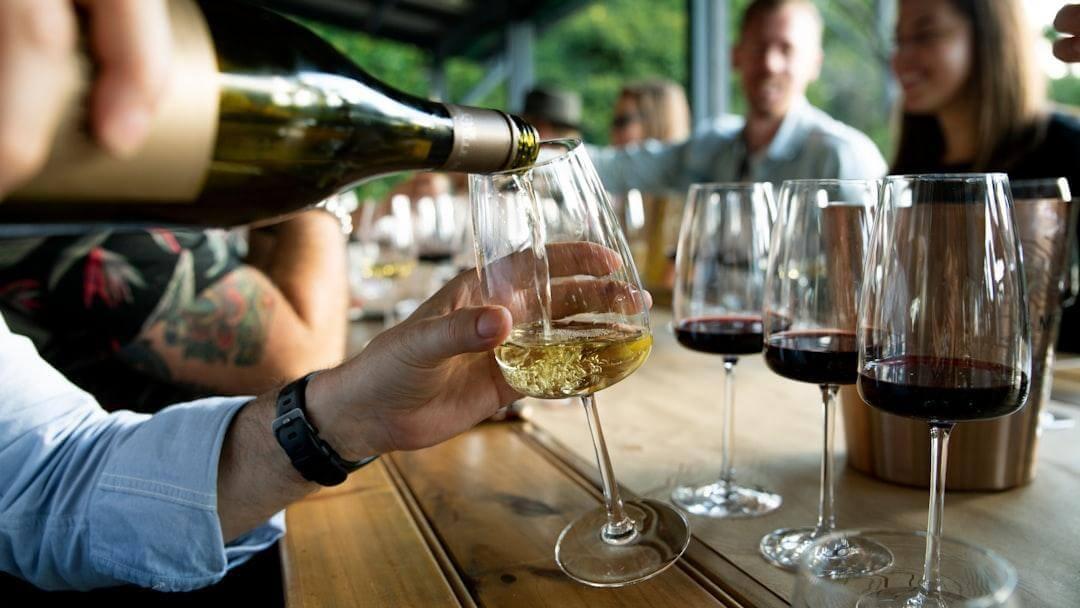
Red wine being poured for a tasting party

Plan on one bottle for every five or six guests, per wine, because tasting pours are smaller than a full glass. For ten people sampling five or six different wines, that works out to about one bottle of each. Buy slightly over rather than under, since a good leftover bottle is never a loss.

Five or six wines is plenty for one evening. Past eight, palates tire and the later wines stop getting a fair hearing, so a tighter lineup usually makes for a better night than a long one.

Pick a Theme and Pour in the Right Order

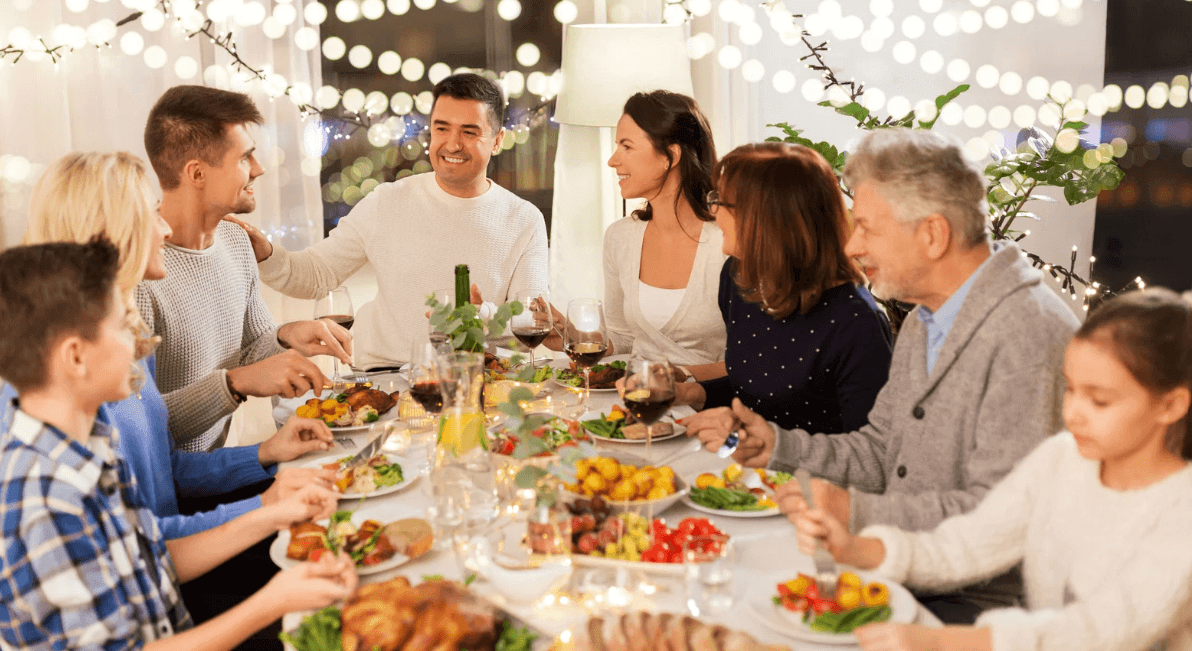
Group of friends enjoying a wine tasting

A theme gives the group something to compare, and the pouring order keeps each wine tasting the way it should. Choose one focus, then pour from lightest to boldest.

Good themes give the evening a spine:

  • One region, so everyone tastes how a place expresses itself
  • One grape across regions, to see how climate and soil change it
  • A blind test, pouring a value bottle against a premium one with the labels hidden

Then pour in order: sparkling first, then light whites, fuller whites, light reds, bold reds, and anything sweet at the very end. The reason is simple. A big, tannic red early flattens your palate and makes the delicate wines after it taste like nothing.

Serve Each Wine at the Right Temperature

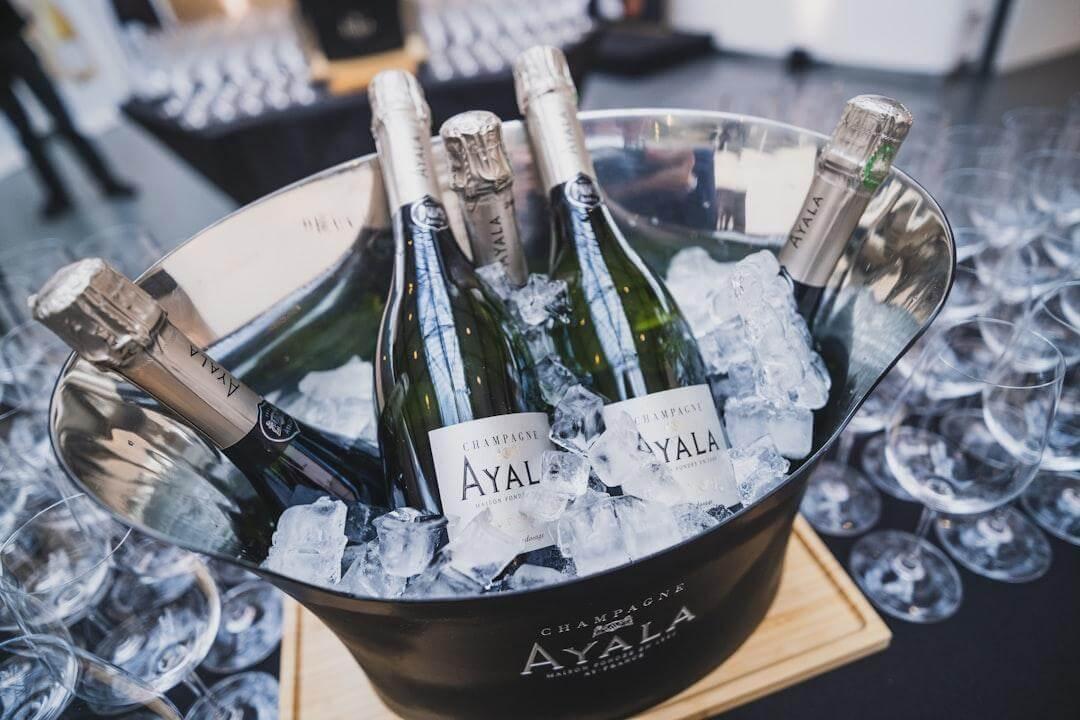
Champagne bottles in ice bucket for a home

Temperature changes how a wine tastes, so getting each one into its right range matters nearly as much as the wine you picked. Serve whites and sparkling around 45 to 50°F, and reds around 60 to 65°F, which is cooler than most rooms.

The difference is not subtle. A red served too warm tastes flat and boozy, because the alcohol reads as heat; a white served too cold goes mute and gives up almost no aroma. Research on serving temperature has found it significantly shifts a wine’s perceived aroma and the balance of its sweetness, acidity, and bitterness (source). In practice, pull your reds into the fridge for 20 to 30 minutes before guests arrive, and take the whites out about 15 minutes before pouring so they are cool, not ice-cold.

Glasses, Water, and Something to Eat

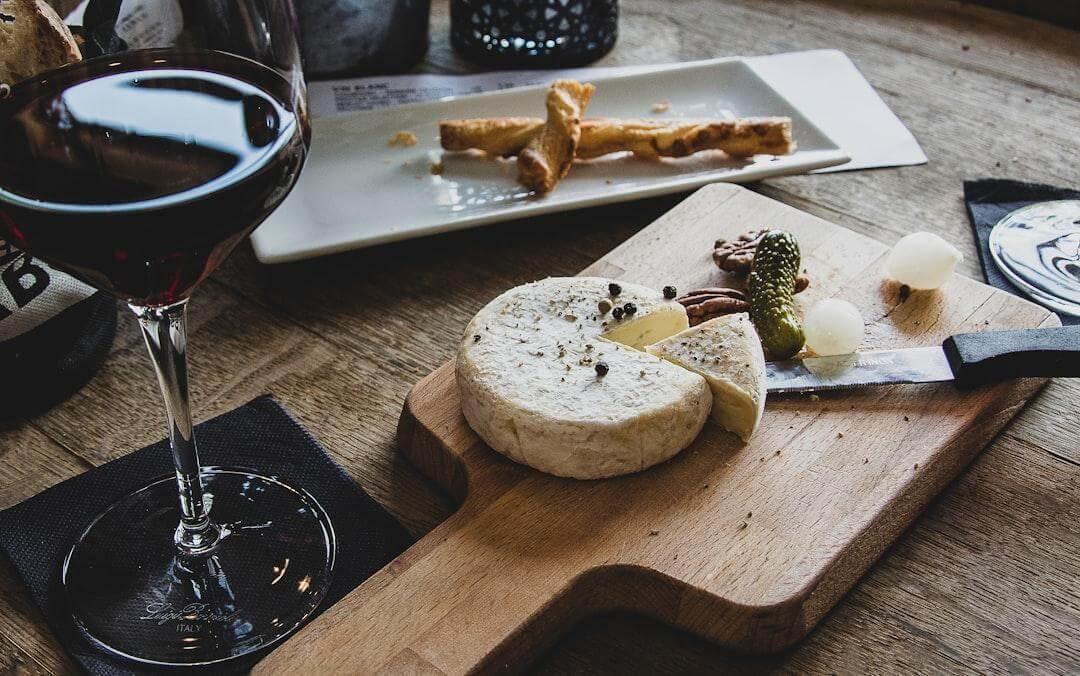
A wooden cutting board with cheese and a glass

Give everyone one clear glass, plenty of water, and plain food to reset the palate between pours. Clear stemware matters because half of tasting is looking at the wine’s color and clarity before you ever smell it.

One glass per guest is enough if you rinse it with a splash of water between wines, or set out a fresh glass per flight if you would rather. Keep the food plain, and the key is restraint here: bread, crackers, and a mild cheese let the wine stay the center of attention, while anything strong or spicy overrides the more delicate bottles before you get to taste them.

Keep the Opened Bottles Fresh

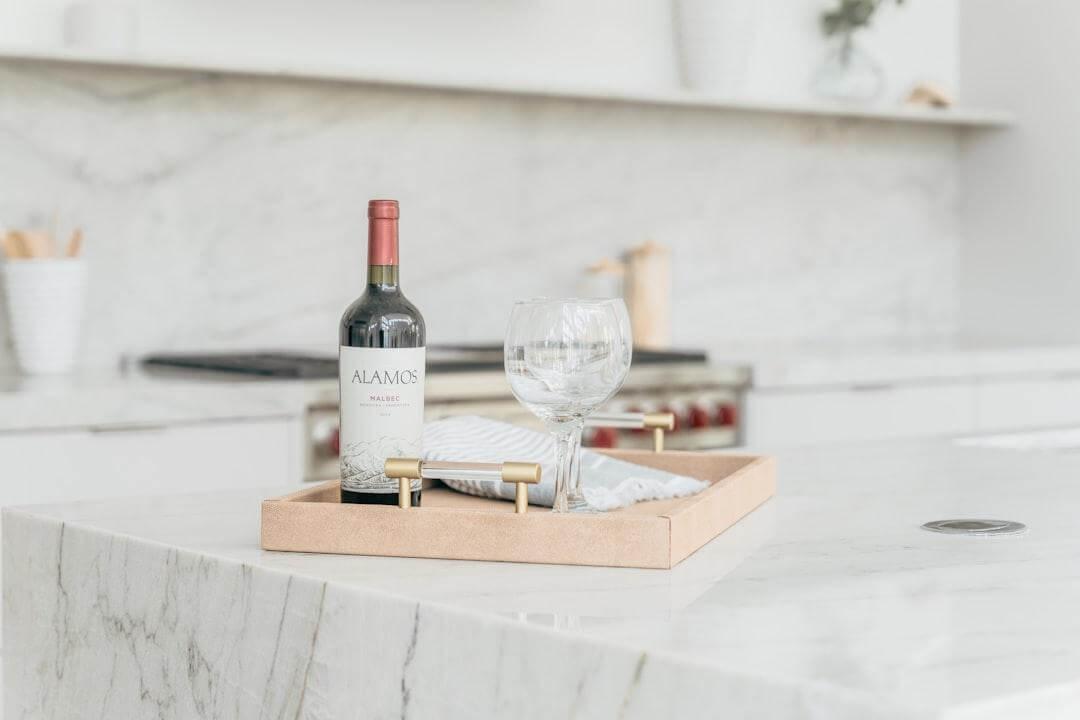
Bottle of wine on a counter, ready for a

Open six bottles for a tasting and most of them end the night half full. That leftover wine is the part most tasting guides skip. Once a bottle is open, oxygen goes to work, and within a day or so the wine turns flat and then sharp, on its way to tasting like vinegar (source). A night of good wine can leave a counter of bottles that are past their best by the next evening.

Resealing and refrigerating buys a leftover bottle a couple of days, which is fine for one or two. To keep several open at once, a wine preservation-and-serving system pours a measured glass while sealing the rest of the bottle under inert gas, argon or nitrogen, so air never reaches the wine. Wine Cellar HQ, a US wine-storage specialist, sells a wine preservation and serving system built for exactly that. For saving the last of a single bottle, an inexpensive vacuum stopper is all you need; a dispenser is ideal when you are keeping five or six open at once and want them just as good at your next tasting.

Wine Tasting Party FAQ

What are the five S’s of wine tasting? See, Swirl, Sniff, Sip, and Savor. Look at the color and clarity, swirl to release the aromas, sniff before you drink, take a small sip and let it coat your mouth, then note the finish as you swallow.

How many bottles do I need for a tasting party? Plan roughly one bottle per five or six guests for each wine you pour. For a group of ten tasting six wines, that is about six bottles, with a little extra of any crowd favorite.

What should I serve to eat? Keep it plain: bread, crackers, and a mild cheese or two, plus plenty of water. Skip strong, spicy, or heavily seasoned food, which competes with the wine instead of clearing the palate.

Wrapping Up

A good tasting is mostly planning: the right number of wines, poured coolest and lightest first, with water and plain food to keep palates fresh. Set that up, keep the pace relaxed, and your only real job for the evening is enjoying the wine along with everyone else.

How to Plan a Beautiful Family Party Without Overspending

0 · May 19, 2026 · Leave a Comment

Planning a beautiful party for family and friends does not have to mean spending a fortune. Some of the most meaningful gatherings happen right at home with simple details that make everyone feel welcome and loved. Whether you are hosting a birthday party, holiday dinner, baby shower, or backyard celebration, creating a warm atmosphere matters more than expensive decorations.

With a little creativity and thoughtful planning, moms can put together a party that feels stylish, personal, and memorable while staying within budget. Here are a few simple ways to create a beautiful family gathering without overspending.

plan a beautiful family party without overspending

Start With a Simple Theme

A clear theme makes every party decision easier. It helps guide your colors, decorations, food, invitations, and even the music or activities. The theme does not need to be complicated. A garden brunch, cozy fall dinner, backyard birthday, pastel baby shower, or homemade holiday gathering can all feel lovely with the right details.

Start by choosing two or three colors and repeating them throughout the party. Use those colors in napkins, flowers, table settings, printables, or dessert decorations. This creates a cohesive look without requiring you to buy every matching item in the party aisle.

A simple theme gives your gathering direction while keeping the planning process manageable and fun.

Use What You Already Have

Before buying anything new, shop your house first. You may already have more party-ready pieces than you realize. Cake stands, baskets, trays, jars, pitchers, linens, candles, string lights, cutting boards, and serving bowls can all be used to create a styled setup.

Home décor can become party décor with a little imagination. A framed print can dress up a dessert table. Books can add height to a display. Greenery from your yard can fill small vases. Mason jars can hold flowers, utensils, or candles.

Repurposing what you already own helps you save money while giving the party a more personal, collected feel. The result often looks warmer and more charming than decorations bought all at once.

Make One DIY Detail the Star

It is easy to get carried away with party inspiration and want to make everything by hand. But taking on too many DIY projects can quickly become stressful. Instead, choose one handmade detail to be the star of the party.

This could be a printable banner, handmade place cards, a simple balloon garland, painted mason jars, custom cupcake toppers, or a small photo backdrop. One thoughtful project can create a big visual impact without taking over your schedule or budget.

A handmade element also makes the gathering feel more personal. Guests notice when something has been created with care, and it gives the party a special touch that store-bought decorations cannot always provide.

Be Strategic With Food and Drinks

Food is often one of the biggest party expenses, but it does not have to be complicated or costly to feel special. The key is choosing a simple serving style and presenting it beautifully.

A brunch board, dessert bar, taco station, pasta night, snack table, or signature drink can be affordable and easy to customize. Instead of offering a huge menu, focus on a few crowd-pleasing items and make them look inviting.

Mix homemade recipes with store-bought shortcuts to save time and money. A homemade dip can sit beside crackers from the store. Bakery cupcakes can look custom with pretty toppers. A simple drink can feel festive with fruit, herbs, or a cute label.

Presentation makes a big difference. Trays, garnishes, labels, and layered serving dishes can make even simple food feel party-worthy.

family party food

Shop Smart for Party Supplies

When you do need to buy supplies, shop with a plan. Dollar stores, craft store sales, clearance aisles, printable templates, thrift stores, and discount shops can all be great places to find affordable party pieces.

Look for reusable basics instead of one-time decorations whenever possible. Neutral tablecloths, glass jars, serving trays, candle holders, and simple banners can be used again for birthdays, holidays, showers, and family dinners.

When buying supplies you already planned to purchase, using a bank app or card feature that offers reward points can add a small bonus without changing the focus of your party budget.

The goal is to spend intentionally. A few well-chosen supplies can go much further than a cart full of random decorations.

Send Guests Home With Simple Favors

Party favors do not need to be expensive to feel thoughtful. The best favors are often small, personal, and connected to the gathering.

Homemade cookies, seed packets, mini candles, wrapped candies, printed recipe cards, small plants, or handwritten notes can all make sweet take-home gifts. Package them simply with ribbon, kraft paper, a tag, or a little bag that matches your theme.

Favors are not required, but they can be a lovely way to end the party on a warm note. Keep them simple and meaningful rather than elaborate.

Final Thoughts

At the end of the day, the most memorable parties are not the ones with the biggest budgets. They are the gatherings where family and friends feel comfortable, celebrated, and connected. Thoughtful details, simple decorations, good food, and a welcoming atmosphere are what people remember most.

By choosing a simple theme, using what you already have, adding personal touches, and shopping intentionally, you can create a beautiful family party without overspending – a party that feels warm, polished, and family-centered. Sometimes the sweetest moments come from the simplest celebrations.

Fun LED Glove Ideas You Can Try at Home

0 · Apr 2, 2026 · Leave a Comment

As a mom who loves simple crafts and creative projects, I am always looking for new ways to make everyday moments feel a little more fun.

LED gloves turned out to be one of those unexpected finds. What started as a fun accessory quickly became a creative activity we could enjoy at home. With just a bit of space and some music, they can turn simple hand movements into colorful light patterns.

Whether you are looking for a unique DIY activity, a creative break, or something new to try with your family, LED gloves offer an easy way to explore movement, light, and imagination together.

Fun LED Glove Family Activities

Where Movement Meets Light

Gloving is all about timing and control. Each flick, wave, and transition is synced to music, but it is also something you can explore at your own pace at home.

LED gloves turn your hands into light sources. With different colors and patterns, they create trails and shapes that change as you move. Slow movements create smooth, flowing lines. Faster motions create quick flashes and accents. As you try different movements, you start to see how even small changes can completely shift the effect.

While many people first notice gloving at an EDM event, it is just as fun to bring that creativity into your own space. You do not need a crowd or a big setup. A dim room, a bit of music, and a few simple movements are enough to get started.

At home, gloving becomes more personal and hands-on. You can experiment freely, try new patterns, and build your own style without pressure. It can feel less like a performance and more like a creative project you can keep improving over time.

Some people enjoy sharing simple light shows with family or filming short clips to see how their movements look. Others use it as a way to relax and focus. However you approach it, gloving is a flexible activity that fits easily into everyday life.

Learning gloving as a creative outlet

Getting into gloving might seem intimidating at first, especially when you see experienced performers moving with precision. But like most creative skills, it starts with simple patterns.

You don’t need to master everything at once.

Begin with basic finger rolls, simple waves, or controlled isolations. From there, you build muscle memory. Your hands start to move more naturally, and your timing improves. Using LED gloves during this process adds an extra layer of feedback. You can see your movements more clearly, which helps you refine them. Over time, what felt mechanical starts to feel expressive.

Beyond festivals: everyday creativity

While LED gloves are closely tied to EDM culture, they’re not limited to it. People are finding ways to incorporate them into different creative spaces:

  • Filming short-form content or reels
  • Experimenting with light painting photography
  • Adding visual elements to dance practice
  • Enhancing cosplay or character styling with dynamic light effects
  • Creating ambient visuals for small gatherings or intimate events
  • Practicing mindfulness or flow-based movement as a form of stress relief

In these contexts, gloving becomes less about performance for a crowd and more about personal exploration. You can try new patterns, test different color combinations, and see how light interacts with your environment—all without the pressure of an audience.

DIY projects and customization

One of the more interesting aspects of LED gloves is how customizable they can be.

Depending on the set you choose, you can adjust color modes, program specific light sequences, and sync patterns to different moods or songs.

For those who enjoy tinkering, this opens up a range of DIY possibilities. You’re not just using the gloves—you’re shaping how they behave.

Some people even take it further by modifying their setups or combining LED gloves with other wearable tech. It becomes less about a single accessory and more about building a system that reflects your style.

Traveling with light

Bringing a creative tool with you when you travel changes how you experience a place. Packing LED gloves might not be the first thing that comes to mind, but they can add a unique layer to your trips.

Imagine: Practicing gloving on a quiet beach at night. Or filming light patterns against city skylines. Or maybe sharing a spontaneous light show with new friends.

Because they’re compact, LED gloves are easy to carry. And since they don’t rely on a specific setting, you can use them almost anywhere. They turn ordinary moments into something a bit more memorable. And in case you’re planning to make your travel worth sharing, here are some tips.

The balance between skill and expression

What makes gloving interesting is the balance it requires. On one hand, there’s technique—precision, timing, control. On the other, there’s expression—how you interpret the music, how you choose to move.

LED gloves sit right at that intersection. They reward practice, but they also encourage individuality. Two people can perform the same basic pattern and still look completely different.

That’s where personal style comes in – the pace of your movements, the way you transition between patterns, the color choices you make.

Keeping it approachable

It’s easy to look at advanced performances and feel like you’re far behind. But the reality is, everyone starts somewhere. You don’t need perfect technique to enjoy LED gloves. You just need curiosity and a willingness to try.

Set aside a few minutes:

  • Put on music you enjoy
  • Experiment with simple movements
  • Pay attention to how the light responds

That’s enough to get started. Over time, those small sessions add up. Your hands become more comfortable, your movements more fluid. And without realizing it, you’re already practicing gloving.

Final Thoughts

One of the things I love most about LED gloves is how easy they are to turn into a creative activity at home.

You do not need special skills or a perfect setup. Just a few minutes, some music, and a willingness to try something new can go a long way. Whether you are practicing simple movements, experimenting with light patterns, or creating your own mini light show, it is a fun way to spend time together.

If you enjoy DIY projects that spark creativity without a lot of prep, this is definitely one to try. Start simple, have fun with it, and see where your ideas take you.

Budget-Friendly DIY and Party Planning Ideas for Families

0 · Mar 5, 2026 · Leave a Comment

Hosting a gathering at home should feel fun and welcoming, not stressful or expensive. Whether you are planning a birthday party, a holiday get-together, or a casual weekend celebration with family and friends, a little creativity can go a long way. With simple DIY ideas and thoughtful party planning, you can create a warm, festive atmosphere without spending a fortune.

One of the easiest ways to stay on budget is to plan ahead and look for smart ways to save on decorations, food, and party supplies. Many hosts also like to discover deals on Coupora, your go-to source for amazing savings on party supplies, decorations, and more. When you combine creativity with a few smart savings, it becomes much easier to plan a party that feels special while still being practical for everyday family life.

party planning

DIY Decorations on a Dime

You don’t need a balloon arch that costs more than the cake. The best “wow” factor usually comes from a few intentional details, repeated in a simple way—same colors, same textures, same vibe. Start by shopping your own place first, then fill the gaps with cheap basics (and discounts on Coupora.com if you’re grabbing supplies).

As Tom Church, Co-Founder of Coupora.com, puts it: “A few coordinated details beat expensive, one-off decorations every time—use what you already own, then top up with the basics using a good discount code.”

  • Use What You Have: Do a 10-minute sweep of your home before buying anything. Glass jars become candle holders. Empty bottles turn into vases. String lights automatically make any corner feel like a party. Even a handful of greenery from your yard (or a cheap grocery-store bunch) looks polished when you cluster it instead of spreading it thin.
  • Create Homemade Centerpieces: Keep centerpieces low, easy, and non-fussy. A bowl of citrus or apples looks clean and bright. A few candles on a tray looks intentional. One jar with flowers beats five random stems everywhere. Pro move: pick one “center” item (fruit, candles, flowers), then repeat it on each table for instant cohesion.
  • DIY Banners and Signs: Paper + string = instant decor. Cut triangles or circles from colored paper, write a simple message, and tape/staple them to twine. For signs, a poster board and a thick marker works fine—no one’s grading your handwriting. A small chalkboard (or even a picture frame with paper inside) can label the snack table, drinks, or the “take a photo here” spot without spending extra on printed stuff.

Affordable Food and Drink Ideas

Food is usually where budgets go to die—so keep it simple, share the load, and lean into crowd-pleasers.

  • Potluck Style Feasting: Make it organized, not chaotic. Pick a theme (taco night, brunch, comfort food) and assign categories: mains, sides, desserts, drinks. A quick message like “If you bring a dish, label allergens” saves headaches. Bonus: you get variety without paying for it all.
  • DIY Snack Bar: Snack bars look “extra” but cost very little. Choose one base and go hard on toppings:
    • Popcorn bar: butter + seasoning shakers (ranch, chili-lime, cinnamon sugar), plus mix-ins like pretzels or mini chocolate chips
    • Nacho bar: chips, a warm queso, salsa, jalapeños, black beans
    • Cupcake/cookie bar: store-bought base + DIY frosting/toppings (sprinkles, crushed candy, fruit)

Put everything in bowls/jars you already own and label with scrap paper. Instant party vibe.

  • Batch Cocktails (or Mocktails): Skip the “full bar” fantasy. One signature drink is cheaper, faster, and looks intentional. Mix a big pitcher ahead of time and offer two add-ons (citrus wedges, herbs, sparkling water). For a mocktail, do the same: fruit juice base + soda water + garnish. People love having a “house drink,” and you’re not stuck playing bartender all night.

Entertainment Without the Expense

You don’t need a DJ, bounce house, or rented equipment to keep people happy. You just need a little structure and a few “easy yes” options so guests always have something to do. As Tom Church, Co-Founder of Coupora.com, a discount code platform, puts it: “The best parties aren’t the ones with the biggest budget—they’re the ones with a simple plan and a few go-to activities that make it easy for everyone to jump in.”

  • Playlist Party: Build a killer playlist ahead of time (mix familiar crowd-pleasers with a few deeper cuts). Want it to feel interactive? Make a simple “song request” note on your phone or a scrap paper by the speaker. Bonus tip: download the playlist in advance so spotty Wi‑Fi doesn’t ruin the vibe.
  • Games and Activities: Keep it low-effort and high-participation. Board games and cards work, but so do no-supplies classics like trivia, charades, “Two Truths and a Lie,” or a mini tournament (Uno, poker, Mario Kart, whatever you already own). Add a DIY photo booth by hanging a sheet as a backdrop and tossing props on a chair—hats, sunglasses, scarves, random costume jewelry. People will entertain themselves.
  • Themed Costume Party: Themes are basically free excitement. Keep it simple so everyone can participate without shopping: “All black,” “Decades,” “Tropical,” “Dress like a meme,” “Anything but a cup,” or “Wear your favorite color.” The theme becomes built-in conversation fuel—and your photos instantly look more put-together.
diy party

Thoughtful Party Favors

Party favors don’t need to be fancy or expensive—they just need to feel intentional. Aim for something small, useful, or snackable, and you’re golden.

  • Homemade Goods: Keep it simple and batch-friendly. A few cheap-but-cute ideas:
    • Mini bags of homemade cookies (even boxed mix dressed up with chocolate chips works)
    • Small jars of jam or honey with a handwritten label
    • Bath salts in a little container (Epsom salt + a few drops of essential oil, if you’ve got it)

Package everything in what’s on sale—cellophane bags, mini mason jars, kraft boxes. This is where deal-hunting on Coupora can save you more than the ingredients do.

  • Customized Souvenirs: A tiny personal touch makes even a cheap favor feel legit.
    • Print a few instant photos (or run a batch of prints after the party) and set them out in envelopes for guests to grab.
    • Match the favor to the theme: a packet of seeds for a garden party, a mini spice mix for a dinner night, a bookmark for a book-themed hangout.

Keep customization low-effort: one simple tag like “Thanks for coming” + the date goes a long way.

Tips for Success

  • Plan Ahead: Give yourself runway. A couple extra weeks means you can grab discounts as they pop up, DIY at a relaxed pace, and avoid those last-minute “fine, I’ll pay full price” purchases. Keep a simple checklist, lock in your guest count early, and buy the basics first (plates, cups, napkins, core decor). If you’re deal-hunting, Coupora is a solid place to start before you hit checkout. As Tom Church, Co-Founder of Coupora.com, puts it: “The easiest way to save is to check for a working discount code before you pay—those small savings add up fast.”
  • Collaborate with Friends: Split the load and the cost. One friend handles music + games, another brings a signature drink, someone else is on “photos + setup.” People like having a role—it makes the party feel more communal, and you avoid doing everything solo. Bonus: if you assign categories, you won’t end up with five bags of chips and zero ice.
  • Keep it Simple: Pick one “wow” element and let everything else be easy. Maybe it’s a killer snack bar, a fun theme, or great lighting. You don’t need matching everything, complicated menus, or a thousand decorations. Clean space, good vibes, enough food, and a comfortable flow beats perfection every time.

Final Words

Party planning at home does not require a big budget. With simple DIY decorations, easy food ideas, and a few thoughtful activities, you can create a party that feels warm, relaxed, and welcoming for both family and friends. Often the best moments come from the little details such as shared food, music in the background, and spaces where guests can laugh and spend time together.

A bit of preparation also helps keep things affordable. Looking for deals on decorations and party supplies ahead of time, including discounts available through Coupora, can help stretch your budget while still creating a festive atmosphere. When you focus on comfort, creativity, and time spent together, your gathering becomes less about perfection and more about enjoying the moment with the people around you.

  • Page 1
  • Page 2
  • Page 3
  • Interim pages omitted …
  • Page 7
  • Go to Next Page »

Primary Sidebar

Heather from Whipperberry
Hello... my name is Heather and I'm the creator of WhipperBerry a creative lifestyle blog packed full of great recipes and creative ideas for your home and family. I find I am happiest when I'm living a creative life and I love to share what I've been up to along the way... Come explore, my hope is that you'll leave inspired!

Footer

  • Privacy Policy
  • Crafts
  • Food
  • Gifts
  • Holidays
  • Home
  • Mom Life
  • Recipes
  • Travel

Copyright © 2026 · Seasoned Pro