This post is brought to you by Jessica Sprague.com // Happy Monday everyone!! I'm so excited for today's giveaway… My FAVORITE online learning site Jessica Sprague is launching a brand new photography class that I am sooooo excited about. It's a class for those of you who are well acquainted with your camera but who would like to learn more about composition and advanced styling techniques.

You have a dSLR camera and have already learned out to get it out of automatic – hooray for you! Now, what comes next? How about learning more about the artistic side of taking a photograph – the things beyond the words aperture and shutter speed that can take your photos to the next level?
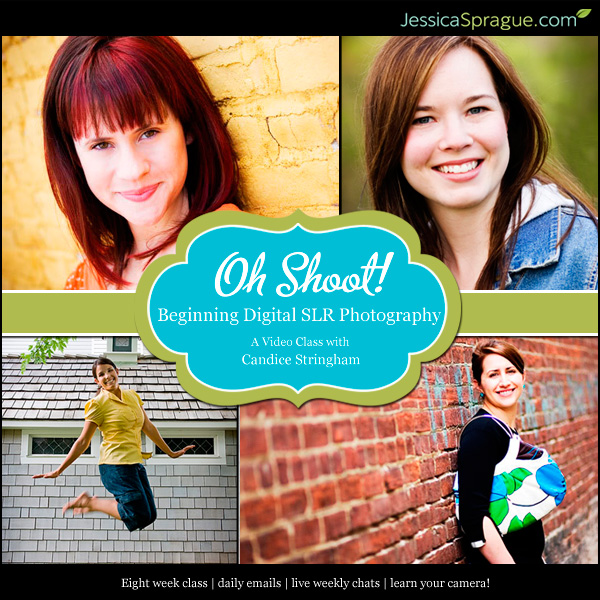
If this sounds good to you, then we have the perfect class for you – Oh Shoot 2! Advanced Composition & Technique taught by Candice Stringham over at JessicaSprague.com. Candice is one of my all time favorite Photography instructors. She really knows her stuff!!
This 4-week long, intermediate level class will:
- Review in more detail basic compositional rules
- Address color theory and how it affects the mood and look of a photograph
- Learn about photographing an editorial portrait
- Learn about how to photograph an event
- Learn about compositional rules when photographing a location
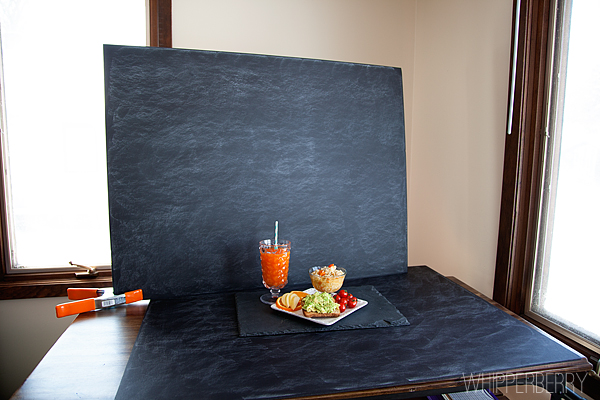
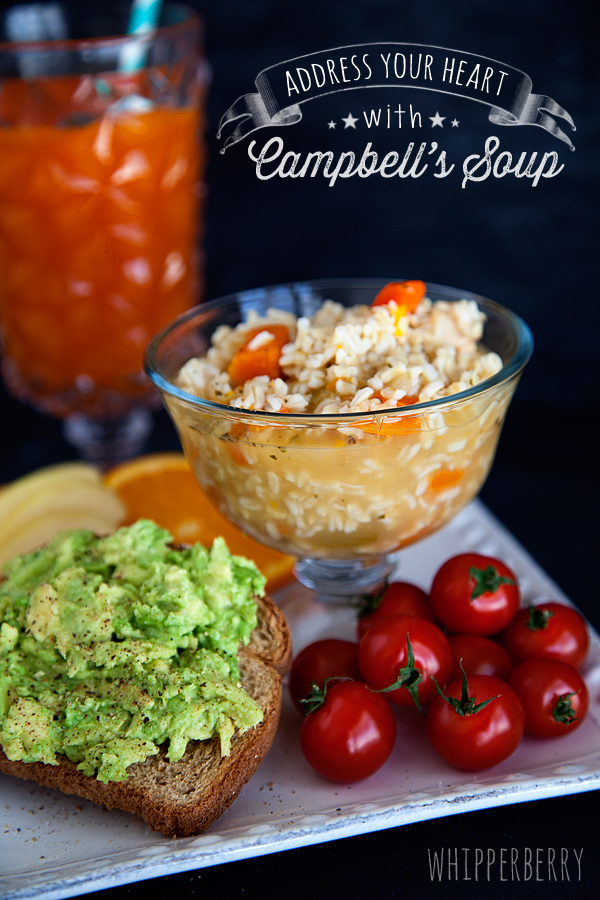
- Learn tips about tabletop (small items) photography techniques
And as with all classes at JessicaSprague.com, the course materials (videos, downloadable PDFs, etc) are available to you forever! If you want to go back and retake a lesson or even the whole class at any time, everything will be available to you.
Candice Stringham, the course instructor is the real deal. An editorial photographer turned scrapbooker, Candice is a former Contributing Editor for Creating Keepsakes Magazine and was inducted into the Creating Keepsakes Hall of Fame in 2006. She has a BFA in Photography and taught at a collegiate level after she graduated. Visit Candice’s blog to learn more about her and see some of her amazing work.
The next session of Oh Shoot! 2 begins June 3rd and registration opens tonight at 9Pm EST. There are two levels of registration available. The standard class which has unlimited enrollment and the extended class, which includes comments from the instructor on your photographs. Extended enrollment fills up quickly, so be ready right at 9Pm EST to register.
Click here for more information and to register.
Jessica and her crew have been so generous and are giving away THREE level one spots to Candice's Advanced Composition and Technique Class // Oh Shoot 2… That's a $132 value!! Just follow the instructions in the Rafflecopter box below.
The rafflecopter box may take a bit to load, especially if you are on Internet Explorer 9 or a mobile device… don't you worry though, it will load.