I am THRILLED beyond belief to have Aimee from Twigg Studios today sharing her Honey Fig Pistachio and Goat Cheese Loaf with all of us. Aimee has been linking up to The Party Bunch Link Party for some time now and I am in awe of her work. I just had to showcase her amazing talents here on WhipperBerry, so I asked if she would like to do a guest post and (squeal) she said yes!
Aimee lives in the south west of England in the UK and her creativity and style is out of this world. Check out this aaamazing recipe and then I have shared even more eye candy with you and the bottom of this post.
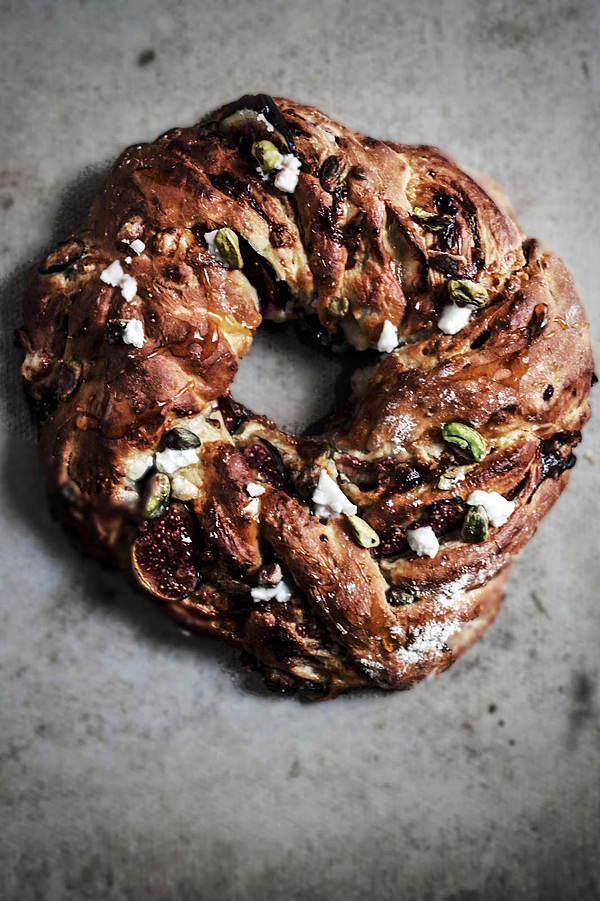
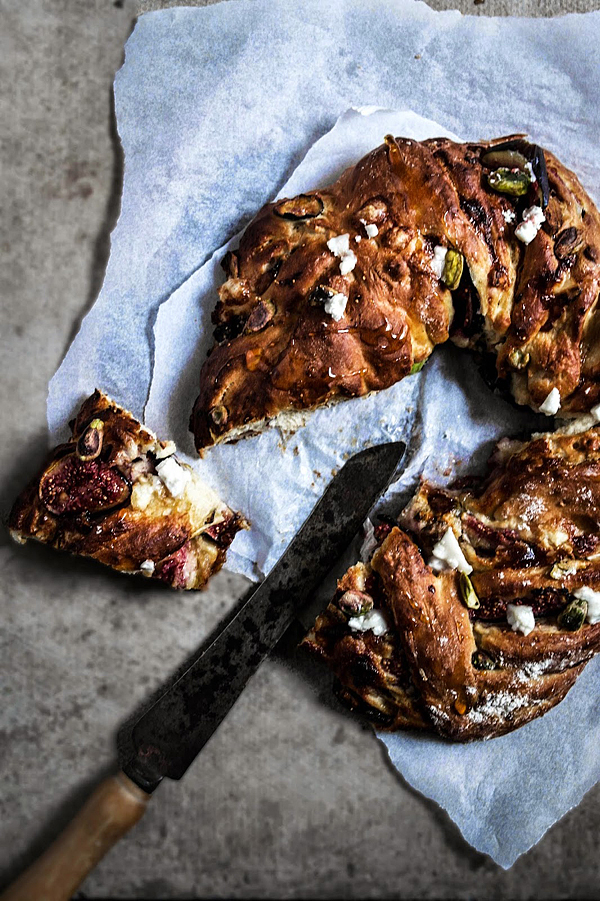
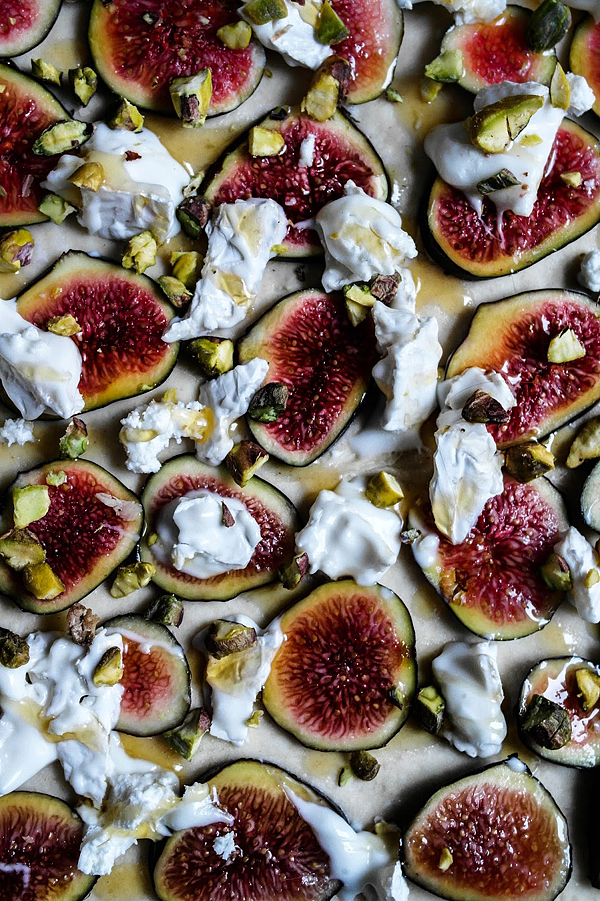
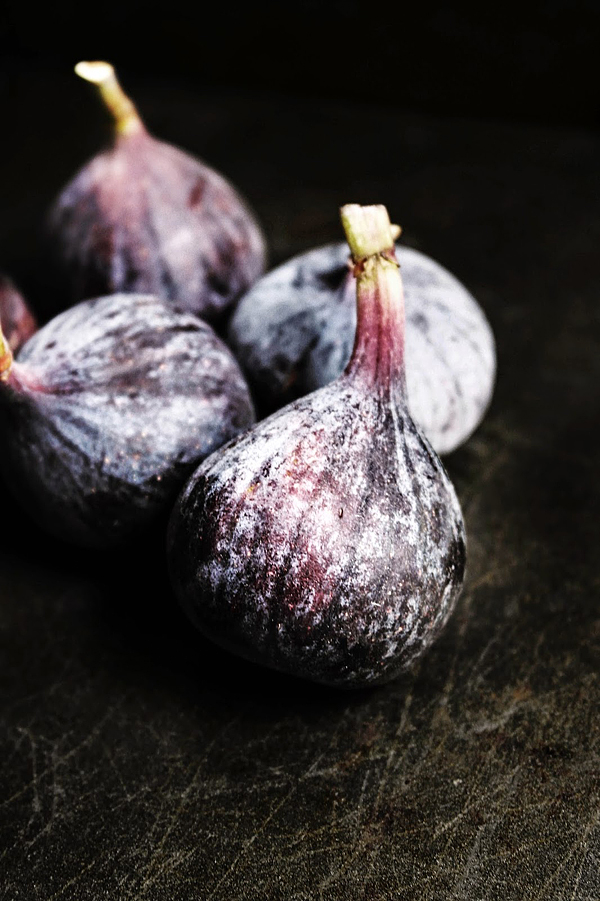
i dreamed up this flavour combination the other day and was excited to see it come together, figs go really well with goats cheese and honey and the pistachios add a little crunch.
recipe
500g white flour (approx 3 and 1/3 cups)
1/2 tsp salt
15g caster sugar (approx 3 tbsp)
1 sachet fast action yeast
200ml warm water
100ml milk
1 small egg beaten
40g unsalted butter softened (3 tbsp)
in the bowl of a stand mixer add the flour, salt, yeast, sugar, butter and beaten egg, pour in the milk and start mixing with the dough hook while pouring in the water, continue to mix it until it is smooth,
in a stand mixer knead for 5 minutes or if kneading by hand knead for about 10 minutes until elastic.
place in an oiled bowl and cover with cling film and leave to rise for 1 to 2 hours
knock out the air and roll the dough out into a large rectangle
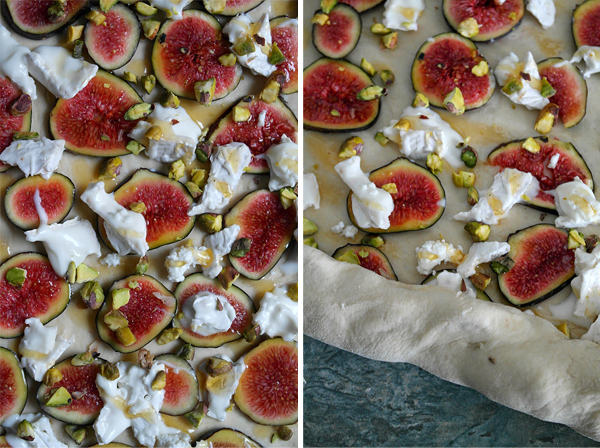
slice 5 fresh figs and place on to the dough, break up some goats cheese and sprinkle it evenly over the rectangle (approx half a cup)
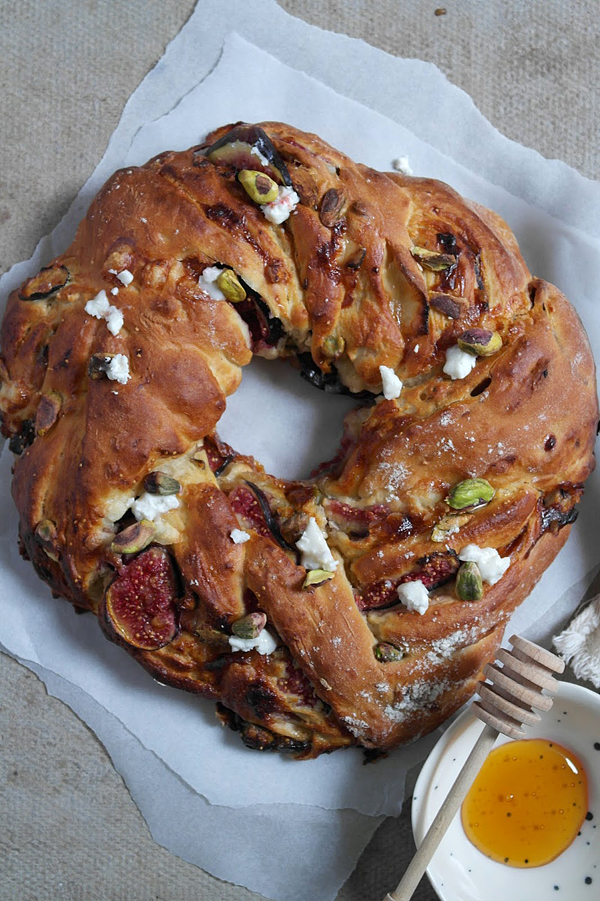
chop 1/4 cup of pistachios and sprinkle over the top and drizzle with raw honey, roll up length ways into a long log then cut down the centre, twist the two pieces together and shape into a circle

leave to rest for 40 minutes
preheat the oven to 200c (400˚F)
bake for 25 minutes until golden
Isn’t Aimee just divine? Here is some more of her amazing work…

english madeleines + stenciled buttermilk honey and oat loaf + lemon poppy seed sticky rolls
Thank you Aimee for sharing your amazing talents with us today!!