+ English Toffee Cinnamon Bun Sweet Cake post brought to you by Pillsbury Baking +
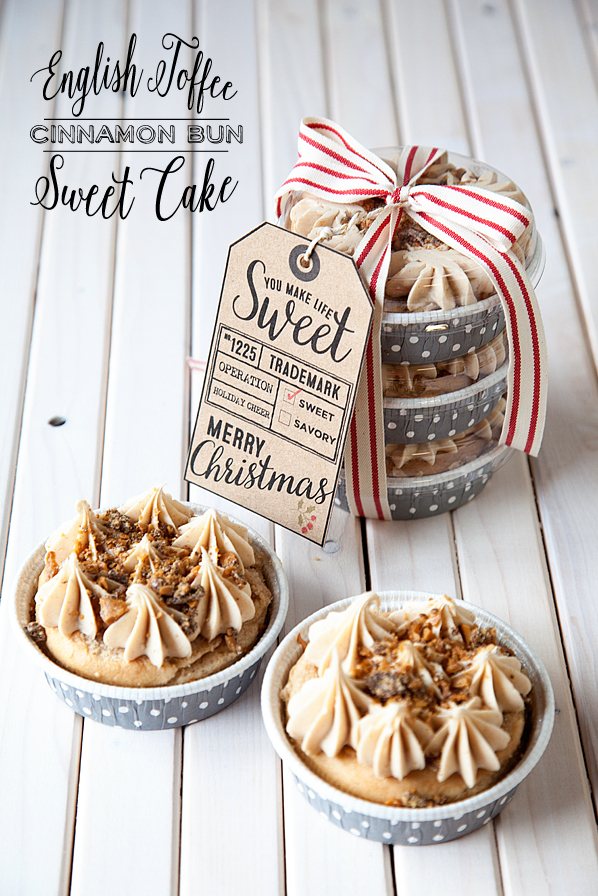
We’re hitting crunch time friends! Christmas is about a week away. Have you figured out what you are giving your neighbors and friends this Christmas season? I have a super easy and super sweet gift idea for you… English Toffee Cinnamon Bun Sweet Cakes!
Uh yes… YUM!!
This is just a simple and scrumptious box cake mix and prepared frosting from my favorite folks at Pillsbury Baking. They have done all the hard work of making it perfect… All you have to do is bake it and make it look amazing!
Here is what you need…
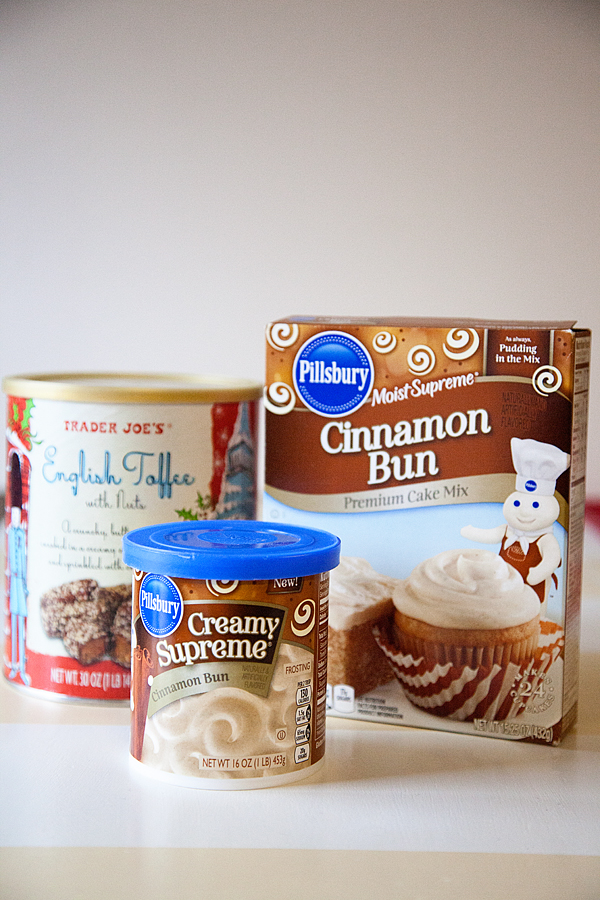
Yep, that’s it. Well… You will need eggs and oil for the cake, but other than that, this is it.
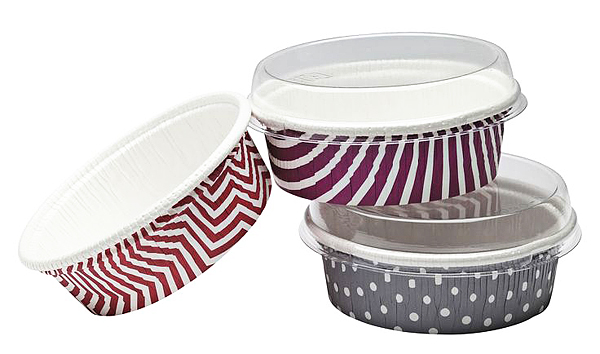
I also found these great baking cups at Target that come with a clear lid. Super Cute and easy to use. You can find it in the baking section at Target.
Mix up your cake according to the package directions and fill you baking cups 1/2 way.
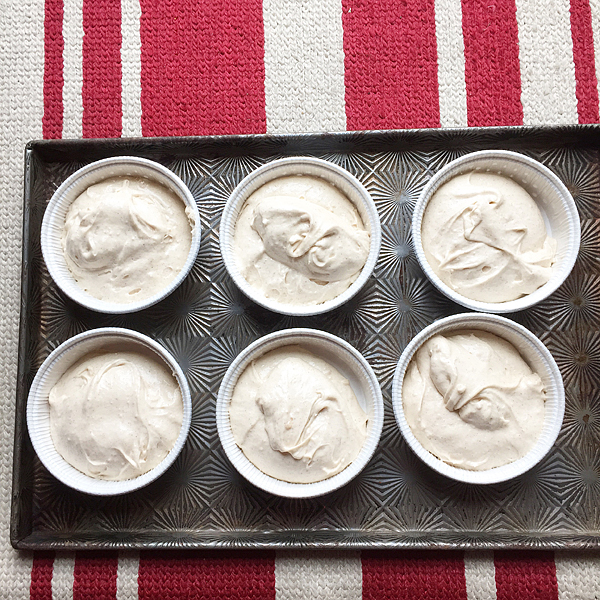
Place in a 350˚ oven for 19-20 minutes.
Remove from oven and let cool. If you would like a flat top to decorate, carefully cut-off the dome with a serrated knife.
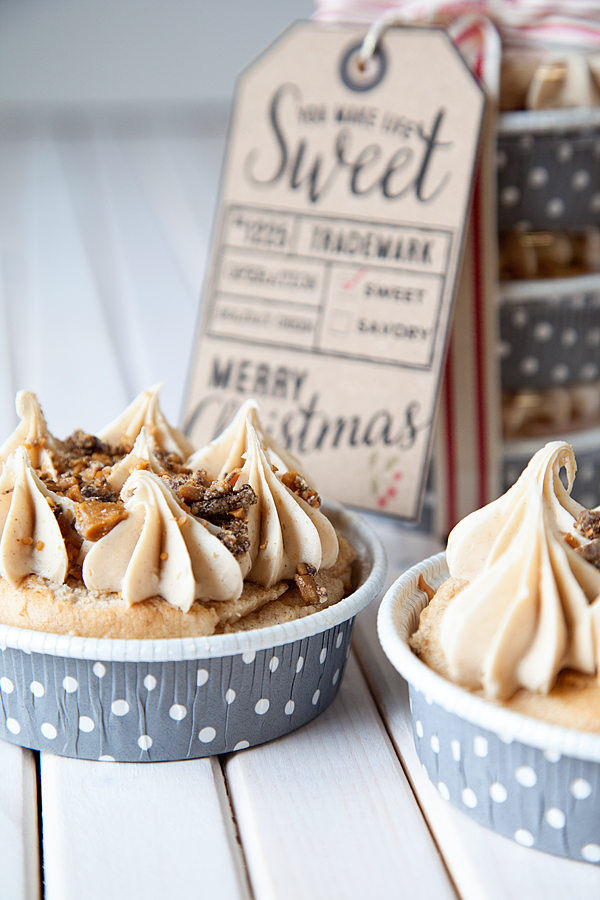
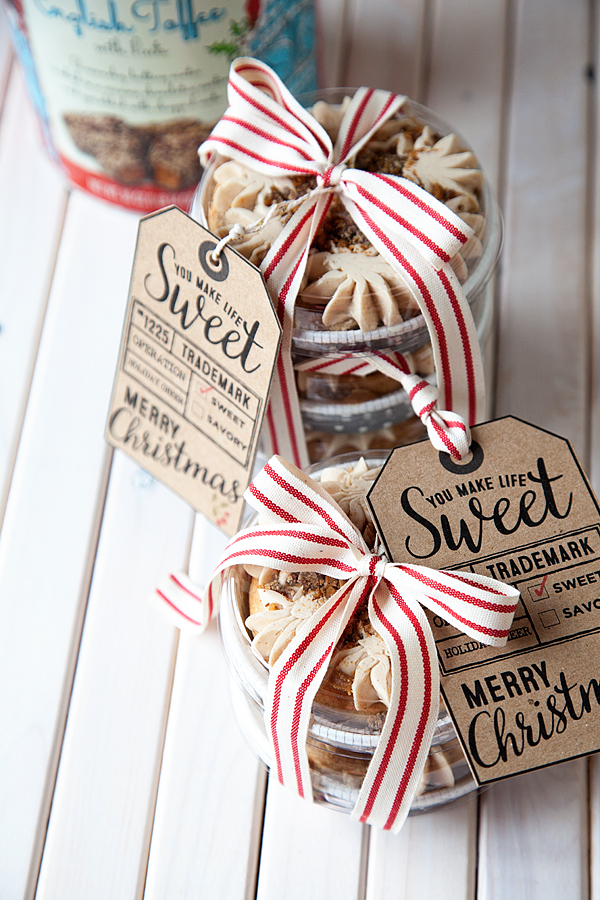
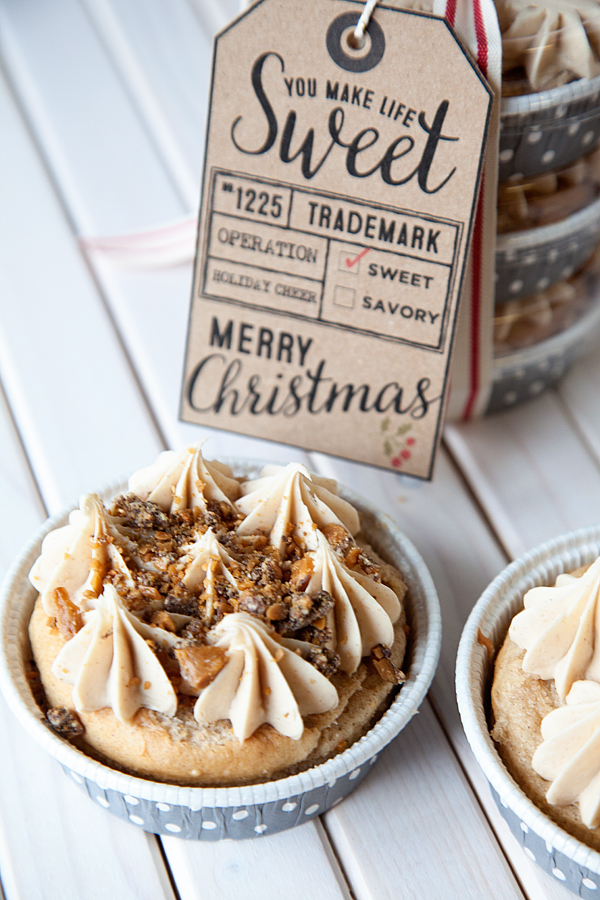
Using a Jumbo Closed Star Decorating Tip, and a pastry bag… Pipe some simple stars on the top of your little sweet cakes.
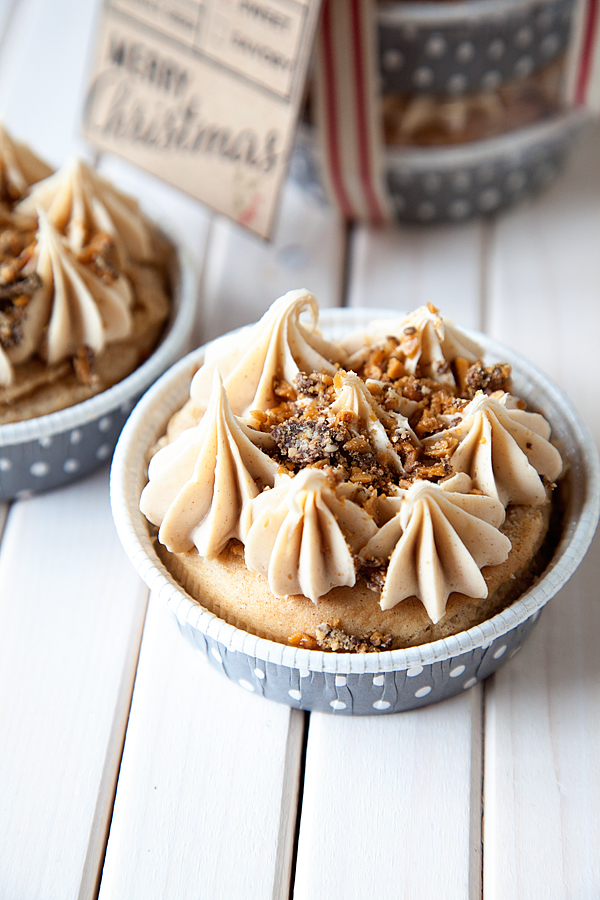
Next, in a Ziplock bag, add some English Toffee. Using something heavy item like a rolling pin or meat tenderizer, take out some aggression and crush your toffee. Sprinkle on top of the sweet cakes and you’re finished!
All you need to do now is package your sweet treats.
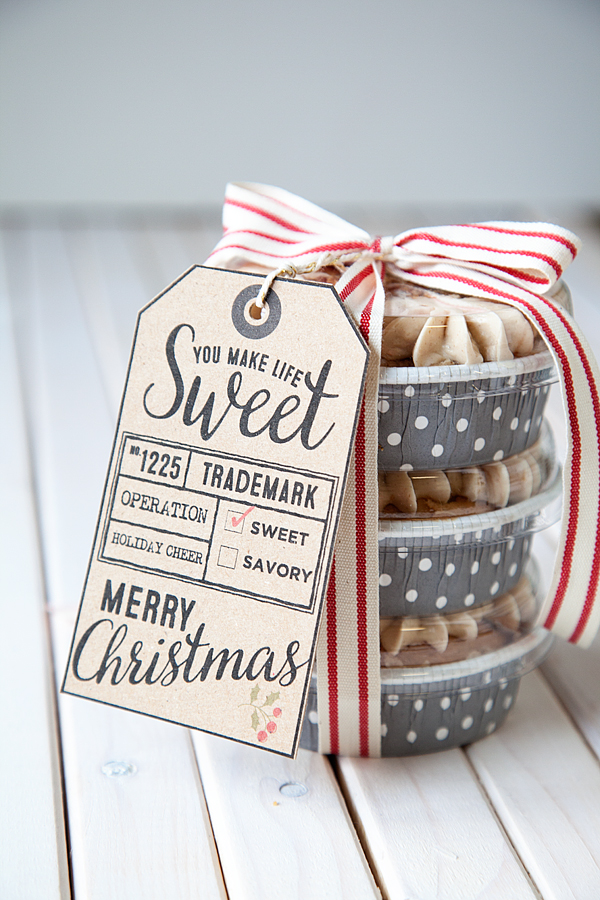
I place the lid on the sweet cakes and then wrap with a ribbon. Then I add a fun gift tag that I created for this Holiday Season.
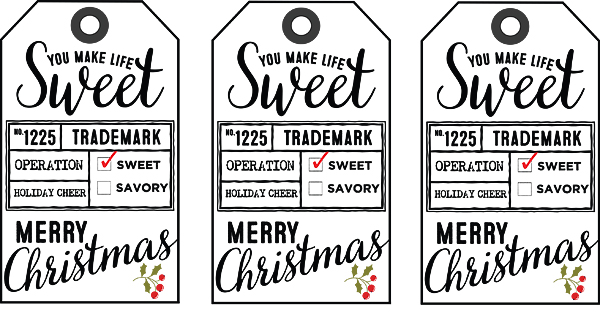
You can download the gift tag HERE
I’ve printed the tag on kraft paper, but you can use whatever you like. All I did was tie it onto a stack of sweet cakes and we were ready for delivery!
It can’t get any easier than that. The cool thing is you can customize it for each family.
One box of cake mix will make 10 little sweet cakes. You will need two cans of frosting for that application. Stack them in 2’s and 3’s and it’s a fun new way to share some Christmas Cheer!
For a Savory gift tag option… Check-out this post.
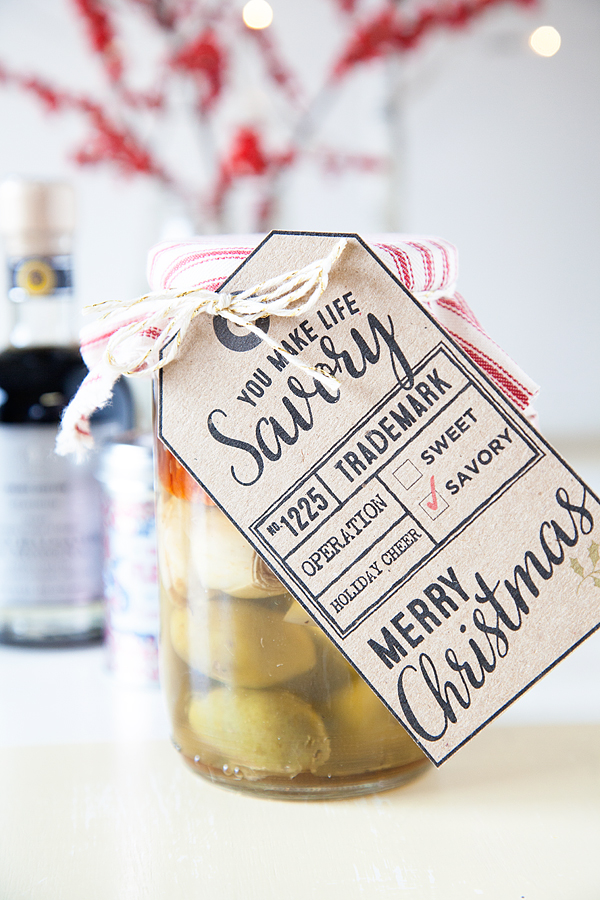
How fun will it be to combine the two?!
Disclaimer // This post is sponsored by Pillsbury Baking. All thoughts, ideas and opinions are my very own. However, I want you all to know that I will never promote a product or company that I do not love and use in my normal day to day life.


