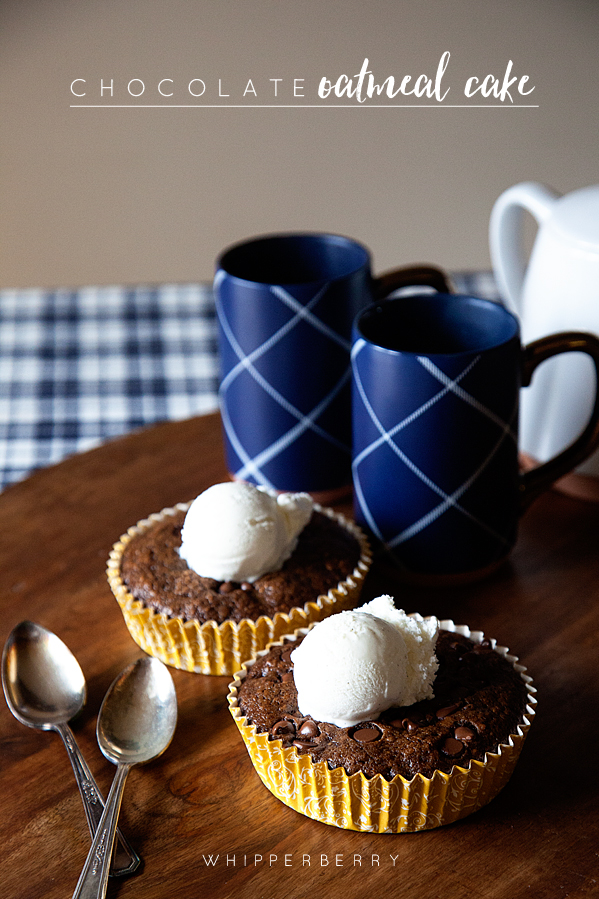
+ This Chocolate Oatmeal Cake Recipe post brought to you by Hershey via SheKnows +
Do you have a recipe that truly stands out in your mind from childhood? I certainly do!!
My Mother’s Chocolate Oatmeal cake made with Hershey Chocolate is one of those recipes that became legendary in our home as well as the entire neighborhood. Friends would make requests weeks in advance before their birthdays in order to have chance to eat this scrumptious treat for their special day.
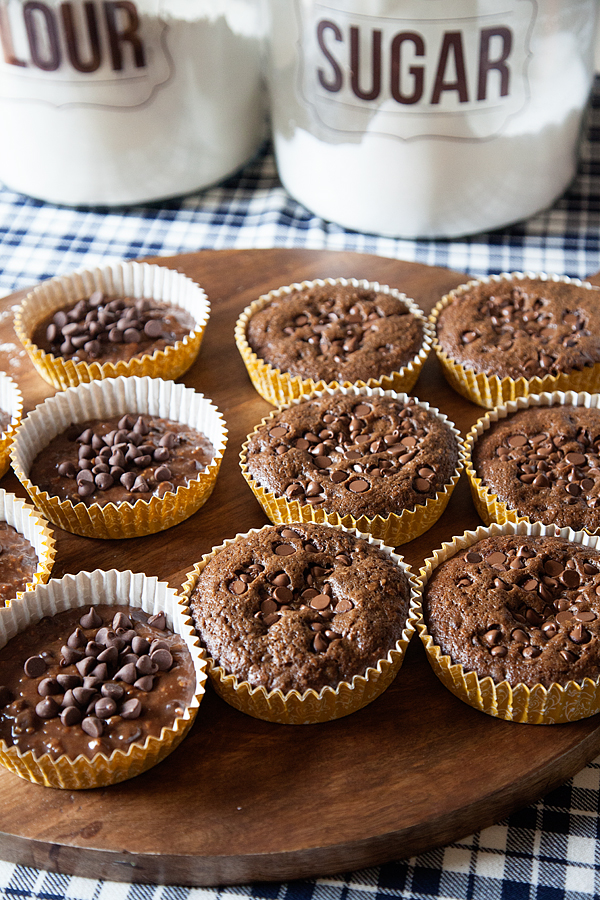
The funny thing is that if they knew how easy is was to mix-up they would’ve been making it for themselves all year long!!
Come learn about this epic recipe over at SheKnows. As one of their newest SheExperts, I’m sharing some childhood memories along with the recipe how to make this amazing cake that can even pass as a breakfast food… It has oatmeal in it, it counts!! You can start a new tradition in your house with this heirloom recipe. Thanks Mom!
Click HERE for the full Chocolate Oatmeal Cake recipe!
For more ideas for new traditions follow Hershey on Facebook & Pinterest.
Disclaimer // This post is sponsored by Hershey. All thoughts, ideas & opinions are my own.