Flourless Chocolate Cake // Last weekend I was put to the test. I needed to create a cake for a last minute get together and didn’t realize until I was in the middle of my baking endeavor that we were OUT of FLOUR!! Who lets themselves run out of flour?? I was a little nervous but remembered that I once tried a flourless cake that was amazing. I decided to test out a version using things I had on hand and boy was it delicious!

Flourless Chocolate Cake Recipe
3/4 cup semi sweet chocolate chips
1/2 cup butter
1/2 cup sugar
1/2 cup dutch cocoa
3 eggs
Directions
Preheat your oven to 375˚. Place six ramekins onto a baking tray and lightly mist with cooking spray.
Combine the chocolate chips and butter in a small saucepan. Cook until just melted and remove from the heat.
In a small bowl whisk together the sugar, cocoa, and eggs. You should have a paste like chocolate mass. Fold in the melted chocolate. Divide the batter between your bowls and bake for 15-18 minutes, or until a toothpick comes out clean.

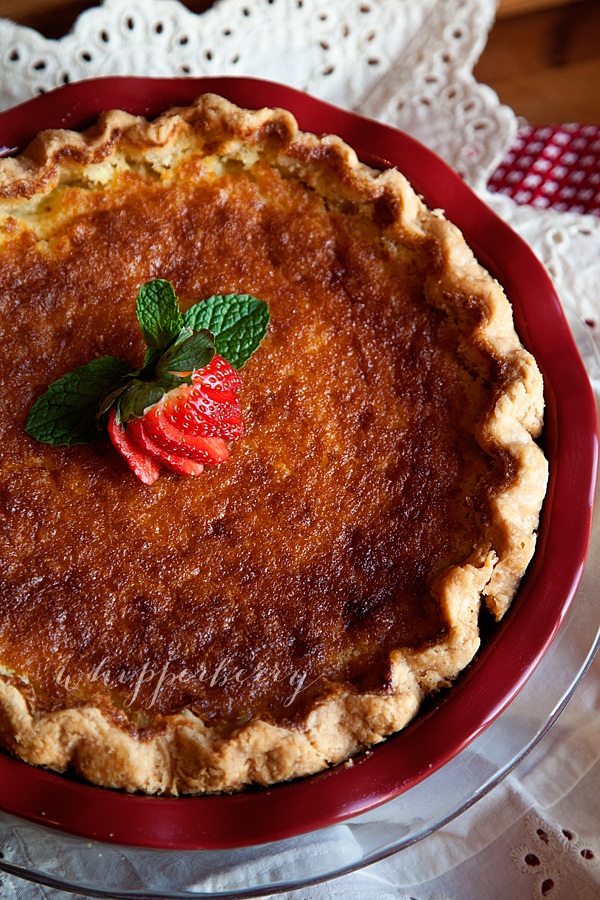
Now, you could frost this cake if you felt the need. Since the cake has plenty of chocolate goodness packed inside, I decided to top it with a simple dust of powdered sugar and a few fresh raspberries. Light, riche, and decadent. Those are the top three words I would use to describe this cake.

It is the perfect Valentines Treat. It quickly comes together, tastes amazing, and is sure to impress the ones you love. Why spend tons of time in the kitchen when you can have a simple and impressive dessert ready in minutes?
! If you liked this recipe you should check out these other Valentine Inspired Treats on my site, One Sweet Appetite!


Red Velvet Cake // Strawberry Champagne Cupcakes // Candied Strawberries