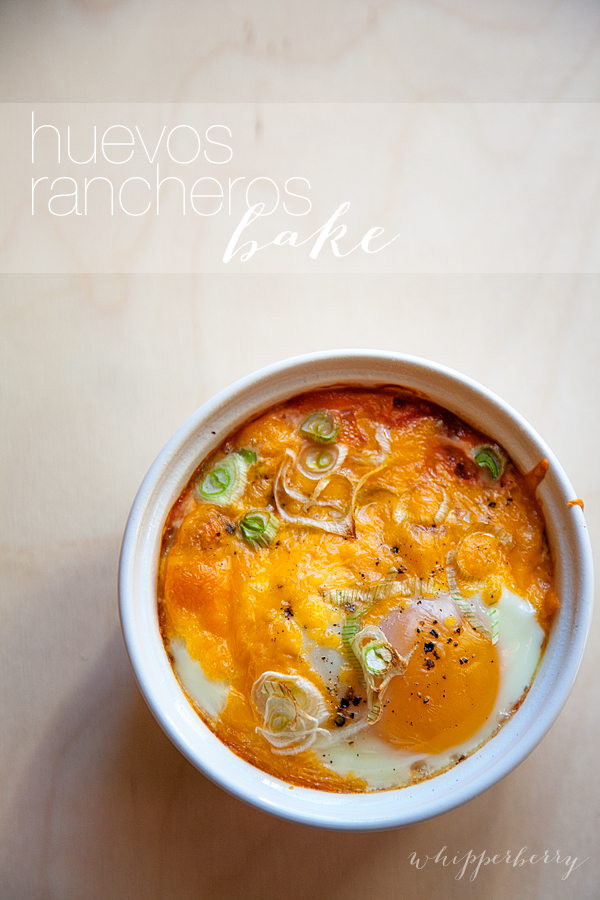
// huevos rancheros bake recipe //
I’ve become obsessed with eggs lately. I love how versatile they are, I love how they taste when dressed up, I especially love how they are easy on the grocery budget. I have started making egg dishes a couple of nights a week because they are EASY, inexpensive and the family is still getting a great source of protein without the more expensive meat or poultry options.
As a kid my Mom would make Huevos Rancheros every once in a while and I LOVED it. The flavor combinations are fantastic. A typical huevos rancheros recipe has some type of tomato based salsa, fried or poached eggs, tortilla and sometimes cheese on top. This version is a bit different. It still has eggs and salsa, but I took some liberties when it comes to the tortilla and the cooking method.
The other night we hosted a taco dinner with some family and we ended up with some left over spanish rice. I tend to over do it at times and we had rice for an army. I had just made a couple of packages of Old El Paso Mexican Rice and added a can of Muir Glen Organic Fire Roasted Diced Tomatoes to the pot when I cooked up the rice. You’ll have to adjust the liquid a bit, but it sure makes a lovely mexican rice!
Anyway… I had a bit of left over rice and thought… I could use this as a base for a lovely baked egg dish! That’s how the recipe development started. I wanted something easy to throw together using some simple taco night left overs. You know those side dishes that we never know what to do with after taco night! Here is how I layered my egg dish…
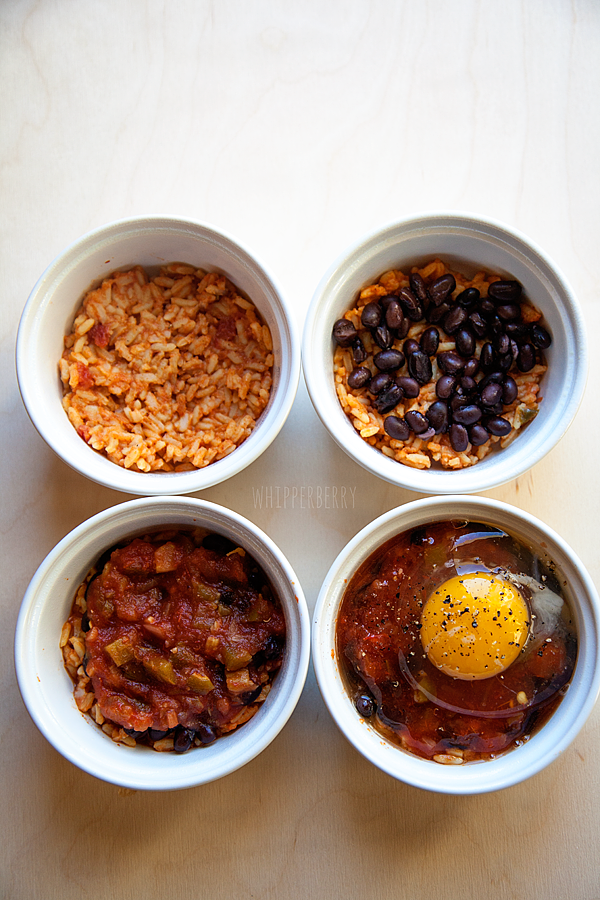
The first layer is the leftover mexican rice, the second layer is just a can of rinsed black beans or refried beans, or any bean dish that you may have left over. Then a layer of your favorite salsa, we like Pace Chunky Salsa, then top with an egg and some salt & pepper. Super simple and a GREAT way to use up those leftovers!
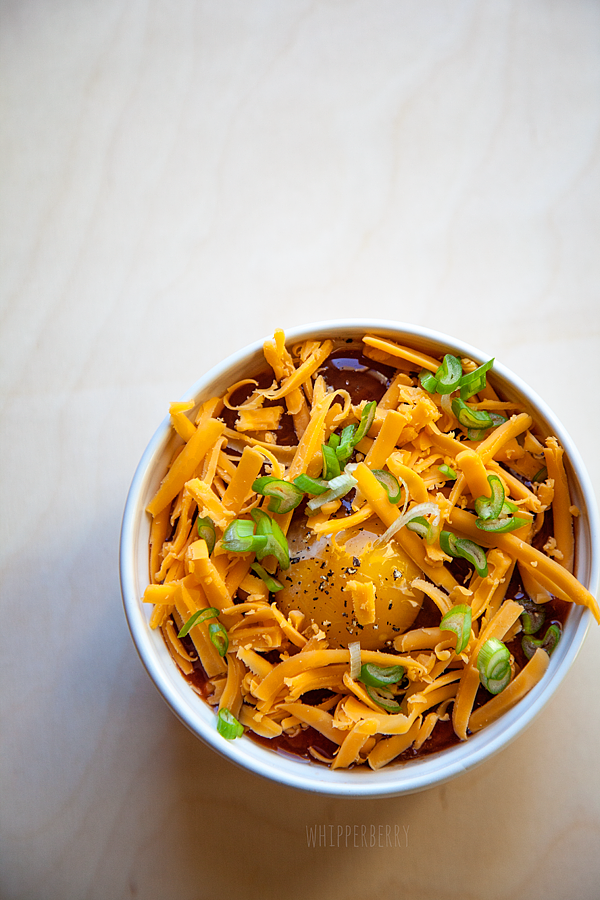
Before I placed it in the oven I topped it off with some shredded cheddar cheese and some green onion a perfect way to add a little kick to the dish. After they finished baking, we let them cool for a few minutes and then dove right in. My husband and I had to do a double take. The addition of the egg to these simple ingredients made for a lovely meal, it tasted amazing!! I was thrilled to have a dish that came together so fast, not to mention a dish that the whole family loves and that uses up those pesky taco night left overs… It’s PERFECT! Here’s the full recipe with all the specifics…
- baking spray
- 2 cups mexican rice
- 1 cup black beans
- 1 cup salsa
- 4 eggs
- 1 cup shredded cheddar cheese
- ¼ cup sliced green onion
- salt & pepper
- For this recipe you can use a number of different baking dishes. You can bake the egg dish in a small baking dish, small oven safe ramekins or even a large muffin tin. Whatever you have on hand really. I've used each method and they all work great.
- Preheat the oven to 350˚ and prepare your baking dish or dishes with non-stick baking spray.
- Start with the rice layer on the bottom. Smooth it out and add the beans on top of the rice. Then add a nice layer of salsa. At this point, place the dish or dishes in to the oven for 10 minutes to bring up to temperature before added your eggs.
- Remove from oven and add your eggs, salt, pepper, cheese and green onion and place back in the oven for an additional 6-10 minutes or until the whites of the eggs have set. You may need to turn in the oven once to promote even baking.
- Remove from the oven and let cool for a few minutes, but serve not to long after it comes out of the oven.