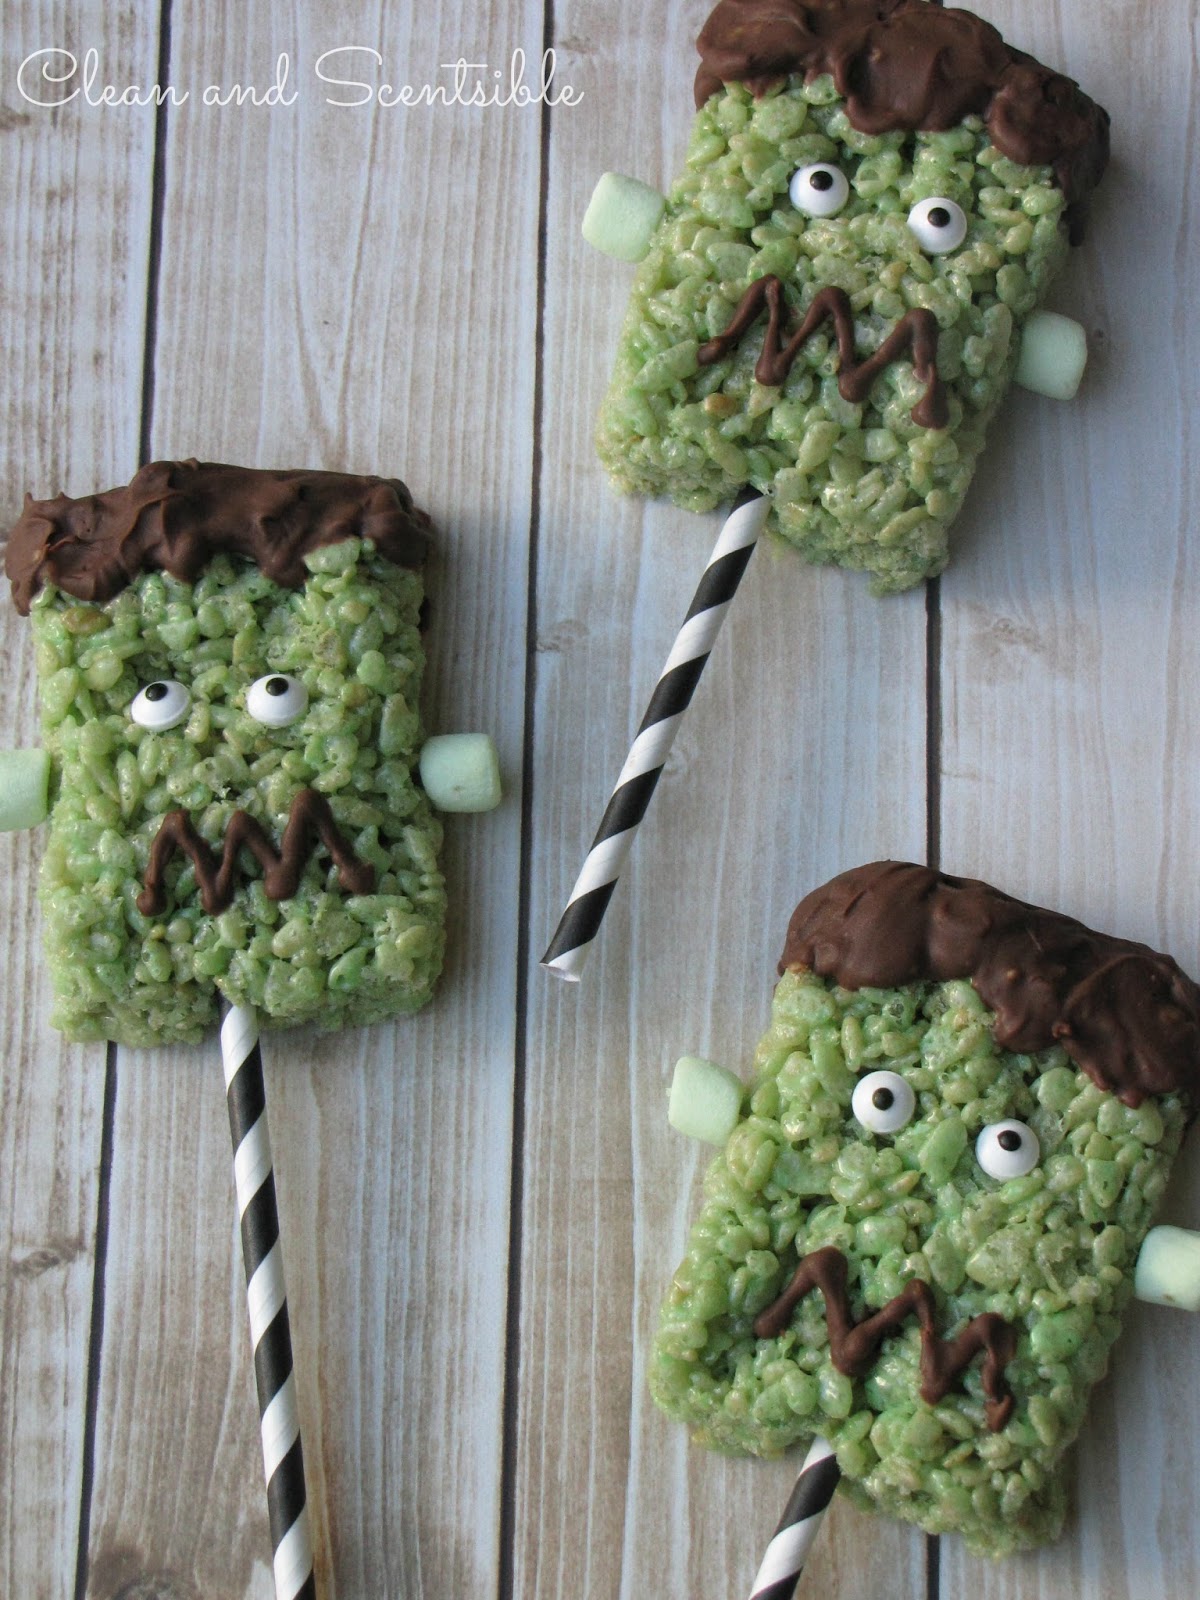
Halloween Rice Krispie Treats // Hello awesome Whipperberry readers! Jenn here again from Clean and Scentsible! I'm not really sure where the summer went, but fall is definitely in the air around our house. And once fall arrives, Halloween will soon follow! Halloween is always such a fun holiday to plan for and the kids and I love to come up with fun food ideas to go with it….


Ingredients
- 4 tbsp. butter
- 5 cups mini marshmallows
- 7 cups Rice Krispies
- marshmallows
- green food coloring
- candy eyes
- green mini-marshmallows for the ears
- melting chocolate {I used about half a bag}
- paper straws {optional}

Directions
- In a large saucepan, melt the butter over low heat. Add the marshmallows and stir until completely melted. I know it's tempting to turn the heat up but I find that this works best if done slowly over lower heat! Add the green food coloring until you have the desired color.
- Once melted, remove from the heat and gradually add the Rice Krispies. Stir until the Rice Krispies are completed coated.
- Using a buttered spatula {or butter your hands}, press evenly into a well greased 9×13 pan. Cool and cut into rectangles. {Mine were approximately 3 x 4 inches}. Before they are completely cooled, press in the candy eyes and add the straws into the bottom of each rectangle. Snip the ends of the straw if you would like.
- Cut a toothpick in half and add a marshmallow to each half for the ears. Insert into the Rice Krispie square. Wait for the Rice Krispies to completely cool.
- Melt chocolate in the microwave as per the directions on the package. For most melting chocolate, melt at medium-high heat for 1 minute, stir, and then continue heating in 10-30 second intervals until completely melted. Do not overheat!!!
- Using a knife add the hair and place down on wax paper. Pipe on the chocolate for the mouth {I just used a decorating squeeze bottle} and you are done!
If you are going to be packaging these guys up for a little Halloween gift or classroom treat, I have also created a couple of free printable tags for you.

Just head over to Clean and Scentsible to download them! And don't forget to check out all of my Halloween projects while you're there! 🙂
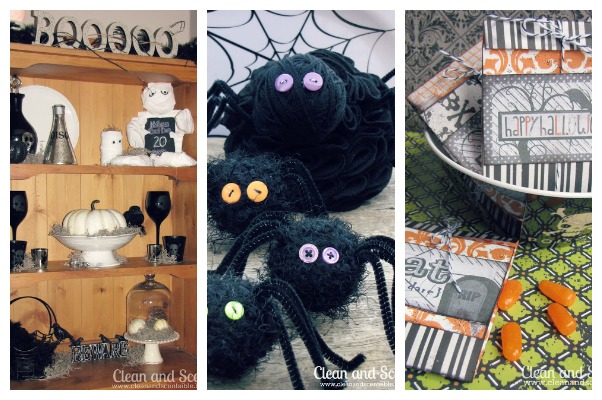
Halloween Decor
Yarn Spiders
Halloween treat bags {with free printables}
You can also connect with me here:
FACEBOOK / PINTEREST / INSTAGRAM / TWITTER
I hope you all have a wonderful month and thanks again to Heather for having me!!