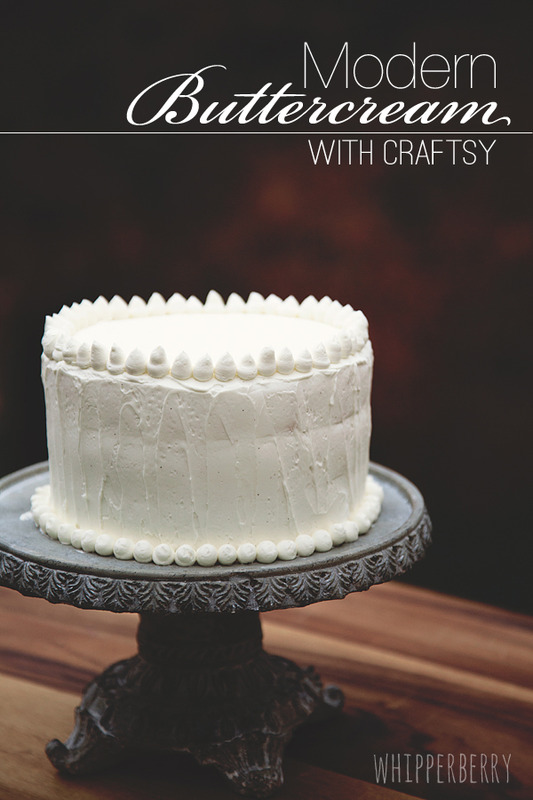
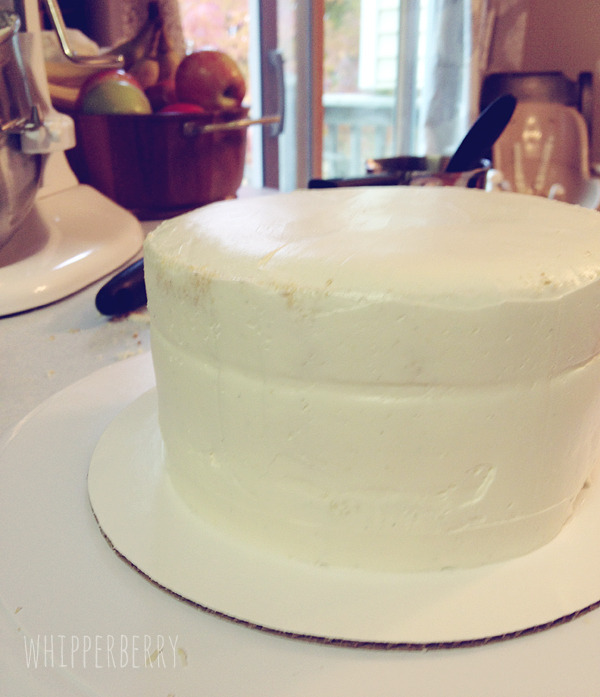
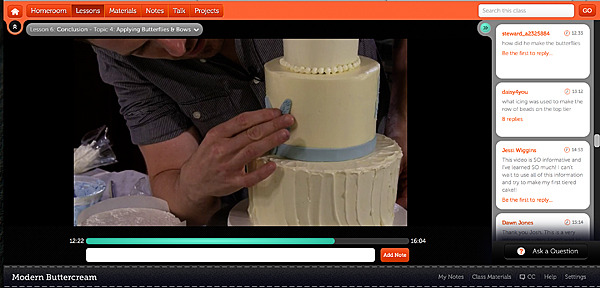
This buttercream cake post brought to you by Craftsy // Have you ever had that experience of learning a new skill, and then the excitement of wanting to practice, practice, practice? That is totally how I felt after taking the FREE Modern Buttercream Class on Craftsy. I have always wanted to create beautiful cakes and I have learned some skills over the years, but this class really helped to take me to the next level. I learned how to shape the cake so that it looks more professional, not all rounded and wonky. That amazing trick of adding simple syrup to the cake to keep it moist. So many fun fabulous tricks. Not to mention the step-by-step instructions on how to make Swiss buttercream. That helped me with my first practice my simple buttercream cake. You can check it out here. You can tell in that picture I still had some stuff to work on. With all of that, I had to try my hand at another cake. This time I was going to conquer a challenge of mine… FONDANT. In the class Joshua John Russell teaches how to make gum paste embellishments, but I decided I wanted my decor to be made out of fondant. I didn't want my fun graphic elements to be hard I wanted them to be soft but, the steps are pretty close.
For this cake, I was inspired by the beautiful time of year we are in. When we first moved here to Lincoln last year, we arrived at this time of year. It was so fun to actually have a real fall for the first time in 8 years. I had a very special morning one day early on here. I was feeling a little blue with the move and looking out the window at the new scenery. The trees and the leaves were beautiful, but I was feeling weighted down. Then all of a sudden a beautiful Cardinal flew right up next to my window and just sat there for a moment. My spirits soared! I hadn't ever seen such a beautiful red bird. From that time forward, Cardinals have been a special fall friend for me. I decided to make a modern little red bird cake to celebrate the season…

Now remember, I have a little bit of a fear of fondant. For some reason, it has always been one of those elements that only really cool cake decorators could use. I just didn't feel like I was at that level yet. I lacked confidence. After taking Modern Buttercream I felt like it was time to tackle this skill!
I found these fondant cutters from Wilton that are normally leaves, but I thought they could easily turn into cute modern looking birds. I used a fondant roller with rolling pin guides to make sure I had a uniform thickness just like Joshua did while working with the gum paste. He made little butterflies and affixed them to his amazing cake…
I cut out my little birds in just the same way…

Then I pinched the front of the shape to make it look a little more bird like…

I used a little gold Gragée for the eye and then affixed it to the side of the cake.

Because the cake is buttercream, it's super easy to affix the fondant birds right to the side of the cake. I kept things simple with the cake to keep the modern feel. I didn't want a completely smooth cake so I kept a little bit of movement in the buttercream, but not a ton.
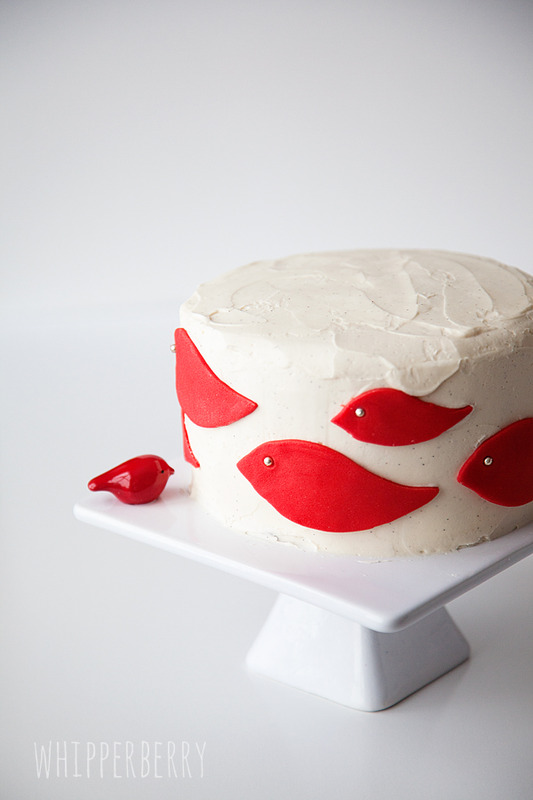
It turned out so cute… It also helped that I had the cutest little red bird cake plate that I found while I was at the Smucker's Company Store in Ohio. I just adore it!

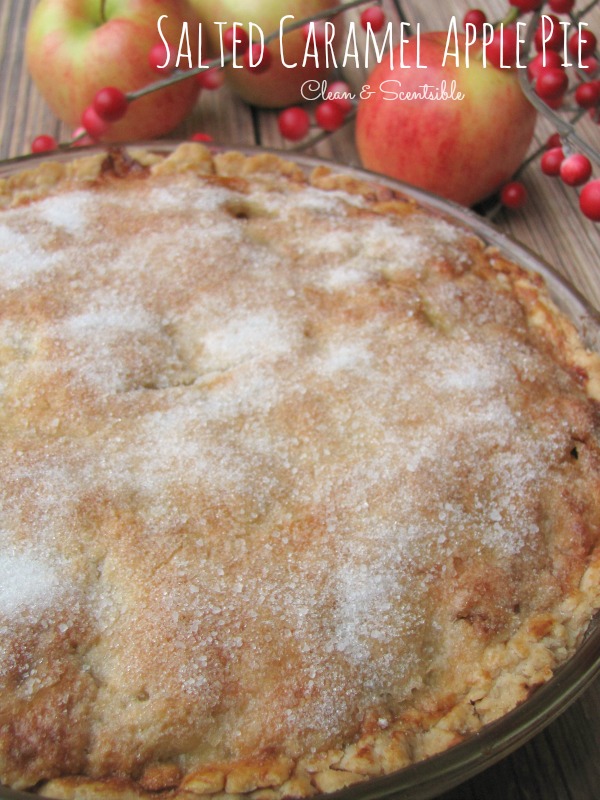
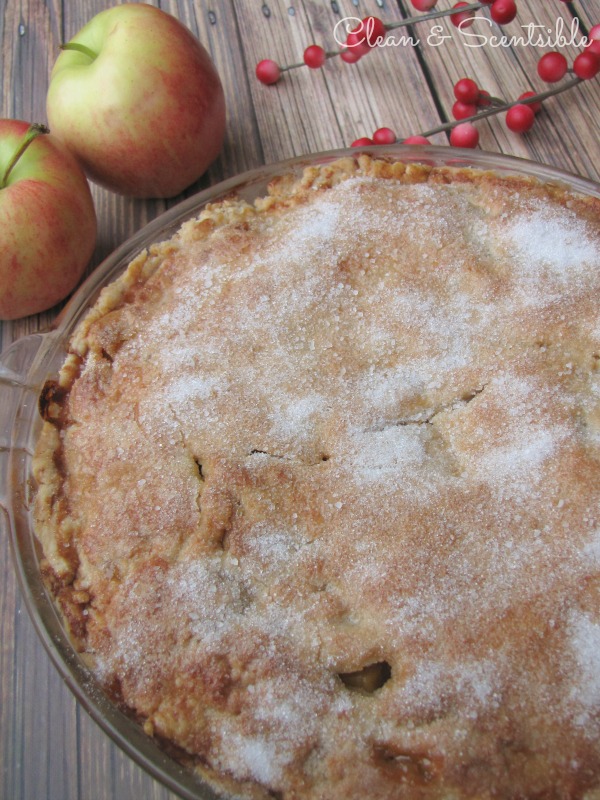
Now, as Joshua teaches in the Modern Buttercream class on Craftsy… You can have the most beautiful cake, but if I doesn't taste good, you've missed the mark. Here's one of my little secrets… If you don't have time to bake a cake, but you want to decorate your own cake, go to your favorite bakery! You may want to call a day or two ahead, but you can purchase pre-made cake rounds that are generally frozen and ready to decorate. For sure a time saver, but if you have a good bakery, you know you will always have a scrumptious cake to serve.

I CAN'T WAIT to practice some more. I also can't believe how just a little bit of education can help boost my confidence. I now love cake decorating and can't wait to learn even more though Craftsy. Have you guys checked it out yet? What classes would you like to take?
This is a sponsored conversation written by me on behalf of Craftsy. The opinions and text are all mine.