• Skip to primary navigation
  • Skip to main content
  • Skip to primary sidebar
  • Skip to footer

Whipperberry

WhipperBerry • Your Home For Creative Inspiration

  • Home
  • Recipes
    • Starters
    • Easy Weeknight Dinners
    • Main Dish
    • Salads
    • Side Dish
    • Soups & Stews
    • Desserts
    • Breakfast
    • Miscellaneous
  • Tutorials
    • Creative Crafts
    • DIY Decor
    • Fabric Crafts
    • Food How-To
    • Jewlery
    • Paint Projects
    • Paper Art
    • Party Styling
    • Photography and Graphic Design
    • Silhouette
  • Holidays
    • Easter
    • Mother’s Day
    • Father’s Day
    • 4th of July
    • Halloween
    • Thanksgiving
    • Christmas
    • Valentine’s Day
  • Gift Ideas
    • Gifts For Everyone
    • Gifts for Dad
    • Mother’s day
    • For The Girls
    • For The Kids
    • Teacher Gift Ideas
    • Christmas
  • Printables
    • Holiday
    • Gift Idea
    • LDS Primary
  • Travel
  • About
    • Terms
  • Contact
  • Nav Social Menu

    • Facebook
    • Instagram
    • Pinterest
    • RSS
    • Twitter

In a Jar

Original Chex Mix Recipe + Merry Chexmas Printable Gift Tag

123 · Dec 10, 2015 ·

Original-Chex-Mix-Recipe

Who doesn’t love a classic?

So many times I find myself drawn to the classic recipes. They are tried and true, they are what brands are built on. I’m totally that way with my Chex Mix as well. I have childhood memories of sharing  Original Chex Mix with friends at sleepovers and at our first “boy/girl” parties. Remember that? It was such a fun new idea back in the day.

The thing about classics, they NEVER go out of style.

The classic white shirt, classic cars, black pumps, jeans… the list can go on and on.

Today, I’m sharing a fun way to take the classic Original Chex Mix, package it up and give it as a fun gift for friends & neighbors this Holiday Season! You know… Not everyone on your list LOVES sweets!

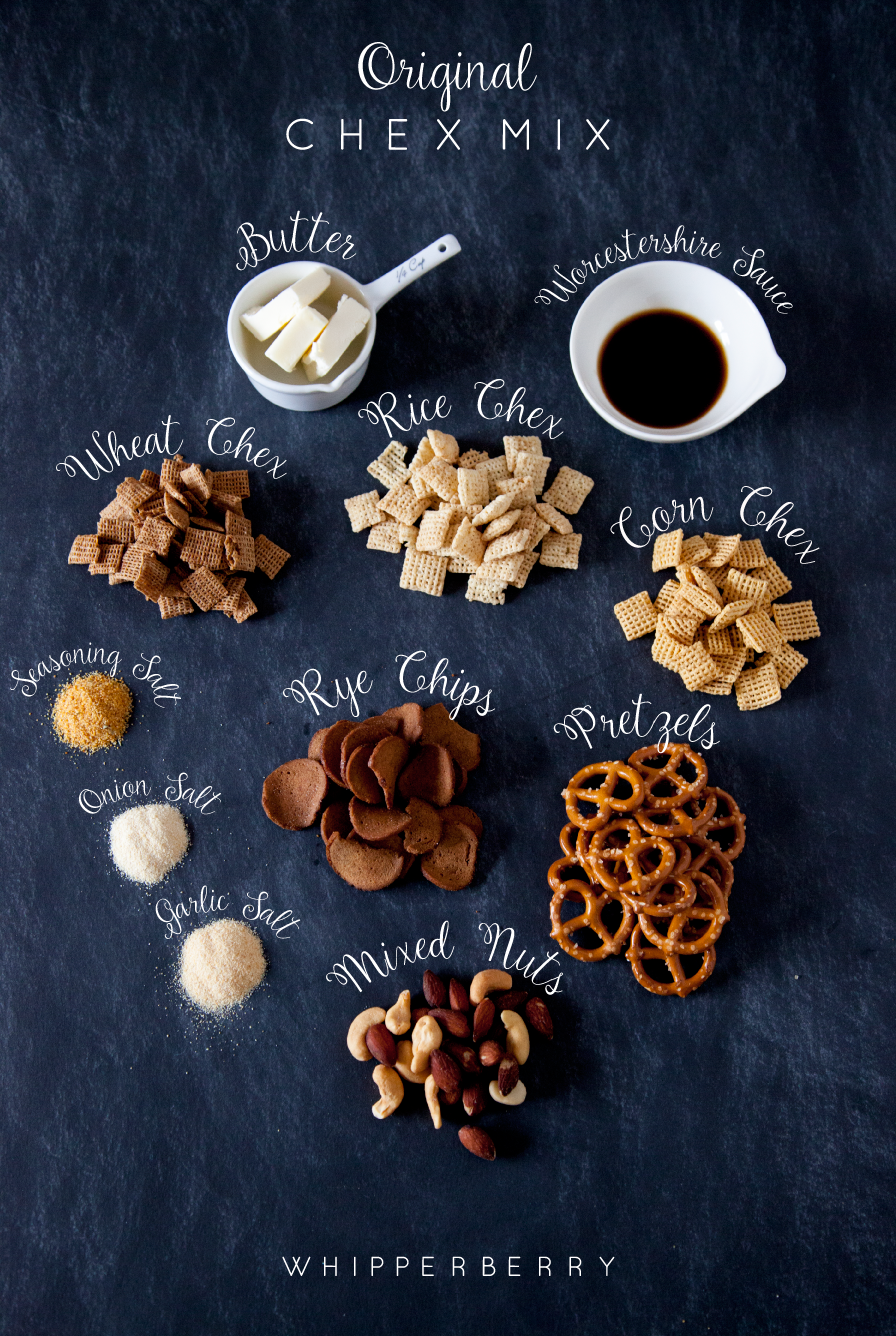
First you need to mix up a batch of Original Chex Mix, you can find the recipe HERE.

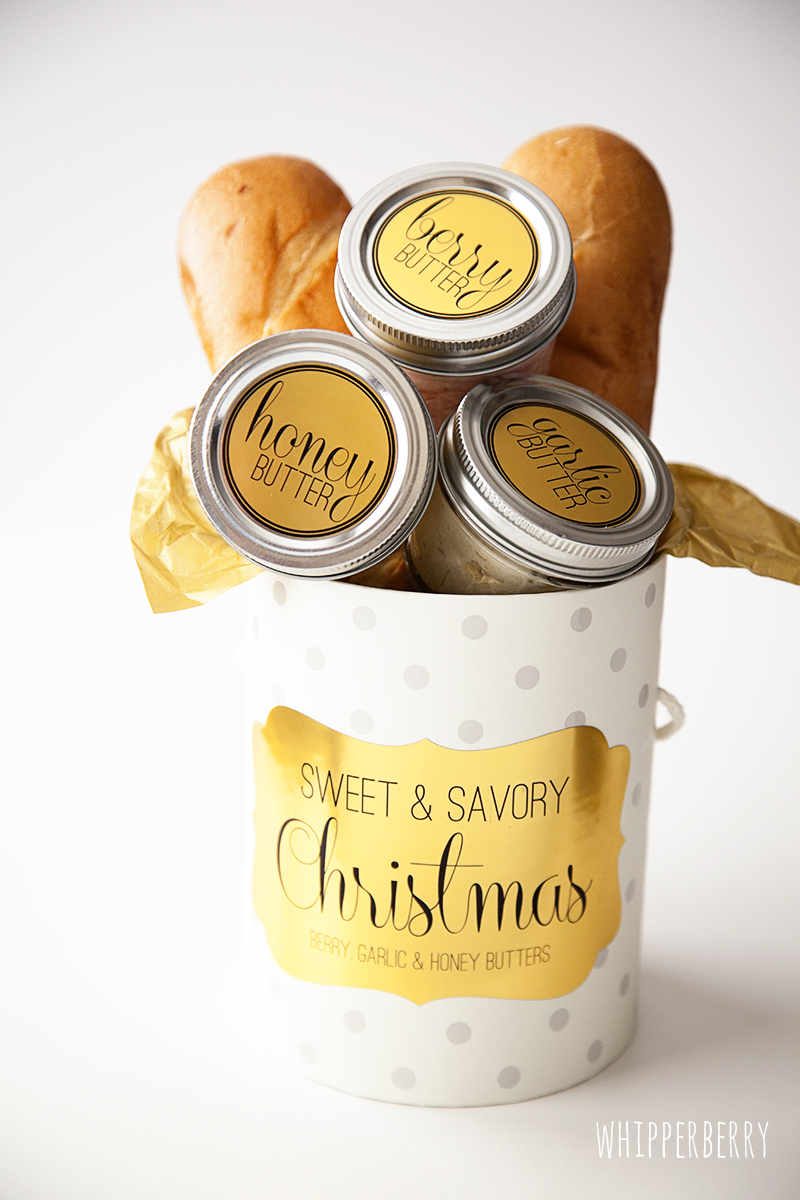
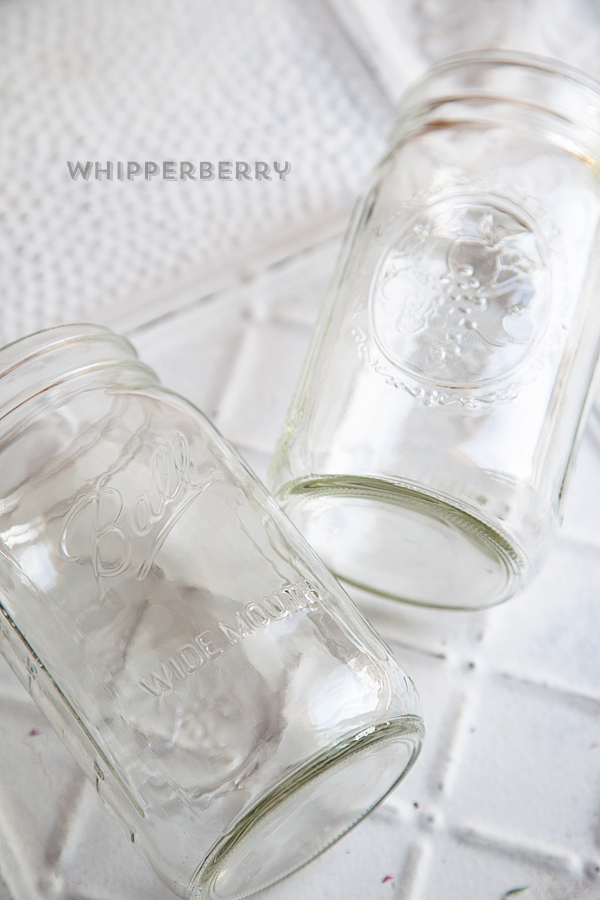
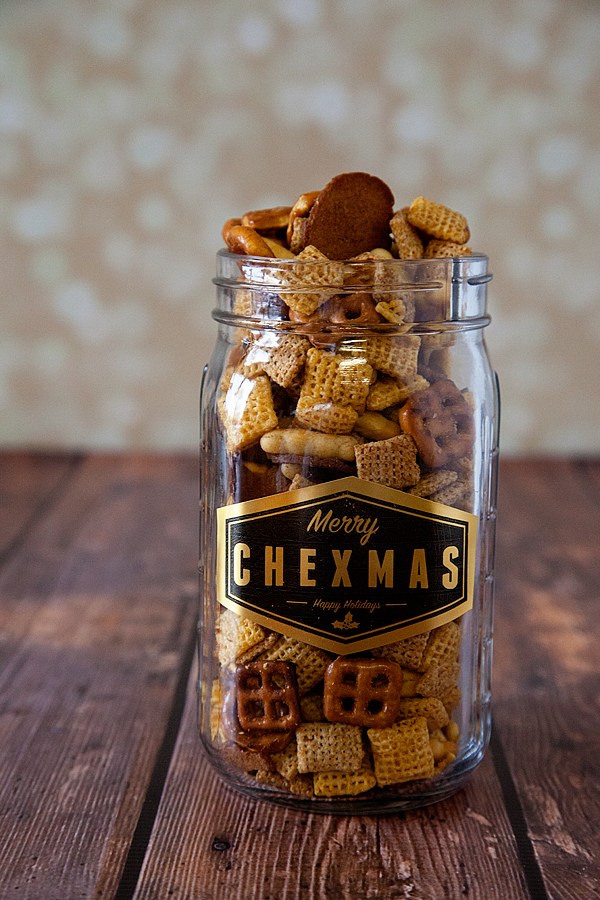
Then you need to gather some jars. I found some fun gifting jars at Target that have a flat surface on the sides so that they are easier to add labels to. They are in the holiday baking section at Target.

I designed this fun label that you can print on either card stock and tie onto your jar OR you can print it on label paper and stick it to the side of your jar.

Merry Chexmas printable gift tag from WhipperBerry

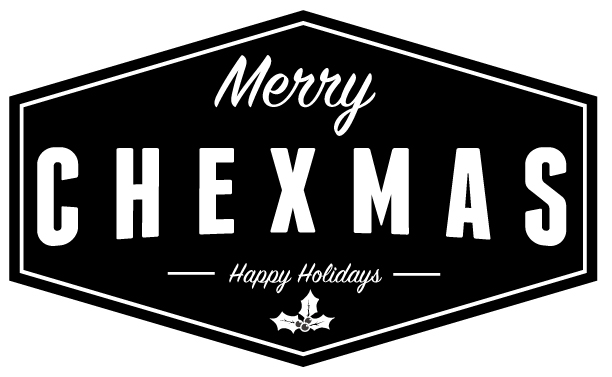
Click HERE to download the printable Merry Chexmas tag.

You can either print it on white label paper OR I love the Printable Gold Foil that Silhouette makes.

Merry-Chexmas-Neighbor-gift-from-WhipperBerry-8

All you need to do is cut around the edges, leaving a little border around the edge and then affix them to your jars. It couldn’t be any simpler. Fill your jars with your Original Chex Mix…

Merry-Chexmas-Neighbor-gift-from-WhipperBerry-9

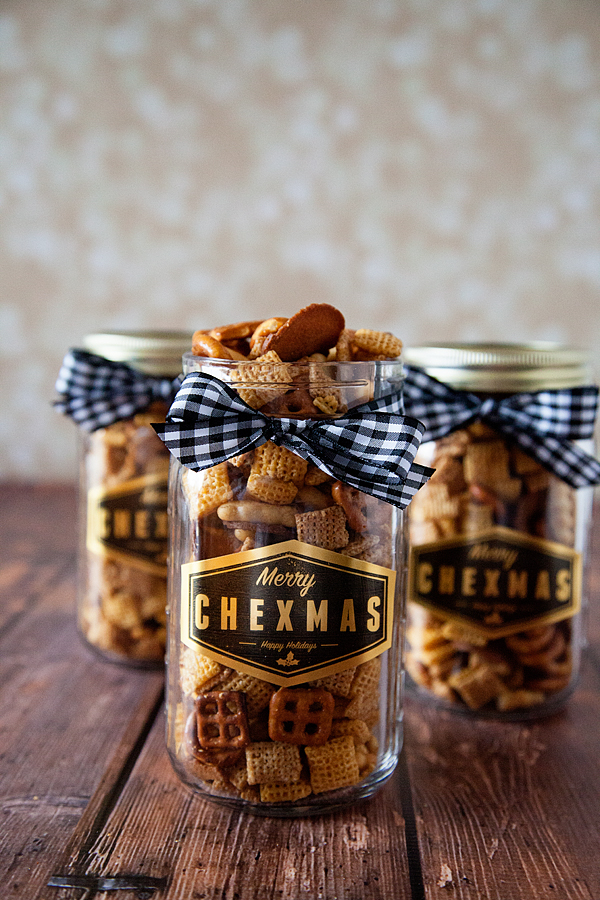
And then top it off with a bow…

Merry-Chexmas-Neighbor-gift-from-WhipperBerry-10

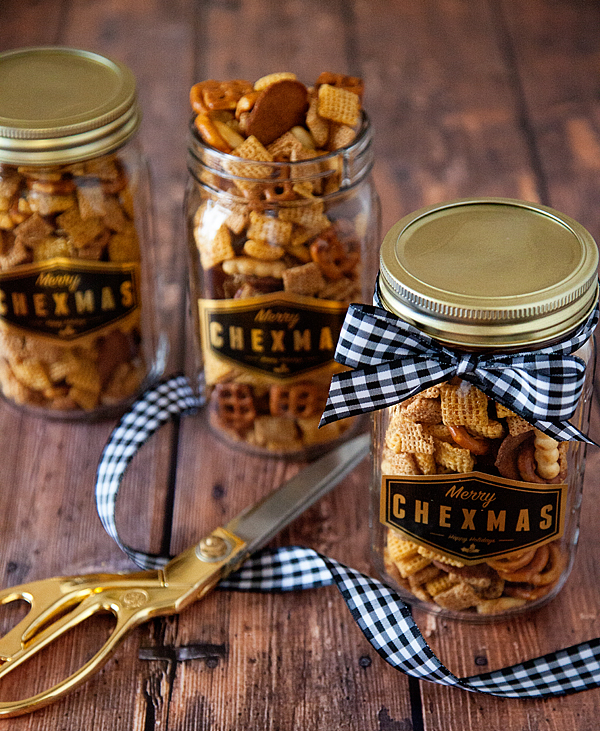
I also spray painted my lids gold so they wouldn’t clash with my gold label, but that’s not totally necessary. Now you have a GREAT savory gift that is perfect for friends, neighbors, teachers, the office, the mail man, your bus driver… Basically ANYONE!

Merry-Chexmas-Neighbor-gift-from-WhipperBerry-13

You can do all kinds of other stuff with this idea… Layer some Original Chex Mix with some Muddy Buddies for a savory & sweet treat. You can find all kinds of other ideas at Chex Mix. You can also follow them on Facebook, Twitter, Instagram & Pinterest. They even have a whole site devoted to all things Chex Party Mix!

You’ve been armed… What are you going to gift this Holiday Season?

This is a sponsored conversation written by me on behalf of ChexTM. The opinions and text are all mine.

Cinnamon Praline Sauce Recipe

0 · Sep 30, 2015 · Leave a Comment

Cinnamon-Praline-Sauce-from-WhipperBerry

Not too long ago, my husband and I were celebrating my birthday at Famous Dave’s restaurant here in Lincoln and we were introduced to the most amazing concoction! Part of their birthday deal there is you receive a free Sundae of your choice… Hot Fudge or Praline. I decided on Praline and it was the most heavenly experience. My husband and I were blown away by this scrumptious sauce. Bite after bite, we tried to deconstruct it to figure out the magic. It wasn’t your typical praline sauce, it had nice hint of cinnamon with a beautiful tang that paired amazingly well with the vanilla ice cream. I decided I needed to come home and figure out how to make this lovely sauce.

It’s really quite simple, It’s basically buttered pecans mixed with a lovely caramel sauce with a surprise addition at the end. Make sure you use quality ingredients like J.R. Watkins Vanilla and Cinnamon to ensure a top quality sauce.  I put together a quick video on how to make this amazing Cinnamon Praline Sauce. After the video I have a full recipe that you can print.

It’s really just that easy! We love this sauce on vanilla ice cream, bread pudding, waffles, pancakes… I could go on and on. I’m actually thinking of making up a bunch and bottling it for Holiday gifts this year. Forget cookies, this sauce is the ticket to Holiday bliss!

Cinnamon-Praline-Sauce-from-WhipperBerry-2

Cinnamon Praline Sauce Recipe
 
Save Print
Prep time
2 mins
Cook time
20 mins
Total time
22 mins
 
This sauce is a perfect addition to all kinds of desserts and breakfast items. Make-up a batch and store in the refrigerator for up to 2 weeks.
Author: Heather // WhipperBerry
Recipe type: Dessert
Serves: 15
Ingredients
  • 1 cup butter
  • 1 cup pecans
  • 2 cups brown sugar
  • 1 tsp. cinnamon
  • ¾ cup heavy cream
  • 1 tsp. vanilla
  • a pinch of salt
  • 1 cup sour cream
Instructions
  1. In a heavy bottomed sauce pan add ½ cup of butter and melt over medium heat.
  2. Add pecans and bring to a simmer. Simmer the pecans in the butter for 3-4 minutes or until the nuts start to brown. Keep a close eye on them, they will burn quickly if left unattended.
  3. Once they are sufficiently browned remove the pan from the heat. Cut butter into pats and add to the buttered pecan mixture to cool it down.
  4. Let mixture cool while making the caramel.
  5. Again, in a heavy bottomed sauce pan over low heat add brown sugar, cinnamon and cream. Stir to combine and slowly raise the heat to medium.
  6. Stir constantly.
  7. Using a candy thermometer, bring mixture up to 230˚ then remove from heat.
  8. Add vanilla, salt, sour cream and buttered pecan mixture and mix well.
  9. Serve warm over vanilla ice cream, bread pudding, waffles, pancakes or other desserts.
3.2.2925

Cinnamon-Praline-Sauce-from-WhipperBerry-4

Orange Honey Butter Spread with Melt Organic

5 · Jan 14, 2015 ·

+  Orange Honey Butter Spread Recipe brought to you by Melt® Organic +

Orange-Honey-Butter-Spread-WhipperBerry

This is one of my favorite culinary times of year… Citrus Season! I don’t know about you, but I love the oranges this time of year. They are like candy and I just can’t get enough of them. Which is probably good since we all seem to be fighting the cold and flu war this time of year, a little extra vitamin C is perfect! I thought a lovely Orange Honey Butter would be a great addition to a brunch table, especially when looking for inspiration from Bee Inspired recipes.

Recently, I was invited to try a new product out on the market called Melt® Organic. It’s this really cool “butter like” spread that has all the stuff we love about butter, but it’s packed full of healthier fats and it’s dairy and soy free. I would have to say I was a little skeptical at first. Can this product made out of a blend of  organic coconut, flaxseed, canola, palm fruit & sunflower oils really have the taste and creamy texture of butter? I decided to put it to the test.

First test, compound butter… Last Christmas, for my neighbor gifts, I made some lovely compound butters. I whipped together some honey, garlic & berry butters, packaged them up and gave them to my friends and neighbors for holiday gifts. They were a hit.

Sweet-Savory-Christmas-Gift-from-WhipperBerry-1

I wanted to give this idea a go with this new Melt® Organic product. I whipped it up the very same way, I place roughly 6 oz. basically half a container of Melt® Organic into my mixer with roughly 1 heaping tablespoon of orange marmalade.

Orange-Honey-Butter

Then whip the two together really well. Place in a small jar and serve immediately or store in the refrigerator and use as needed. It turned out beautifully!

Orange-Honey-Butter-Spread-3

I whipped up some black cherry butter spread with the other half of my container and I was all set for a lovely brunch.

What I LOVE about the Melt® Organic is that it is GMO-free and it’s helping get my healthy fats in the right way. Here’s the skinny about Melt® Organic…

  • Ideal balance of Omega 6 and Omega 3 fatty acids – 2:1
  • Good daily source of Omega 3 ALA’s at 425 mg – 26% RDA per serving
  • Good daily source of Vitamin E – 15% RDA per serving
  • Certified USDA Organic and OU Kosher Pareve
  • Verified non-GMO by the Non-GMO Project
  • Absolutely no hydrogenated or partially hydrogenated oils
  • Trans Fat Free
  • Gluten Free
  • Soy Free
  • Dairy Free
  • Vegan
  • No artificial colors, flavors or preservatives

Not bad if you ask me!

The next test… Baking Cookies.

I mixed up a batch of our favorite Chocolate Peanut Butter Granola Cookies with Melt® Organic rather than butter. They mixed up beautifully and baked even better. My family didn’t even notice the difference.

chocolate-chip-cookies-with-Melt-Organic-whipperberry

I noticed a difference knowing that even though cookies aren’t exactly health food, and fat is still fat, I felt better knowing that the cookies they were eating were made from healthier fats. You can grab this recipe HERE, just substitute the Melt® Organic for the butter.

The next test… I sautéd some corn with Melt® Organic and I really liked that much better than butter. You still have the butter flavor without all the yucky fats. My family loved this test too.

All in all, my experience with Melt® Organic has been super positive and we have been converted for sure!

Orange-Honey-Butter-Spread-5

Click HERE to find a store near you that carries Melt® Organic. You can generally find it in the organic dairy section of your local super market. If not, you can always order it online. Grab some and give it a spin, tell me what you think!

MELT® Organic is a line of luscious, organic spreads made from healthy oils for butter lovers seeking a much healthier alternative, available in Rich & Creamy (original), Honey, and NEW Chocolate.

This is a sponsored conversation written by me on behalf of MELT Organic. The opinions and text are all mine.

Pickled Tomatoes

28 · May 29, 2014 · 10 Comments

This post brought to you by Pompeian Red Wine Vinegar // I’m a pickle girl… Honestly, I don’t think I’ve met a pickle that I didn’t like.  I love all kinds of pickles not just pickled cucumbers. Have you every tried pickled okra, cauliflower, carrots… they are amazing!  We have a restaurant here in Lincoln called Granite City and they have a steak salad that I ADORE and they have a pickled tomato relish on the salad and it’s divine.  The whole idea intrigued me, so I thought I would try and come up with some pickled tomatoes of my own…

Pickled-Tomato-&-Steak-Salad-with-Pompeian-Red-Wine-Vinegar-#whipperberry-3

I love that I will have tomatoes along with some red onions that are pickled and ready in my fridge at any time. I was one of the kiddos that when my mom made salad or tacos I wouldn’t eat them if they didn’t have tomatoes, it just didn’t seem complete to me. This way I always have tomatoes on hand even when I haven’t made it to the market for a few days. This whole idea is super simple and only takes about 45 minutes to pull together. I used my favorite Pompeian Red Wine vinegar for these pickled tomatoes. You need to check out their whole line of vinegars, they have some amazing flavors!

First, I prepared my four 1 quart wide mouth Ball canning jars, by sterilizing them in the dishwasher.

Pickled-Tomato-&-Steak-Salad-with-Pompeian-Red-Wine-Vinegar-#whipperberry-10

I gathered my simple ingredients, tomatoes, salt, sugar, garlic, Pompeian Red Wine Vinegar, red onion, dill and pepper corns…

Pickled-Tomato-&-Steak-Salad-with-Pompeian-Red-Wine-Vinegar-#whipperberry-1

I prepared my pickle brine from the recipe below and while it cooled I prepped my veggies. I cut my tomatoes into large pieces, sliced my onions and peeled the garlic. I layered my veggies in the sterilized jars…

Pickled-Tomato-&-Steak-Salad-with-Pompeian-Red-Wine-Vinegar-#whipperberry-11

Now, this is a cold pickle so I wanted the brine to be cool, so that it wouldn’t cook the tomatoes. This also means that I just put the pickled tomatoes into the fridge and I don’t go through the whole preserving process. This means that I will have to keep the pickles in the fridge because they have not been officially preserved by the full canning process which kills all the possible bacteria.

The tomatoes will become rather soft, so you may want to use a small grape or cherry type tomato and not cut them for a firmer pickled tomato.

Once the brine is cool, pour it into the jar, seal the jar with the lid and place in the refrigerator. Let the tomatoes “pickle” for a few days and then serve with your favorite salad, cottage cheese, use as a burger topping… the skies the limit!  I will be sharing my copy cat Steak Salad from Granite City in a bit and share how I like to eat my pickled tomatoes.

Balsamic-Steak-Salad-with-Pickled-Tomato-Relish-#whipperberry-2

Pickled Tomatoes
 
Save Print
Prep time
15 mins
Cook time
5 mins
Total time
20 mins
 
These pickled tomatoes are a sure fire way to impress your family and friends this summer!
Author: Heather // WhipperBerry
Recipe type: condiment
Cuisine: American
Serves: 25
Ingredients
  • 3 cups Pompeian Red Wine Vinegar
  • 3 cups water
  • 3 tablespoons salt
  • ⅓ cup sugar
  • 8 garlic cloves
  • 2 tablespoons peppercorns
  • 25-30 medium sized tomatoes
  • 2 red onions
  • 1 bunch of dill
Instructions
  1. Prepare your brine by placing the vinegar, water, salt and sugar into a sauce pan over medium high heat. Heat the brine mixture until the salt and sugar have dissolved about 4 minutes over medium heat stirring occasionally. Let brine cool.
  2. Prepare your veggies by cutting the tomatoes into large pieces and slicing the red onion in onion rings and peeling the garlic. Layer the veggies in your sterilized 1 quart wide mouth Ball canning jars. Pour cooled brine into the jars and place the lid on the jars. Place in the refrigerator.
3.2.2310

Disclaimer // This post is sponsored by Pompeian. I received product and payment for my recipe. However, as always… All thoughts, ideas and opinions are my very own!

  • « Go to Previous Page
  • Page 1
  • Page 2
  • Page 3
  • Page 4
  • Page 5
  • Interim pages omitted …
  • Page 7
  • Go to Next Page »

Primary Sidebar

Heather from Whipperberry
Hello... my name is Heather and I'm the creator of WhipperBerry a creative lifestyle blog packed full of great recipes and creative ideas for your home and family. I find I am happiest when I'm living a creative life and I love to share what I've been up to along the way... Come explore, my hope is that you'll leave inspired!

Footer

  • Privacy Policy
  • Crafts
  • Food
  • Gifts
  • Holidays
  • Home
  • Mom Life
  • Recipes
  • Travel

Copyright © 2026 · Seasoned Pro