Store-bought cards keep getting more expensive, and somehow they never say quite the right thing. Meanwhile, a handmade card costs pennies to make and instantly becomes the thing people keep long after the gift is forgotten. If you have ever admired hand-painted cards at a craft fair and thought you could never make those, this post is for you. Watercolor cards are one of the most forgiving paper crafts there is, and you can build a whole year’s worth of designs from a handful of simple techniques.
Below you will find the basic setup, five go-to techniques, and design ideas for every occasion on your calendar, from birthdays to Christmas.
What You Need to Get Started
The supply list is refreshingly short. You need watercolor paper (140 lb cold press is the sweet spot), a basic set of watercolor paints, a pencil, a waterproof fine-liner pen, and brushes. Pre-cut and scored blank cards made from watercolor paper are also available and save a step.
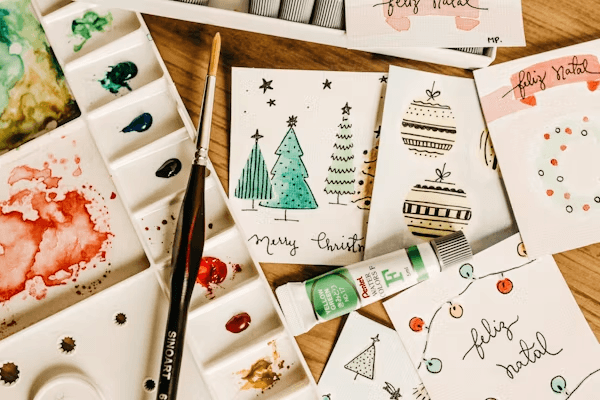
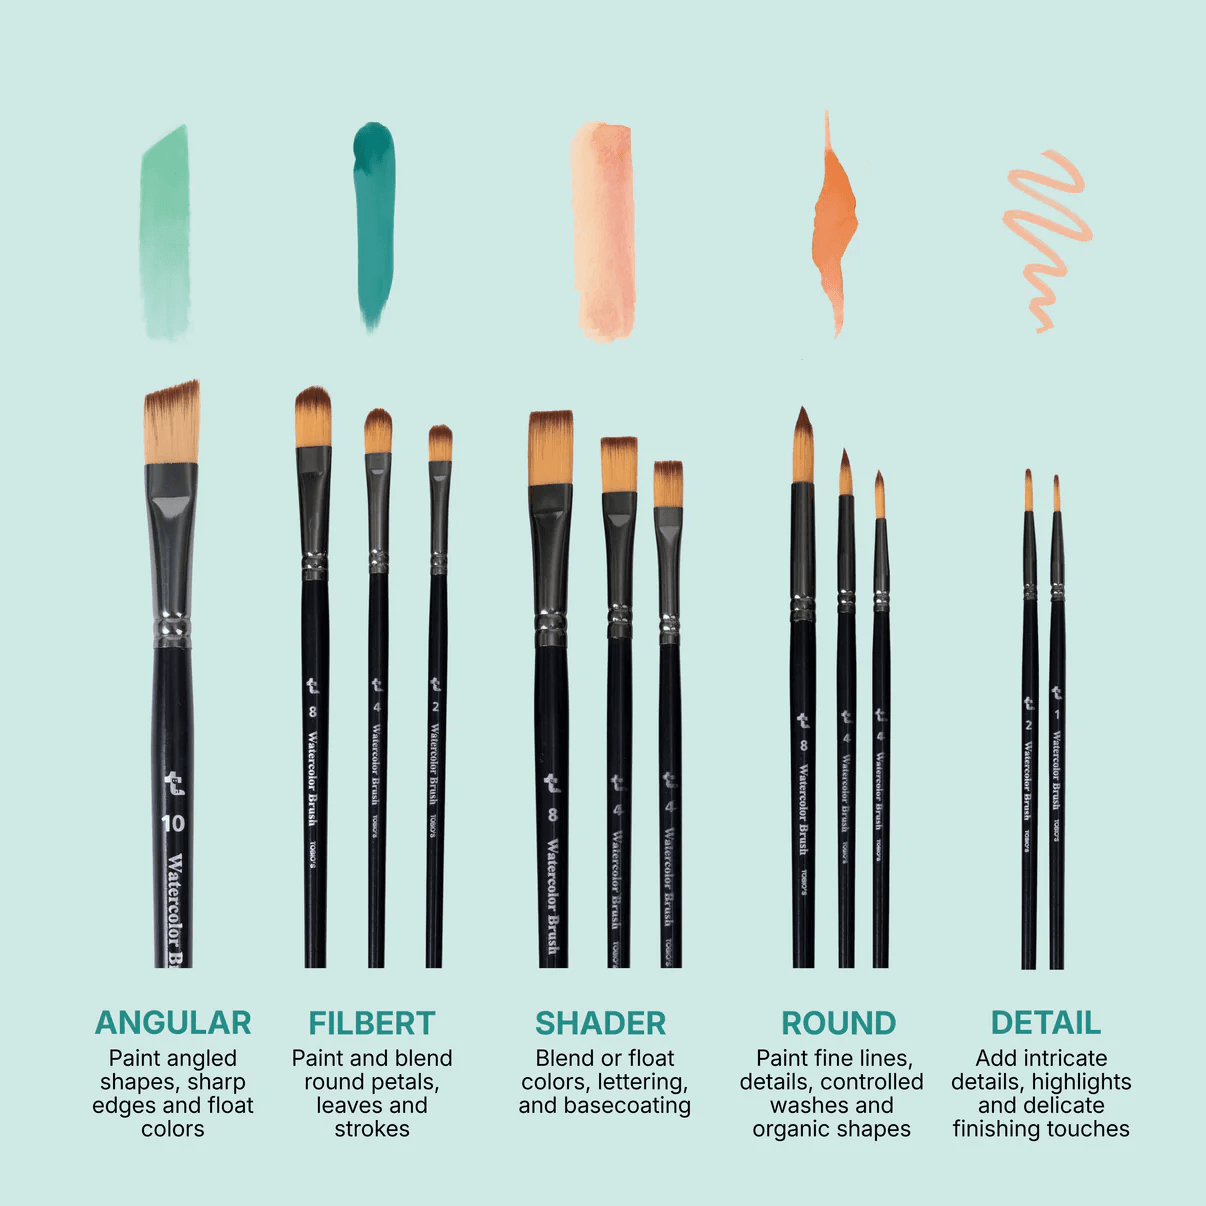
Brushes deserve a special mention, because they make a bigger difference on cards than on almost any other project. Card designs are small, so you spend most of your time painting details rather than broad washes. A scratchy, splayed bristle turns a delicate flower into a blob. Investing in a good set of watercolor brushes with a round brush that keeps its point will do more for your cards than any other upgrade. A size 6 round, a size 2 for details, and a flat wash brush will cover virtually every design in this post.
Technique 1: The One-Stroke Floral
Loose florals look sophisticated but rely on a single trick: letting one brushstroke do the work. Load a round brush with plenty of pigment, press it down so the bristles fan out, then lift as you pull away. Each press-and-lift makes one petal. Five petals around an empty center make a rose. Cluster three or five blooms, add stems and leaves with the brush tip, and you have a card front worthy of a boutique.
Practice a page of petals before your first card. After twenty minutes, your flowers will already look dramatically better.
Technique 2: Wet-on-Wet Backgrounds
Brush clean water over the card front, then touch loaded color into the damp area and watch it bloom outward in soft clouds. Two or three colors that sit near each other on the color wheel, like pink and coral or blue and violet, blend into dreamy backgrounds.
Once dry, these backgrounds become the stage for hand lettering, a simple line drawing in pen, or a die-cut greeting layered on top.
Technique 3: Simple Stripes and Color Blocks
Never underestimate clean geometry. Paint bold horizontal stripes in rainbow order for a birthday card, or soft neutral blocks for a masculine design. Painter’s tape gives you crisp edges if you want a modern look, or freehand the lines for something more relaxed.
This is the technique to reach for when you need six thank-you cards by tomorrow morning, because each one takes about three minutes.
Technique 4: Splatter and Shine
Dip a brush in paint, hold it over the card, and tap it against your finger. Controlled splatter adds instant energy to any design, whether it is confetti on a birthday card or snow on a winter scene. Metallic watercolor splattered over a dried wash adds a celebration-ready shimmer.
Keep a scrap sheet under your work area, because splatter goes everywhere. That is part of the fun.
Technique 5: The Painted Frame
Paint a loose rectangle of color around the edge of the card, leaving the center white for your message. Botanical vines, holly for Christmas, or simple brush dashes all make beautiful frames. The empty middle makes the card feel intentional and gives you a natural spot for lettering.
Card Ideas for Every Occasion
For birthdays, try rainbow stripes, splattered confetti, or a painted balloon bouquet. Mother’s Day calls for loose roses or peonies in soft pinks. For Father’s Day, color-blocked mountains or a simple painted plaid feel handsome without being fussy.
Christmas cards are where watercolor really shines. A wet-on-wet evergreen forest, a wreath of simple dashes and berries, or a night sky with splattered snow can be batch-painted a dozen at a time. Valentine’s hearts painted wet-on-wet blur beautifully at the edges. For baby showers, tiny painted clothes on a clothesline in pastel washes are always a hit.
And do not forget the everyday cards. A little thinking-of-you note with a single painted lemon or sprig of eucalyptus might be the most treasured card of all, simply because it arrived for no reason.
A Quick Word on Lettering
The greeting is the part that makes people nervous, but it does not have to be fancy. Simple, evenly spaced capital letters written with a fine waterproof pen look clean and modern on any painted background. If you want to try brush lettering, the only rule to remember is thin strokes going up, thick strokes coming down, achieved by pressing harder on the downstrokes.
Pencil your words in first, always. And if lettering truly is not your thing, stamps, stickers, or leaving the front wordless and writing inside are all perfectly lovely options. Plenty of professional card designers let the painting do all the talking.
Batch Painting for Busy Seasons
When the holidays approach, work assembly-line style. Paint all your backgrounds first, then go back and add details once they dry, then letter the greetings last. Working in stages keeps you from waiting on drying time, and you can finish a dozen cards in an evening while watching a show.
Store finished cards flat with a sheet of plain paper between them, and they will stay pristine until you need them.
The Card They Will Keep
Here is the secret every card maker learns: people do not keep cards because the painting is perfect. They keep them because someone sat down and made something with their own hands. Your slightly crooked stripes and blooming, imperfect flowers carry more warmth than anything a printing press produces.
So put on some music, spread out your paints, and make a small stack of future happy moments. Your loved ones’ refrigerators and memory boxes are waiting.
0
Leave a Reply