I’ve partnered with Huhtamaki Inc. for the Chinet® brand to create this post! Enjoy!
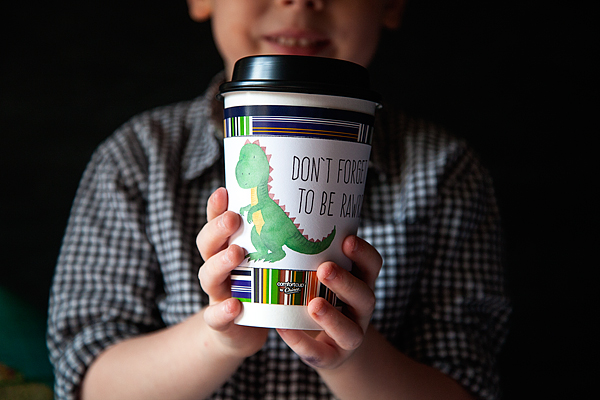
I don’t know about you, but I’m always looking for ways to help my kiddos feel extra special. Especially now that they have gone back to school, and the daily grind is starting to get to them a bit. The magic of summer is over, and they need a little pick me up in the mornings.
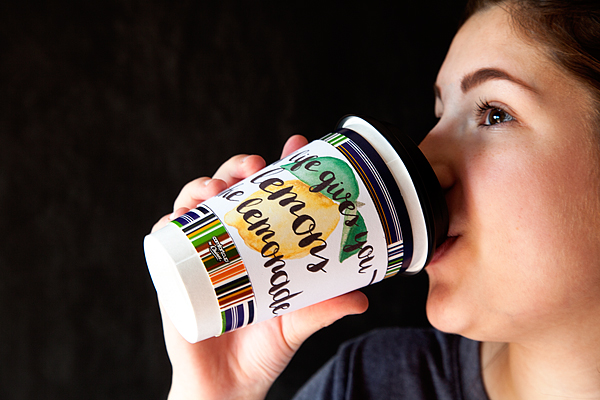
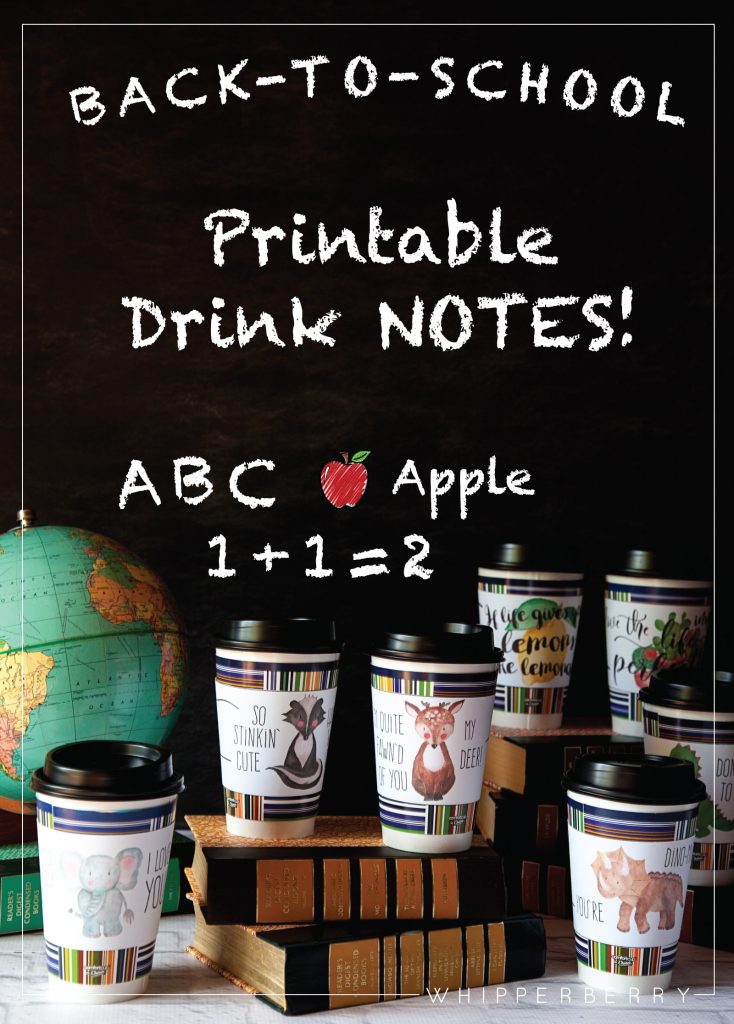
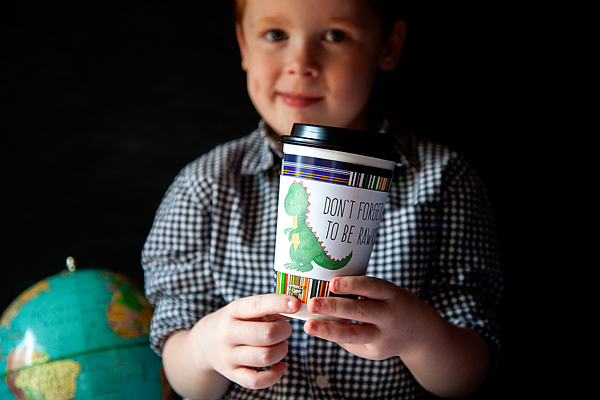
I’ve always been a fan of the good printable ol’ lunchbox note, but I thought it would be fun to change things up a bit and create some morning drink notes that you can wrap around a Comfort Cup® by Chinet® cup for a little boost at the beginning of the day!
We aren’t coffee drinkers at our house, but we LOVE hot chocolate, Choffy, flavored milk steamers, herbal tea… all kinds of tasty treats. The Comfort Cup® by Chinet® insulated hot cup is perfect for keeping your hot drink hot, and it’s specially designed to keep your hands comfortable with a special three layer system that keeps the cup insulated.
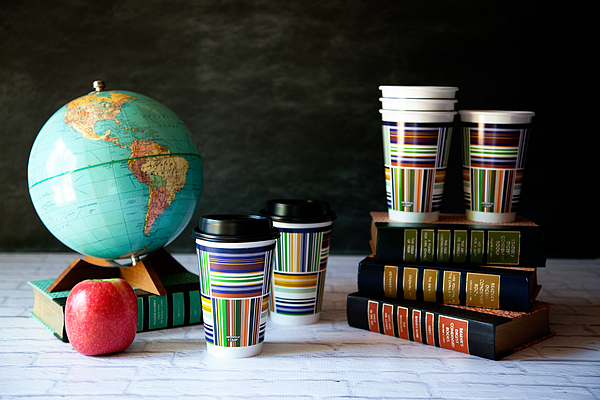
They aren’t just for hot drinks either! They’re perfect for taking your colds drinks on-the-go as well. My kiddos are always wanting to take drinks with them to school or other activities, and I’m always getting frustrated with them leaving their drink containers places. The amount of drink containers that they’ve left for the universe makes my head spin. When I use the Comfort Cup® by Chinet® insulated hot cups I know I won’t have to worry about that. Plus, who doesn’t love to walk around with a cute cup while on the way to school or other activities?
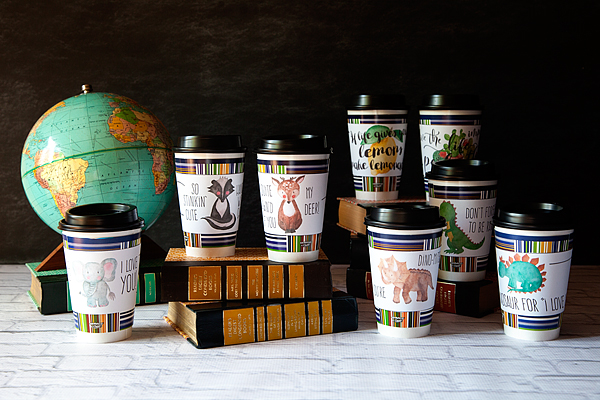
You pair them with my fun printable drink sleeves with a cute little note, your kiddos are going to adore them! I’ve created a set for the younger, elementary age kiddos and then a couple that the teenagers might like (well, teen girls anyway. The boys maybe not so much.)
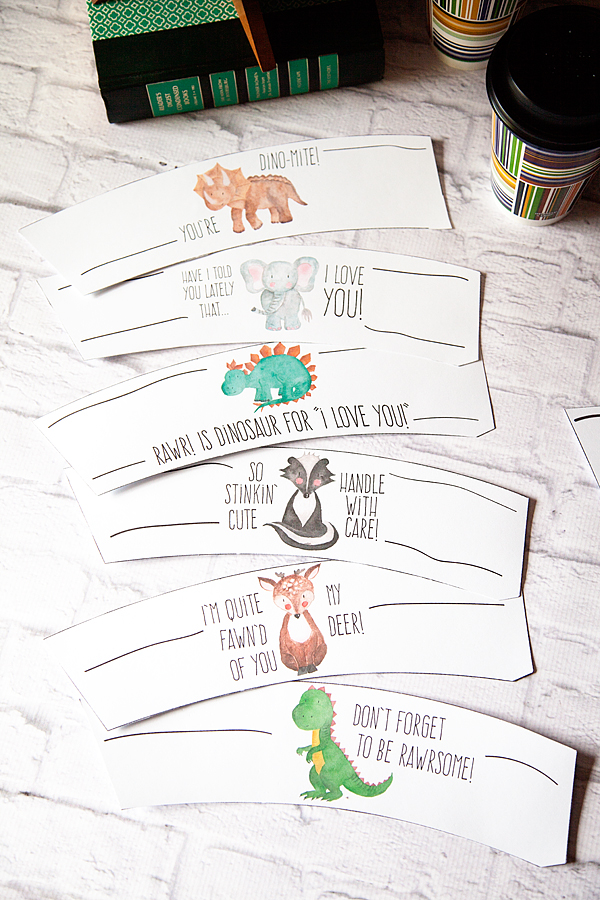
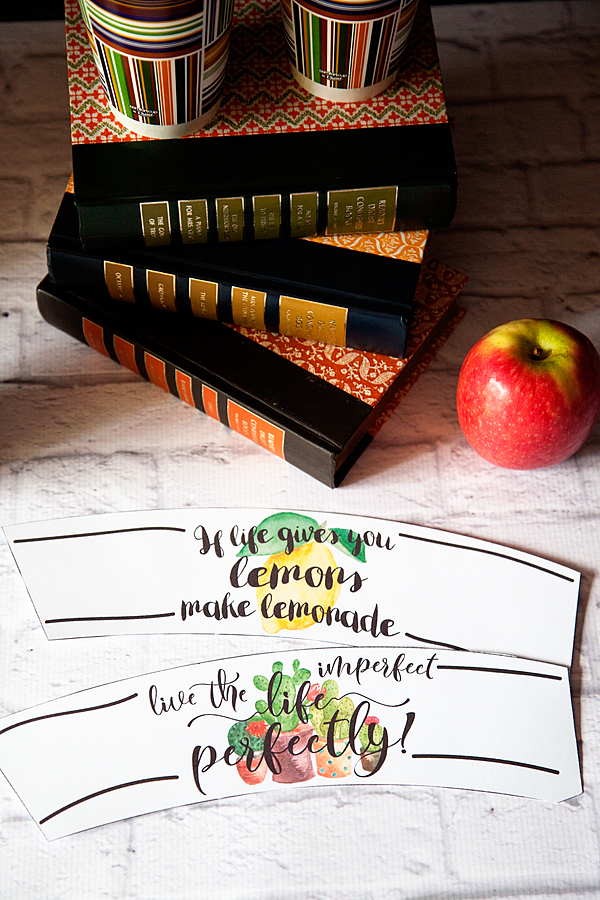
They are simple to use, you can download the files HERE. Then print them out on card stock paper and cut them out with scissors. Super easy… No need for a fancy cutting machine!

Wrap them around your Comfort Cup® by Chinet® insulated hot cups, and affix with tape or glue dots. It’s that simple.
What a simple way to help your kiddos feel extra special!