I’m super excited to be sharing this fun Printable Christmas Countdown Calendar along with Jane.com today!
A few weeks ago I had the fun opportunity to visit the Jane headquarters in Salt Lake City, Utah for a scrumptious event…

+ Whippy Cake + Heidi Swapp + Amy from Live & Hope + Jen from Elevate Conference + Myself + Heidi from Jane + Summer from Elevate Conference +

We had a beautiful night together eating an amazing meal prepared for us by Tom from Food Made by Tom he taught us some fun ways to plate… so watch out, I’m a food plating pro now! (Not really, but we can pretend)


Aren’t we aaaamazing! Well Tom certainly was.
We had a fabulous evening together and I fell in love with the crew from Jane! Have you checked out their amazing daily deal site? They have 100’s of new deals everyday at unbelievable prices! It’s kind of awesome. I find all kinds of stylish things for my home and family. So far this holiday season, I’ve grabbed monogrammed pajama bottoms for the whole family for Christmas Eve and all kinds of beautiful clothes for my kiddos that they are going to LOVE!!
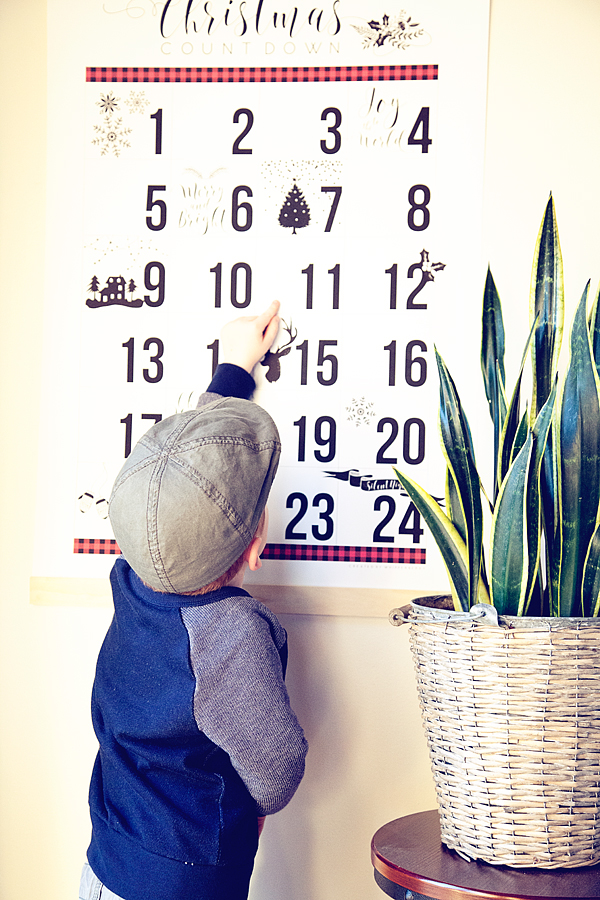
Well, While I was at the Jane Event, they asked if I would design an Advent Calendar for them and I thought, SURE… I would LOVE to! I love designing all kinds of stuff and to design something for the Jane Blog was truly an HONOR! Here is what I came up with…
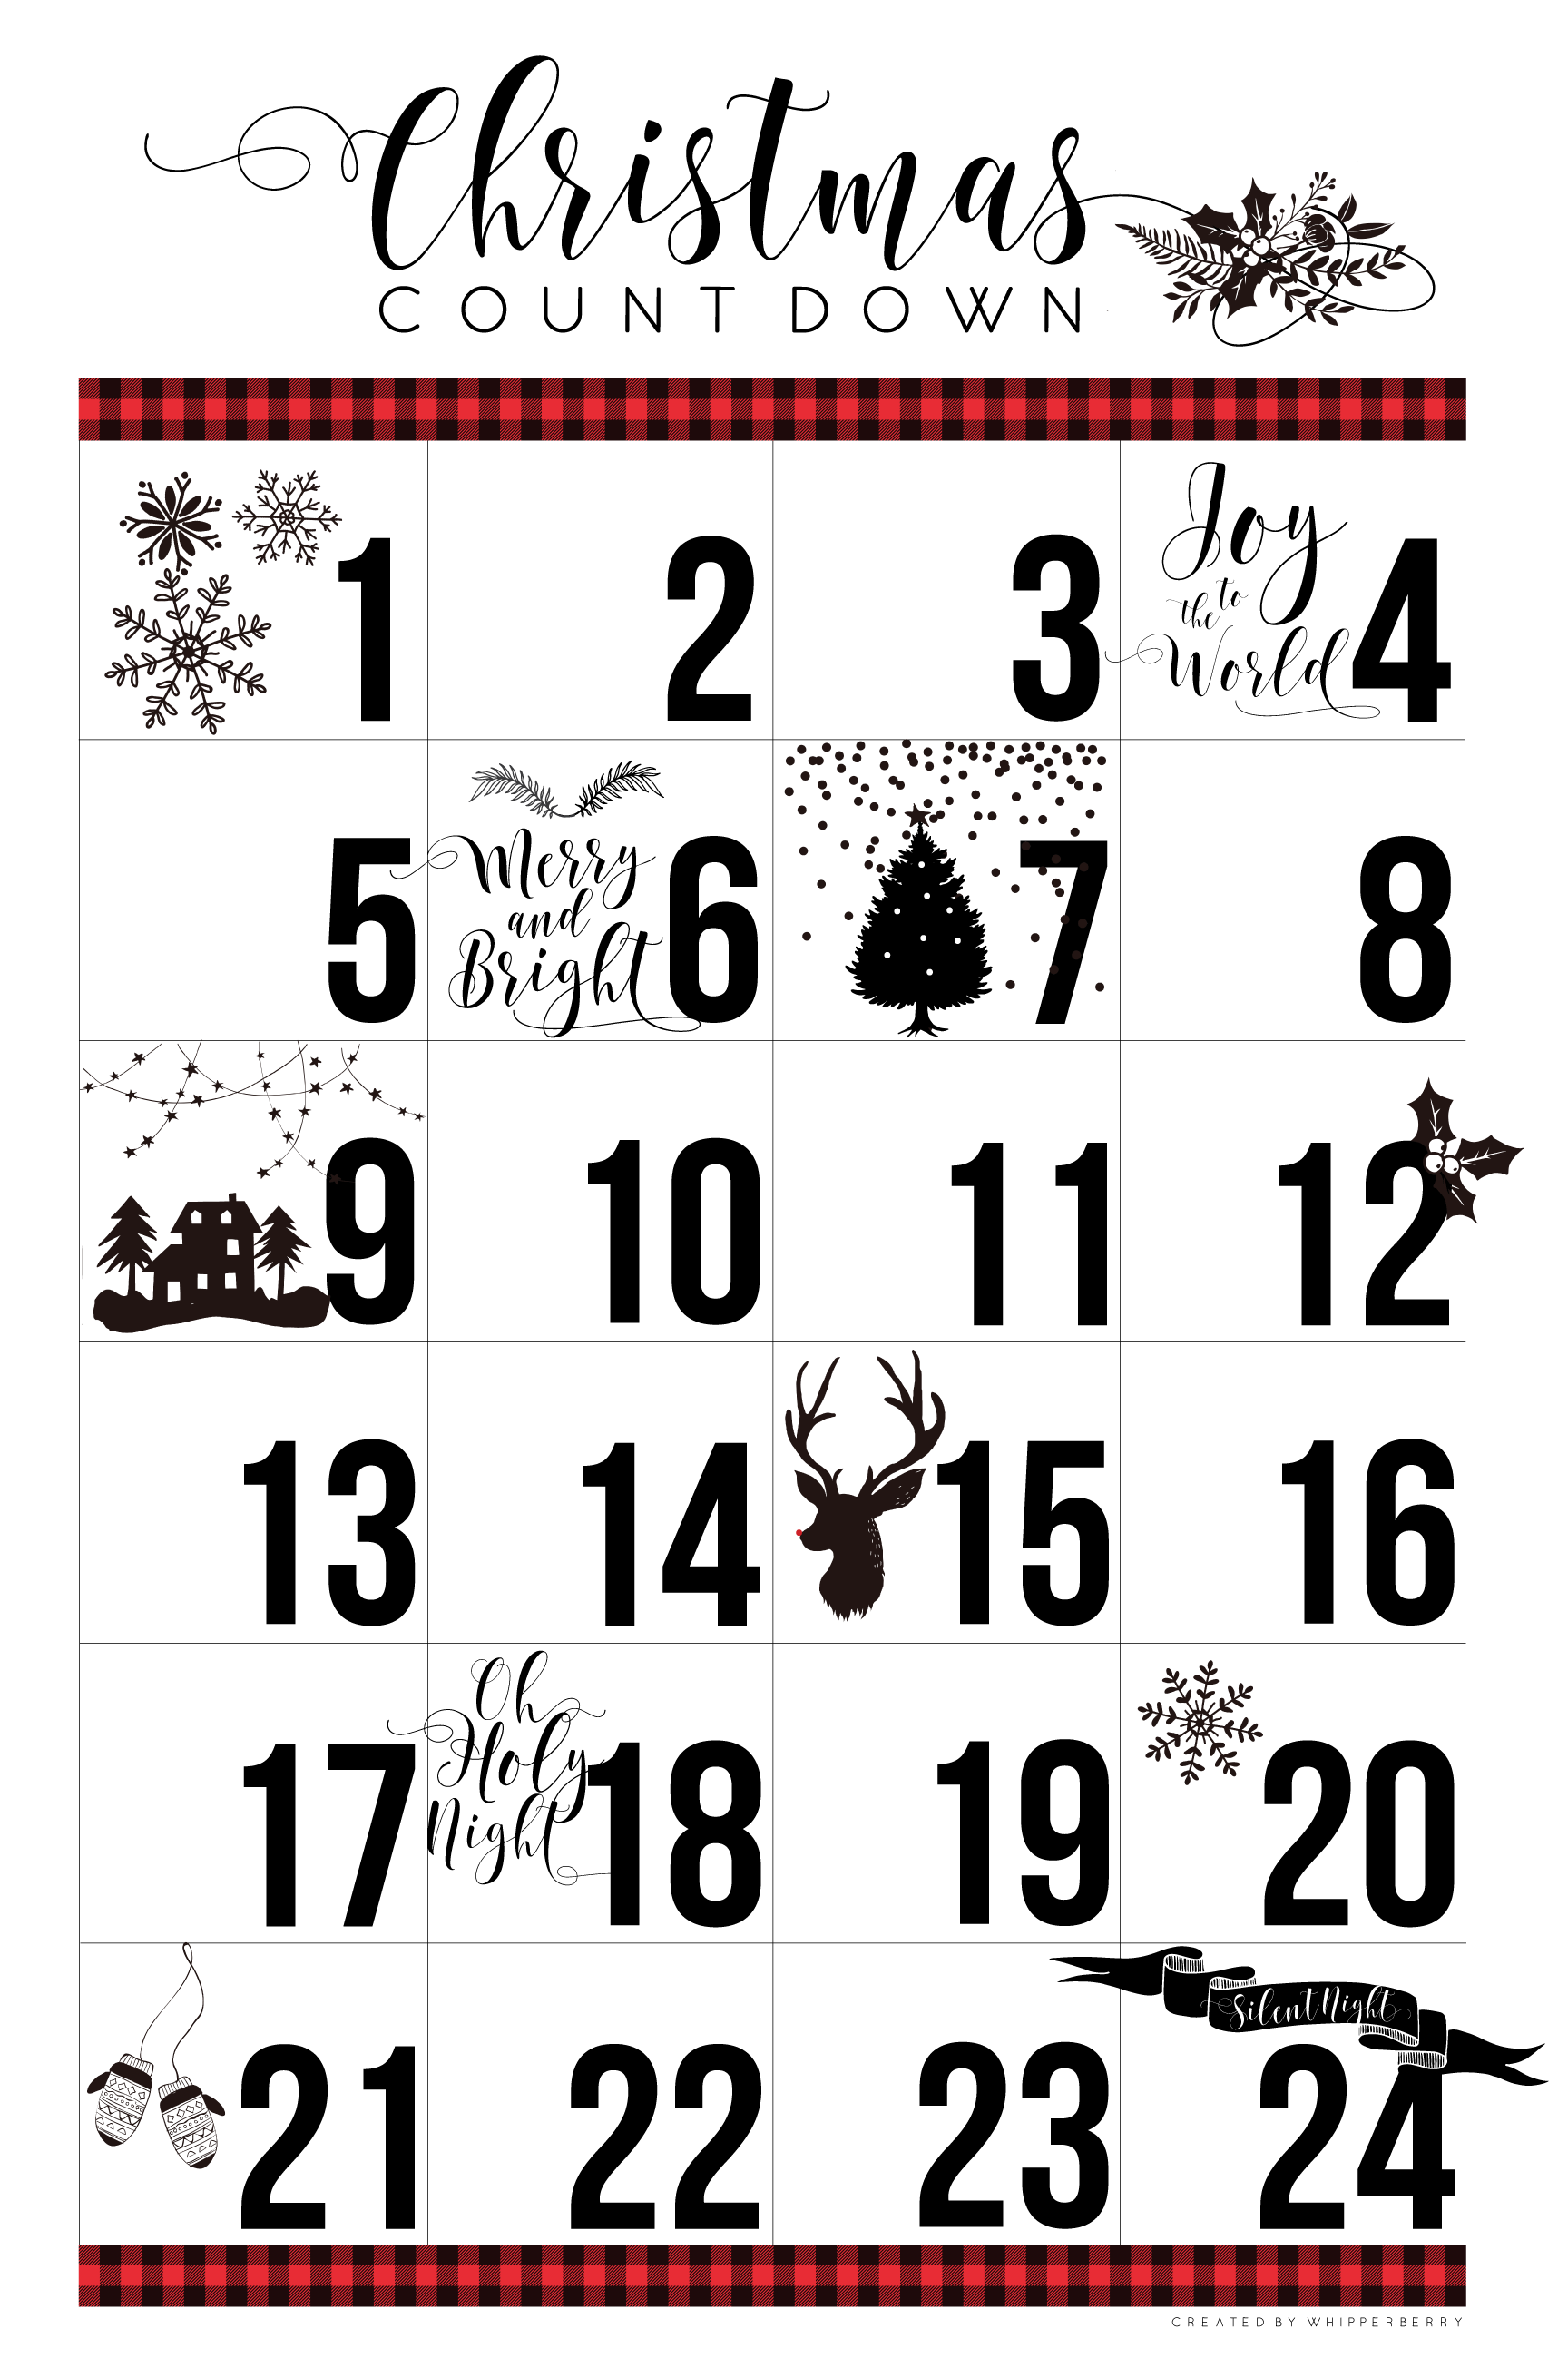
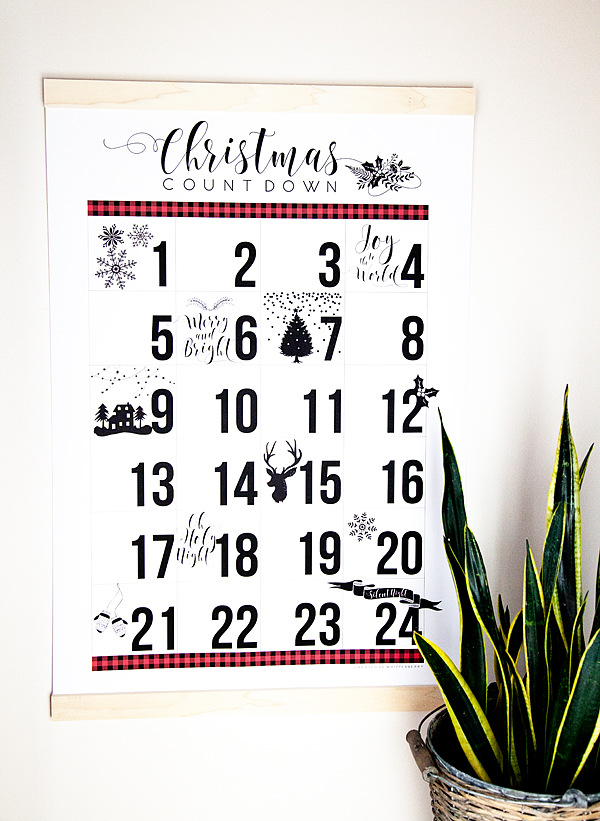
I thought it turned out pretty cute… if I do say so myself!
The cool thing is, I designed it to print either BIG or small. You can print a large 24 inch print at either Office Max or Office Depot OR you can print an 8.5 x 11 at home on your personal printer.
Download the LARGE Christmas Countdown
If you would like to print the LARGE version of the countdown, Visit the Jane Blog to download that version + you get to see all of the FUN stuff they have available today. I recommend signing up for their daily email so that you never miss out on any good deals!
Download the 8.5 x 11 Christmas Countdown
Click HERE to download the smaller print that will be perfect for your own personal printer.
We (Jane & I) would love to see how you use your Christmas Countdown. Instagram your countdown and tag both WhipperBerry & Jane so we can see your cute countdown in action!