Disclaimer // Compensation for this Lincoln Nebraska City Guide post was provided by Discover card via AOL Media. The opinions expressed herein are those of the author and are not indicative of the opinions or positions of Discover card or AOL.
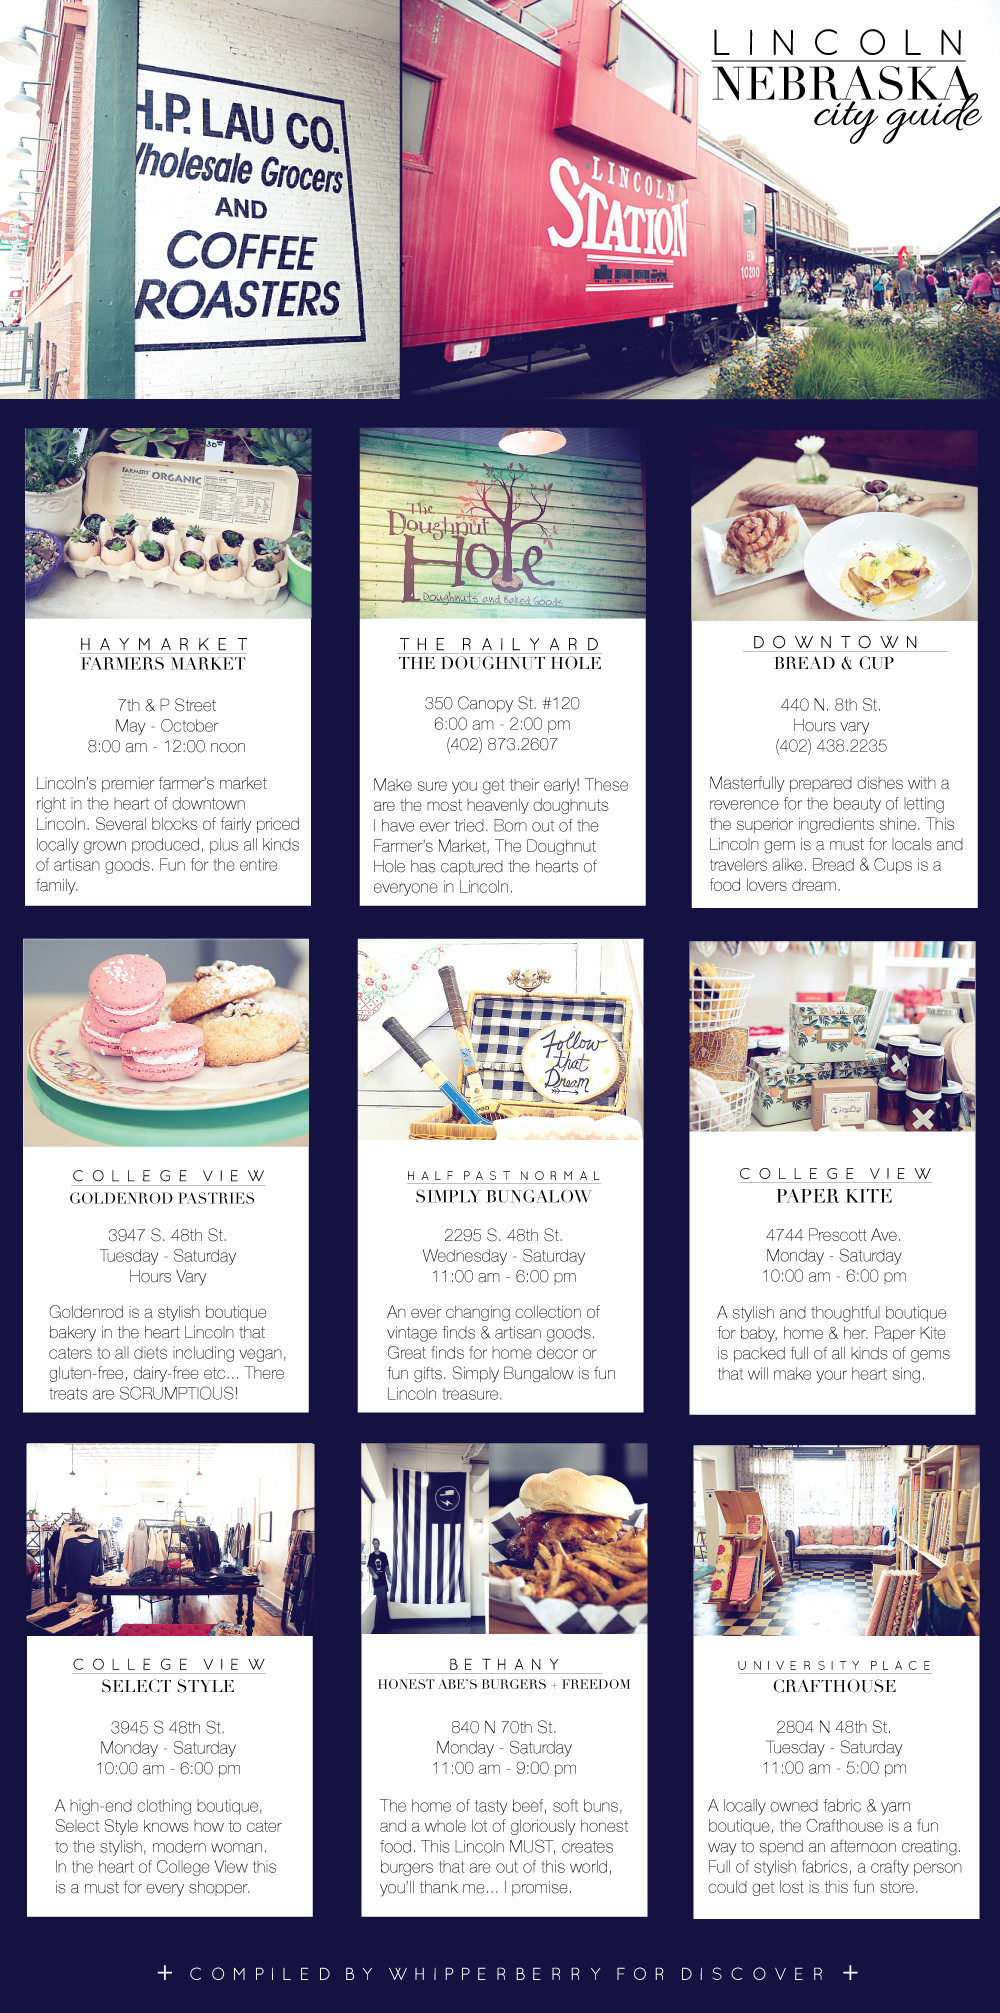
+ Haymarket Farmer’s Market + The Doughnut Hole + Bread & Cup + Goldenrod Pastries + Simply Bungalow + Paper Kite + Select Style + Honest Abe’s Burgers & Freedom + Crafthouse +
Three years ago, my husband asked me what I thought about Nebraska. We were in the beginning stages of a possible job change so I knew this was loaded question. My initial reaction was, “I DON’T think about Nebraska, Why?” Three weeks later, our family was the newest residence of this lovely state. It took a little bit to get over the shock of the move, but as soon as I took the time to explore Lincoln, I started to fall in love.
Today, I’m sharing a City Guide of Lincoln, Nebraska from the WhipperBerry point of view. I have truly come to fall in love with this little city. Many people don’t realize how big Lincoln really is. It’s not some podunk town in the middle of some cornfields. Cornfields surround us but we are a thriving, friendly city. Lincoln is a great little city rich with good eats, fun shopping, talented makers and great activities for all ages.
It may not be on your destination radar just yet, but just you wait… This may change your mind. The next time you’re driving through Nebraska, you should take some time to visit and stop and stay for a while.
Every one of the places that I have chosen to highlight are local-owned eateries or shops that have been built through the blood, sweat & tears of their owners. They are all amazing spots that I’m thrilled to showcase. They are places where I hangout frequently and love. They are kind of like my little fishing holes… I’m a little afraid to share my fishing hole for fear of the hole being over run, but all of these restaurant and shop owners totally deserve it. I applaud all of their hard work and I’m happy to share with all of you!
Eat
Believe it or not, Lincoln has an amazing food scene and it’s getting better and better every year. Keep in mind… This is coming from the girl from Las Vegas who is used to a REALLY GOOD food scene. I’ve lived good food and I’m telling you, Lincoln is starting to hit the mark. Case in Point… Bread & Cup.
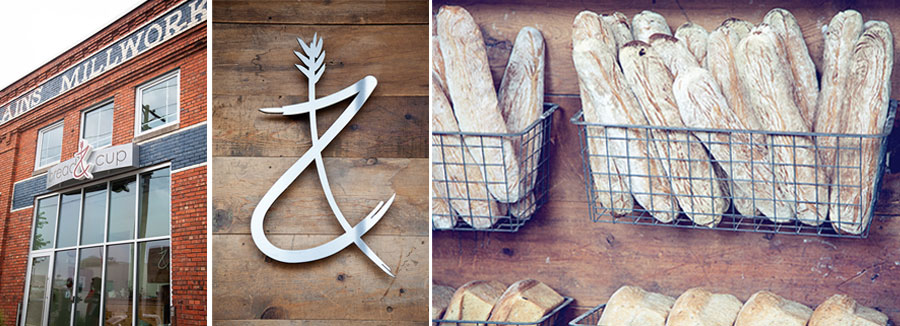
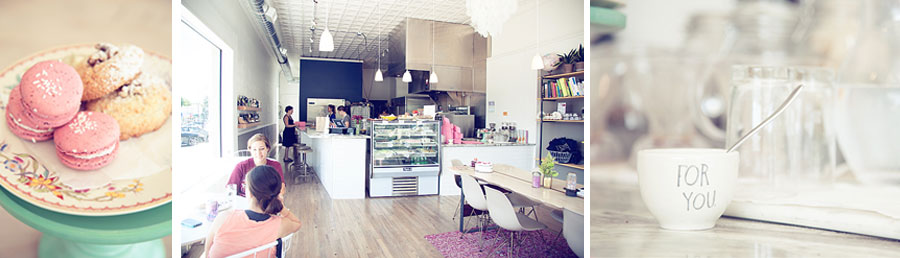
Bread & Cup
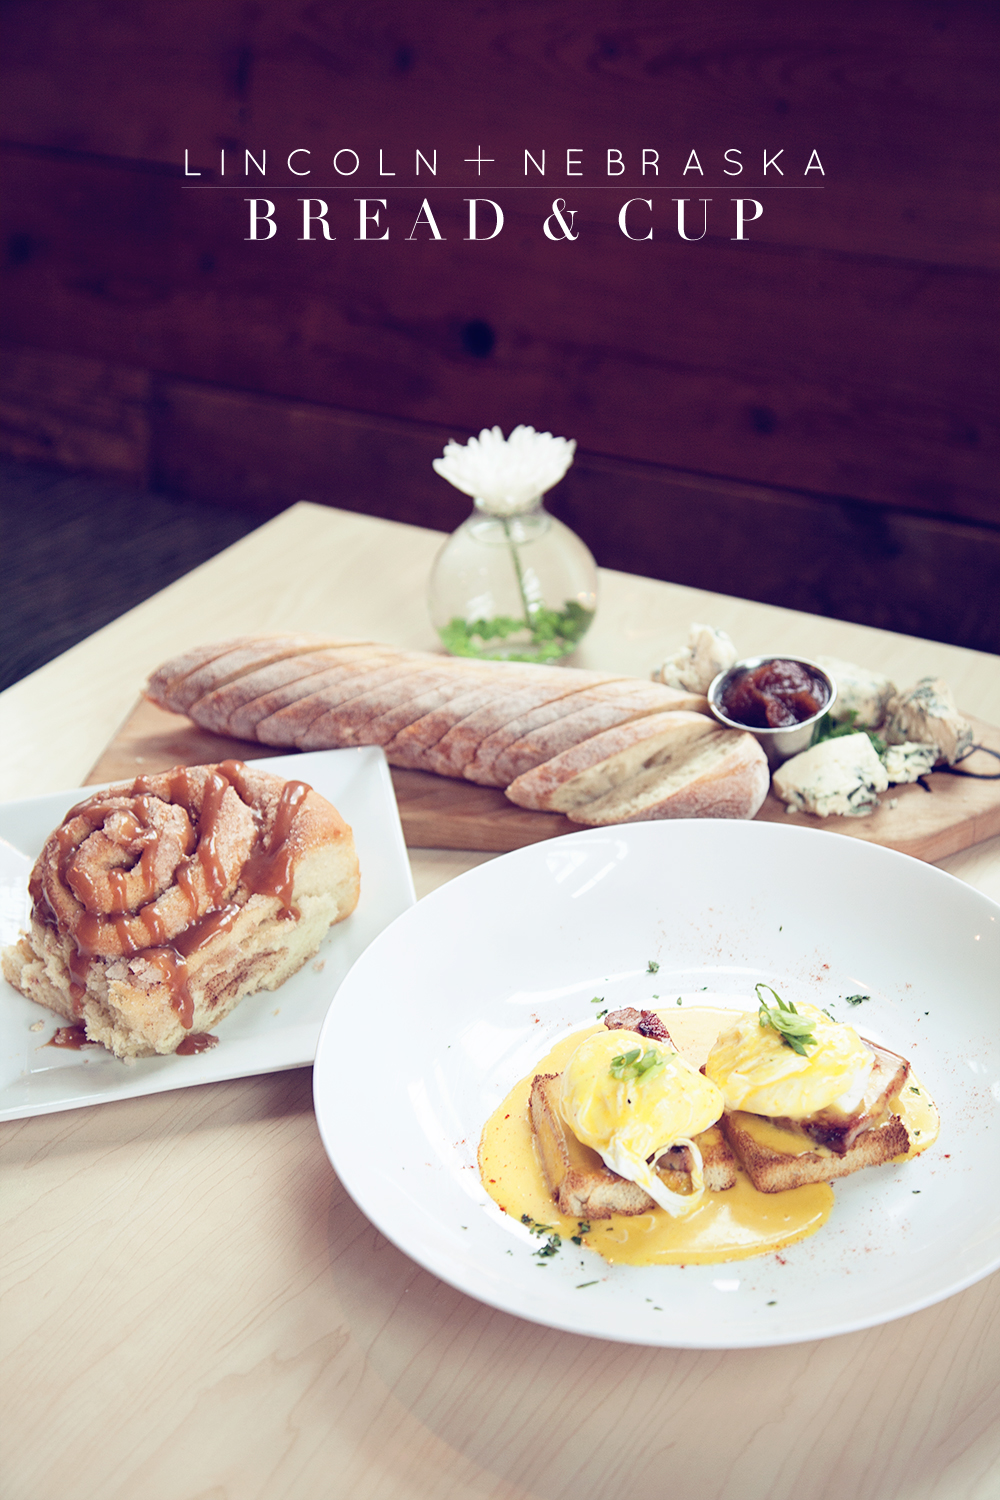
Chef Kevin a.k.a The Sustained Chef is a master in the kitchen. His food is simple, yet sophisticated. Rustic, yet elegant. I love everything about Bread & Cup. Located down the street from the Haymarket, Chef Kevin shops as much as possible at the Haymarket Farmer’s Market during the warm months to source as much of his ingredients locally. Everything served at Bread & Cup is made in house and it’s truly amazing. If you go for breakfast, give the Eggs Benedict and a cinnamon roll at go, you’ll be happy for the rest of the day!
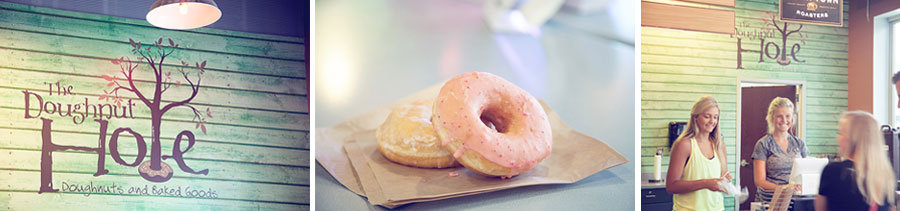
The Doughnut Hole
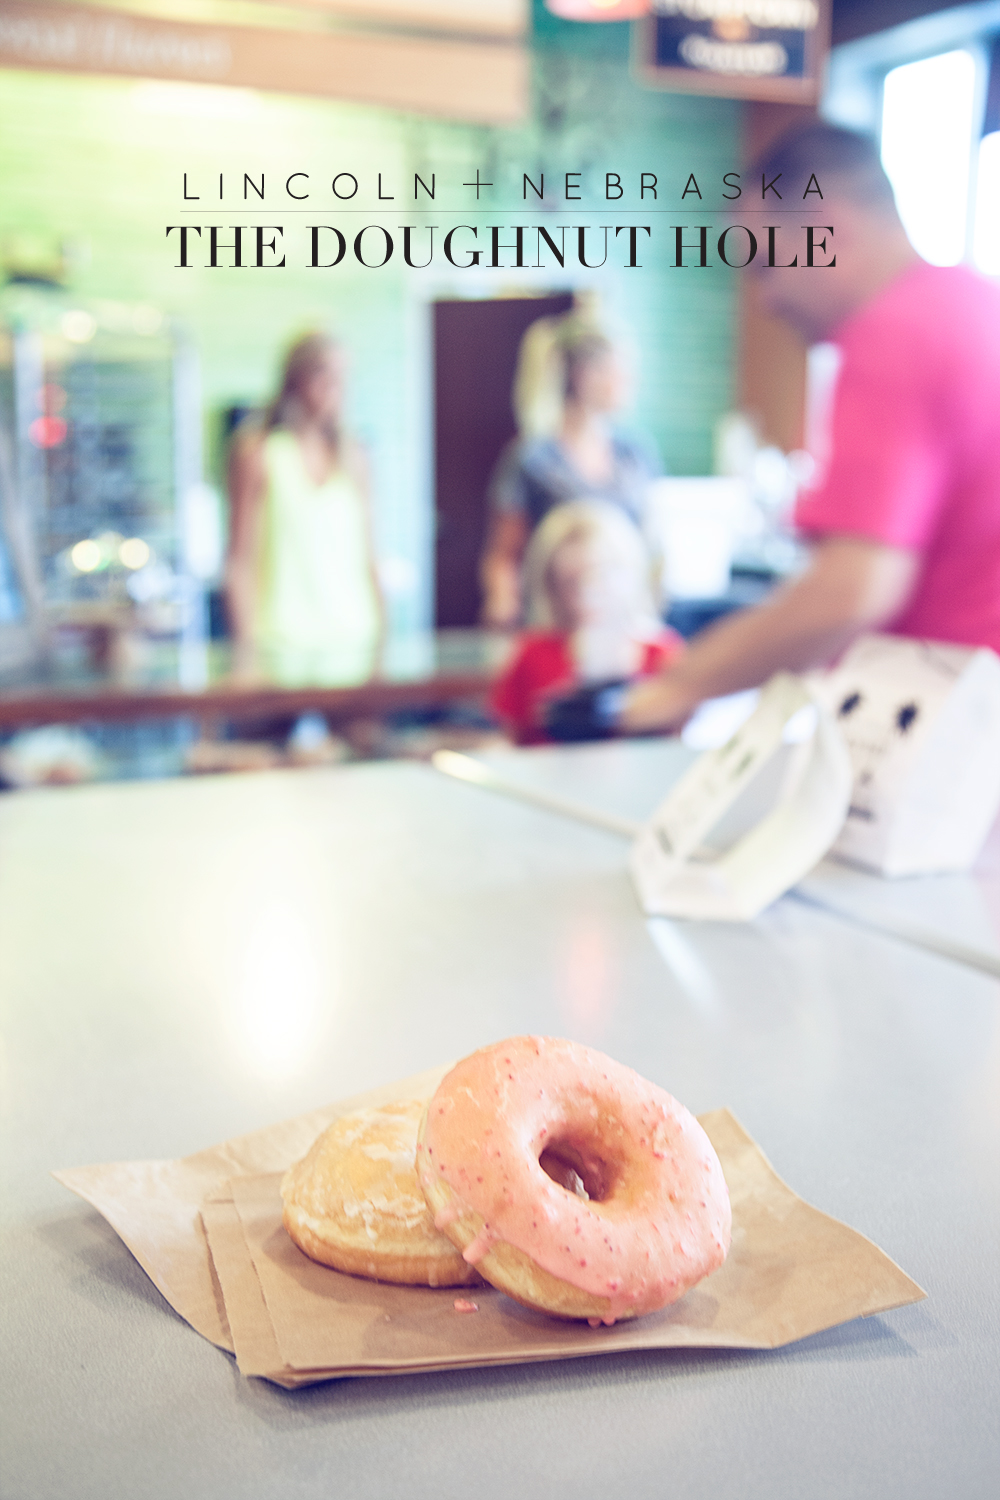
I love stories like The Doughnut Hole… Two brothers, former male models take the doughnut world by storm, first though farmers markets then a hip retail location is born. You seriously can’t make this up. The Doughnut Hole has taken Lincoln by storm and has everyone craving their scrumptious doughnuts. Made with high quality ingredients, The Doughnut Hole doughnuts are light & fluffy without being the weakling on the team. Sweet, but not too sweet with all kinds of fun flavor combinations. This is a Lincoln must, but arrive early! They open at 6:00 am and stay open until they sell out. On the weekend, that could be as early as 10:00 am.
Goldenrod Pastries
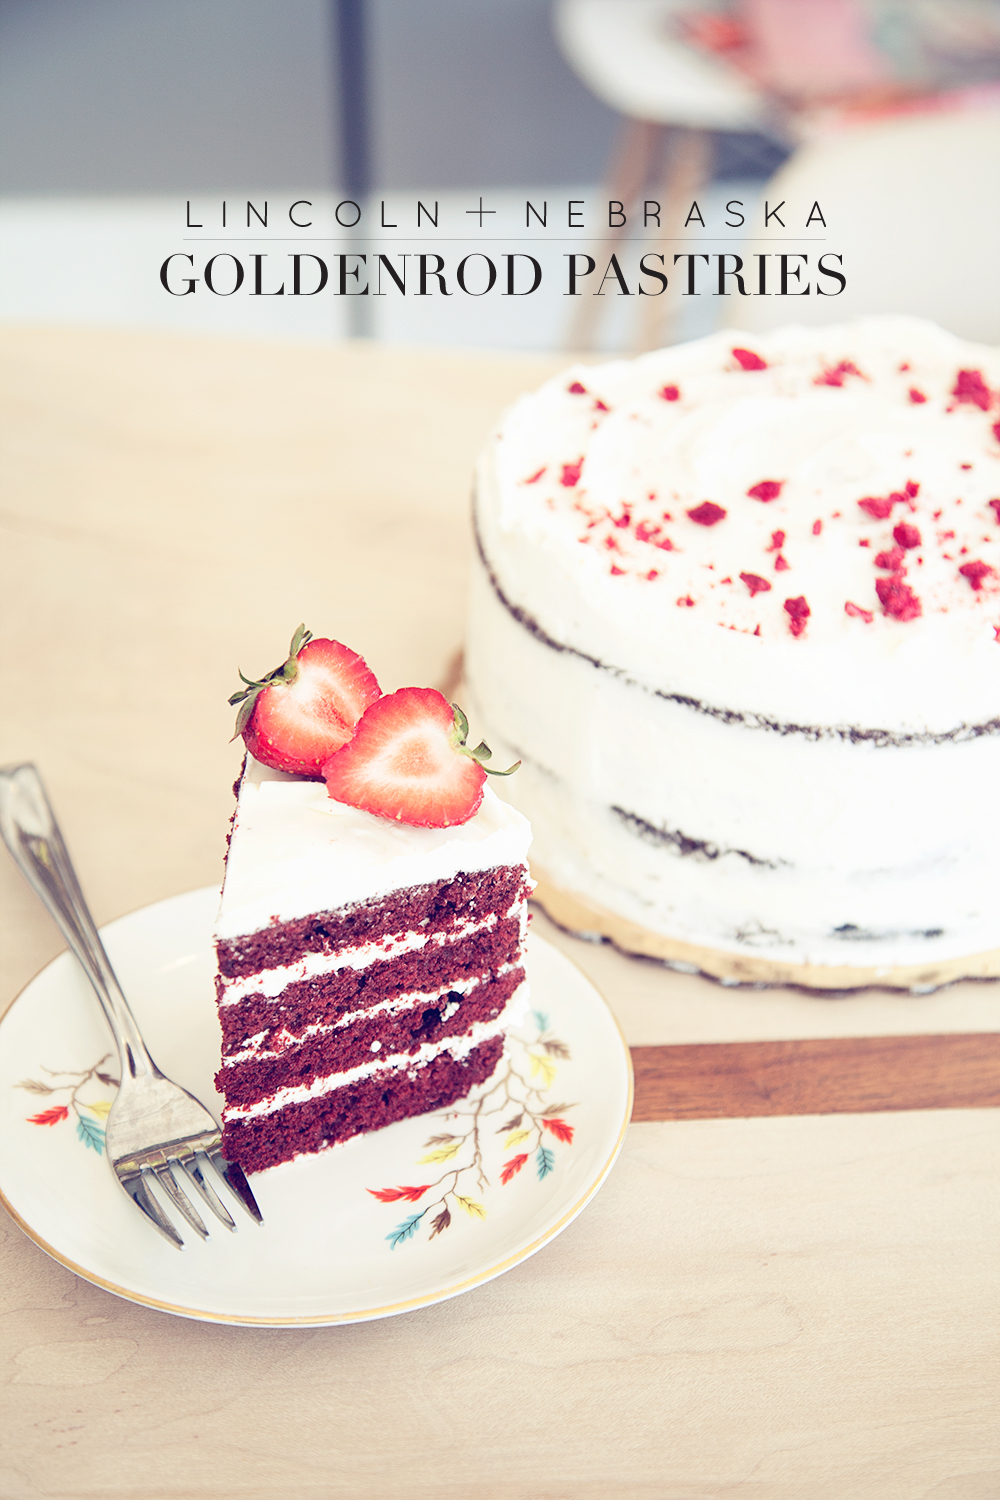
Goldenrod Pastries is another story near and dear to my heart. Angela Garbacz is a food blogger turned bakery owner. She was able to take her talents in the kitchen and move forward and realize her dream of owning her own bakery. Angela caters to ALL diets. Having a food related condition her self, she’s passionate about creating treats for EVERYONE. Vegan, gluten-free, dairy-free, etc… Angela has you covered. Her style is impeccable and her treats are divine. Again, a Lincoln MUST!
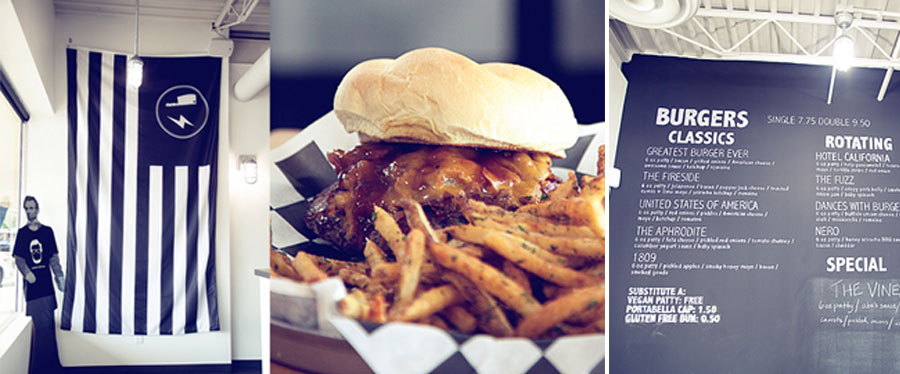
Honest Abe’s Burgers + Freedom
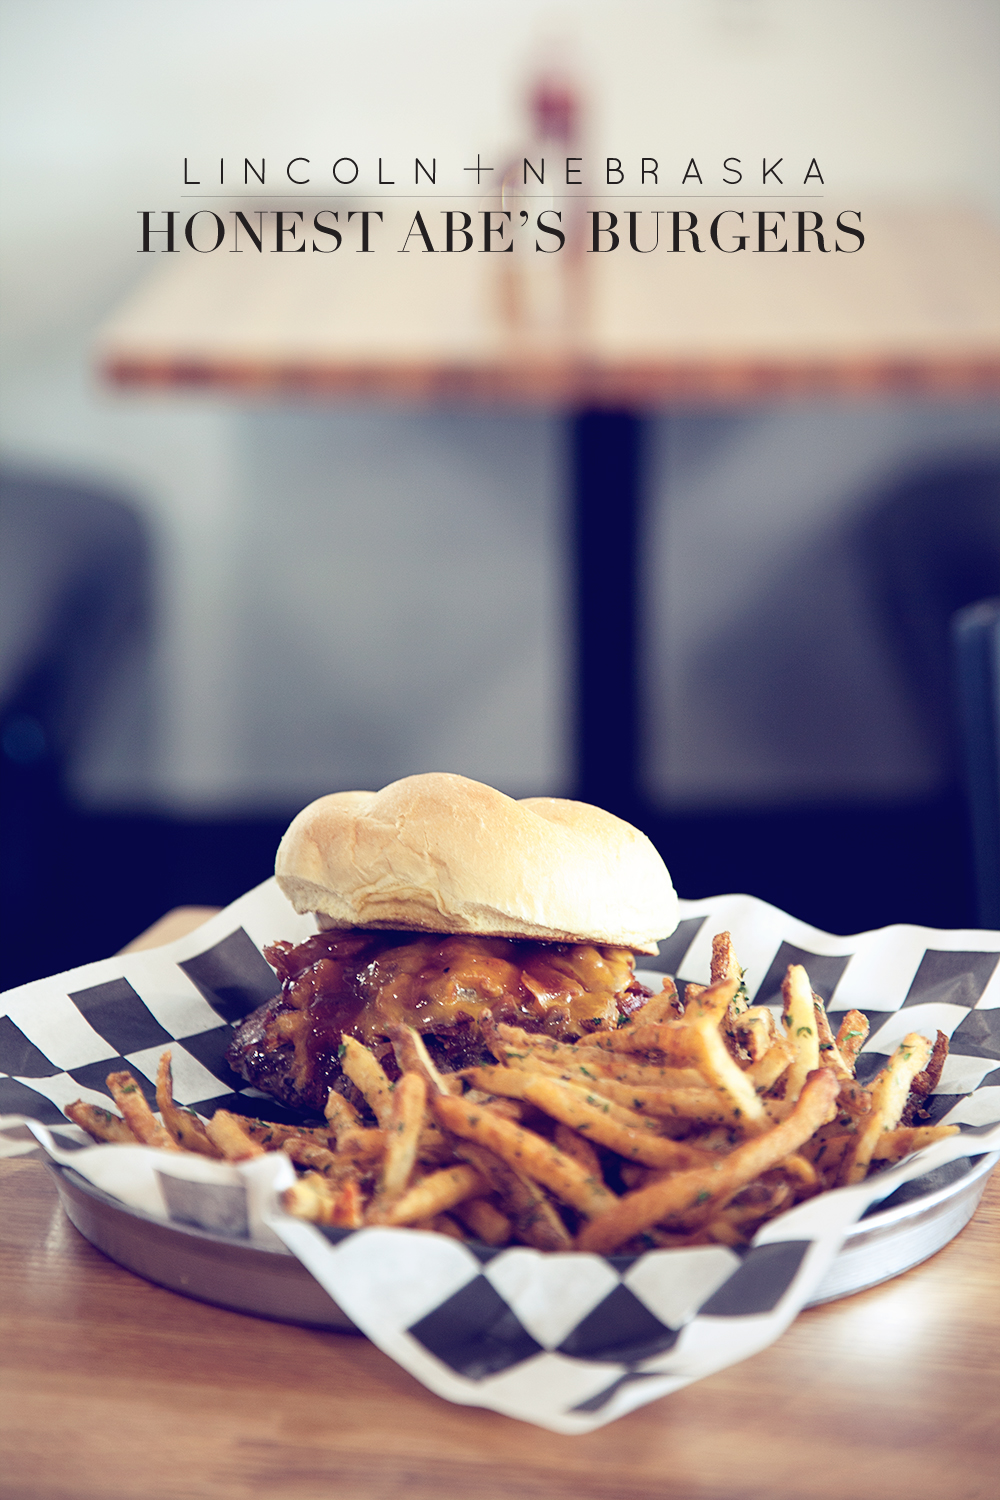
Honest Abe’s has a special place in my heart. Again, a ground-up restaurant that was started by some culinary school graduates just looking to make their way in the food world. They started with a food truck with a dream to have their own fine dining restaurant. They’ve worked their way up masterfully creating burgers + their freedom fries that are true works of art. They are fun, quirky, slightly irreverent and full of flavor. They just moved to a larger location plus they have also opened their dream fine dining restaurant Sebastian’s Table.
Other Options
To ask me to pick my favorite restaurants here in Lincoln is almost like asking which of my children is my favorite. It’s an impossible task. Here are a few more of my favorites…
- Sebastian’s Table
- The Oven
- Ivanana Cone
- Green Gâteau
- Mōmo’s Pizzeria
- Daffodils Mediterranean Cusine
- Cultiva Coffehouse
Shop
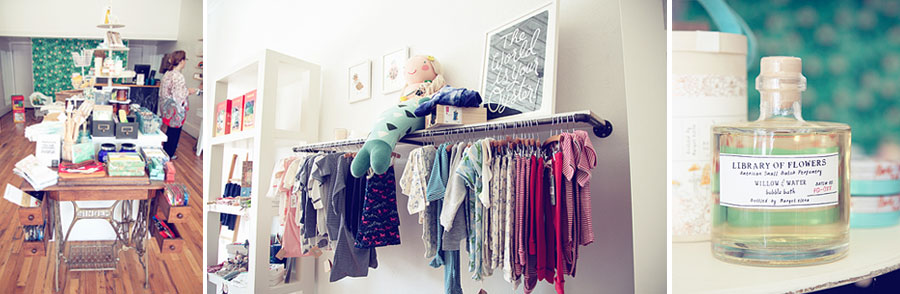
Paper Kite
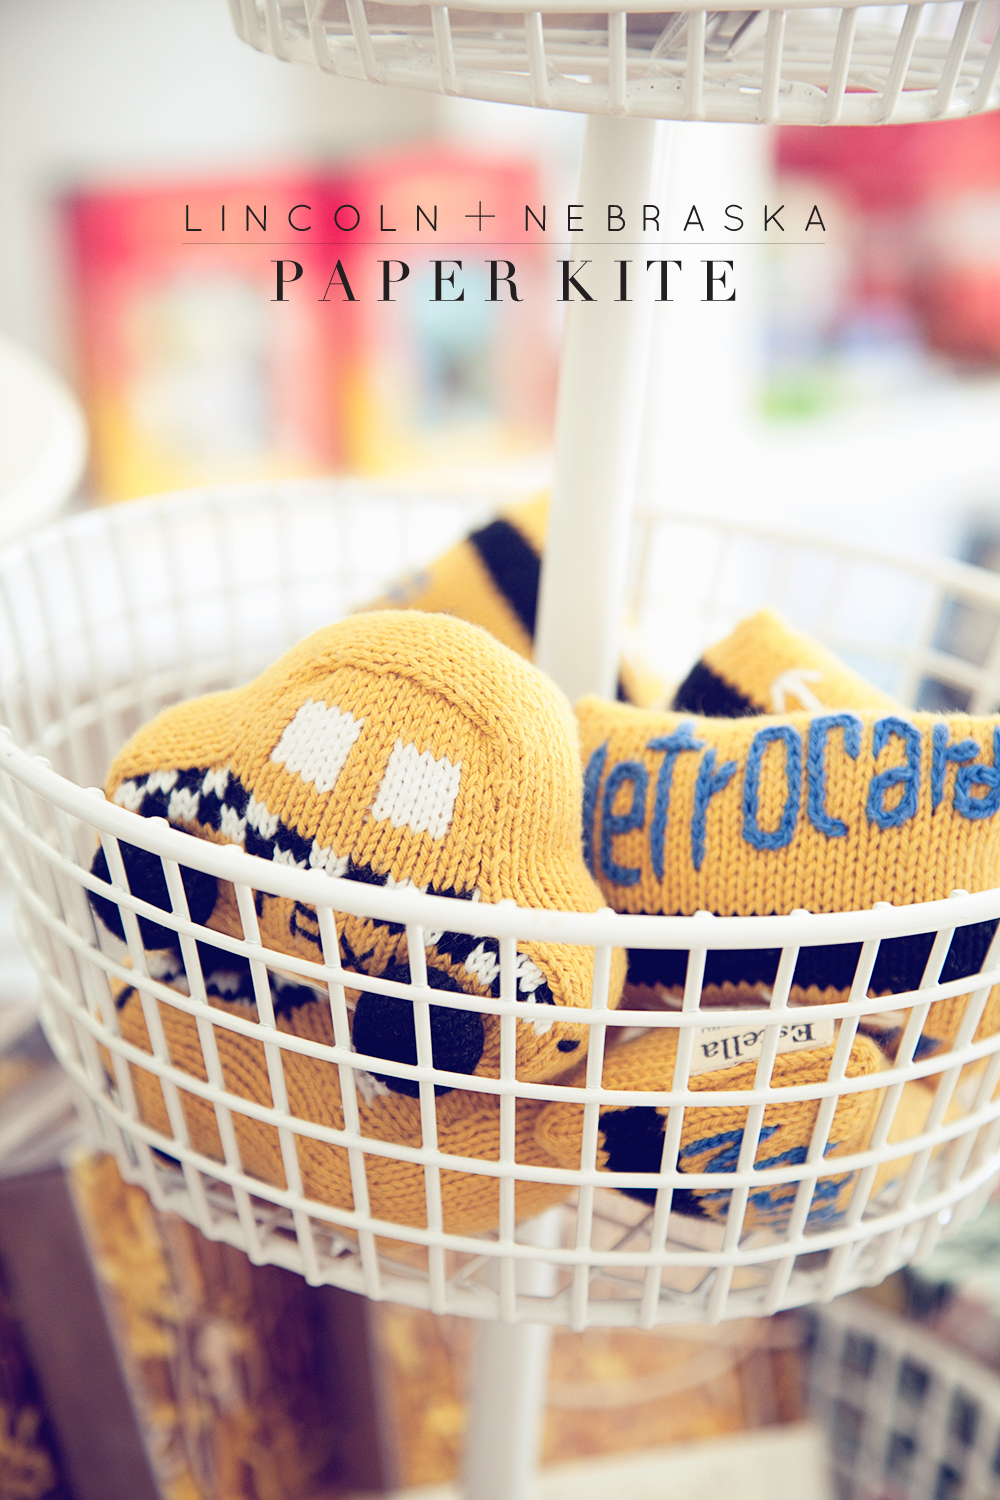
Paper Kite is one of those dreamy stores that the minute you walk in you instantly fall in love! Every single item in this store is meticulously curated with the stylish home and family in mind. Located in the quant College View neighborhood, Paper Kite specializes in babies, moms, home & gifts and they do it masterfully. If you are looking for something special, Paper Kite is your best bet. Located around the corner from Golden Rod Pastry and Select Style, it’s a great destination for an entire afternoon.
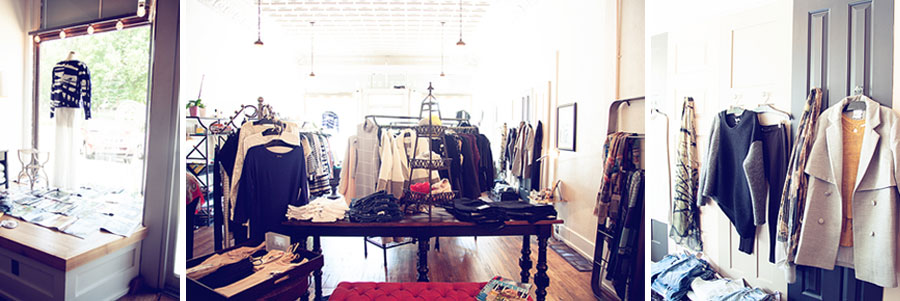
Select Style
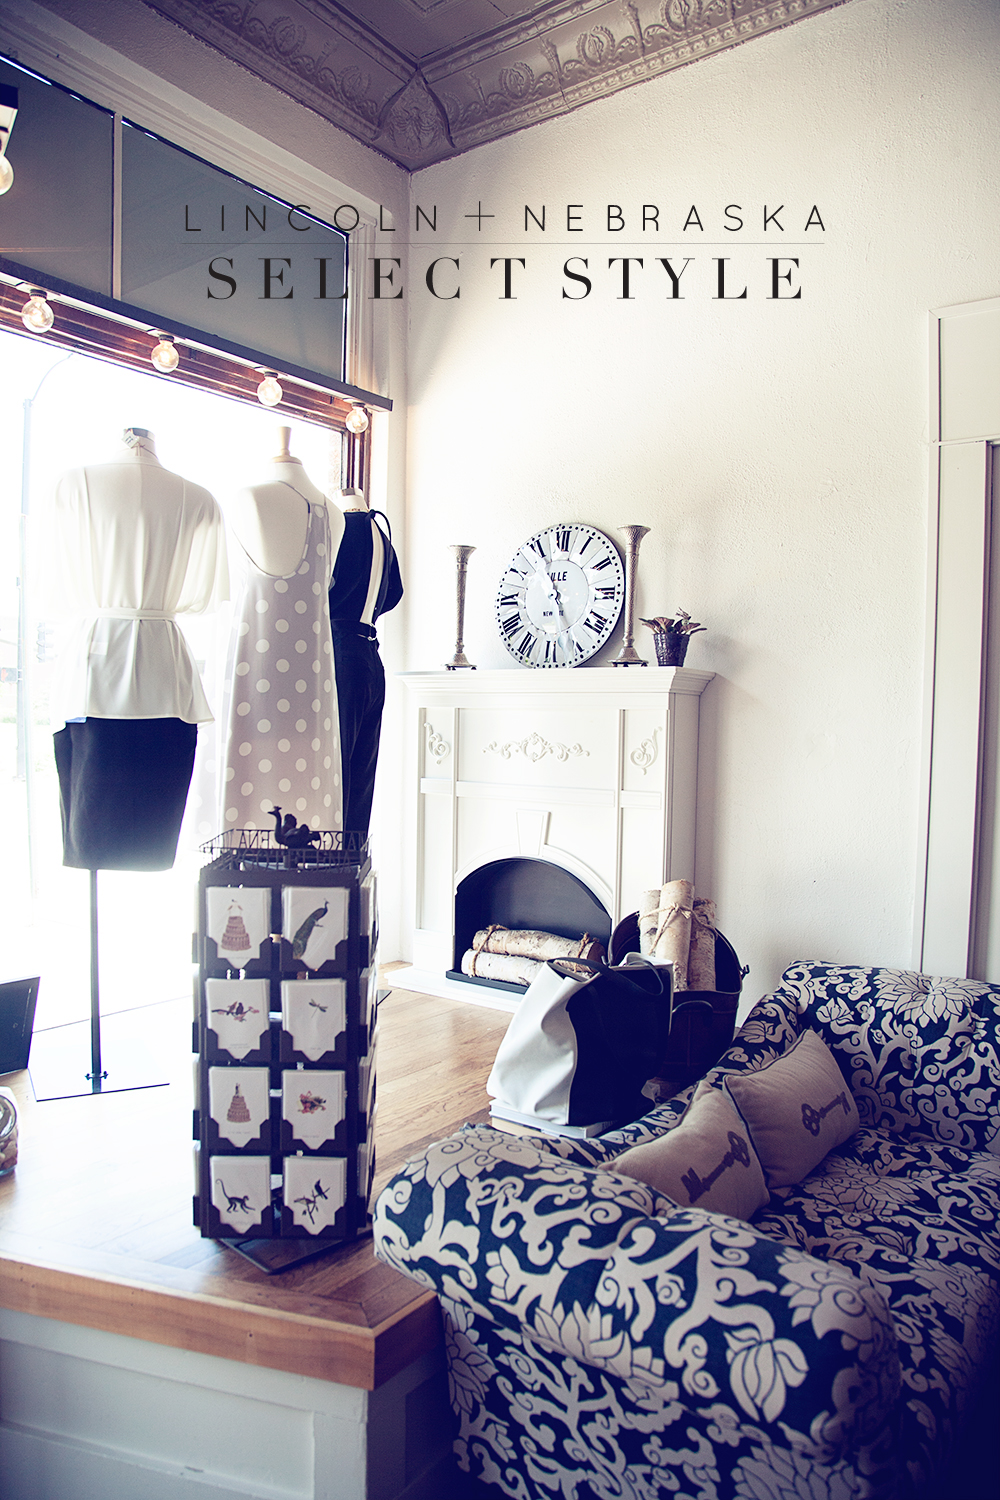
Looking for something special to wear? Look no further than Select Style. Again, this locally grown boutique is something to sing about. The minute you walk in the door, you feel like you’ve stepped into a high-end New York fashion boutique packed full of elegant ensembles & expertly curated accessories and gifts. Shopping at Select Style is an experience rather than a chore. Megan, the owner, helps you feel beautiful, pampered and like you’re shopping with your best friend. She has the magic touch when it comes to creating a beautiful boutique experience.
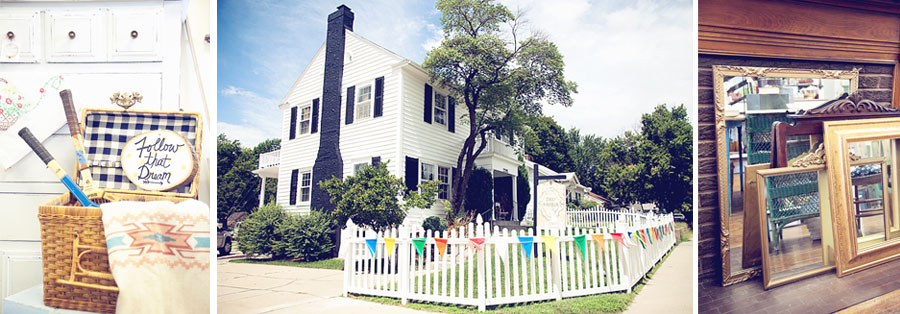
Simply Bungalow
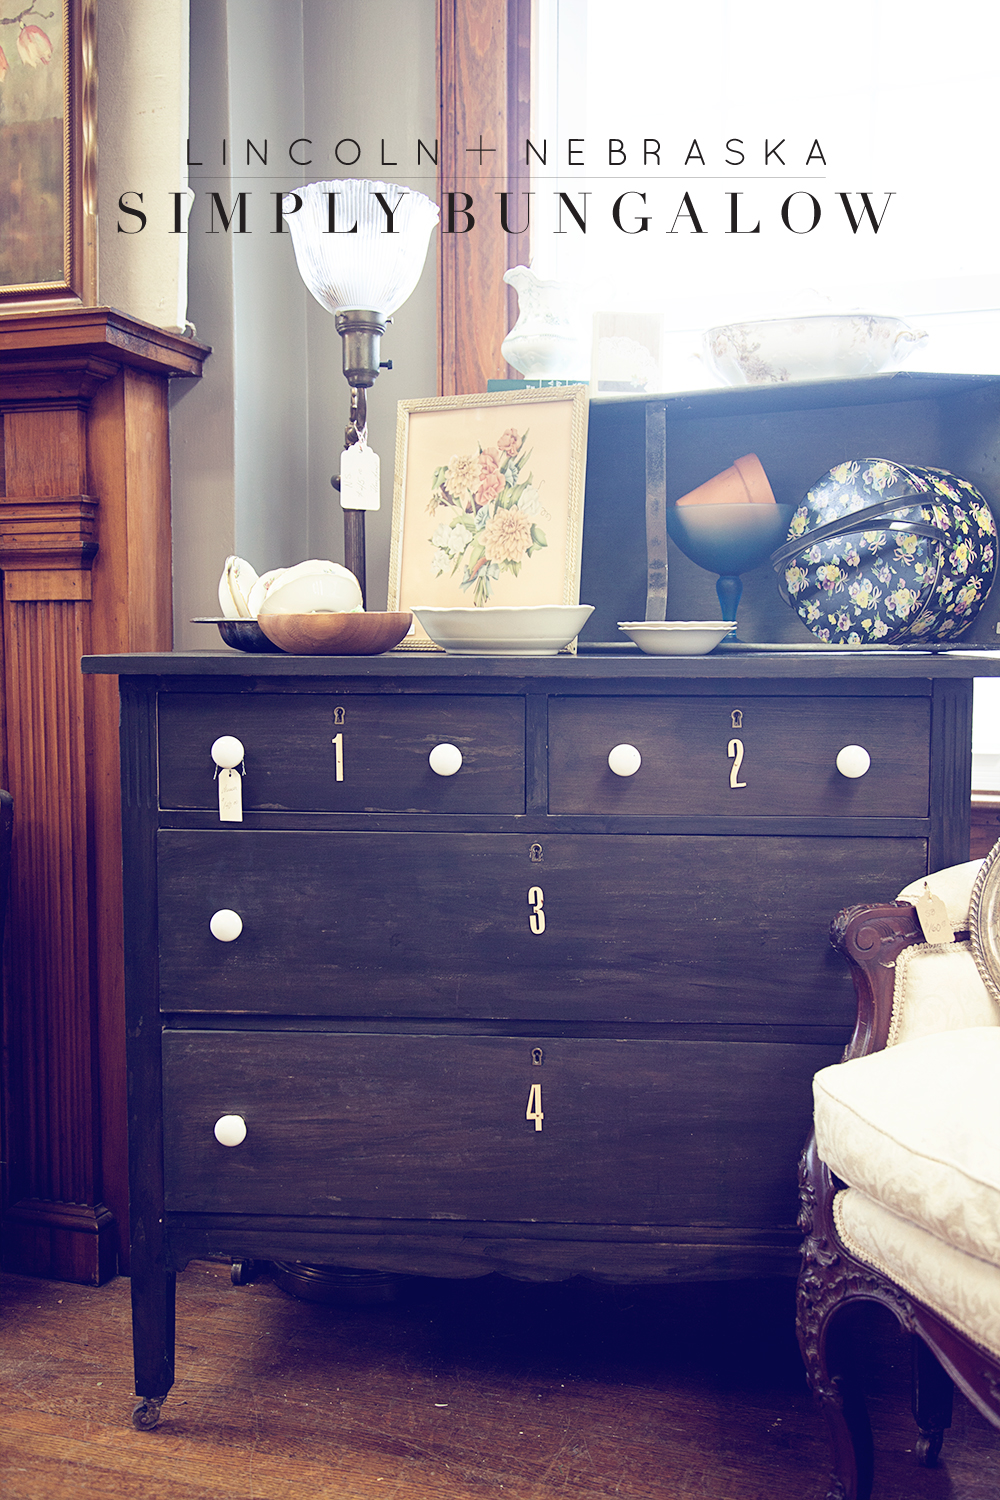
Simply Bungalow is a Junker’s dream. Looking for vintage finds, artisan goods or quirky gifts? Simply Bungalow has you covered. No need to wait until the next Junkstock, you can find all kinds of wonderful items that will transform your home into a one of a kind stow stopper. Simply Bungalow also carries BB Frösch, the chalk paint powder that is taking the DIY world by storm. Stay in touch with Heidi, she hosts BB Frösch workshops right in the shop!
Other Options
Play
Haymarket Farmer’s Market
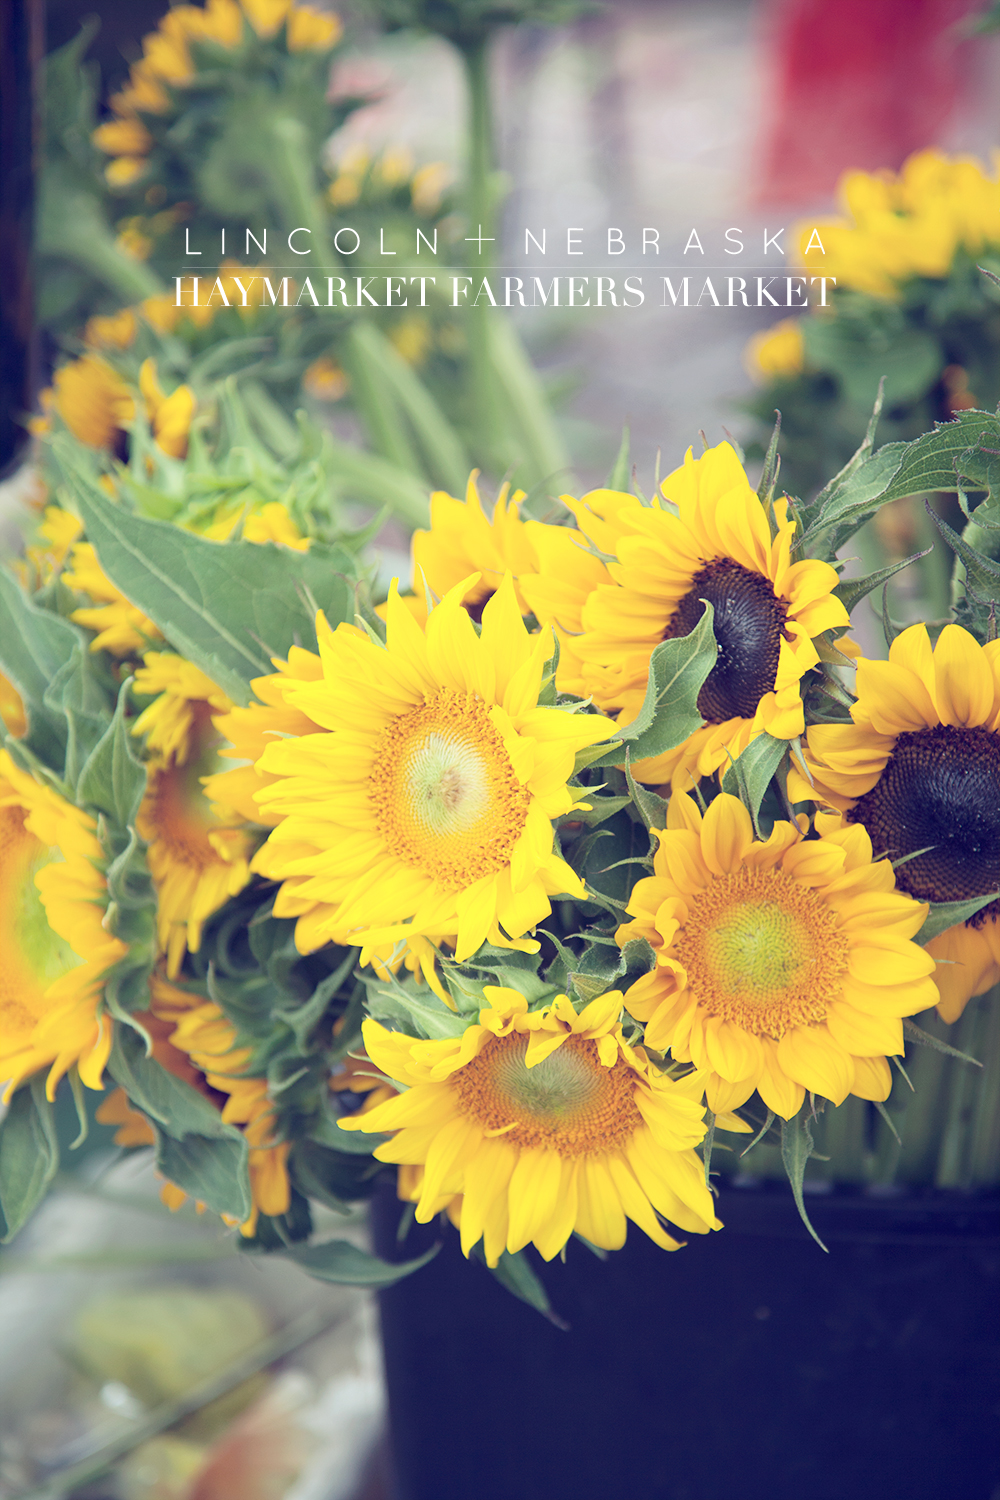
I adore farmers markets. I make it a point when I travel during the summer months to pin point all of the local farmer’s markets on my route and visit as many as I possibly can. Therefore, I have been to farmer’s markets all over the country and even some in Europe and the South Pacific. The Haymarket Farmer’s Market is by far one of my all-time favorite markets and I’m thrilled that it’s right in my own city! Located in the Historic Haymarket district right in the heart of downtown Lincoln, the Haymarket Farmer’s Market is home to 200 market vendors and is spread over several blocks in the Haymarket area. Open May-October from 8:00 am- 12:00 noon it’s a fun activity for the entire family.
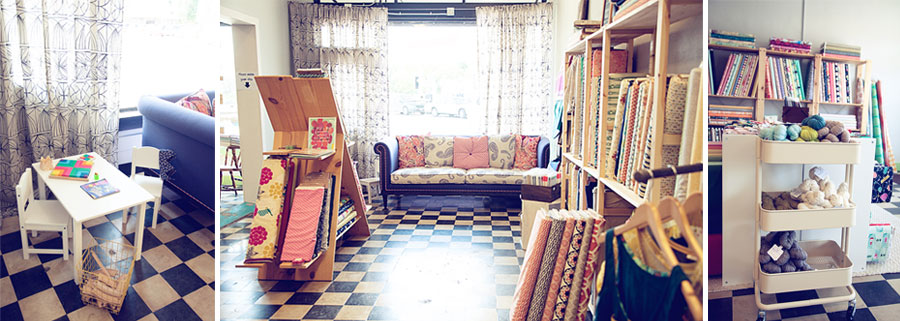
Crafthouse
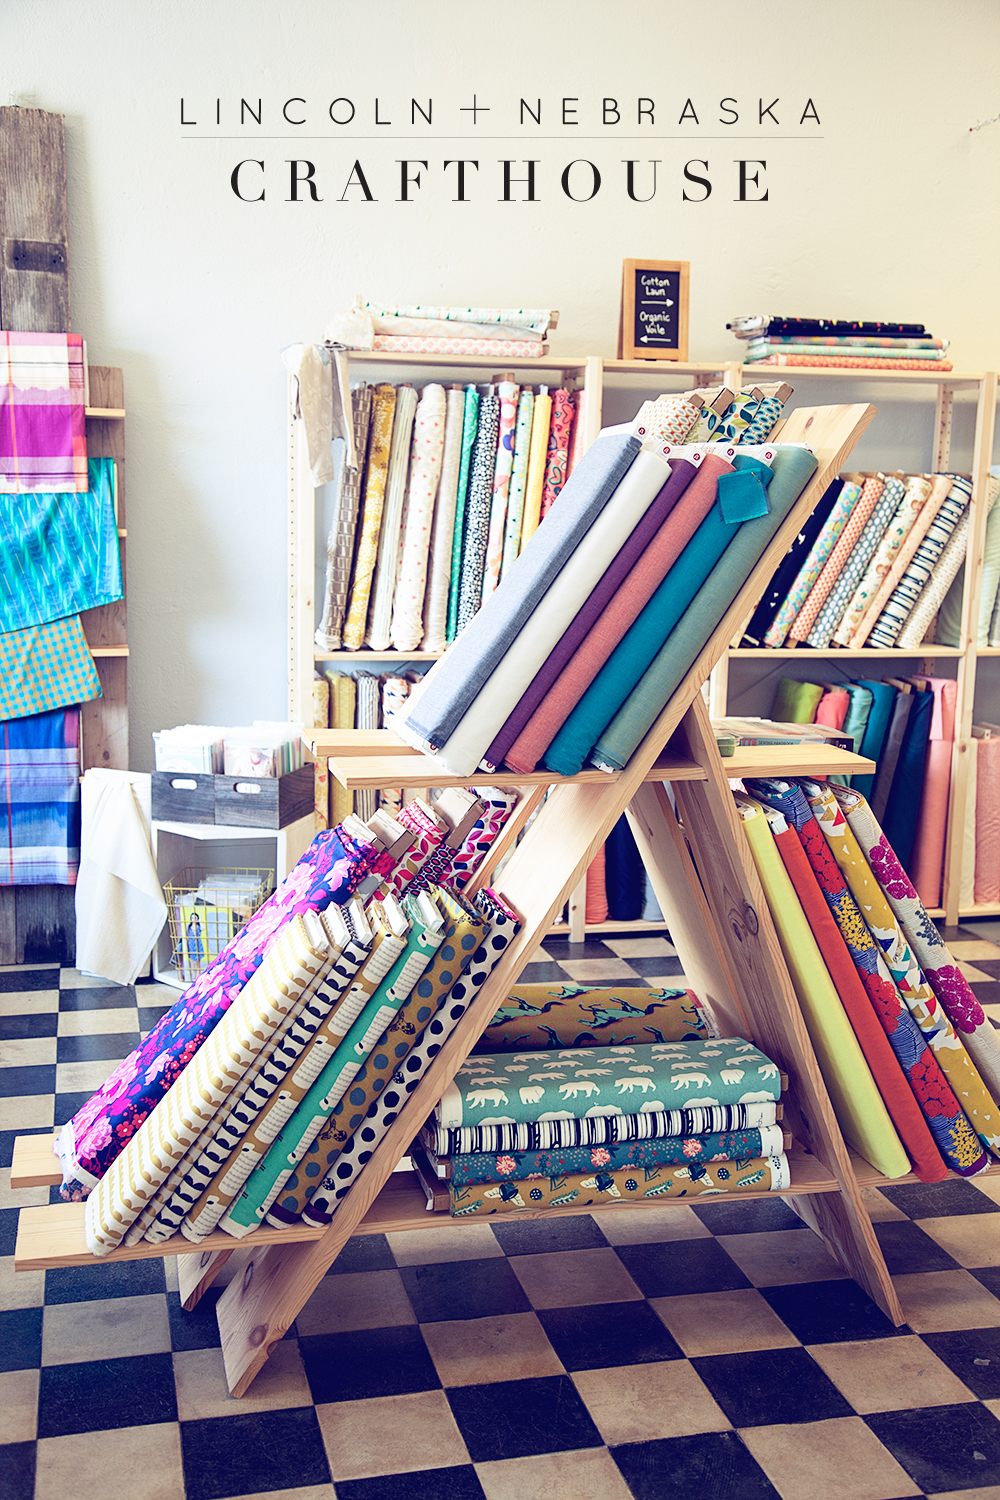
For the creative soul Lincoln has a number of locally owned and expertly curated fabric and craft stores. One of my favorites is the Crafthouse. This fun quirky place is an excellent way to spend and afternoon shopping and taking a fun creative workshop. Don’t expect your grandmother’s fabric bin when you shop at the Crafthouse, they keep a heavily curated stock of the most current styles and trends in fabric & artisan yarn. Plus they have all kinds of creative workshops that are super fun for a night out with your friends.