Time to celebrate our Teachers! It’s Teacher Appreciation Week and my daughter Emily and I have come up with a simple and fun idea for your tea loving teachers out there…
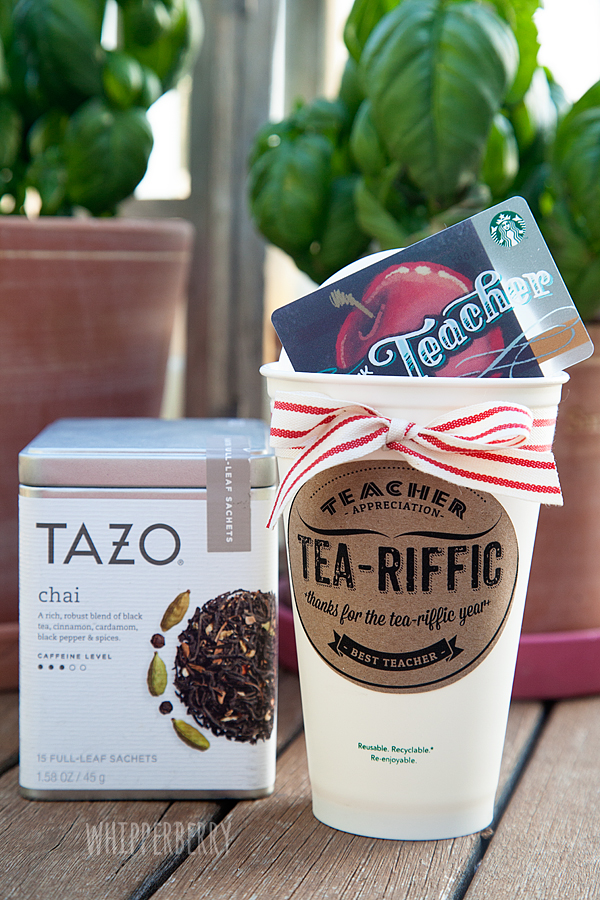
Emily’s teacher has been a wonderful support for her this year and we wanted to do something special for her this week. Emily mentioned that she loved tea, so I thought it would be fun to create a tea themed gift. We headed over to Starbucks and bought one of those $1.00 reusable cups and then made a fun new label for the cup.
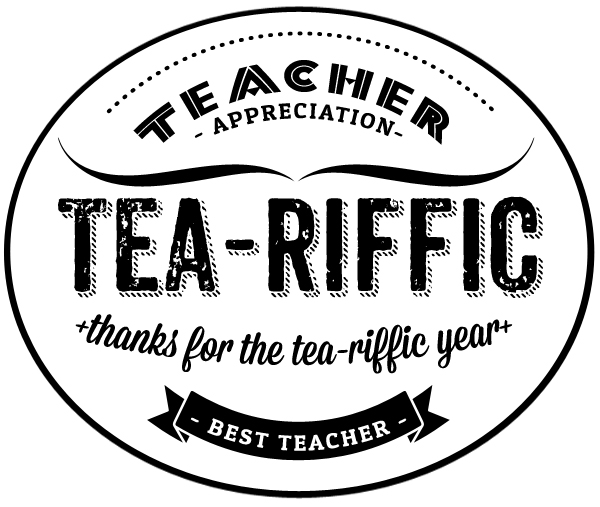
You can print the cup label on adhesive label paper or Silhouette has a printable adhesive kraft paper that I just LOVE! Print out a sheet and cut out your labels and stick them to the cup. It’s as simple as that. We also added a Starbucks gift card and a box of her favorite tea. It’s a fun yet simple gift idea that any tea loving teacher will love.
Download the printable Tea-Riffic Teacher cup label HERE!
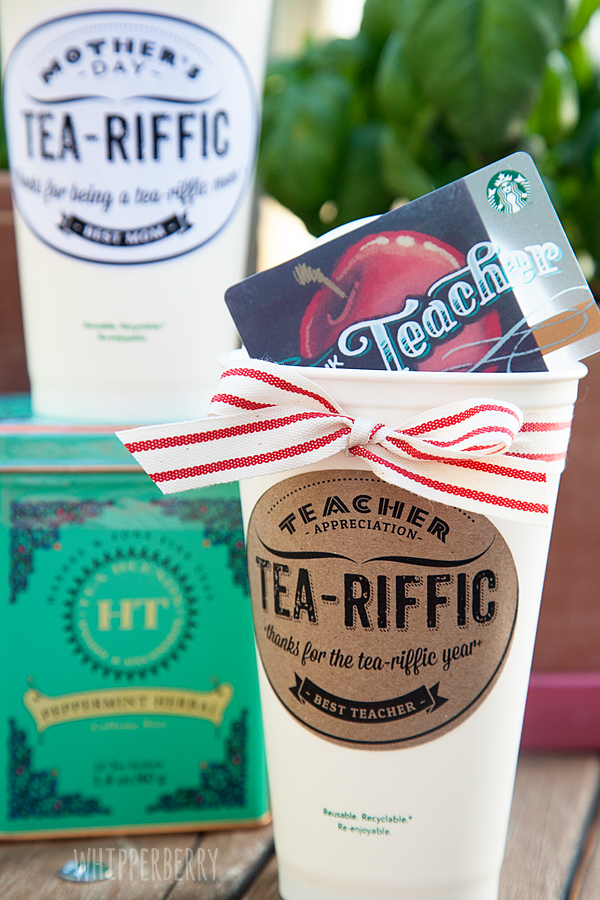
Tomorrow I’ll share a cup label that you can use for your tea loving mother. Yep, that will be two birds with one stone! Plus, I’ll have a fabulous Mother’s Day giveaway that I KNOW you won’t want to miss.