// This post brought to you by American Crafts & Project Life //
I adore Becky Higgins and her Project Life brilliance! Raise your hand if you have also fallen in love with the Project Life system. It takes chore out of documenting life and turns it into something fun and enjoyable. Here is a post that I wrote a while back talking about Project Life, how to use it and why I love it. I've even used left over cards to create some fun projects for my little guy, like these Flash Cards. Needless to say, I'm a fan!
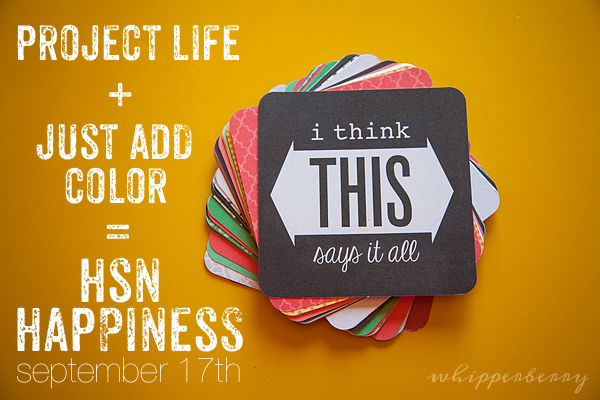
This month the Project Life crew is introducing a new kit with a whole new twist on HSN (the Home Shopping Network.) It's the Just Add Color kit on HSN. You are going to love this kit and especially love the price!
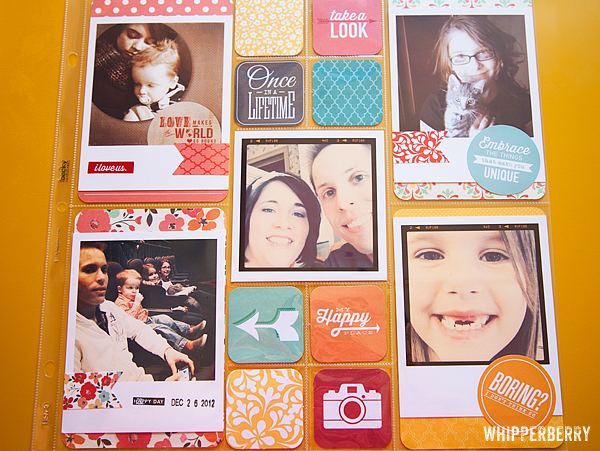
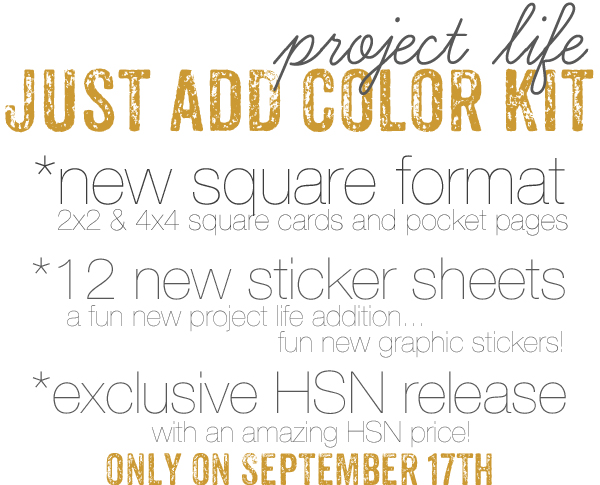
Soooo… other than the fun new colors and graphics, do you notice something different? If you've been working with Project Life before, you'll notice the new square format perfect for Instagram photos. Here's a quick run down of what's new in this new release…
I decided to take my very first Instagram photos and work on a few pages…
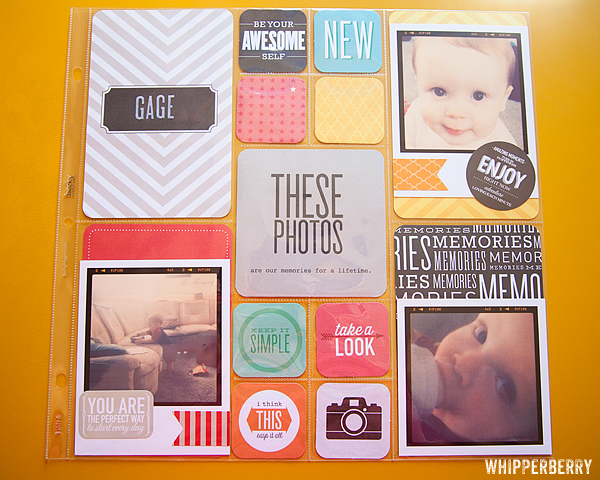
Gager's was so small back then, just a baby! I LOVE how the fun 2×2 squares and the stickers add so much to the page. Check out some of the stickers, they are great…
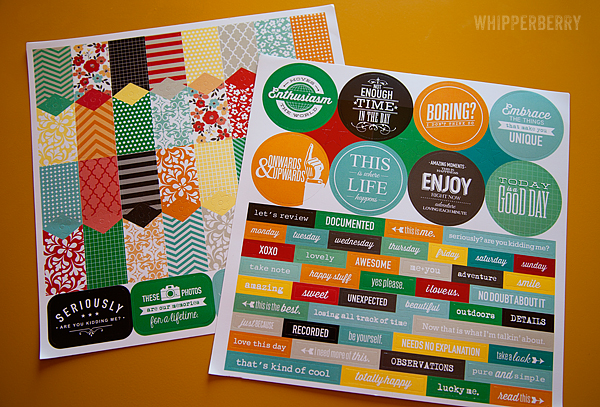
Not in the mood for color? Don't worry! This kit has a stunning collection of black and white cards as well…
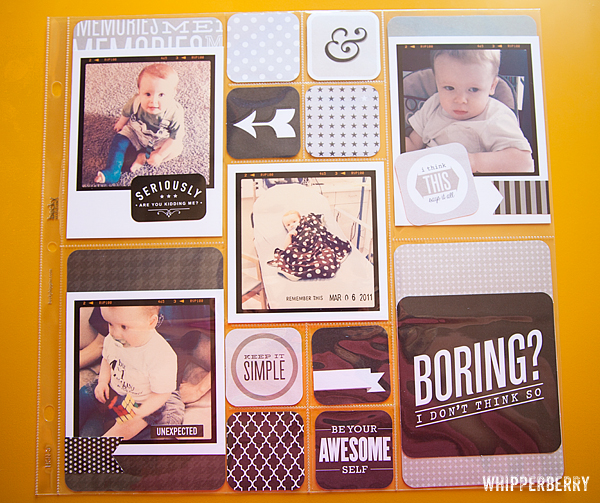
These black and white cards were perfect for when Gage broke his leg… I'm still not feeling to colorful about that. 😉
Isn't this kit so fun? Don't forget… A Limited amount of Just Add Color kits will be available at an amazing price at HSN on September 17th. Shop early because they will sell out for sure!!
Disclaimer // This is an American Crafts sponsored post. I received product and payment for this post however, all thoughts, idea and opinions are my very own. I will only post about stuff that I adore!