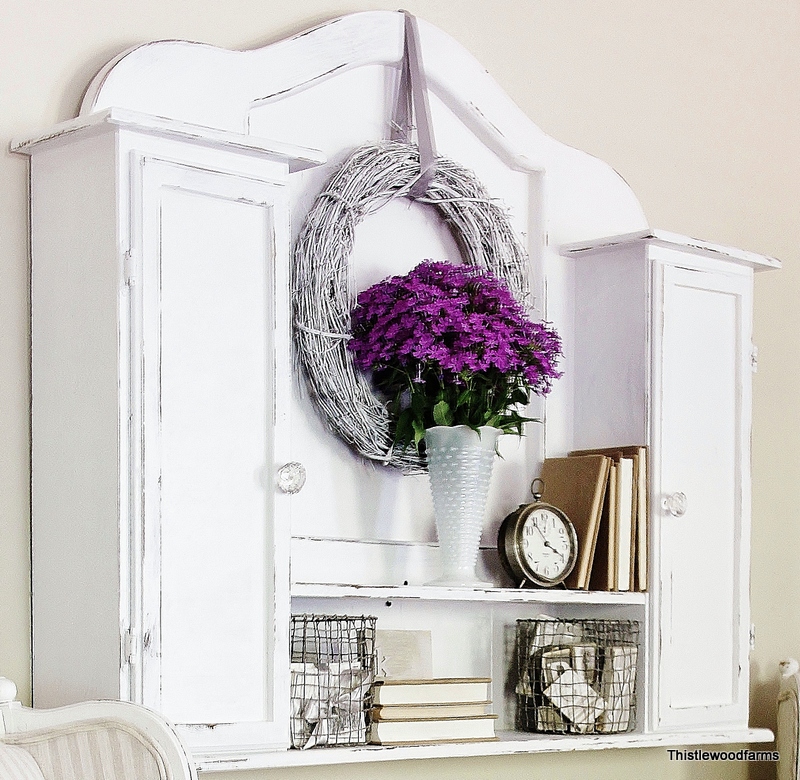
If you painted something with chalk paint and have decided it didn’t look as great as you hoped it would, or if you’re just in the mood to make some home decor changes, it’s not too difficult to remove the old chalk paint.
In most situations, you can remove chalk paint by scraping it or sanding it off. Sometimes you may need to use some chemicals, and there are a few things to consider. Make sure you read this full article so you don’t make any mistakes.
How Do You Strip Chalk Paint Off Furniture?
There are a couple of ways you can strip chalk paint off furniture. If you’ve used good quality chalk paint this will actually be a little easier. The first method, one that will work the quickest, is to use a chemical paint stripper to break down the paint so you can just scrap it off.
This works well on broad, mostly flat surfaces. It saves some labor, even if you have to do a couple of applications.
If your furniture has any kind of upholstery on it, I would not recommend using a paint stripper. If even a small amount of the paint stripping product gets on the fabric, it will change the color permanently.
If you’re working on a piece of furniture with a lot of intricate carving or small spaces, you probably want to use the most common method of paint removal: solvent and sanding.
This is a pretty easy method, but it does take a lot of “elbow grease”.
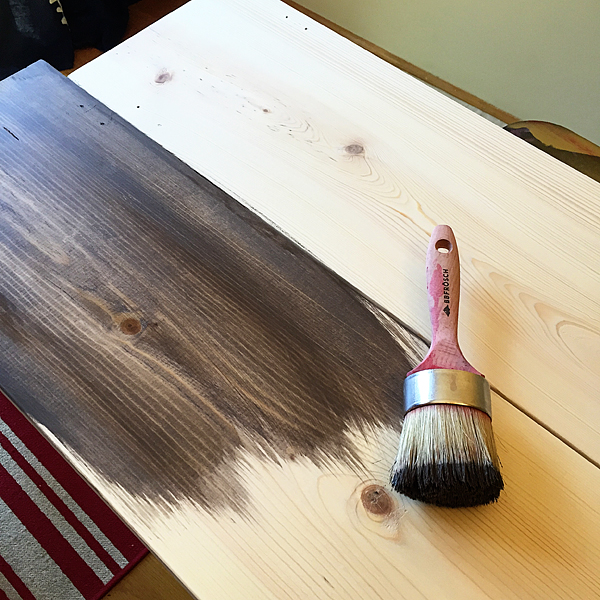
You’ll need some old t-shirts or soft cloths, a solvent such as mineral spirits or turpentine, and sandpaper. Here are the basic steps to remove chalk paint with this method:
- Put a drop cloth or tarp down around your work area. You might want to wear disposable gloves if your skin is sensitive to solvents. Be sure to work in a well-ventilated area.
- Remove or use painter’s tape to cover any hardware on the furniture.
- Pour a little bit of whatever solvent you’re using onto a cloth or a sponge, and begin rubbing it into the area where you want to remove paint. If there is a polycrylic or chalk paint wax topcoat, it’s going to take quite a bit of “scrubbing” at first. You might have to go over the same area more than once. Once the topcoat is removed, the chalk paint underneath should wipe off easily.
- Once you’ve removed the paint with the solvent, you can use sandpaper to lightly sand to make sure there are no tiny bits of paint or primer left anywhere.
What to Remove Chalk Paint – The Fastest Way
The fastest way to remove old chalk paint from wood or furniture is to use a paint stripper (also known as simply paint remover).
Paint stripper is a chemical-based product that softens all types of paint, primer, varnish, and sealant. It’s especially useful if you’re trying to remove several layers of paint down to the original surface.
There are many brands of paint strippers available, and you should read the directions carefully for the brand you decide to purchase.
However, here are some basic steps that will apply to most paint-stripping products:
- Before you begin, lay down a cloth or plastic under and around your work area. You don’t want to get paint remover any place except where you want to remove paint! It will alter the appearance of tile, metal, countertops, as well as wood. Remove any hardware from the piece you’re working on.
- Be sure to wear gloves and eye protection. Even though there are several brands of paint stripper with little to no odor, it’s still a good idea to work in a well-ventilated space.
- Use disposable brushes. The cheap foam brushes are great for this, or pick up some cheap brushes at a discount store.
- Most paint removers are really thick, with an almost gel-like consistency. You’ll want to brush it in an even layer over the area you want to remove paint. At this point, covering with a layer of plastic wrap can be helpful. The plastic wrap will help keep the gooey paint remover moist. If you let it dry out, it will be difficult to remove.
- Check the directions for the brand of paint remover you’re using. Most brands suggest leaving the paint remover to sit for anywhere from one to 24 hours. Check it periodically to make sure it doesn’t dry out. You might notice the paint will start to “bubble” a little bit.
- After it’s sat for a while, it’s time to strip! Using a putty knife, you should be able to simply scrape away all the old chalk paint and sealant. If there are several layers of paint, you might need to repeat the process, though. You can use a disposable kitchen scrubber, sandpaper, or a bit of steel wool to remove paint from intricately carved areas.
How Do You Remove Chalk Paint Without Damaging Wood?
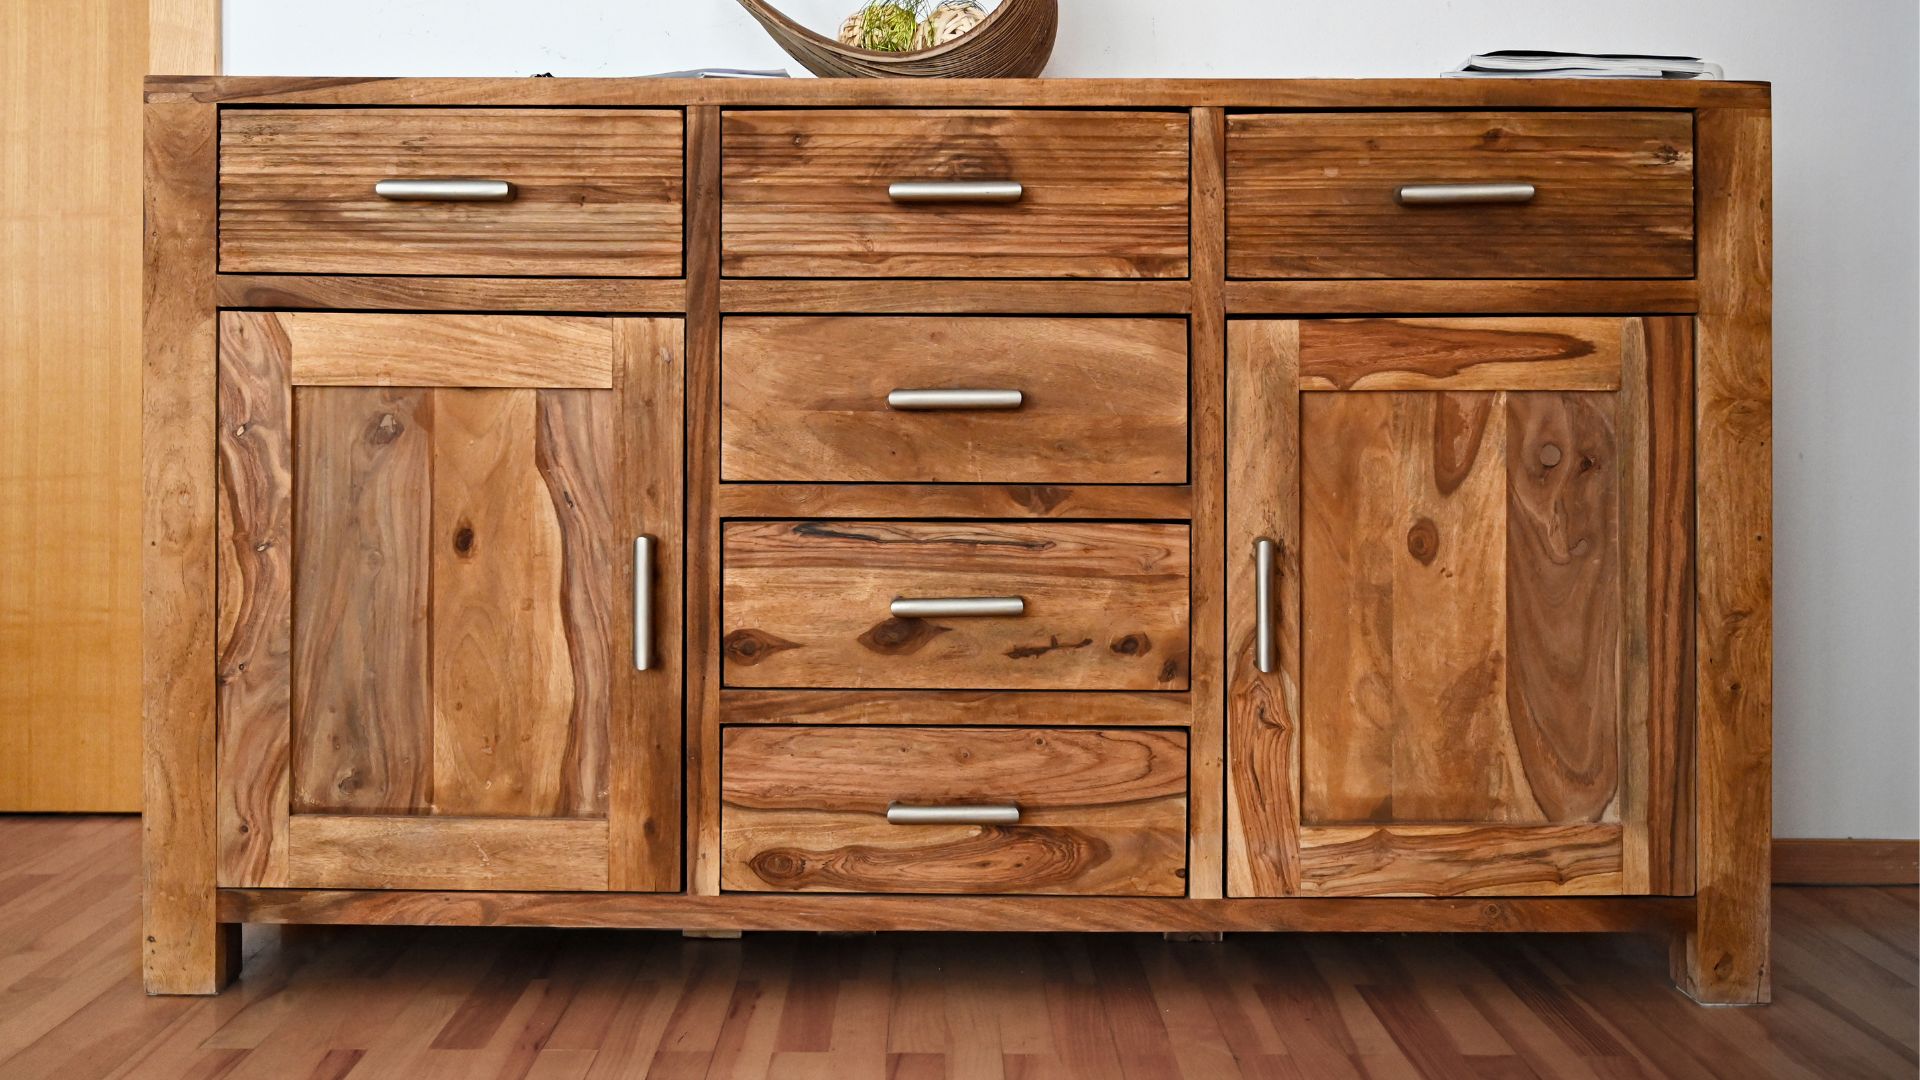
Whether you use a solvent or chemical paint stripper to remove chalk paint, you want to be careful that you don’t scratch or gouge the wood.
This is especially true if you plan to simply stain the wood once all the chalk paint has been removed, instead of painting over it again.
When sanding or peeling off paint with a putty knife, you want to be sure to do so in the same direction as the wood grain. This will minimize the chance that any scratches or scuffs in the wood will be visible.
If you’re using a putty knife with a metal blade to scrape old chalk paint off, be gentle with it. Don’t angle it too much or it will gouge into the wood.
There are heavy plastic putty knives available that are less likely to damage the wood underneath the paint.
Does Chalk Paint Come Off With Water?
Yes, chalk paint comes off with water because it’s water-soluble. This means that unless there is a sealant topcoat on your painted object, you should be able to “wash” the paint off with water and maybe a little bit of soap!
If you have a power washer or a hose with a strong sprayer, you might be able to use that to remove chalk paint from larger painted objects.
After getting your chalk-painted piece very wet, use a kitchen sponge or scrub brush to remove the old chalk paint.
However, if there is a top coat of any kind, you’ll need to use either solvent or paint remover to take off the paint.
Also, the longer something has been painted with chalk paint, the less likely it is to wash off easily. Something that was painted several years ago will take more work to wash the paint away with soap and water.
Does Chalk Paint Wash Off Easily?
How easily chalk paint can be washed off with water depends mostly on one thing: whether or not it has a top coat.
If you have something painted with chalk paint with no sealant, washing it with water is a fairly easy way to remove the paint.
If the paint isn’t completely washing away, a very small amount of dishwashing liquid will help.
Does Vinegar Remove Chalk Paint?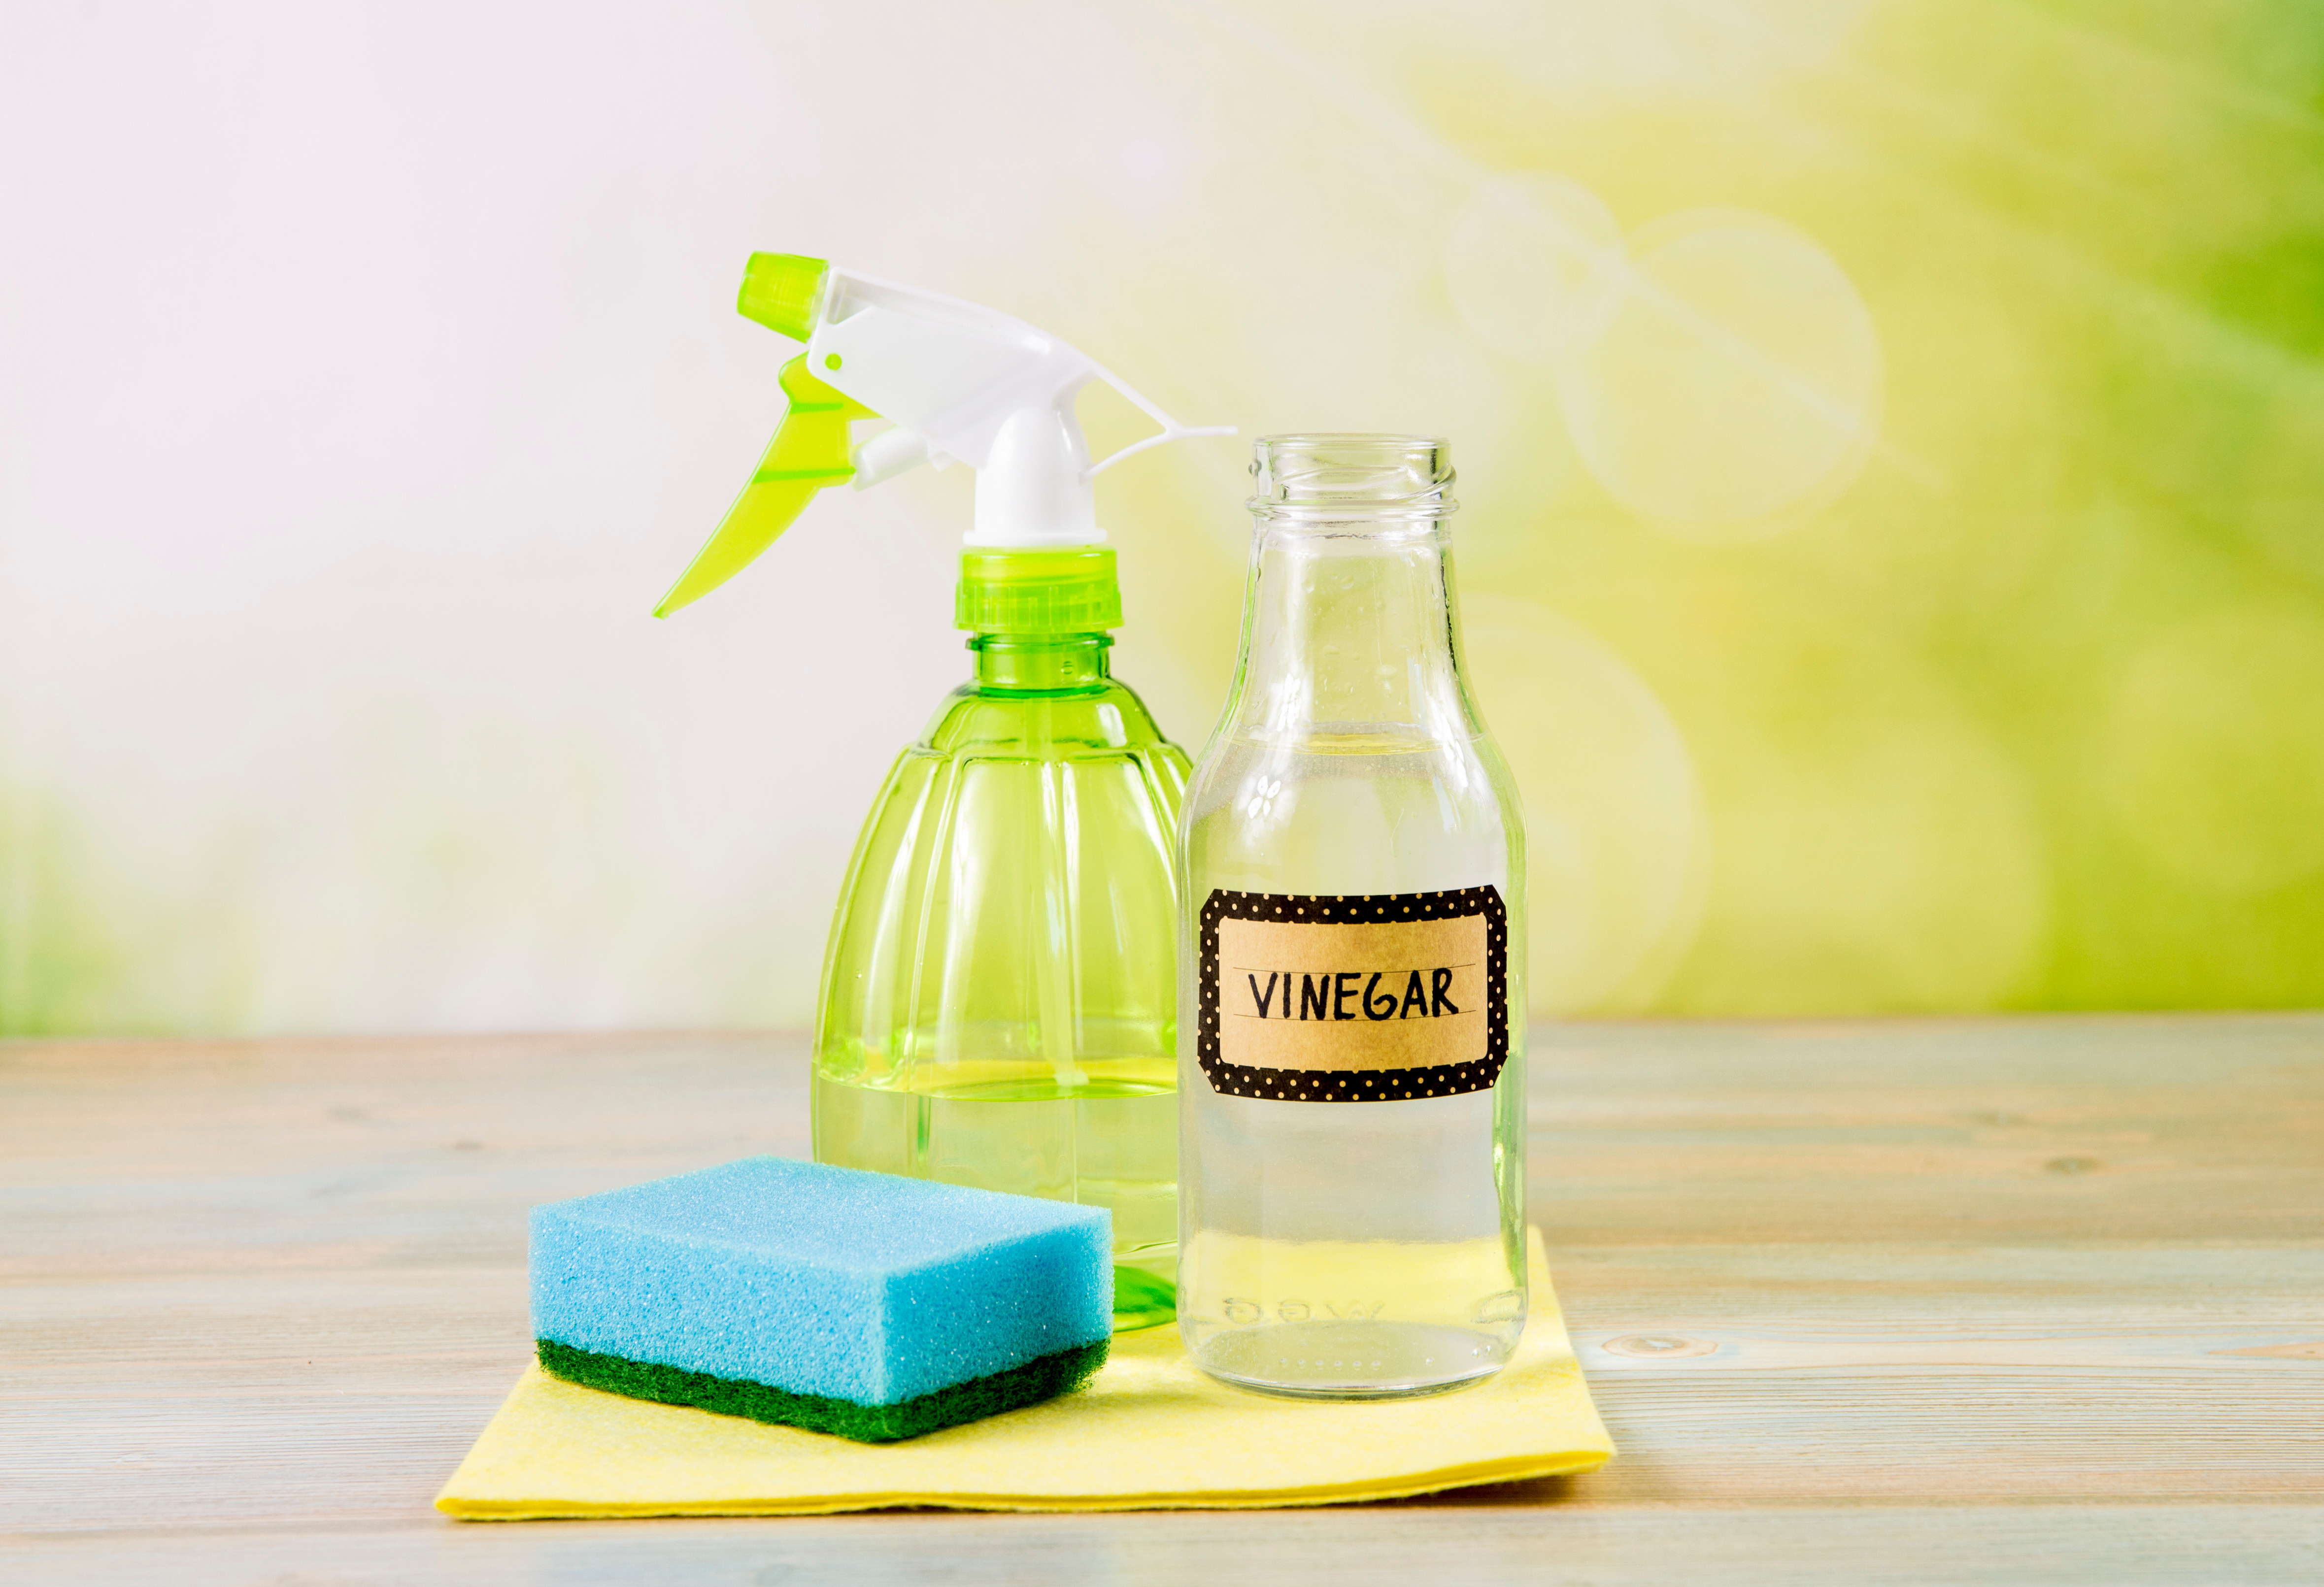
You’ve probably seen websites that recommend white vinegar as a non-toxic paint solvent. Believe it or not, it works quite well! I actually recommend removing chalk paint with vinegar.
Vinegar is acidic, so it will soften the chalk paint in a similar way that a commercial solvent will. It’s not as efficient as commercial solvents or paint removers, but it’s an inexpensive and environmentally friendly way to remove chalk paint.
Using vinegar to remove chalk paint might take longer than using a commercial solvent or paint remover.
It can also discolor some surfaces, so do a small “test spot” in an inconspicuous place before spraying the entire painted piece with the vinegar solution.
If you’re going to use vinegar, be sure to work in a well-ventilated space. Vinegar has a very strong odor and can irritate your eyes.
To use vinegar to remove chalk paint, you should mix equal parts vinegar and water together in a spray bottle.
White vinegar works best because it has the highest acidity, but cider vinegar works well, also. Spray this mixture all over the paint you want to remove, and then let it sit for at least 15 to 20 minutes.
At this point, you should be able to scrape the paint away with a putty knife, or a stiff scrub brush. If there are any stubborn spots, you can spray it again, or you can increase the amount of vinegar in the solution.
After you’ve removed the paint, wash the surface with soap and water to remove any residue and get rid of the vinegar odor. If there’s still a little bit of odor after you’ve cleaned the surface it should go away in a day or two.
Removing Chalk Paint From Glass
Removing chalk paint from glass surfaces is easy, especially if the paint doesn’t have a sealant coat on top of it.
Glass is extremely smooth and non-porous, so the paint just sits on top of the surface instead of curing into it. This makes it really easy to remove.
If you painted the frame of a mirror or window with chalk paint and need to remove some small splatters from the glass, it’s very easy to do.
All you need is a razor blade or craft knife. Working very carefully, just scrape the paint splatter away with the blade. It should remove very easily.
If you have a glass object like a vase or mason jar that you want to remove all of the chalk paint from, it’s not hard to do but will take a little more work.
You’ll need a bucket of warm soapy water, paper towels, a kitchen scrubber or steel wool, and a soft cloth.
Lay down some paper towels to soak up any excess water. Then dip the cloth in the soapy water and wipe down the glass object.
While the glass is wet, use your scrubber or steel wool to carefully scrape away the chalk paint. You want to keep the area wet to help prevent the glass from getting scratches on it and to make the chalk paint easier to scrape away.
If you have a glass object that has a sealant coat on top of the chalk paint, you can try sanding the top coat off, or rub it with a solvent like mineral spirits.
Once the top coat has been removed, you can use the above method (warm soapy water & a scrubber) to remove the chalk paint.
Removing Chalk Paint From Fabric
If you spilled chalk paint on your clothes, or on upholstered furniture, don’t panic! If you clean it up as soon as possible, it can look as good as new.
You’ll need some rubbing alcohol, a hand towel or rag, and some laundry stain remover.
There are a lot of good laundry stain removers available in easy-to-use spray bottles or even “pens” for small stains. Whether you’re trying to clean paint from clothing or upholstery, the process is basically the same.
Pour some of the rubbing alcohol on the hand towel or rag and blot the paint stain.
Don’t wipe or rub; you only want to blot! Wiping or rubbing the paint will rub it into the fibers of the fabric. Keep applying more alcohol and blotting until the paint is gone.
If you can’t get all of the paint removed by blotting with alcohol, use the laundry stain remover according to the directions.
Usually, you simply apply it and let it sit for at least 15 to 20 minutes, then wash the fabric. If you’re removing paint from a piece of clothing, wash it in hot water, but do not put it in the dryer.
Any heat from the dryer will cause a stain to permanently set in the fabric. If you’re removing paint from upholstery, wash it with hot soapy water and a clean towel once the stain remover has had time to work. You can repeat these steps until all the paint is gone.