Yes. Tempera paint is washable. However, the material the paint is on matters. You’ll need to read the rest of this post to learn how to clean tempera paint from different surfaces.
Any painting project can get messy. In spite of the best efforts to keep everything clean, sometimes accidents happen.
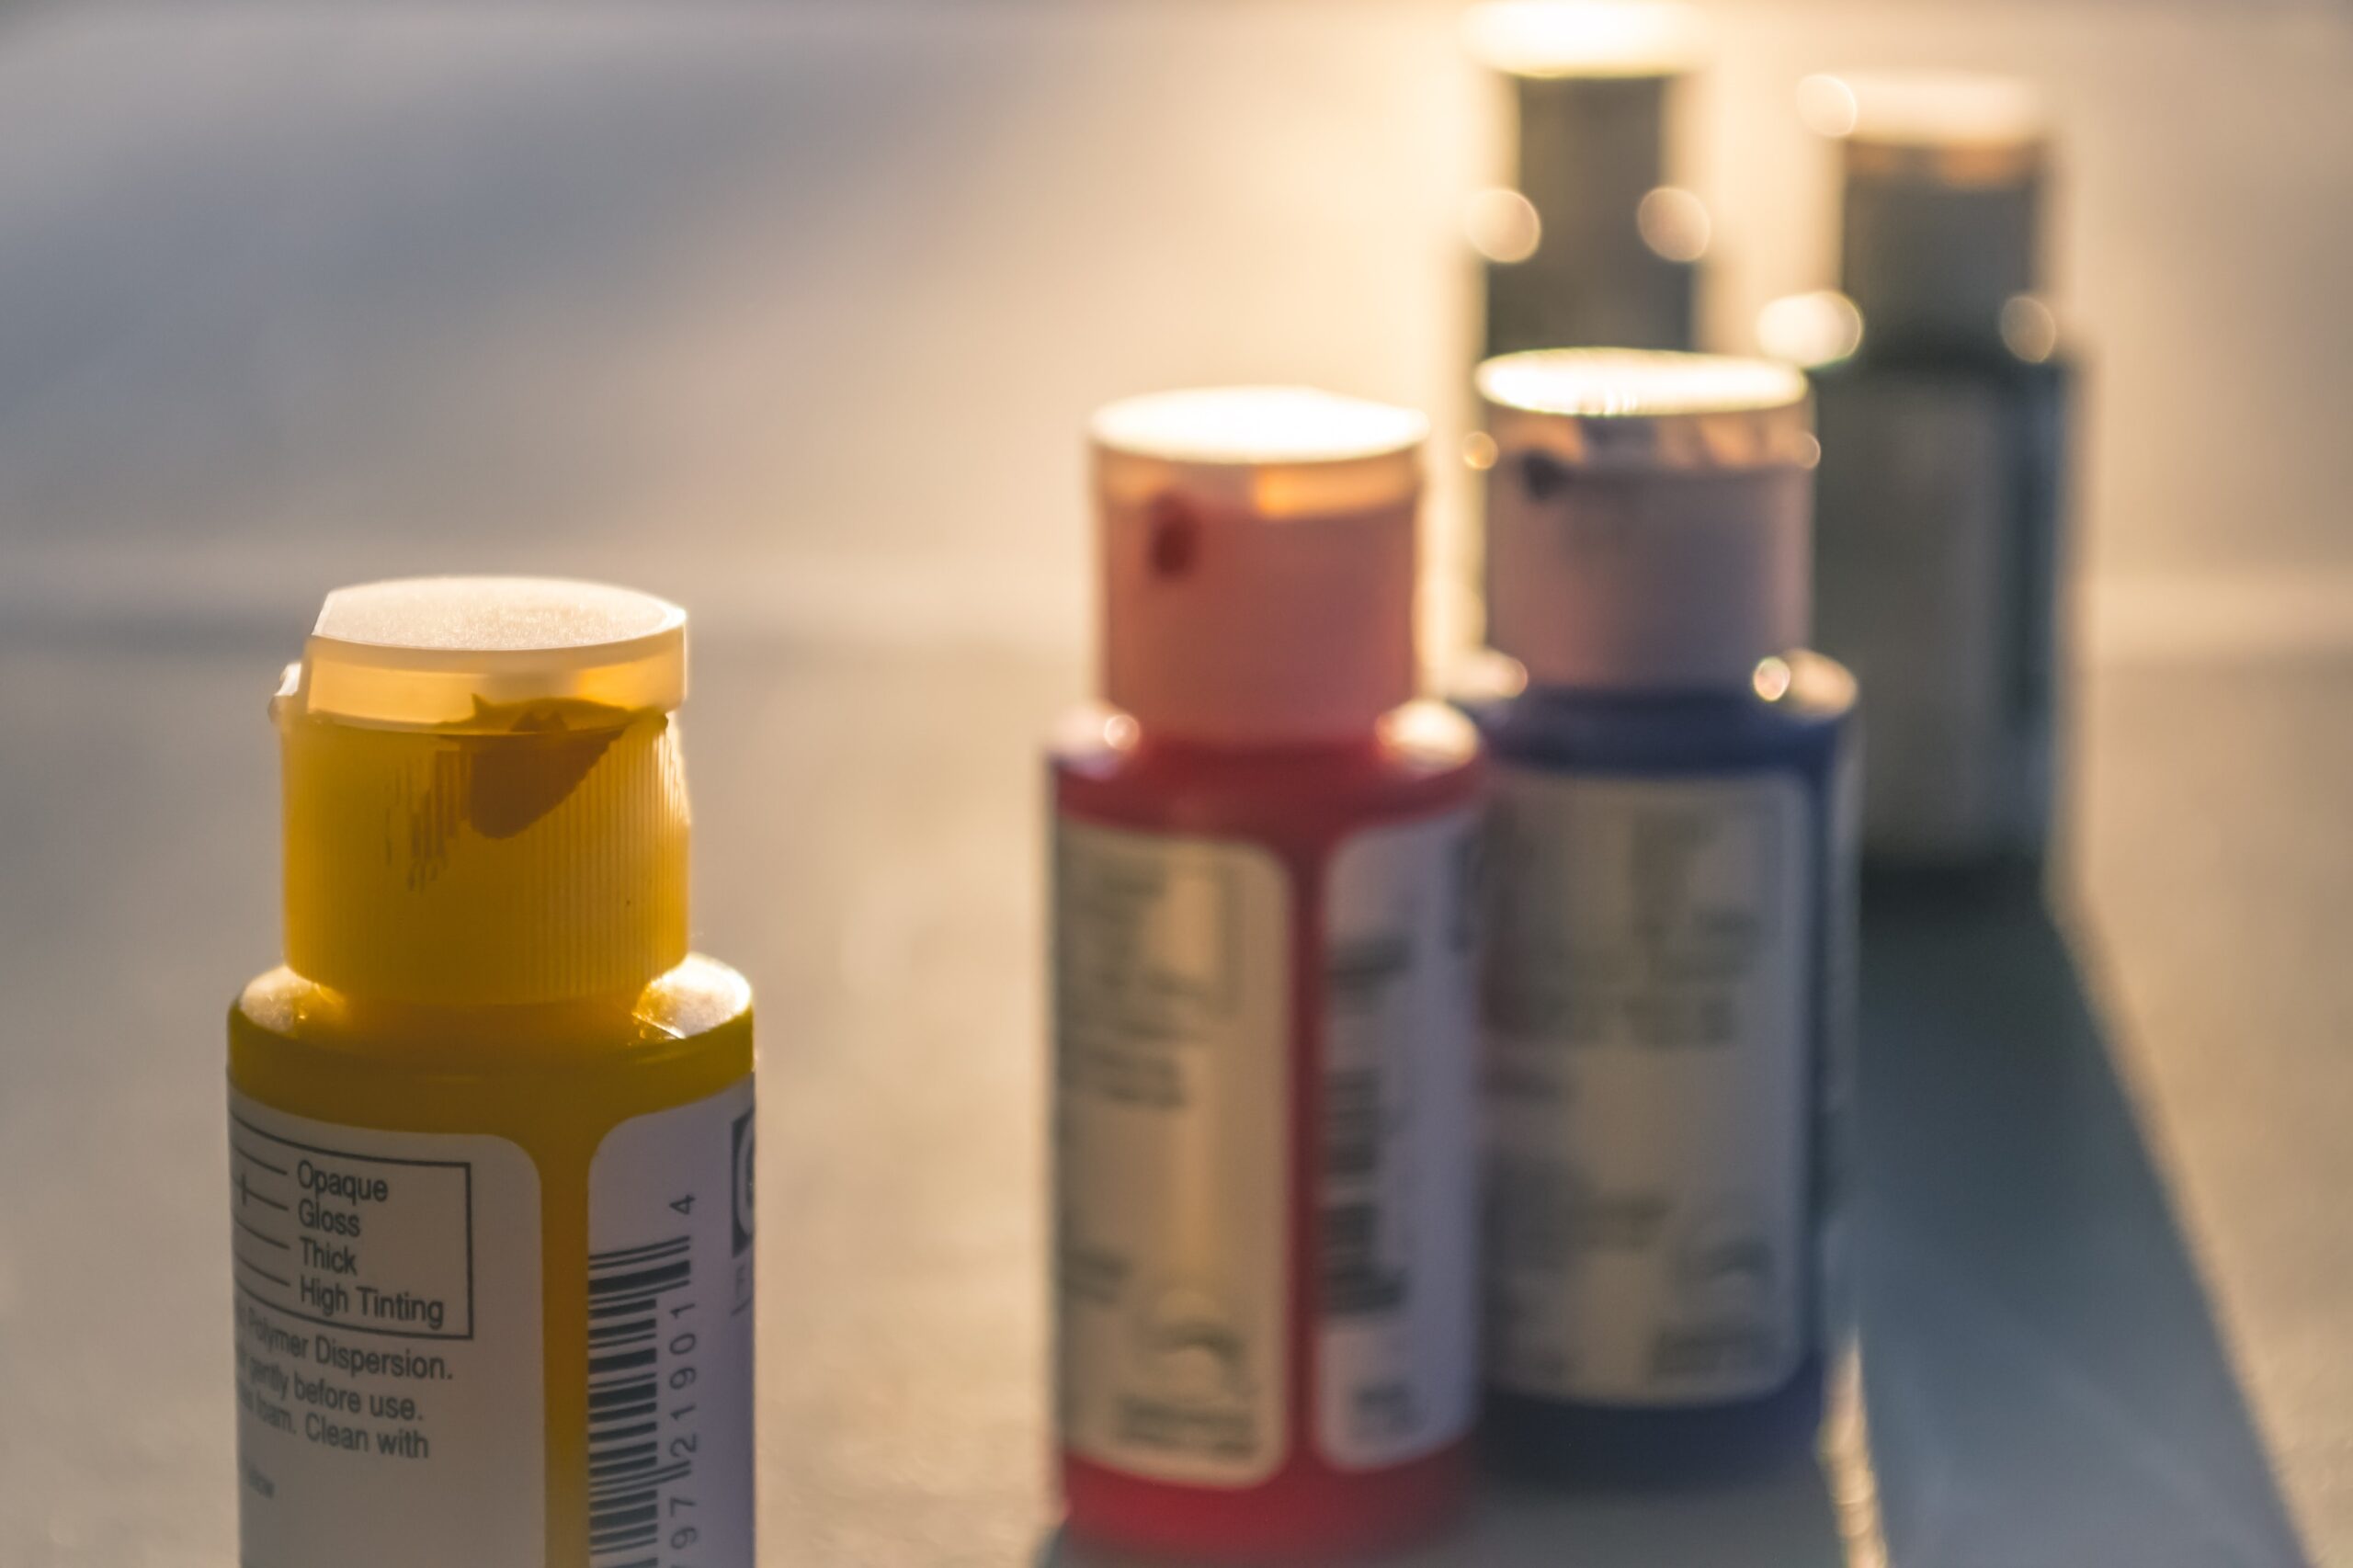
Fortunately, tempera paint is very easy to wash out of almost anything. Because it is water-soluble, soap and water work great for most paint spills and mishaps.
Here are a few methods to make paint clean-up easier for different circumstances:
How To Clean Tempera Paint From Paint Brushes
Cleaning your paintbrushes properly is so essential. It ensures that your brushes will last a long time. Washing tempera paint from your brushes is very easy, and doesn’t take very long at all.
Whenever you are ready to clean your brush, or just to change paint colors, rinse your brush thoroughly in a cup of clean water. Most of the paint will come out just by doing this.
To thoroughly clean your brushes, the first step is to wipe any excess paint off using a paper towel. After that, you can use a little dab of liquid dish soap on the bristles and gently rub it with your fingers to loosen the paint.
Then you swish your brush around in a cup of clean water; this should remove most, if not all, of the paint.
When the paint is removed, you can rinse your brush under cool water to remove any remaining soap that is in the bristles.
Smooth the bristles of the brush so that they are all in one direction. Let your newly clean paint brush dry flat, or hang up by the handle (bristles pointing down). Drying flat or hanging will keep the bristles nice and straight.
If the tempera paint has dried on your paintbrush bristles, the same method should work. However, it’s probably going to take a little more dish soap.
You can try to gently pick the bits of dried paint off the bristles before cleaning with the soap.
How To Wash Tempera Paint Out Of Clothes
Washing tempera paint out of clothes is fairly easy, but the longer the paint is on the fabric the more likely it is to stain.
If you get paint on your clothes and it is still wet, you can blot any excess paint with a paper towel, then launder the clothing in cold water right away.
Using cold water is important, as hot water might cause any stain to set more permanently in the fabric.
Also, let the clothing item air dry instead of putting it in the clothes dryer. If there is even a tiny bit of the stain left, heat from the dryer could set it in the fabric permanently.
If the paint has dried, or if there is a lingering stain after the clothing has been through the laundry, you still might be able to get it clean. If the paint is dry, try flaking as much of the dried paint off as possible. You can use a plastic knife or a spoon to do this.
Then, use a spray bottle with diluted vinegar (one part vinegar, 1.5 parts water) to soak the stained area. Let it set for 10 to 15 minutes, then blot (don’t scrub!) with a clean paper towel or rag. You can repeat this a couple of times until the stain is gone.
You can also use a commercial stain remover, such as Oxy-Clean, to get rid of the stain. Just be sure to blot the stained area; scrubbing at it could just rub the stain back into the fabric fibers.
How To Wash Tempera Paint Off Of Skin
Have you ever done a painting project and managed not to get paint on yourself? I don’t think I ever have! Fortunately, tempera paint easily washes off skin, even when it is dry.
Ordinary soap and water should wash away the paint with no problem. You can also use a bit of liquid dish detergent if hand soap doesn’t seem to be getting it all clean.
If you’ve got paint stains on or around your fingernails, a paste made from baking soda and water works great to clean it up.
Can You Wash Tempera Paint off of Wood?
Yes but it can be challenging. Tempera paint on wood will come off if you leave it outdoors long enough. If it’s inside you may need to take it outside to pressure wash it.
Scrubbing it can be a bit challenging but will help quite a bit as well.
How To Remove Tempera Paint From Glass Windows
Tempera paint is frequently used for temporary window signs or holiday artwork. Removing it takes a little bit of work, but it doesn’t have to be stressful.
To begin, you can use a plastic spatula or putty knife to gently scrape off as much of the dried tempera paint as possible.
Once you can’t scrape any more off the glass, you can wash it with a solution of one part white vinegar/one part warm water. Soak a soft cloth in the vinegar/water solution and scrub to loosen as much paint as possible.
You will probably need to rinse the cloth and repeat this several times.
If there are stubborn spots of paint that you can’t scrub away, blot the area with the vinegar/water solution and wait for 5 to 10 minutes. Then you can scrub it away with the cloth.
After the window is completely cleaned, let it dry thoroughly. Finally, clean it with some spray glass cleaner to get rid of any remaining residue.
How To Wash Tempera Paint Out Of Carpet
Hopefully, you never have to clean spilled or dripped tempera paint from your carpet. But if you do, it’s very similar to the method for cleaning paint from clothing.
If the paint is completely dry, use a spoon to try to scrape as much of the paint off of the carpet as possible. Tempera paint is very brittle when it dries, so you might be able to scrape most of it away. Vacuum the paint dust right away before finishing with the cleaning.
The best thing to use for cleaning paint out of carpet is a commercial stain-removing product like Oxy-Clean or Resolve.
Spray it over the stained area, wait 10 minutes or so, then blot (never scrub!) with a clean cloth. Use a clean portion of the cloth each time you blot, so you don’t transfer the cleaned-up paint back onto the carpet. Repeat this a few times until the stain is gone.
If you don’t have any commercial stain-removing spray, you can try a diluted white vinegar and water mixture, just like you would use to remove the stain from clothing.
After the stain is gone, use a clean towel to soak up any excess moisture. Once the area is completely dry, vacuum again so there are no tiny bits of dried paint left in the carpet fibers.